Fondant can be challenging, especially when you’re a beginner, but there are tricks to make it easier. This post is filled with all of my best tips on how to cover a cake with fondant.
Fondant looks so easy when you watch someone cover a cake on video, but actually doing it is another thing totally. It takes lots of practice, but you really can get the hang of it with some tips up your sleeve.
I’ve been asked several times for a tutorial on covering a cake in fondant and I’ve finally gotten around to putting one together.
I didn’t want to just throw something together. I wanted something that had lots of details and included literally ALL the tips I know about covering cakes in fondant.
In this post, I’ll go through all the supplies you’ll need, all the steps I use to apply fondant to a cake (and some options other decorators use) along with all my tips on working with fondant.
We’ll be focusing more on covering a round cake in fondant.
There’s a video close to the end of this post, if you’d like to learn that way. I’ve also added in a lot of details into the written portion of this post along with some screen shots so I can explain further.
Ok….let’s get started!
Jump to:
As an Amazon Associate, I earn from qualifying purchases.
Supplies needed:
Fondant:
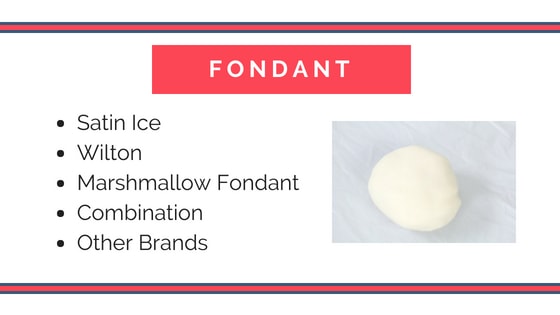
There are a multitude of choices here. Try out different types and see what works better for you.
There are some really expensive kinds that I’ve heard wonderful things about, but honestly the best fondant I’ve used is a recipe from Liz Marek from Sugar Geek Show. Here’s a link to it here: LMF Recipe
That fondant is basically a combo fondant and I find I like the taste and it works really well for me.
Find what works for you.
Large Fondant Roller & Small Pizza Cutter:
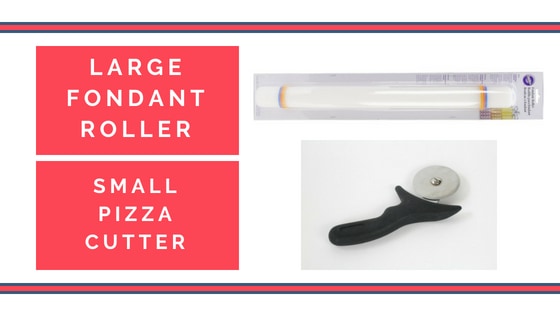
There are different types of large fondant rollers. Feel free to try several out. I just use the general Wilton fondant roller, which you can find here: Large Fondant Roller
I also like using a small pizza cutter. It works really well to cut the fondant around the cake. Some people like to use a knife to cut it, but I find that a knife pulls too much, so I prefer the mini pizza cutter.
Shaker & Shortening:
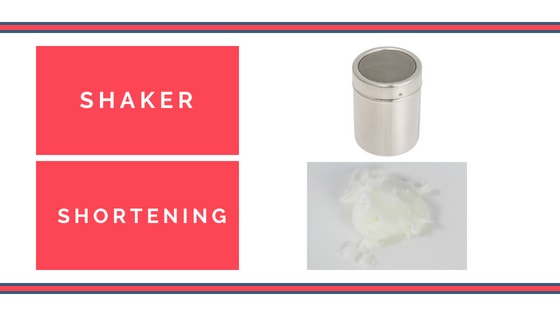
For my shaker, I just add in half cornstarch and half powdered sugar. Now, some cake decorators say that powdered sugar can make everything sticky, I personally don’t like using only cornstarch because it seems like it dries everything out really quickly.
So, I got this tip from Global Sugar Art and I mix cornstarch and powdered sugar, half and half, in my shaker and I really like how it works.
The shortening is only if you’re covering a ganache covered cake. You’ll just add a thin layer of shortening over your ganached cake to help the fondant stick to it.
If you’re using buttercream, you can pop your cake in the fridge, just for about 15 – 20 minutes or so, then let it sit on your counter or table while you roll out your fondant. A bit of condensation will form just enough to help the fondant stick to the buttercream.
Now, you don’t want a lot to form otherwise you could get some blow outs and bulges, so just pop your cake in the fridge just enough for it to chill and get a little more solid.
Fondant smoothers and piece of a plastic/acetate folder:
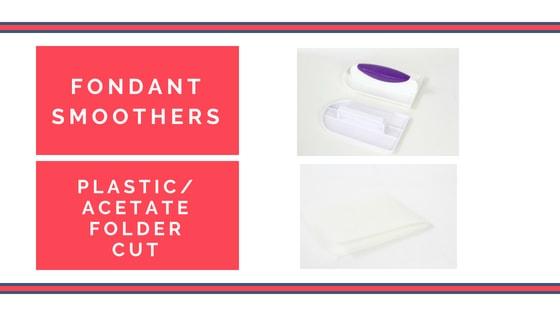
Ok obviously you’ll need a fondant smoother. I like to have a few on hand.
I also like using a piece of a plastic/acetate folder that’s cut into a rectangle shape and then folded over. I’ve seen other cake decoorators use this trick and it really helps to buff out any imperfections in the fondant.
Pins & Silicone Rolling Mat or Mats:
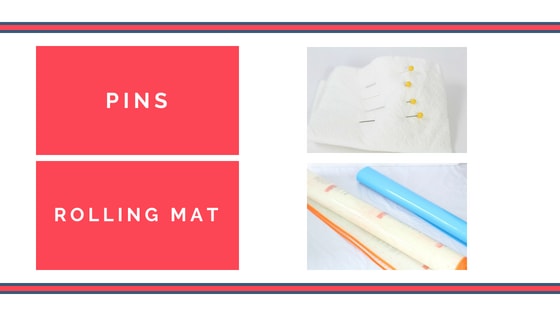
The pins are for popping any air bubbles you may have once you roll out your fondant. I like to roll mine out and then pop any bubbles, then smooth with the fondant smoothers before I even put the fondant on the cake.
You’ll also need a rolling mat. I have a large glass top on my wooden table and sometimes I don’t use a mat at all. If you’ve got a large table or counter that’s very clean, you may not even need a rolling mat.
There are specialty mats and they come in all sizes, so just try a few out and see what works best for you.
I purchased the one in the video from Amazon and it’s just a general pastry mat. It’s not large enough for large cake tiers though.
Methods for rolling out fondant:
Speaking of mats…there are a number of ways to roll out your fondant and I’ll just mention those real quick and you’ll want to practice and find which method works best for you.

- The first method is rolling between two mats. (aka. The Mat from Sweetwise)
There are lots of videos out there on this method. You actually use two mats and you roll your fondant out between the two. This helps it not dry out so quickly.
You then take the top mat off and you just lift up the bottom mat, fondant and all, and turn it onto the cake. You then peel off that bottom mat.
A lot of decorators use this method. I find it cumbersome, but it’s worth a try though.
2. The second method is to just roll your fondant out onto a mat.
For this method, you’ll roll your fondant onto a mat (without the top mat like we talked about before) and then pick up the mat, fondant and all, and lay it over your cake, then peel off the mat.
I find that cumbersome as well, but you may want to try it out and see how you like it.
3. The next method is the one I use and it’s simply rolling out your fondant on a mat or table and just using your hands/arms or the large rolling pin to apply the fondant.
I just use lots of cornstarch/powdered sugar mixture so my fondant won’t stick to the mat or table. Once it’s rolled out, I brush off any excess powder and simply pick it up and lay it onto the cake.
Some people also roll it up around the rolling pin and then add it to the cake. I find it easier just to use my hands and arms. I’ve found I can control and place the fondant much better and easier this way.
We are all different, so try out all these methods and see which you like the best.
What to use under fondant:
We talked a little bit about this earlier, but I really like to use ganache under fondant. It gets really firm and I can get it very smooth. It’s just so easy to use and really easy to make actually.
I do add buttercream between the cake layers, but I cover the outside with ganache.
You can also take off any fondant, if you make a mistake, and then reattach it to the cake and that’s much easier to do if you’ve used ganache.
If you’ve never made ganache, it really is easy. Here’s a post where I explain how to do it: How to Make Ganache
I even have a post on how to ganache a cake and get smooth sides and straight edges. You can find that here: How to Ganache a Cake
Now, with buttercream, you have a higher chance of it bulging, or getting misshapen under the fondant, but it is possible to use it. My main tip if you’re going to use buttercream, is to use an all butter buttercream and not a shortening based icing.
The reason is that an all butter buttercream will firm up better in the fridge, which will make it easier when you go to add your fondant.
It’s also good to do a thinner buttercream layer than you normally would, if you’re adding fondant on top of it.
I know you’ve probably heard people say they never have a problem adding the same amount, but personally that has never gone well for me and I don’t know what kind of magic those people are using.
Ok…now let’s get to the steps of covering your cake in fondant! (Don’t forget to watch the video at the end of the post to see how it’s done!)
Covering a cake in fondant:
First make sure your buttercream or ganache is really smooth on your cake.
(Also, this probably doesn’t need to be said, but just in case: Make sure your cake is sitting on a cake round. You’ll later attach your cake to a larger cake base, but the cake itself needs it’s own cake round under it the same size as the cake layers.)
If you need help understanding how all that works, make sure to check out this post and video: Anatomy of a Decorated Cake
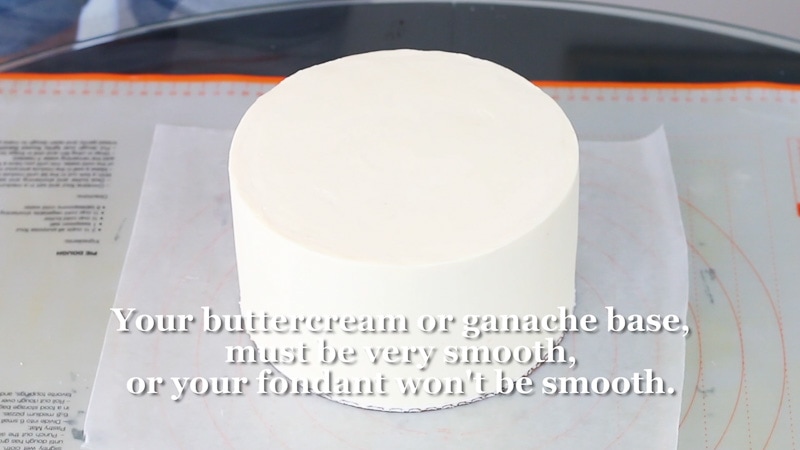
If you’re using ganache, just add a thin layer of shortening. If you’re using buttercream, chill it a bit and then set it out to allow a tiny bit of condensation to form. You don’t want much…just a little to help the fondant stick.
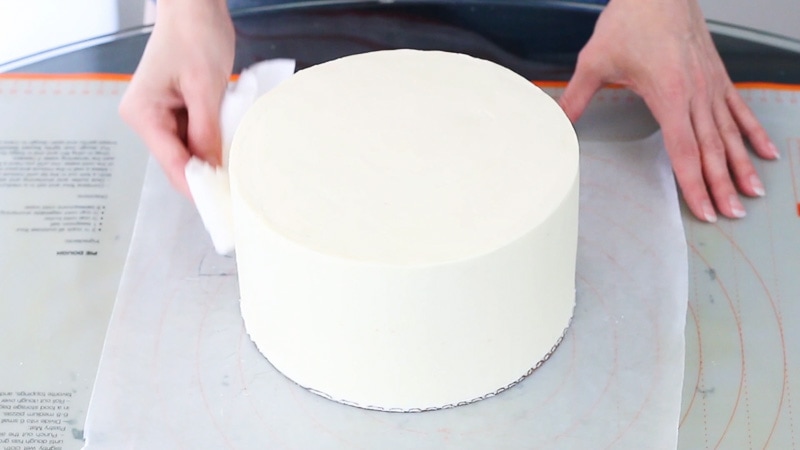
Next, I heat up my fondant in the microwave.

Literally just like 20-30 seconds or so. I just want to warm it up a tiny bit so it’s easier to knead and roll.
Make sure you knead it well.
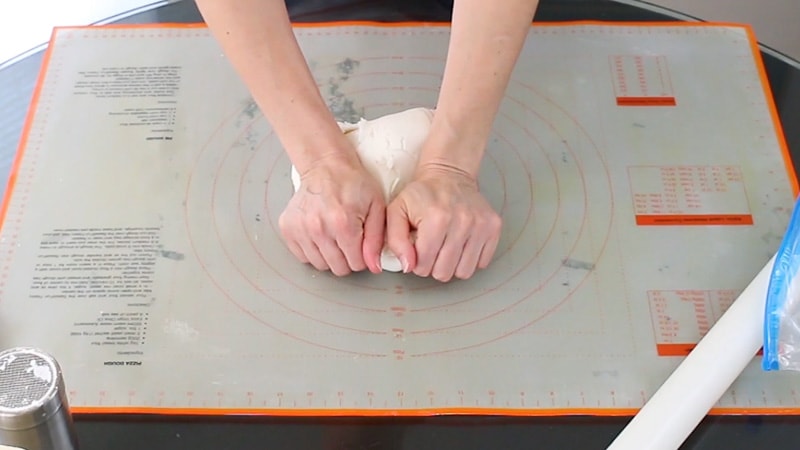
You’ll want to knead it until it gets stretchy.

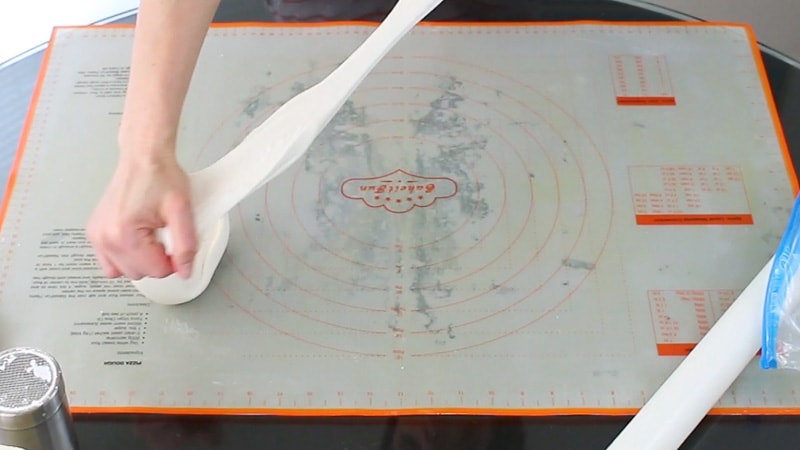
Once it’s well kneaded, just sort of shape into the shape of your cake. A round disc if you’ve got a round cake and a square shape if you’ve got a square cake.
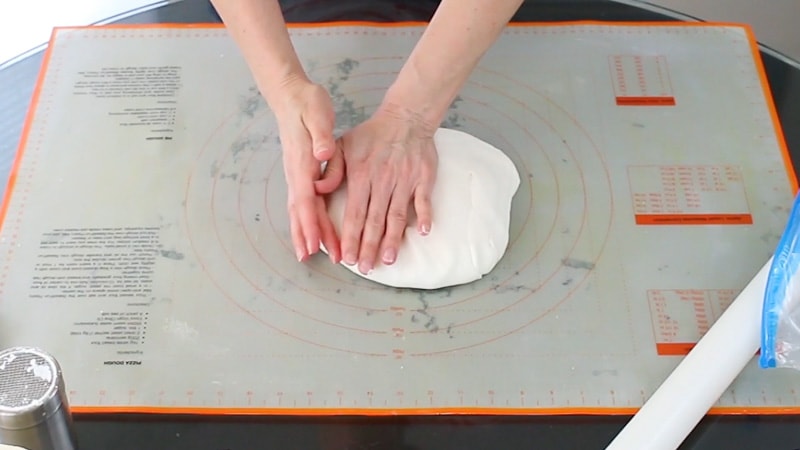
Then cover everything with a bunch of cornstarch/powdered sugar mixture. Yes, I DO make a mess and once I’m done, I’m usually completely covered in it. (If you’ll be using the mat to attach the fondant, then you want the fondant to actually stick to the mat, so don’t add the cornstarch/powdered sugar mixture here.)
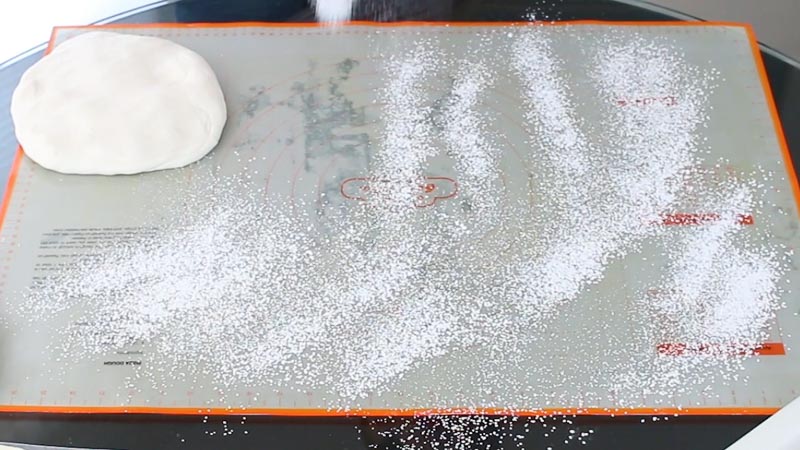
Now you just want to roll out your fondant in all directions. Some people pick up their fondant and move it around and you can do that too, if it helps.
You do want to move it a little just to make sure it’s not sticking to your mat or table (if you’re using the hands and arms method to attach the fondant). If you’ll be using the mat to attach the fondant, then the fondant should actually stick to the mat, so when you pick up the mat, the fondant stays attached.)
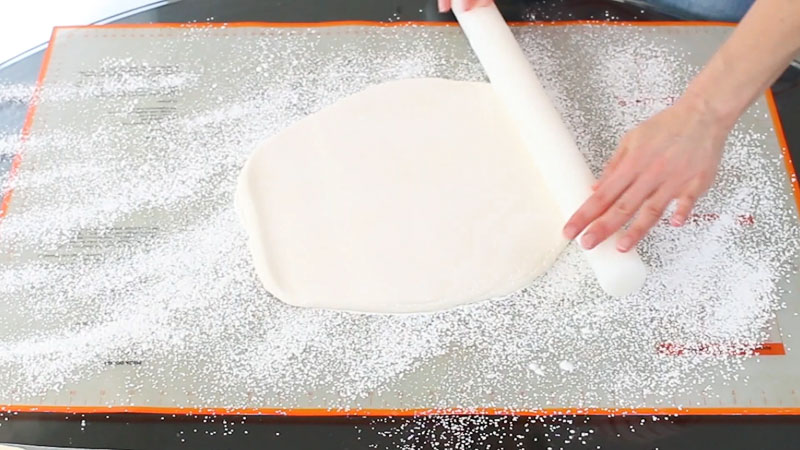
You want to roll your fondant out to be about an ⅛ of an inch thick…maybe slightly thicker if needed.

When you’re rolling it out, take in to consideration how tall the cake is and the diameter of the cake. If you find you don’t have enough fondant, just add in more while you’re rolling, or just add in more and re-knead your fondant, then re-roll it.
You will get a feel the more you practice as to how much fondant you need to cover different size cake tiers. There are also cake calculators out there to help you figure out about how much fondant you’ll need.
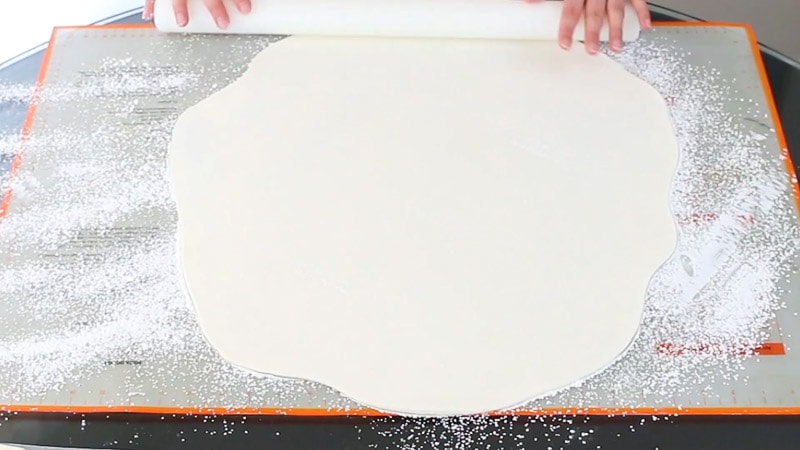
It’s really easy to roll the edges thin, so just be mindful of that.
Now take your tiny needle and pop any air bubbles that have formed from rolling out your fondant.
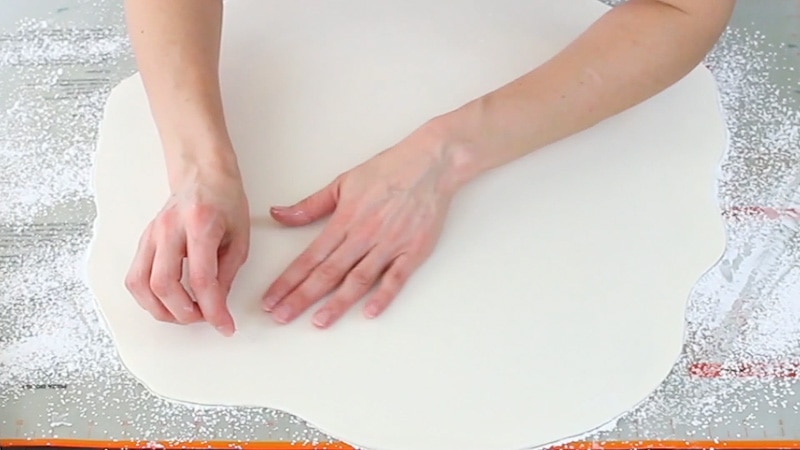
Once you’ve done that, just roll it out a bit more.
Then I actually like to smooth it with my smoother before I actually add it to my cake.
You won’t need to do this part if you’re using the mat to attach your fondant, because the underside of the fondant is what will actually be showing, since you’ll be flipping your mat over the cake.
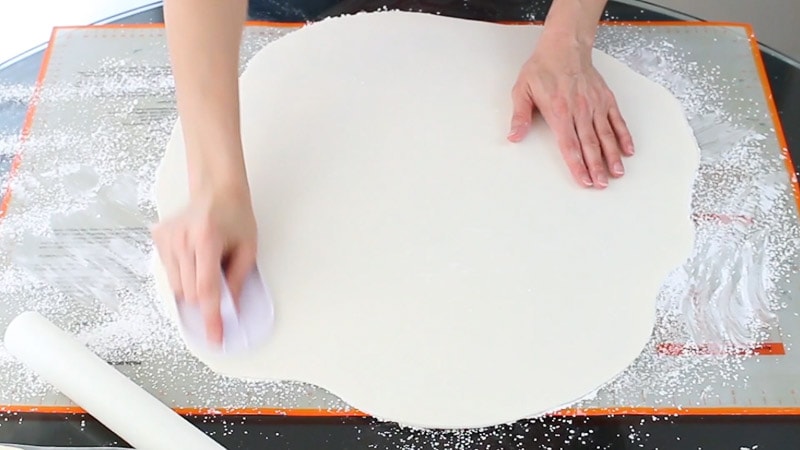
Slide your cake over close to the fondant you’ve rolled out and sprinkle the cornstarch/powdered sugar mixture all around it, so the fondant doesn’t stick to the table when you’re trying to work with it.
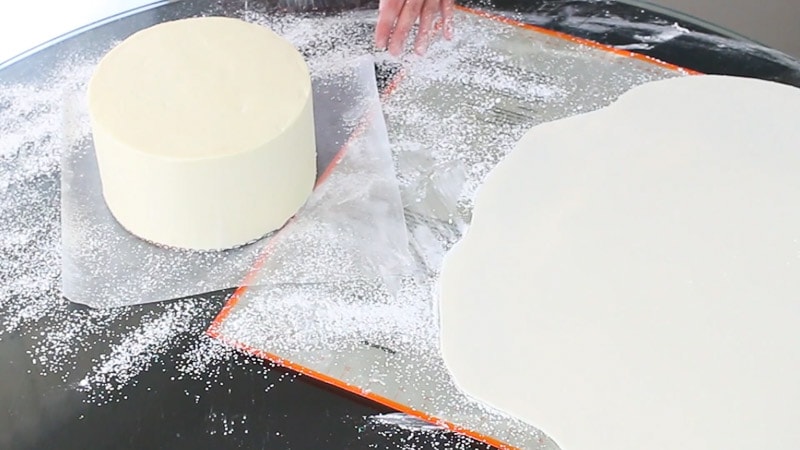
Then pick up one side of the rolled out fondant and brush off the excess cornstarch/powdered sugar (if you’re using the hands/arms method).
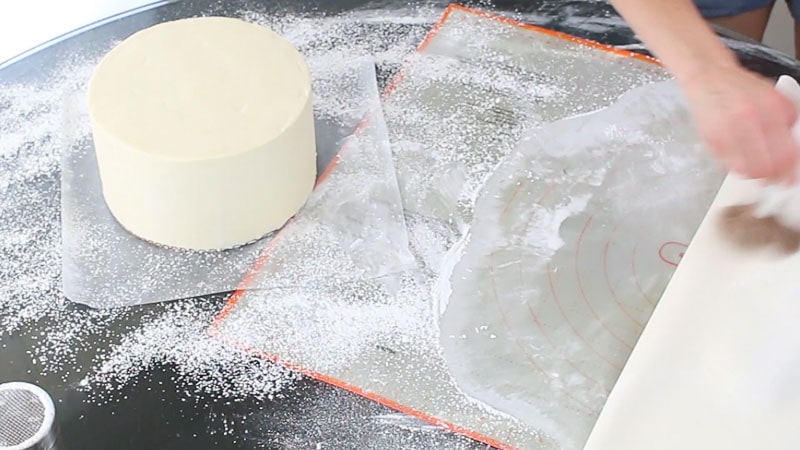
Pick up the other side of the fondant and do the same.
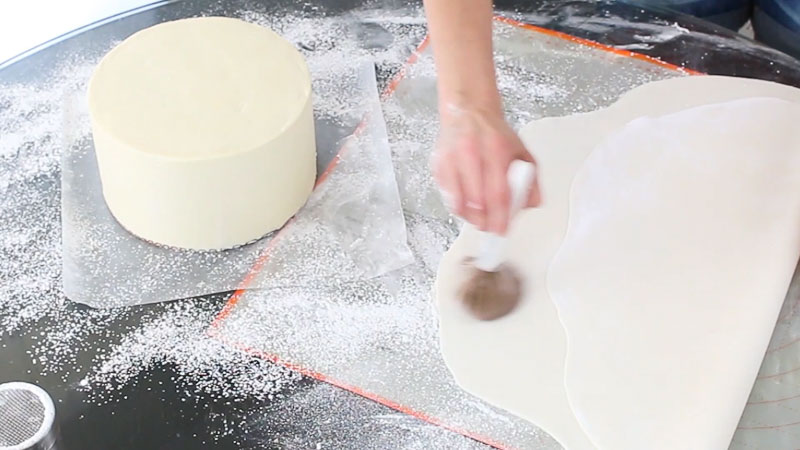
Now just pick up the fondant and lay it over your cake. (If using the mat method, you pick up the mat, turn it over and lay onto the cake and then peel off the mat.)
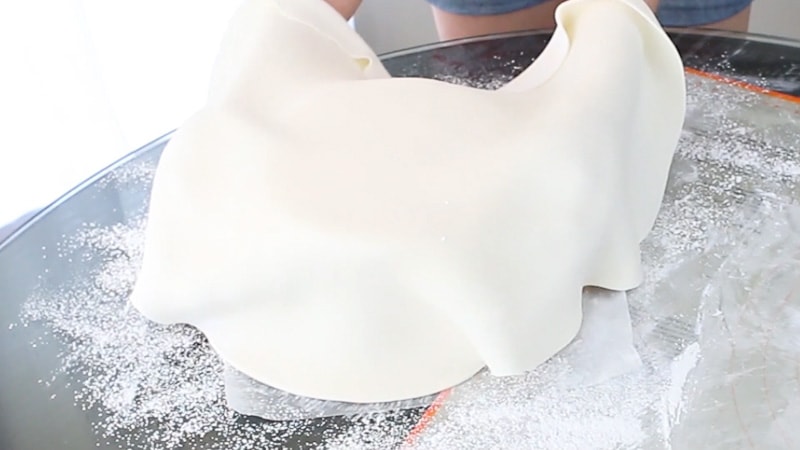
When you lay it over it, try not to get any air trapped under the fondant. You can smooth the top with one hand as you lay down the fondant.
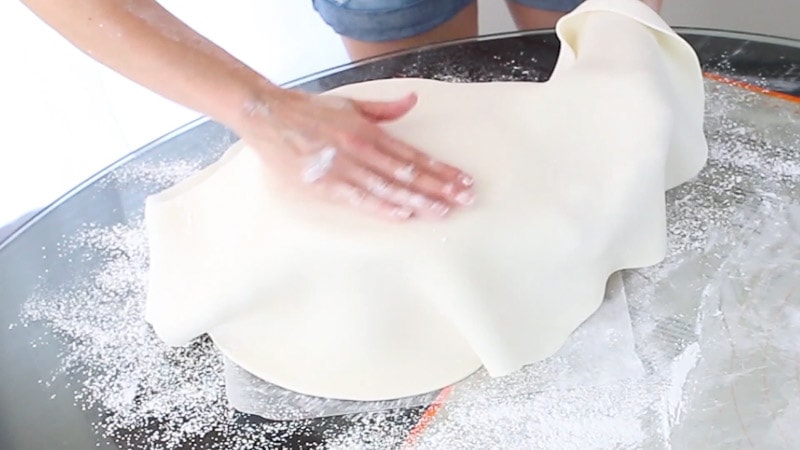
The first thing you want to do is to smooth around the top edge. You want that attached right away, so that the weight of the fondant doesn’t pull it down and cause rips or elephant skin.
(If you’ve used the mat method to attach the fondant, you’ll need to sprinkle your fondant with the cornstarch/powdered sugar mixture, so your hands and smoothers don’t stick to it.)
Just take your hands and smooth the top and around the top edge to attach the fondant.
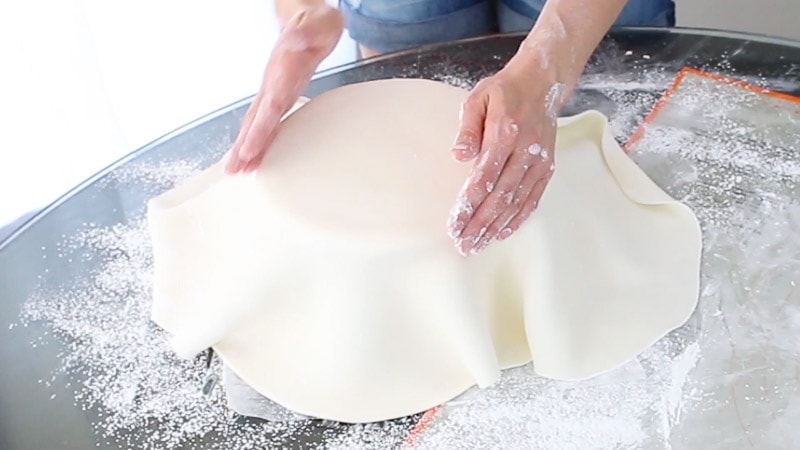
Once the top edge is attached, you start to attach the rest of the fondant. Use your fondant ‘skirt’ to help you with this. You’ll want to open up the skirt and smooth down the sides of the cake.
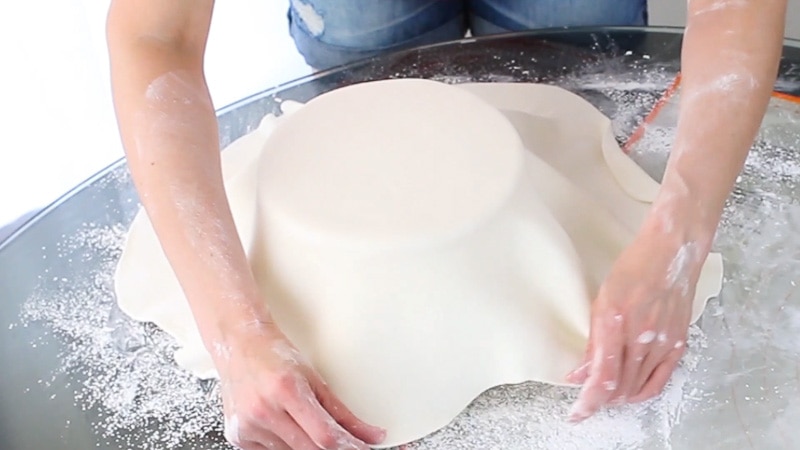
Don’t pull down the fondant…just open up the skirt as you go. Just smooth small areas at a time, going around the cake.
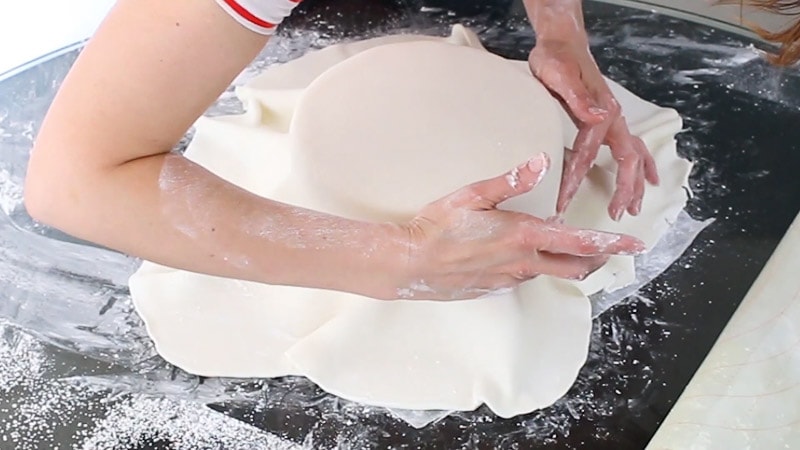
Just do small areas at a time, working around the cake until you get all the way down.
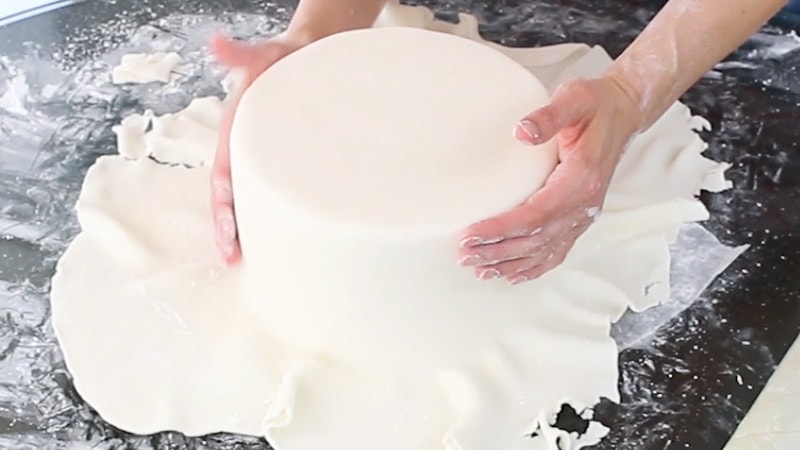
Now just do a preliminary cut with your pizza cutter.
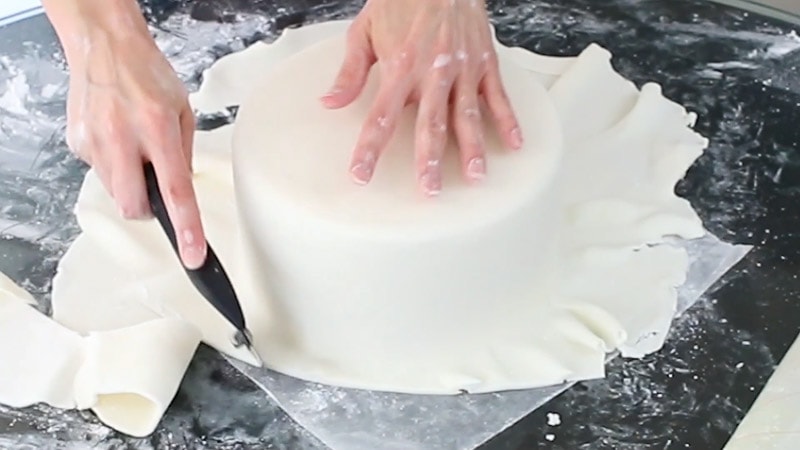
Now, I use fondant smoothers first, then my acetate/plastic smoother.
Just smooth over the top and sides with your smoothers.
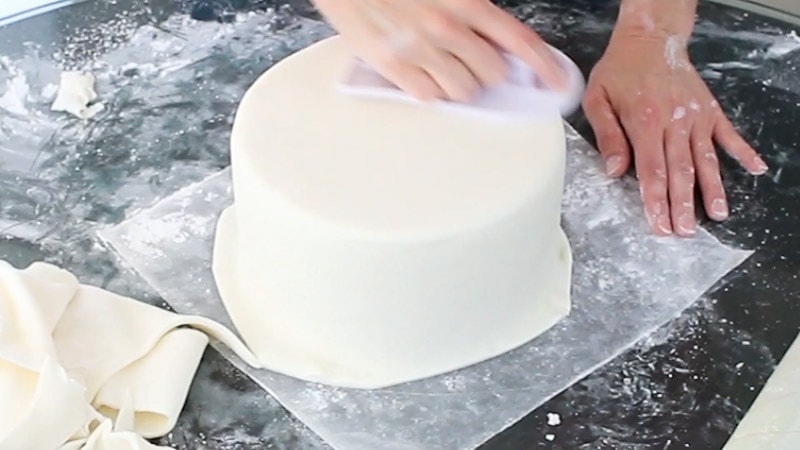
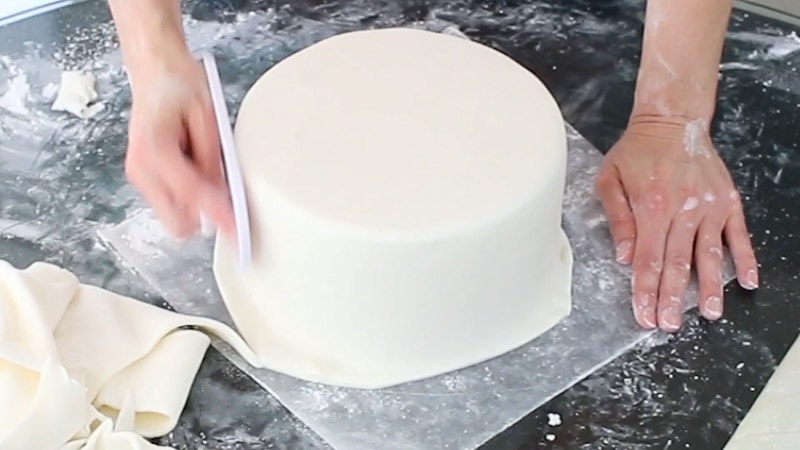
Once it’s good and adhered to the cake, you can cut off the excess fondant all the way to the cake board.
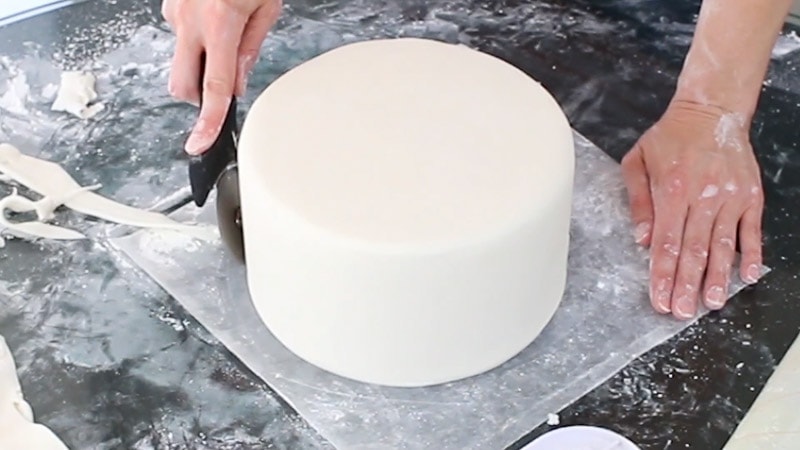
Now go over again with your fondant smoothers.
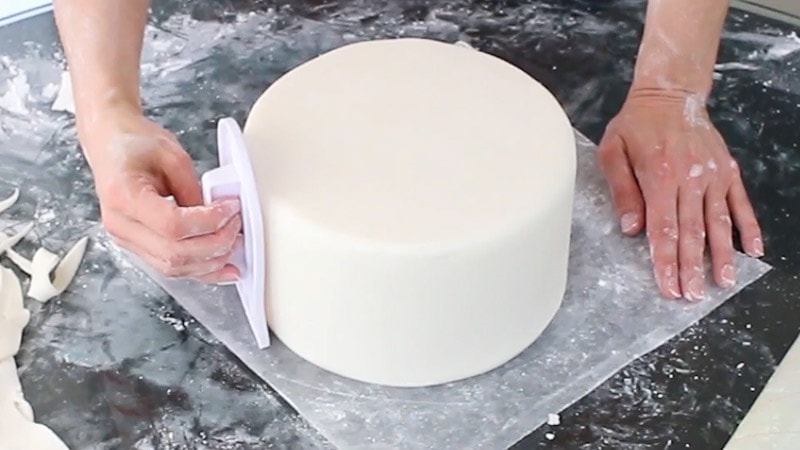
Now take your plastic/acetate smoother and go over the top and side. You can add a bit of the cornstarch/powdered sugar mixture to it and it’ll help buff out any imperfections.
Be careful not to push down too hard with it, or the corners will dig into your fondant.
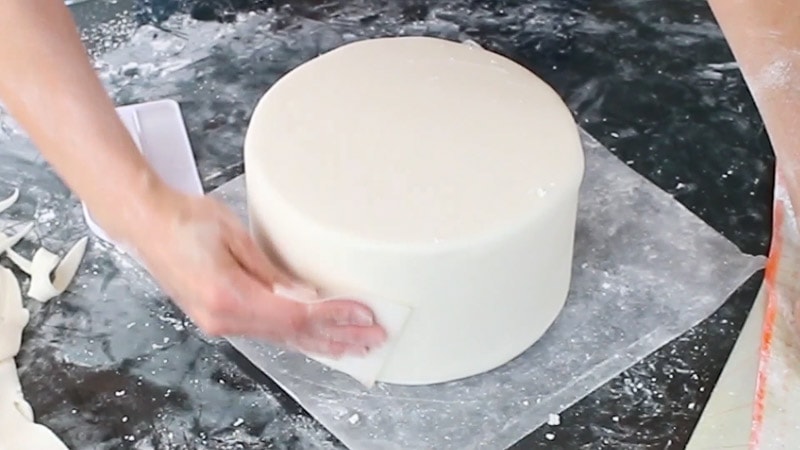
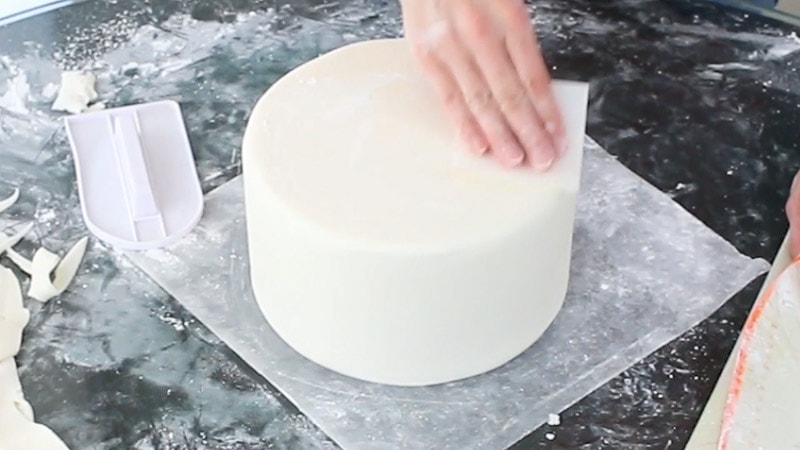
If you want sharp corners, you can use the smoothers together around the top edge, or you can use a smoother and the acetate together.
You just want them to meet each other around the top edge as you’re smoothing. I like my edges a tiny bit rounded and not so pointy sharp, so I don’t go too crazy with this.
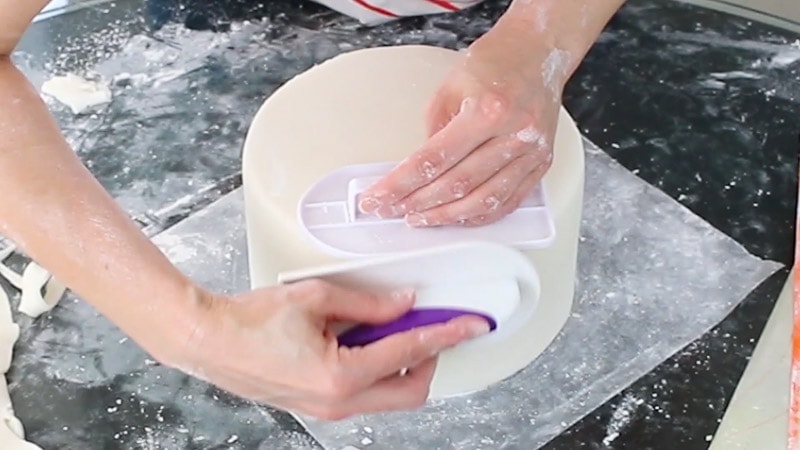
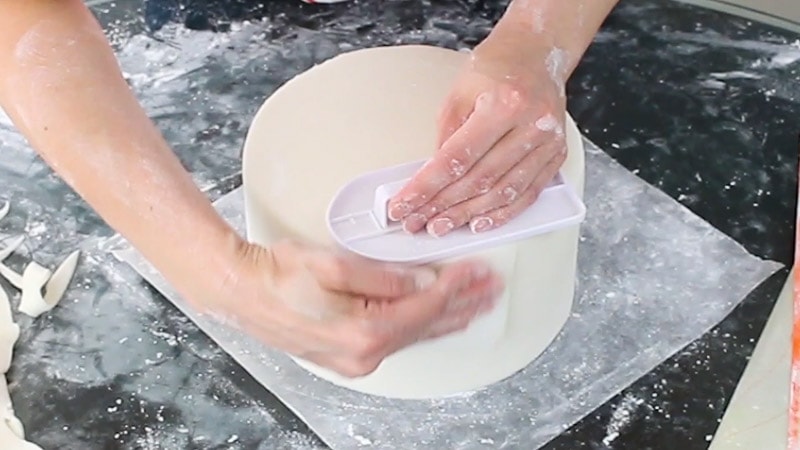
Now, just keep smoothing until you’re happy. And see, I told you I make a complete mess.
I’ve seen other decorators do it without such a mess, but that’s just not me.
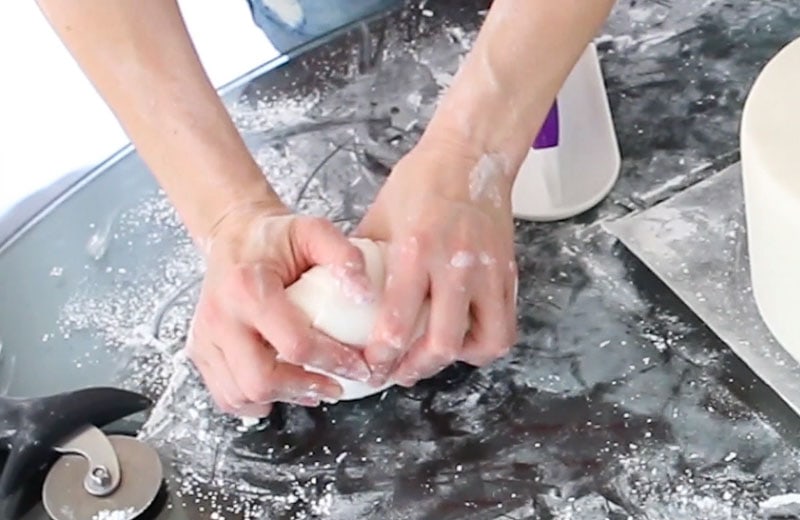
Don’t forget to knead your leftover fondant and put it away before it dries out.
If you have issues, you can always take the fondant off and try again.

After you’ve used a batch of fondant a couple times, you may need to use a new batch because the fondant just kind of dries out after that point.
To attach the cake to the cake base, you can add some melted candy melts or hot glue to the cake base.
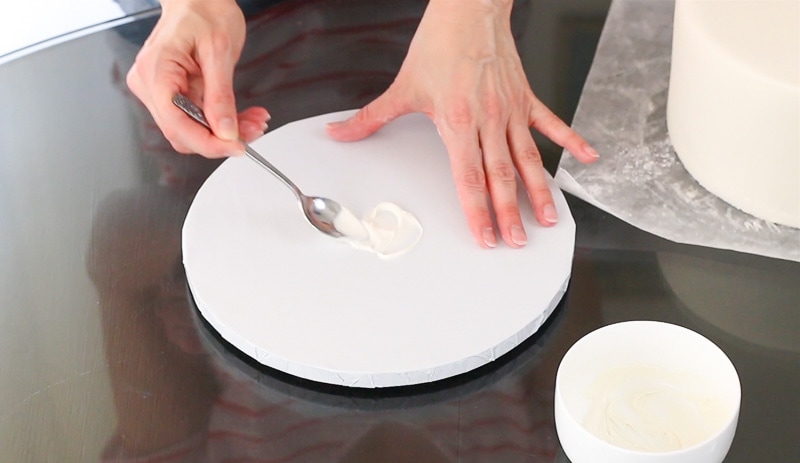
Then attach your cake (which is already sitting on it’s own cardboard cake round) to the cake base.
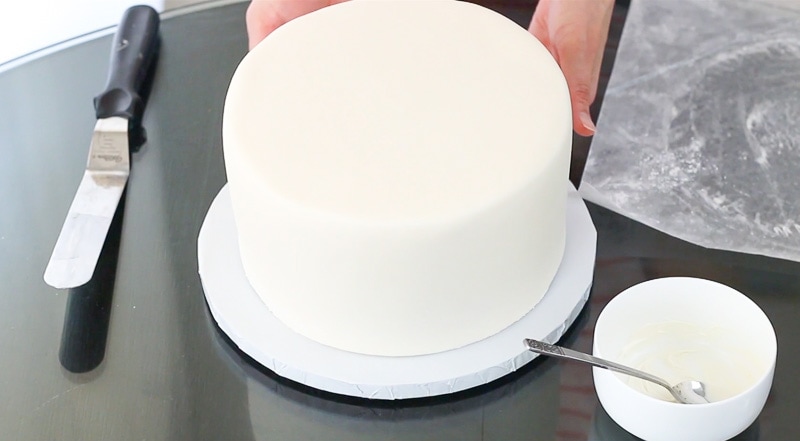
Make sure your base isn’t too flimsy and can withstand the weight of a fondant covered cake without buckling.
You can adjust the placement of the cake using a large spatula and move it into place.
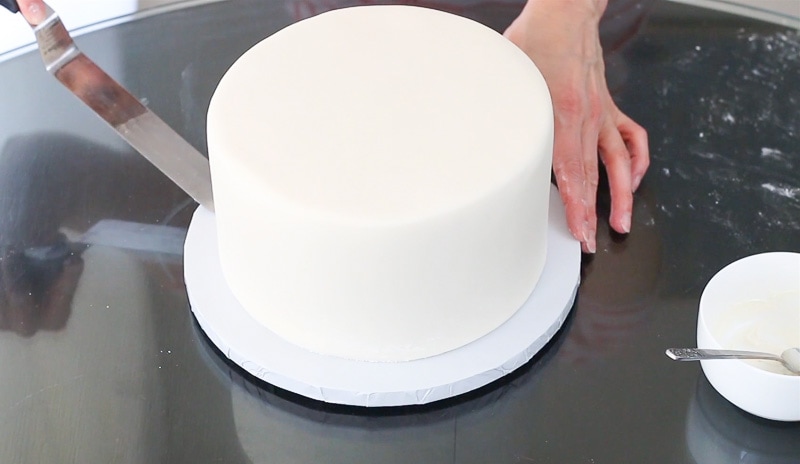
Just remember to practice! It takes a lot of practice. It’ll be frustrating at first, but just work through it! It WILL get easier. And you’ll have good fondant days and bad fondant days… at least that’s true for me. 😉
You’ve got this! I have faith.
Video:
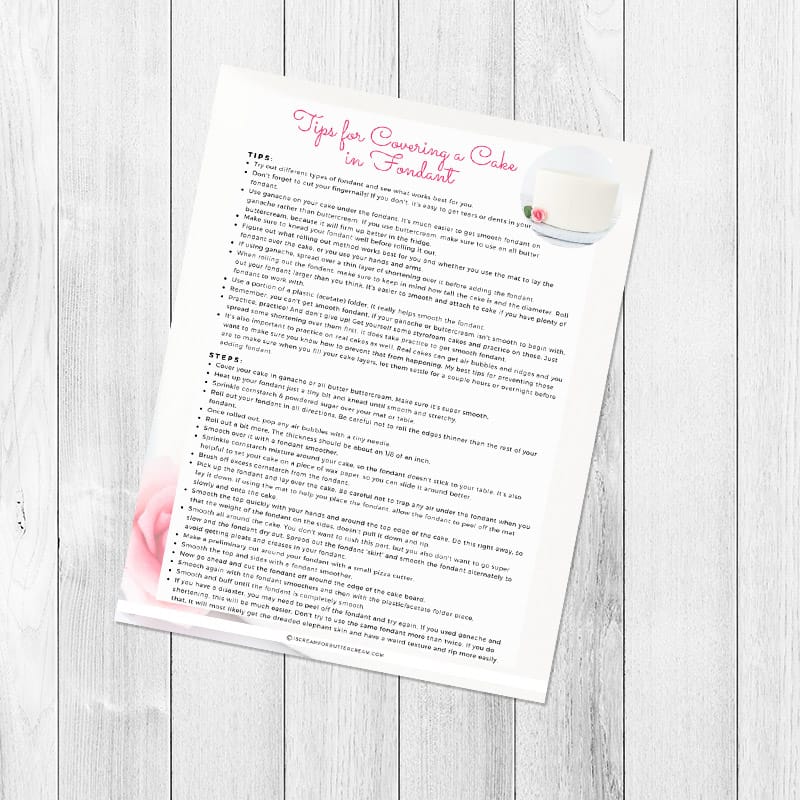
Printable cheat sheet:
If you’d like to print out the tips and steps, just click on the graphic or button below and it will download for you automatically.
Other posts & videos that may be helpful to you:
It may also be helpful to check out these other videos that will help you prepare your cake before adding fondant:
I hope this was helpful for you. Feel free to leave me any comments, suggestions or questions in the comment section and I’ll be happy to get back to you. 😉
Don’t forget to pin it below!

Favour
Thank you so much Ma, for the tutorial, but Ma, MUST I microwave my fundant before kneading it?
Kara Jane
You don’t have to do that if it’s soft enough. I just find that if I microwave it for just a few seconds, it softens it up for me and it’s easier for me to knead it.
Favour
Ma I so much appreciate the Fundant lecture, please Ma can I bake my Cake on day one, then on day two, cover it with buttercream without freezing the Cake and without freezing the buttercream, and prepare my fundant without heating the Fundant at all.
Am asking this because I want to bake Cake, glaze with buttercream and Cover with Fundant icing and decorate, but unfortunately we don’t have electricity supply in my area which makes difficult for me to use my microwave and refrigerator.
Am looking forward to your response, thanks.
Kara Jane
Yes you can do all that without a freezer or microwave. The only thing is if it’s really warm where you live, you may have a little trouble. If not, you should be ok as long as the filling and buttercream you use isn’t perishable. If it is, then you’d have to keep it chilled in the refrigerator so it doesn’t go bad. I use American buttercream, which essentially is just butter, a bit of cream and confectioner’s sugar and it doesn’t need to be refrigerated. I normally don’t refrigerate my cakes, so that shouldn’t be a problem as long as what you’re using isn’t perishable and it isn’t hot or too warm in your area. I hope this helps.
mona
Many thanks Cara Jane for your wonderful tips and illustrations how to caver cake with fondant. I have recently developed a taste for cake baking and decorating and have been surfing the net quite a lot but allow me to say your tips so far is one of the amazing ones I’ve come across. well done.
I hope to learn a lot from you.
Stay blessed and stay safe.
Mo x
Kara Jane
Oh thanks so much Mo! I’m so glad I’ve been able to help out! 🙂
Jessicah
What kind of cake should I use? I would prefer chocolate but I honestly just want the best outcome possible. I don’t have any go to recipes for cake, filling, etc. And would appreciate it if you could point me in the right direction! I plan on decorating white with pink polka dots. Thanks so much!
Kara Jane
Hi Jessicah, If you’re making a carved cake, you can basically use any cake that’s not super soft or that has a lot of nuts or coconut or fruit in it as those are difficult to carve. If you want a good chocolate cake, I have one on the site here: https://iscreamforbuttercream.com/chocolate-butter-cake/
As far as buttercream goes, I have a couple good recipes for chocolate buttercream and vanilla. Here are the links for those:
https://iscreamforbuttercream.com/double-chocolate-buttercream-recipe/
https://iscreamforbuttercream.com/vanillabeanbuttercreamrecipe/
Hope this helps. 🙂
Sandra Stimson
Fuestly thank you for all your hints and tips they are really helpful! I’m surprised to read you can take the fondant off the cake and try again. I’ve always worried about buttercream or jam and crumbs stuck to the fondant and coming through the fondant on 2nd attempt. I seem to have had issues twice recently with stretching at the top corner edge as soon as I lay the fondant on top of the cake I dont even have a chance to get it fixed in place first as you suggest. What am I doing wrong? Or is it the type of fondant perhaps?
Thanks again 🙂
Kara Jane
Hi Sandra, yes if you pull the fondant off and there’s buttercream and jam on it, then you’ll need to use a different batch of fondant to try again. I generally fondant over ganache that is firm, so a lot of times, if I need to re-fondant the cake, it comes off without anything stuck to it. So as far as your issue goes, it might be because the fondant just immediately sticks to the buttercream. You could try chilling it a bit before adding the fondant so the buttercream can firm up, or try using ganache. I just almost never do a fondant cake with buttercream. I know a lot of people do, but I always have trouble adding fondant to buttercream cakes. I always go with buttercream as the filling and then ganache around the outside. Once the ganache firms up, add a very thin layer of vegetable shortening and then add the fondant. It can be adjusted once it’s on that way.
Martha little
Hi! I have a question on colored fondant, why do colors fade after a day or two especially the pink, is there an additive I can use to prevent this from happening..?
Kara
Hi Martha, yes I’ve noticed this too. I feel like pink and purple are the worst. It must be something those specific colors are made of. I don’t know if there are any additives to keep it from doing that though. What I’ve done in the past is just add a little extra color to the fondant and make sure to keep it out of the light or sun. I’ve found the biggest thing to make it fade is light, so I just try to keep it covered as much as I can.
Barbara
I am making a 2 tier chocolate cake,which I will fill with buttercream. I want to try and ganche before applying fondant.Only problem is so I use white/dark chocolate ganache,as its white fondant.
Kara
Hi Barbara, I saw your other comment first and then saw this one, so I’m answering here. You can use any type of ganache. You can still use chocolate ganache if you’re using white fondant – just make sure that the fondant isn’t rolled super thin and it should be okay.