
Here you’ll learn everything you need to make ganache for cakes. It’s super simple and it can be used as a firm shell on your cake, whipped like buttercream, or for a drip cake.
When I first started in cake decorating, I kept hearing all this talk about how great ganache was.
It looked complicated with all the ratios and everything, so I sort of procrastinated getting on the bandwagon. Oh, I was so wrong. It’s really not complicated.
In fact, it’s only two ingredients and once you know the ratios, it’s super simple. So, today I’m giving you my tips on how to make ganache.

Hey there! Before you scroll, there’s lot’s of important stuff in the post, which may answer any questions you might have about this recipe. Enjoy!
Jump to:
Ganache is so versatile. You can change up the ratios to it and use it for various applications. I love it whipped on cupcakes, firm under fondant and who doesn’t love a good drippy cake!
As an Amazon Associate, I earn from qualifying purchases.
What is ganache:
Ganache is really just a mixture of chocolate and cream. There’s not a set recipe for it, but rather ratios. By changing the ratios, you get different results.
(The exact ratios are below as well as a printable you can print out and reference later.)
Types of ganache:
Let’s go into the different types of ganache and what they’re used for, so you’ll get a better understanding of them to decide which you’ll want to make.
Firm ganache:
Firm ganache is just like it sounds…firm. When it sets up, it will form a nice shell on your cake. This is great for the final coating on your cake, or under fondant. In fact, I almost always use it if I’m decorating a cake with fondant.
Firm ganache is achieved by upping the ratio of chocolate to cream, so the ganache will set up nice and firm. Once it’s mixed, it will need to sit in a bowl to firm up to spreading consistency.
I like to make this type of ganache the night before I’ll actually be using it.
Whipped ganache:
After the ganache has partially set up (not super firm), you can whip it with an electric mixer. It fluffs right up and then you can ice a cake with it or just pipe onto cupcakes. It’ll still firm up a bit after it sits, but it makes for a sturdier icing.
I like to add about a cup of confectioner’s sugar when I’m whipping the ganache. It adds a little sweetness to it.
To achieve whipped ganache, you can use the same ratio as firm ganache or you can lower the chocolate just a tad and raise the cream a bit.
Pourable ganache:
This is the ganache that gives you that dripped effect on cakes. There are different ways you can achieve this, but what I like to do is lower the ratio of chocolate to cream.
I like to go with either equal amounts of chocolate and cream, or with a 2:1 ratio, depending on which chocolate I’m using and whether I want the drips to firm up or not.
For this one, you don’t have to wait as long for it to firm up because you still wanted it to be drip consistency. You’ll then pour it slightly warm over a chilled buttercream iced cake.

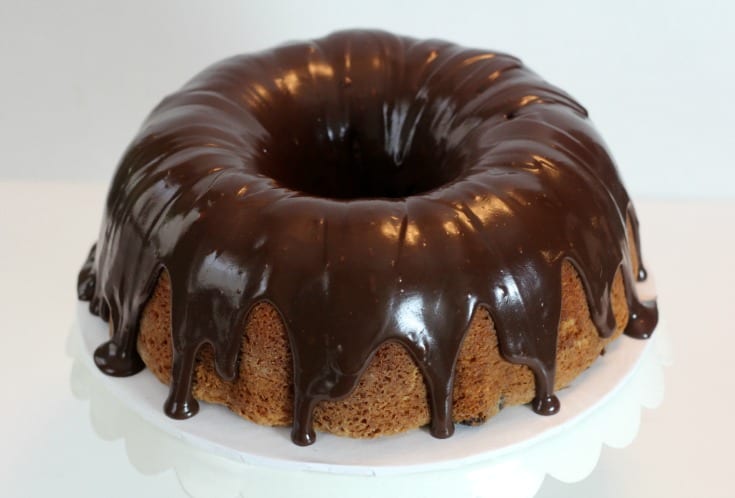
You can also pour it over un-iced pound cakes and it’s super delicious that way as well.
Types of chocolate for making ganache:
First, you want to make sure to get good chocolate. Do not use almond bark or candy melts for making ganache…those aren’t real chocolate.
Now, I will tell you I don’t really have access to a place that sells great chocolate in my area. When I was taking orders for clients, I would sometimes order my chocolate online…specifically white chocolate.
Here’s why: Most white chocolate you can buy at a grocery store doesn’t actually have cocoa butter in it, therefore it’s technically not chocolate. So, while I could make the milk or semi-sweet chocolate I had access to work okay for me, I sometimes needed to order the white chocolate online.
If you go this route, make sure the white chocolate that you order, actually has cocoa butter in it.
Now, this is controversial because most cake decorators will tell you not to use chocolate chips you can find at the store and that you MUST use expensive chocolate. Well, I have not found that to be ‘completely’ accurate…at least not for me.
Yes, if you want the highest quality product, you should make the expense for the good stuff. In some areas though, people are just not willing to pay that price and that’s totally okay.
I have been able to successfully make ganache with grocery store chocolate chips. I’ve had the best luck with Ghirardelli chips, but not as much luck with Nestle.
I’ve also successfully made white chocolate ganache using the Ghirardelli white chocolate bars and the chips. Here’s the caveat though…Sometimes it turns out and sometimes it doesn’t.
But here’s the next shoe drop…you can use quality chocolate and sometimes the ganache still splits. That can happen. Sometimes you can repair it by adding a bit more hot cream or a bit of Karo syrup. Sometimes you just have to try again. It happens to the best of us, so don’t feel like a failure. I promise you’re not.
Ganache ratios:
I said before, ganache isn’t really a set recipe. It’s basically just ratios of chocolate to cream. You NEED a scale. Don’t try to do this with volume measurements. You need the weight of each ingredient for this to work properly.
So the million-dollar question is…If I know the ratios, then how do I know how much ganache I’ll need and how much of each ingredient? Well, the long answer is, you’ll get a feel for it the more you do. The short answer is that there is a super helpful spreadsheet that I’ll link to.
I found this on a cake decorating forum and it is fantastic. It’s called the Ganacherator. Here is a link to her Facebook page where she publishes the Ganacherator. Click here for the Ganacherater. You just plug the dimensions of the cake you plan to make and it fills in the amounts for you. Super awesome right? It’s one of those things I wish I had invented.
Here’s my tip for using the Ganacherater: I usually need a tad more than the spreadsheet calls for, so I always round up a bit, just to be safe. Sometimes I also adjust it slightly depending on what type of chocolate I’m using. You’ll get a feel for it, the more you make it.
If that doesn’t work for you, you can visit this link and it will go through how much per cake size: Jessica Harris How Much Ganache Do I Need
So, onto the ratios: (There’s also a printable close to the end of this post for you to print…for free and use for reference.)
Ratio for Pourable (Drip) Ganache:
Semi-Sweet Chocolate or Dark Chocolate: 1:1 Ratio of chocolate to cream.
White Chocolate: 2:1 ratio of white chocolate to cream
Ratio for Firm Ganache:
(P.S. If I want whipped ganache, I just use the same ratios and whip it or you can up the cream a little.)
Semi-Sweet or Dark Chocolate: 2:1 ratio of chocolate to cream
White Chocolate: 3-4:1 ratio of white chocolate to cream (It depends on the white chocolate. I usually like to start off with a little over 3:1 ratio of white chocolate to cream. That ratio seems to work best for me.)
Read on for the tutorial on how to make it.
Process for making ganache:
First, you need to determine how much ganache you’ll need. If you’re new to making it, you’ll want some help on how much to make, so that’s where the Ganacherater comes in. Use that spreadsheet to help you determine how much you need to make.
If you’re not great with spreadsheets, then go to Jessica Harris’s site to help you estimate how much: How Much Ganache Do I Need Post
Here’s an example: Let’s say you’re going to cover a six-inch round cake that will be around 5 inches tall and fill it with buttercream, not ganache.
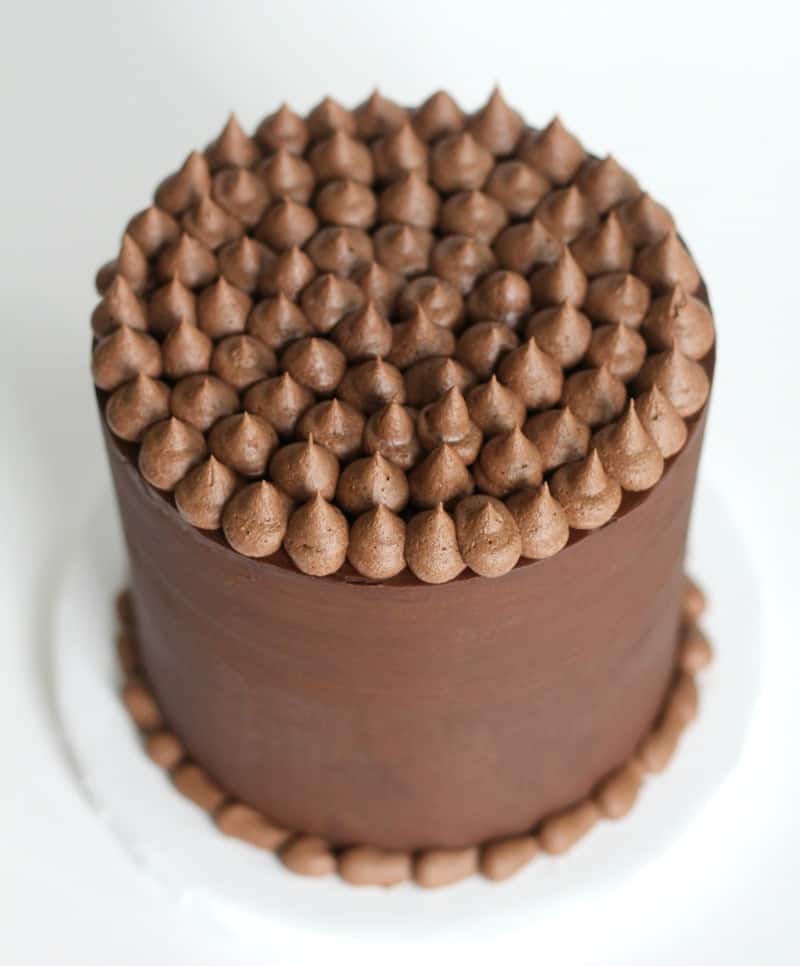
Let’s say you also want to add some whipped ganache piping on the top and bottom, so you’ll want to make a little extra ganache for that.
You’re using semi-sweet chocolate, so you’ll use the 2:1 ratio of chocolate to cream.
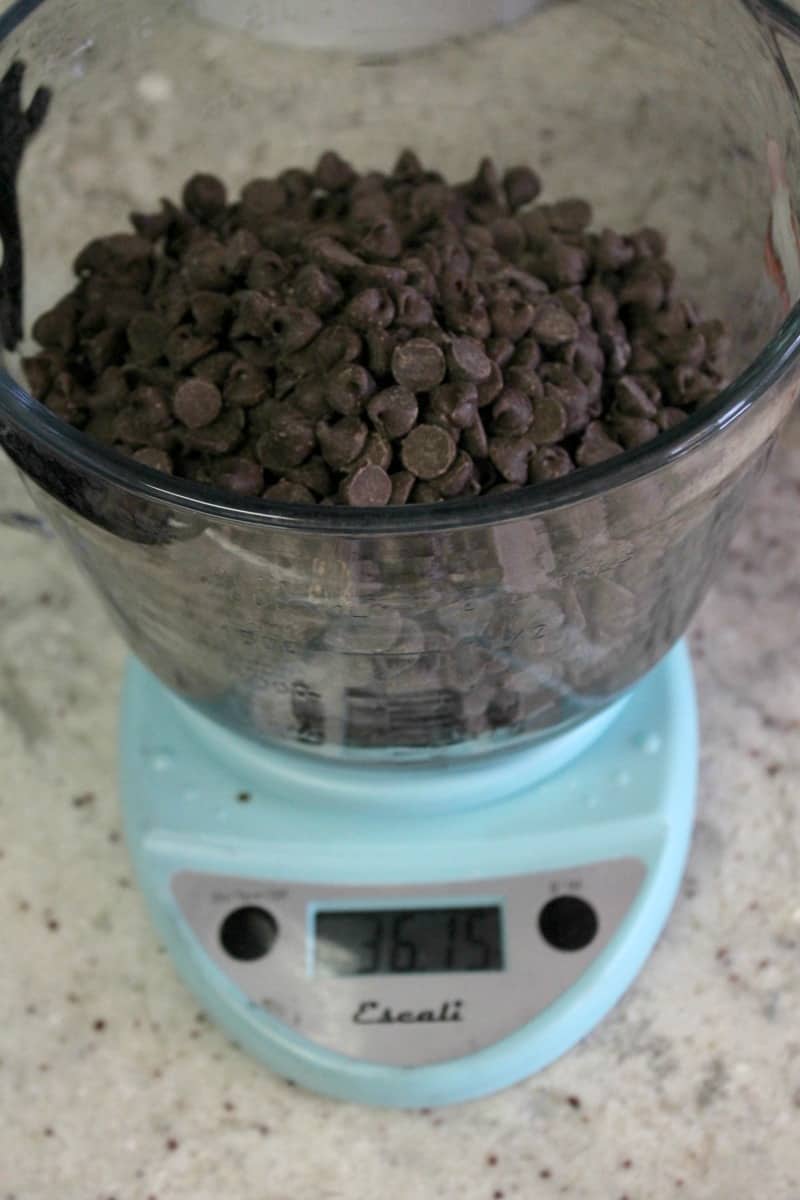
Once you determine the total amount of ounces you need (with help from the Ganacherater or Jessica Harris’s site) for your size cake, then weigh out the chocolate. For this cake, it would be about 36 ounces of chocolate.
To do this, put the empty bowl on a scale and zero it out (tare it). You don’t want the weight of your bowl to be on the scale, you need it to be zero. Now add the chocolate to get the number of ounces you need.
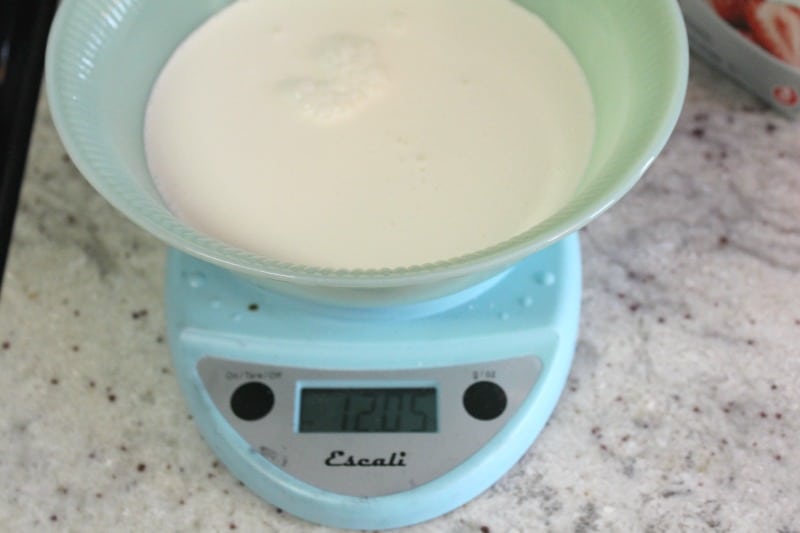
Now, take another bowl or a saucepan and set it on your scale. Zero out the scale and add the cream to the weight you need. For the example size cake and 2:1 ratio, that’s about 18 ounces. (Ignore the scale number below, it should say 18)
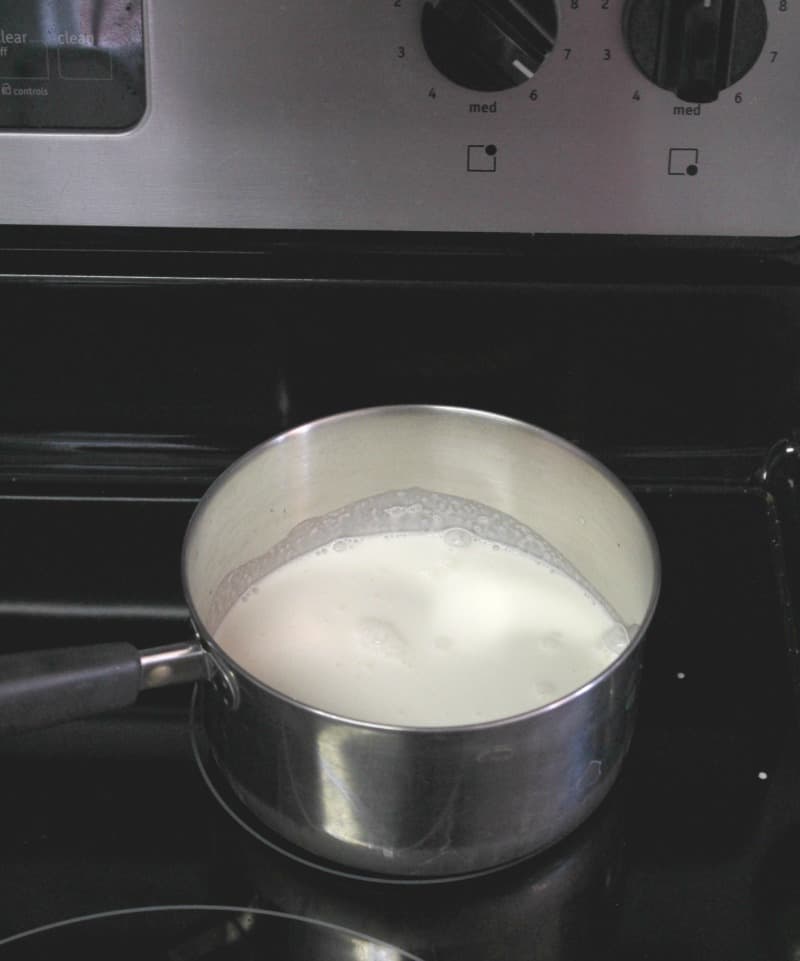
Heat the cream in a saucepan until it’s almost boiling, then remove from the burner. You could use a double boiler, but I don’t because I’m kind of lazy that way.
Plus this method has worked fine for me. As long as you don’t turn your burner on super high heat and scorch your milk, it’ll be fine.
Slowly pour the hot cream over the chocolate. Make sure the bowl you’re using is tempered glass or it could get too hot too fast and crack or shatter.
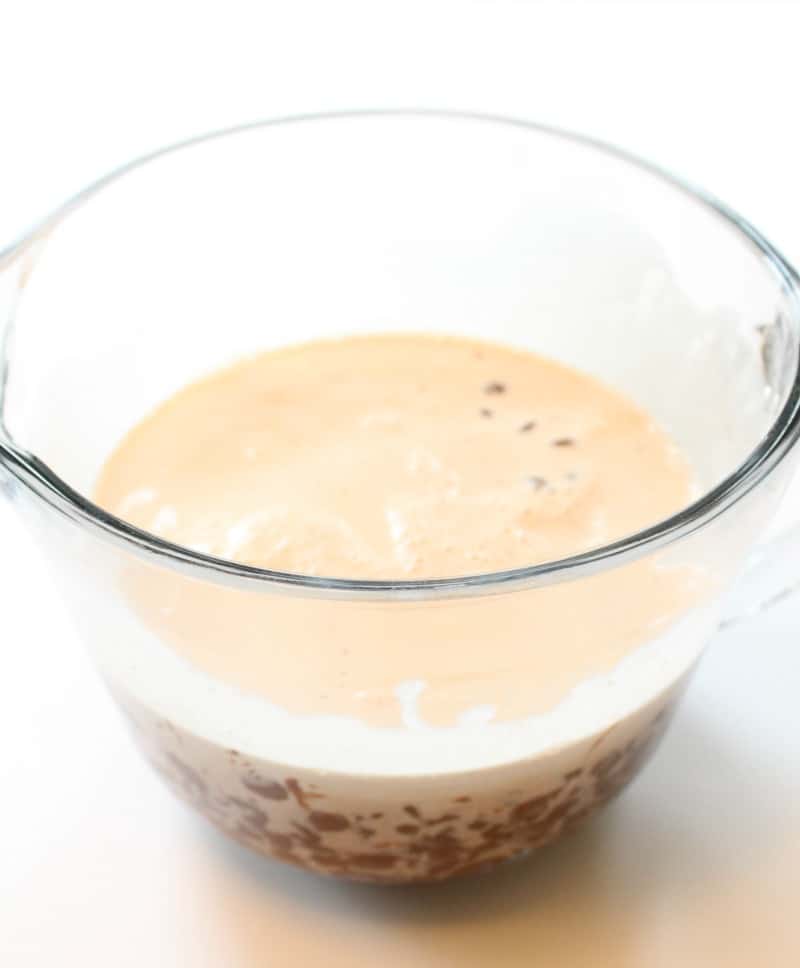
Let it sit there for about five minutes, then stir it. The chips will probably not be completely melted at this point. If they aren’t, just put your bowl into the microwave, and heat for only about 20-30 seconds.
Stir your ganache and let it sit for a couple of minutes to see if the chips have fully melted. You may need to do this step a couple of times. Don’t overheat your ganache though.
Let it sit for a few minutes between heatings. Sometimes it takes the chips a bit to melt fully. Be patient while mixing because sometimes it takes a while to get the chocolate and cream to mix together nicely.
Try to use a flat silicone spatula or spoon to mix instead of a whisk which could add air bubbles to it.
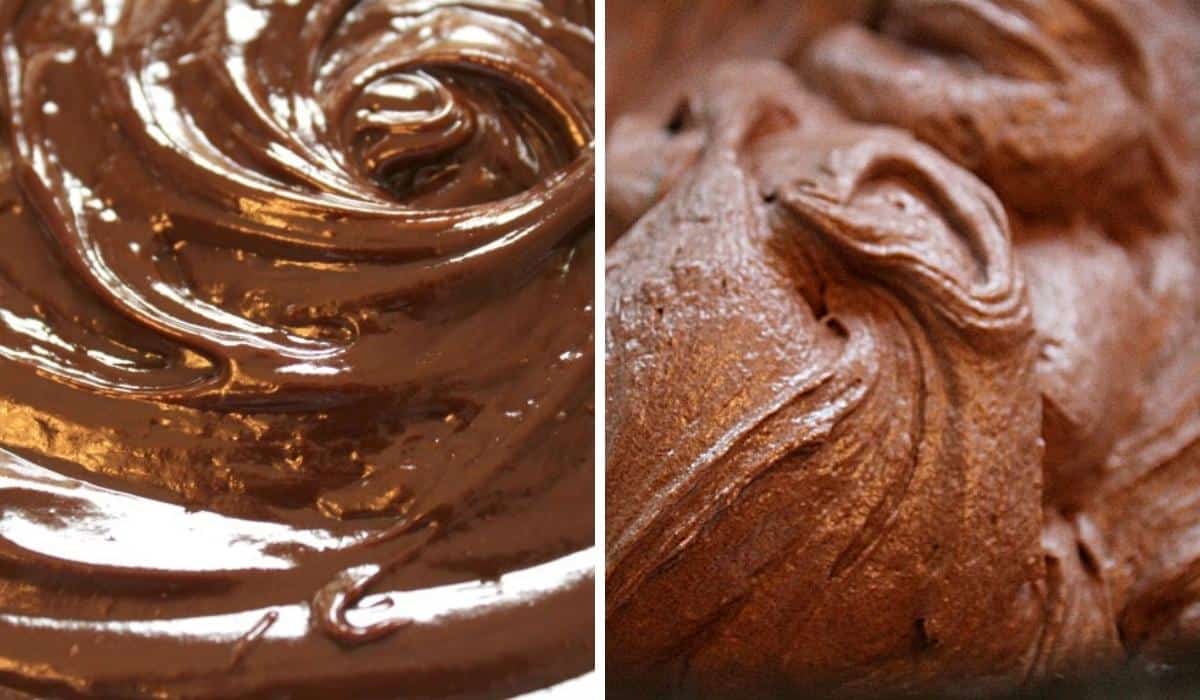
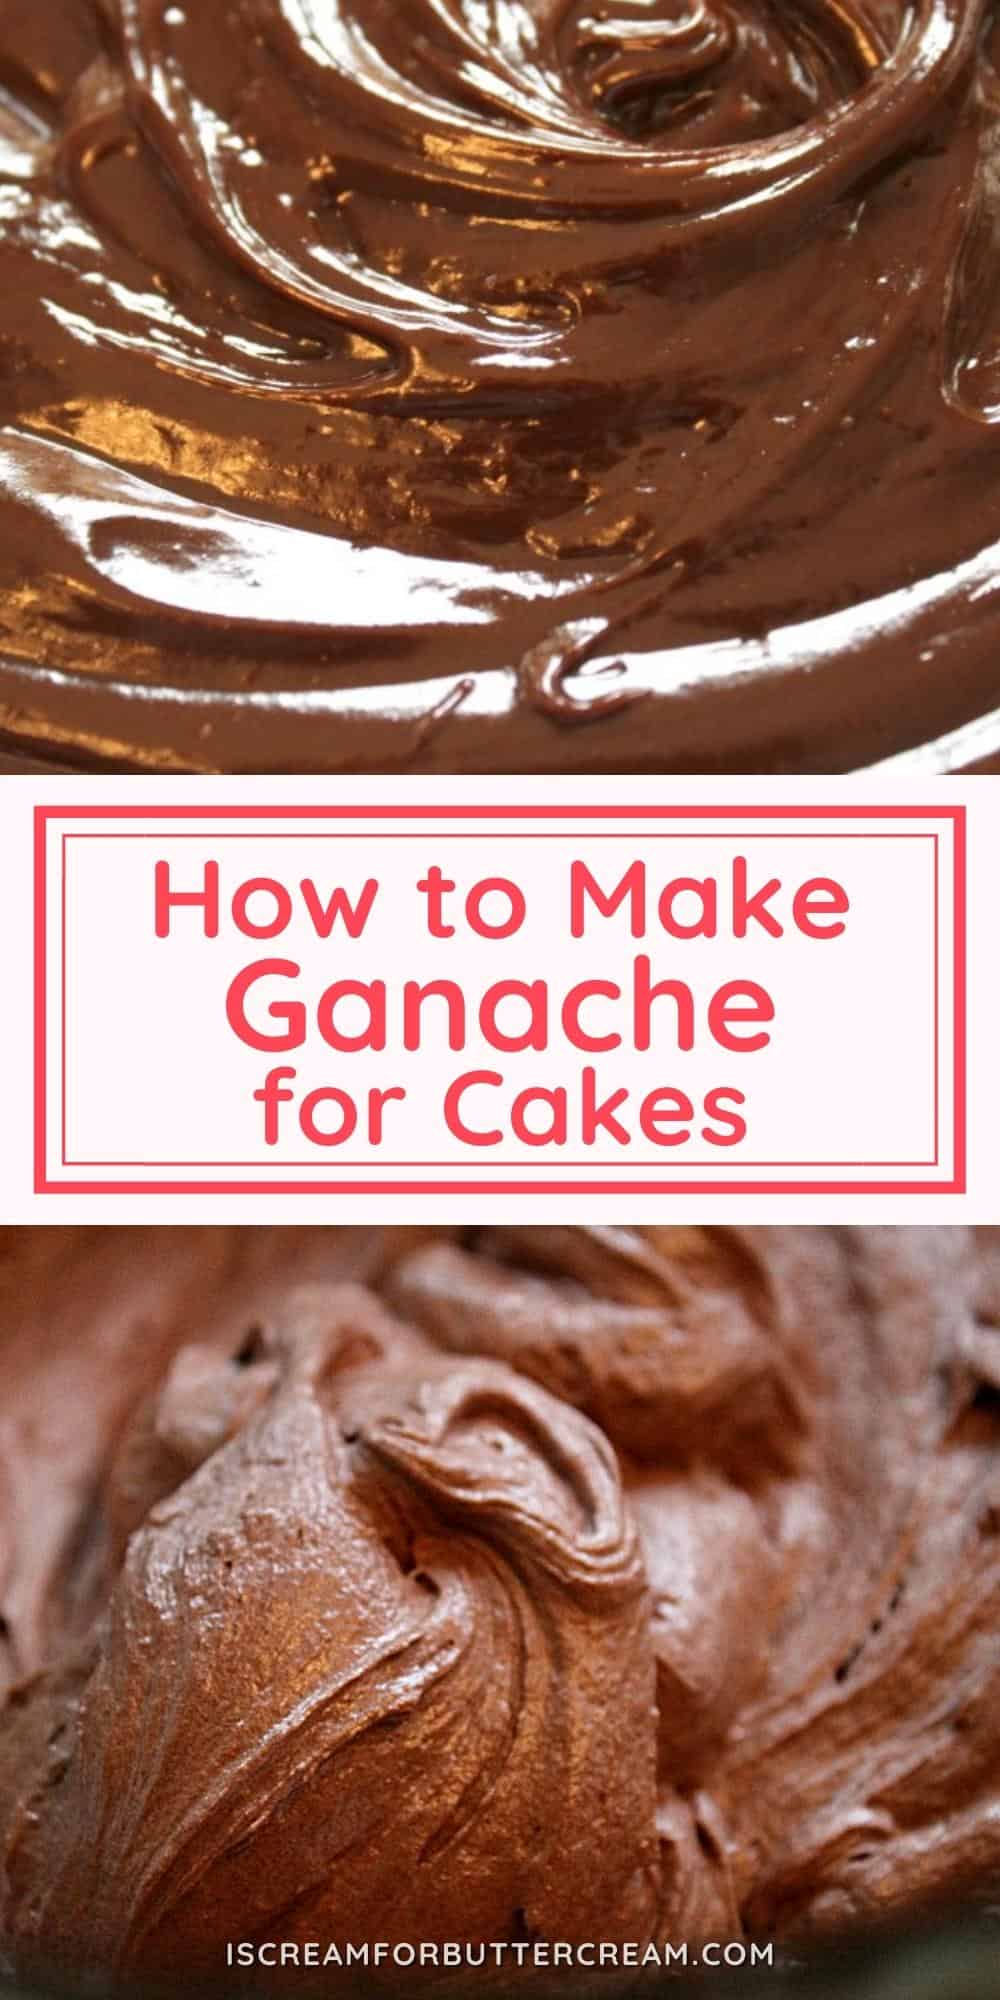
Once the ganache is mixed, it should be shiny and look a bit like this:
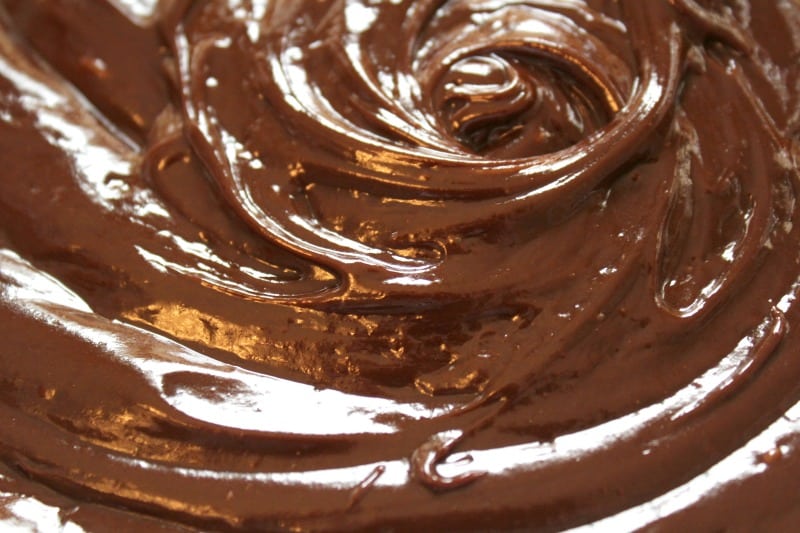
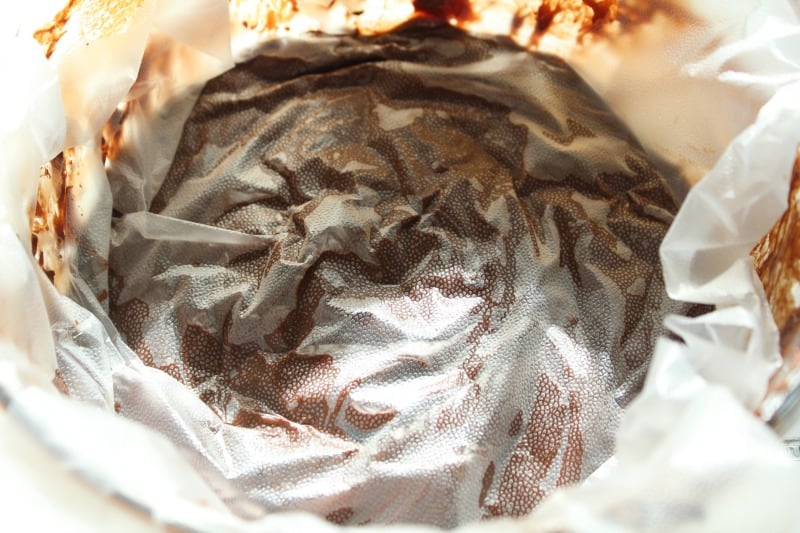
At this point, let it sit for about ten minutes and then cover it with plastic wrap.
First I tear off a piece of plastic wrap and push it down right on top, touching the ganache. I’m not sure, but it seems like it might form a skin (like pudding does) if I don’t do that. I haven’t really found any scientific research to back that up, but I like to be proactive 🙂
For the firm ganache (higher ratio of chocolate to cream): Cover the top of the bowl and let it sit out on the counter overnight to set up for firm ganache. (See notes below on my thoughts about letting ganache sit out.)
For drip ganache (lower ratio of chocolate to cream): You would use a different ratio of 1:1 and you wouldn’t need to let it sit out overnight, just maybe an hour or two, then you’ll just drip it onto a cold cake. (See notes below on my thoughts about letting ganache sit out.)

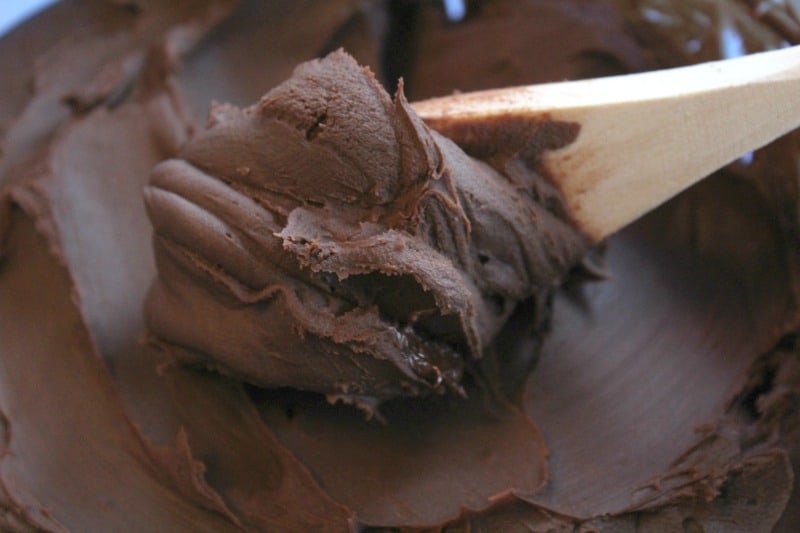
If making firm ganache, then the next day, the firm ganache will be quite thick and look a bit like the image below.
A note about letting ganache sit out:
Disclaimer: I am not a food scientist, so do your own research, but I’m going to lay out what I’ve always done and what I’ve read in cake communities etc.
I’ve always read that ganache is generally safe at room temperature for a couple of days as long as the ratio of chocolate is much higher than the cream. Like 2:1 or 3:1 ratio etc. If longer than a couple days, then it’s probably safer to keep it in the fridge.
If it’s a drip ganache, you might feel more comfortable just storing it in the fridge until you need to use it.
I usually don’t store my firm ganache in the fridge that first night, because it takes forever to come back to room temperature and spreading consistency.
I’m not a food scientist though, so you’ll have to determine what you feel comfortable doing.
Adding firm ganache to a cake:
At this point, it’s too thick to spread onto your cake. That’s good news because that means once you heat it a bit, spread it on the cake, then it will firm up the way you want it.
To spread it onto a cake, you’ll want to heat the ganache up a bit. You don’t want it like it was before it was set up, but you want it more of a peanut butter consistency.
To heat up the ganache, you have to be super careful. If you over-heat it, the ganache will break (separate). Here is what you can do:
Put the bowl of ganache into the microwave and heat it for only about 30 seconds at a time ONLY ON MEDIUM (50%) power. Mix after each heating. You’ll have to do this several times.
The bottom of the bowl is going to heat up faster than the rest, so you’ll need to make sure you mix it fully between heatings.
Once it’s about peanut butter consistency, it’s ready to add to the cake.
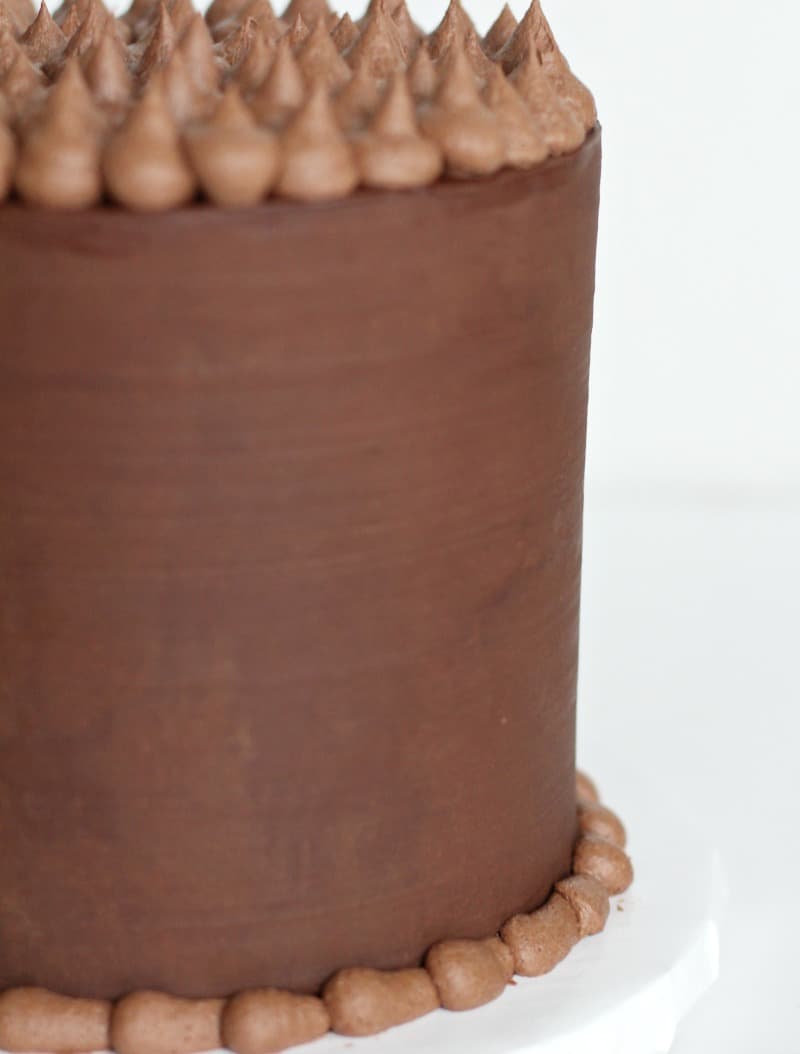
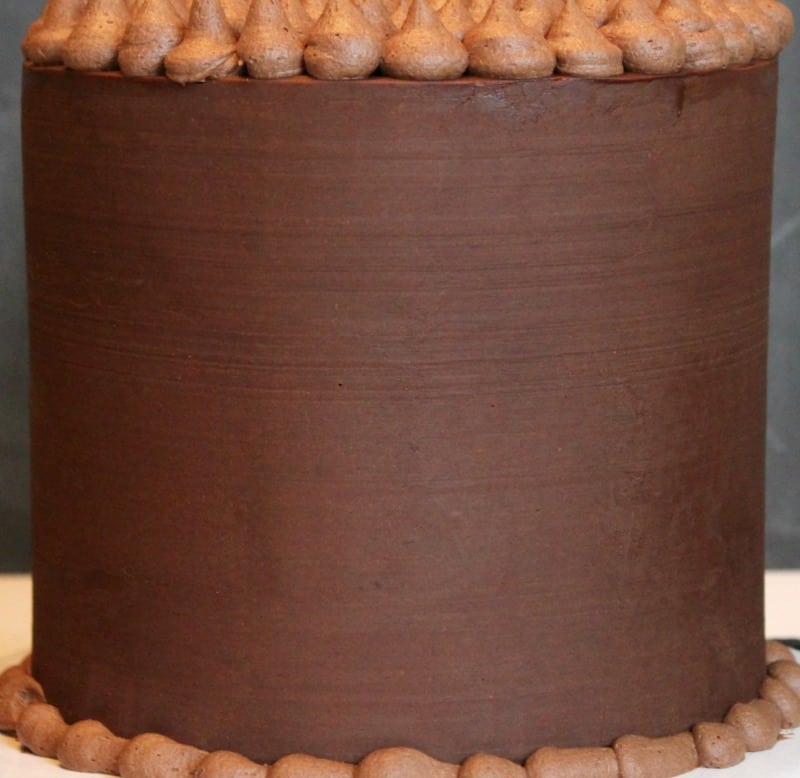
Now, I go into ALL the details on how to add it to a cake with straight sides and sharp edges in this post here: How to Cover a Cake in Ganache for Decorating
That’s it! Seems complicated, but it’s really not and it’s actually quite simple to put together. It actually takes me less time to make ganache than it does buttercream. I think if you try it once, you’ll love it.
Troubleshooting ganache:
Remember, ganache can be a little finicky, so leave yourself some time for error, or in case you need to remake it.
No, that doesn’t happen every time, but occasionally the ganache universe says your time is up and you get a split ganache. If it happens, you can try adding a tablespoon of corn syrup (Karo syrup), or adding a bit more warm cream and then let it set up again. Sometimes that will fix a broken ganache.
Printable Instructions:
If you’d like to print out instructions on how to make ganache, then just click on the graphic or button below and printable instructions will download automatically.

Now, head on over to the post on How to Ganache a Cake. It’ll show you the easy way to get perfectly straight smooth sides on your cakes. Plus there’s an actual video there to show you the process.
Don’t Forget to Pin it for Later!
Jenny
Thank you for this information I too am scared to something different can you show how to decorate using this or is that not possible
Kara Jane
Hi Jenny, I have another post to show how to ice your cakes in ganache and how to whip the ganache and pipe it. The post gives instructions and there’s a video as well. You can find it here: https://iscreamforbuttercream.com/how-to-ganache-a-cake/ Don’t be scared to try something new. In the end, it really is just cake and even if it doesn’t come out as expected the first time, you still get to eat it 😉
Gilli Bruce
Hello from country Victoria, Australia. I don’t really need/ want to receive more info or recipes: I just wanted to say ‘thank you’ for sharing your knowledge and experience. I understand that it is hard to make a living as a blogger so sharing what you know for free to me was great. Thank you. It was so good being able to jump onto google and quickly learn what I needed to know. Best wishes and thank you again. Gilli B
Kara Jane
Hi Gilli, Thank you for your lovely comment! I’m glad you found the information helpful. Thank you for taking the time to write! 🙂
Dylan
hi, you said to leave the ganache out on the counter overnight for firm but if you use heavy cream, which is dairy, wouldn’t it need to be refrigerated instead of left out due to food safety? I’m probably overthinking it. thanks for advice!
Kara
Hi Dylan, that is a great question. I’ve always read that ganache is generally safe at room temp for a couple of days as long as the ratio of chocolate is much higher than the cream. Like 2:1 ratio etc. If longer than a couple days, then it’s probably safer to keep it in the fridge. I don’t think you can ever really over-think food safety though and if you feel more comfortable storing it in the fridge, you can certainly do that. I usually don’t that first night because it takes forever to come back to room temperature and spreading consistency. I’m not a food scientist though, so you’ll have to determine what you feel comfortable doing. Your question is a very good one and I think I’m also going to add this verbiage to the post because it might be a question a lot of others have as well. Thanks!