
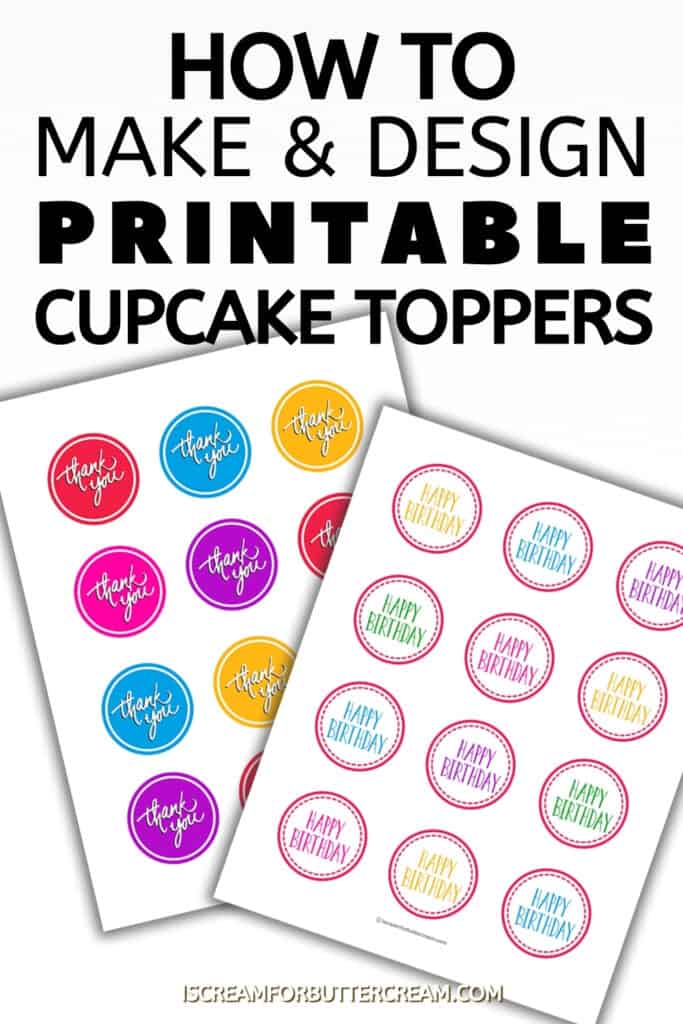
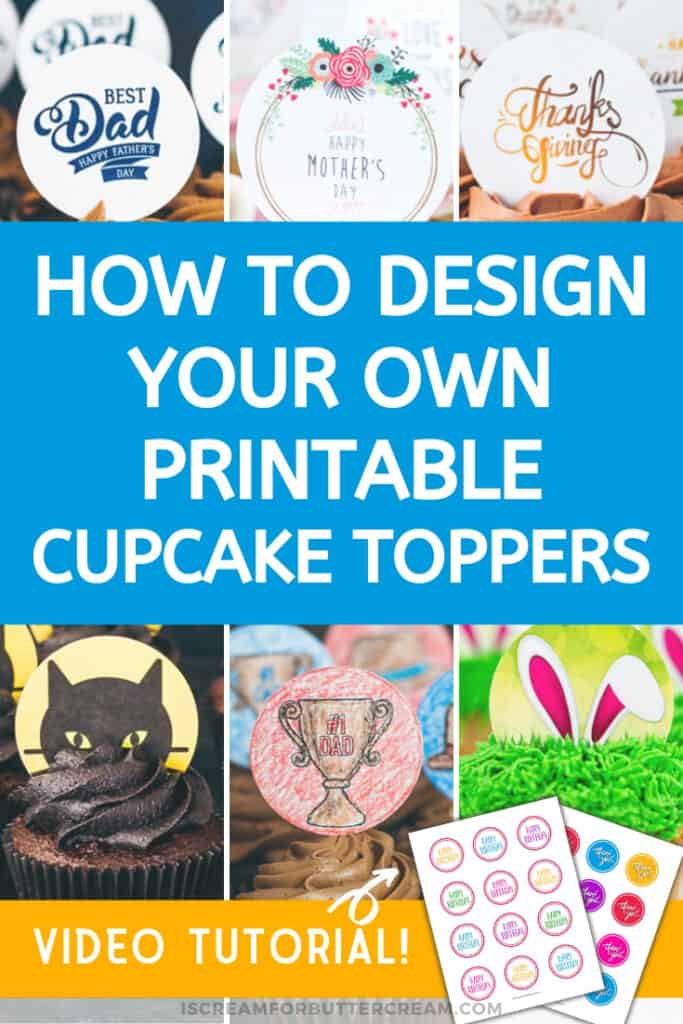
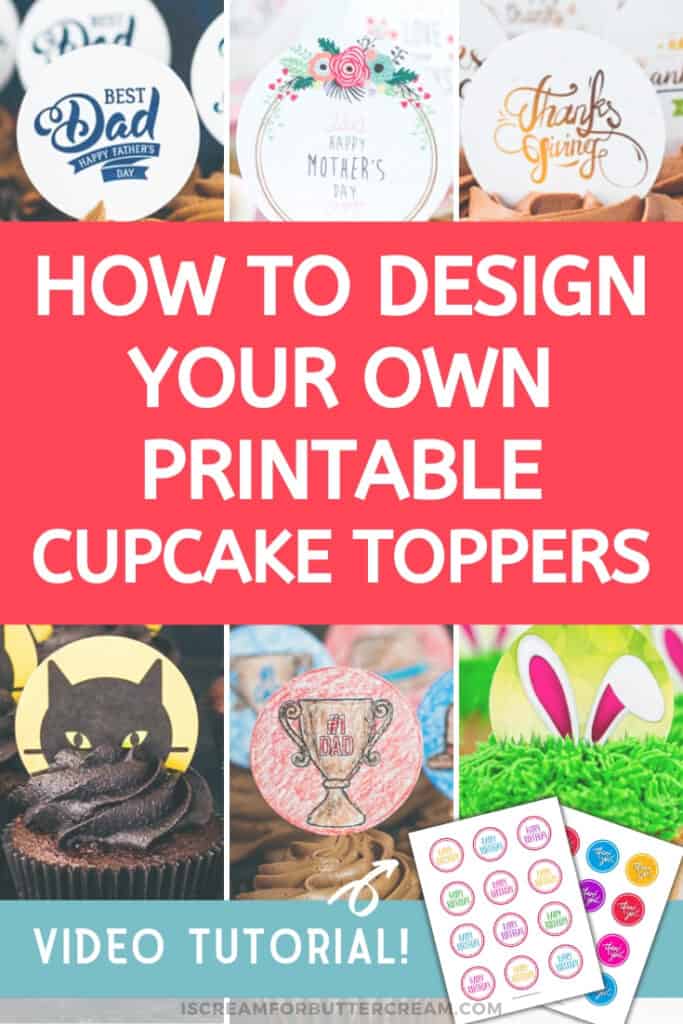
You can make and design cupcake toppers even if you have no graphic design experience. This tutorial will show you step-by-step how to design printable cupcake toppers and cake toppers. There are even free programs that can help you do it!
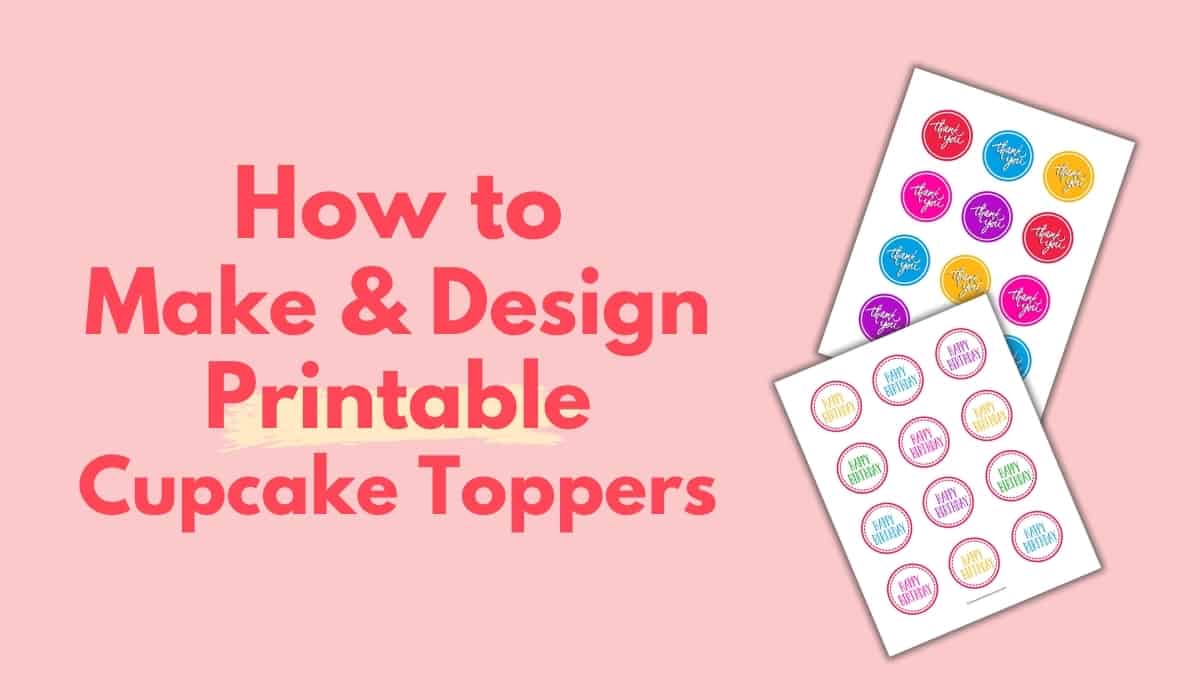
I’ve been asked by several people to do a tutorial on how to design the printable toppers I have on the website. It’s really easier than you might think and you don’t have to be a graphic artist to do it.
These are an easy way to personalize cupcakes for birthdays, baby showers, bridal showers, holidays etc.
(This post was updated 10/9/21)
The easiest way to show you how to do this is through video, which I’ve included in this post.
Make sure to watch the entire video as it will go through all of the steps in detail for you.
As an Amazon Associate, I earn from qualifying purchases.
Supplies needed:
- Computer or laptop
- Printer
- Cardstock paper (thicker paper)
- Toothpicks
- Scissors or Circle Punch
- Canva (design software-free)
FAQ’s and Tips:
What programs can I use?
Canva:
For this tutorial, I’m using Canva because it’s easy to use and it’s free for the basics. Depending on some of the graphics you might want to add to your design, it might cost you a couple of dollars, but there are many graphics that are free and you can upload your own.
PicMonkey:
PicMonkey is another graphic design platform and it’s very similar to Canva. It is easy to use and figure out and it does offer some things that Canva doesn’t. The only downside is that it isn’t free.
Photoshop:
Photoshop is also a design software, but it is a rather large learning curve if you don’t have prior experience. It also costs a monthly fee to use the cloud version.
Other options:
You could always Adobe InDesign, Microsoft Word, PowerPoint or other design programs. Those programs cost though and some have a larger learning curve.
For the most part, I use Canva or Photoshop, because that’s what I’m used to and am comfortable with.
This tutorial will use Canva because it’s easier to figure out than Photoshop and it’s free to use at the time of this post.
Where can I find graphics?
An important note about graphics. If you just copy any ol’ graphic from a google search, you’re probably infringing on someone’s copyright.
While that might not seem like a big deal, take it from me (someone who’s had their photographs stolen and used without permission) it’s really not a good thing to do.
You want to make sure that the photos or graphics you use are royalty-free or that you’re not infringing on someone’s copyright.
You can do that by doing a search for ‘royalty-free’ graphics or using something from the options below.
Note that some of Canva’s graphics are free to use and some you might have to pay a dollar or two. The other links you can find amazing graphics on, but you’ll have to pay to download them.
What kind of paper should I print these on?
You’ll want to use cardstock paper which is just a heavier paper than your average printer paper.
Do I have to use a hole punch to cut these out?
A hole punch makes it much easier and quicker to punch out the cupcake toppers. If you don’t have one and can’t get one, you can always just use scissors…it’ll just take more time.
Ok, let’s get to the video tutorial. If you have any questions, just let me know in a comment and I’ll be happy to help.
What sticks do I use to attach to the toppers?
You can just use toothpicks and tape them onto the back of the cupcake toppers.
Video:
Don’t Forget to Pin it Below!
Pauline
Hi, can these designs be printed using an edible ink printer and printed on icing sheets?
Kara Jane
Sure! If you’ve got an edible printer with ink, I don’t know any reason why it wouldn’t work. For cupcakes, you could print them out, cut them out and then add to round fondant discs if you wanted and pop those on top of iced cupcakes.
Sharon
Thank You!! I spend more time than I care to admit on toppers (finding what I’m looking for, trying to fit it into a circle, etc.), I’m hoping this will make it a little easier. I will be doing edibles so I’m wondering would I still select pdf before printing? I usually print everything from Word. Thanks again for the great tutorial!!
Kara Jane
Yes, still select pdf printable because that gives you the best quality for printing and it will then print out in the proper format (8 1/2 by 11 or whatever size paper you choose).
sharon
I’ve been playing around on Canva, finally got a design I wanted to print to check the size, will I have to pay $1 every time I print something? Also, I can’t find “group” anywhere and control g doesn’t work ? I’m going to watch your video again to see what I missed.
Kara Jane
Hey Sharon, not sure why the group choice wasn’t coming up. Maybe that’s only for the subscription, but I think it’s available on the free version as well. Also the only reason you’d need to pay a $1 is if you choose a graphic that costs a dollar. There are some that are free. If you do choose one that costs, it will tell you how much it costs when you go to download it. Usually you can purchase once and then download it multiple times in the next 24 hours, but after that you’ll have to pay again. There are free graphics though that you don’t have to pay for.
Sharon
It was me 🙂 on both counts! I watched the tutorial again and I’m set now. I’m working on toppers for a League of Women Voters 100th birthday/anniversary event and did grab a paid image. Again, thanks for sharing your skills and knowledge with us!! I think Canva a is a keeper ?
Kara Jane
Yay! I’m so glad it worked out…and what a worthy cause!
Esty
Thanks for the tutorial, I found it quite detailed. I have had canva for a little while now, but I learnt a number of new tips and tricks on its usage.
I think I’d be a much better designer now that I’ve learnt from you. I really appreciate you. Thanks a lot once more.
Kara Jane
Oh yay! So glad it was helpful!