
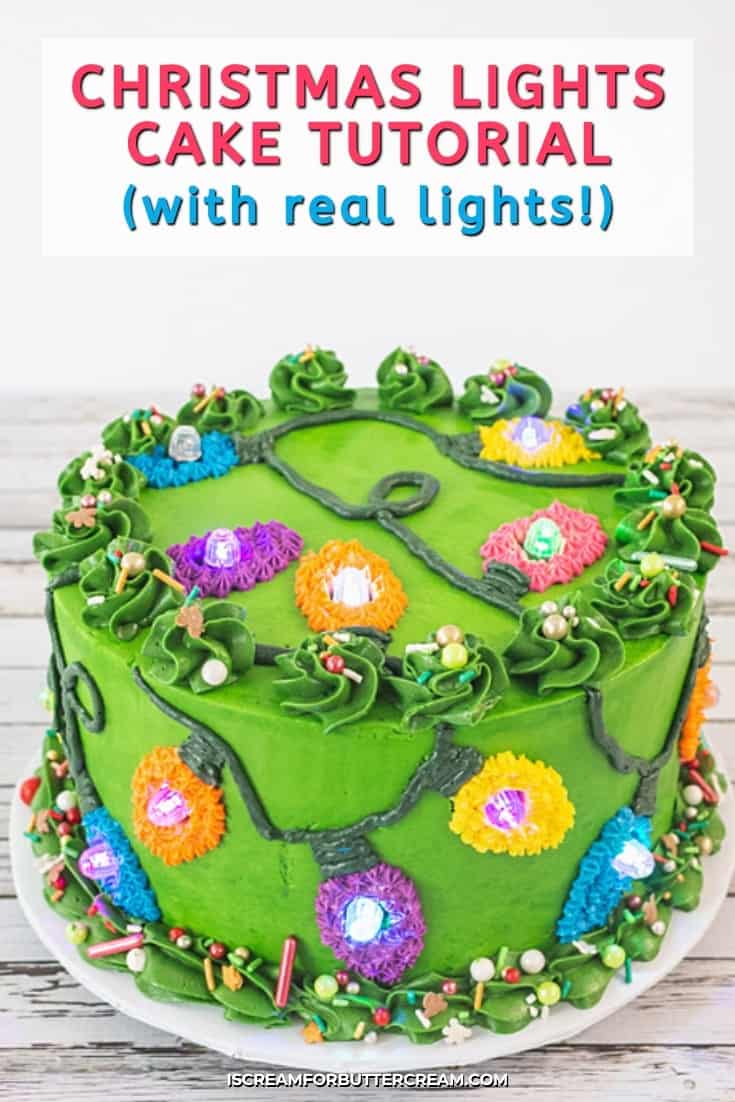
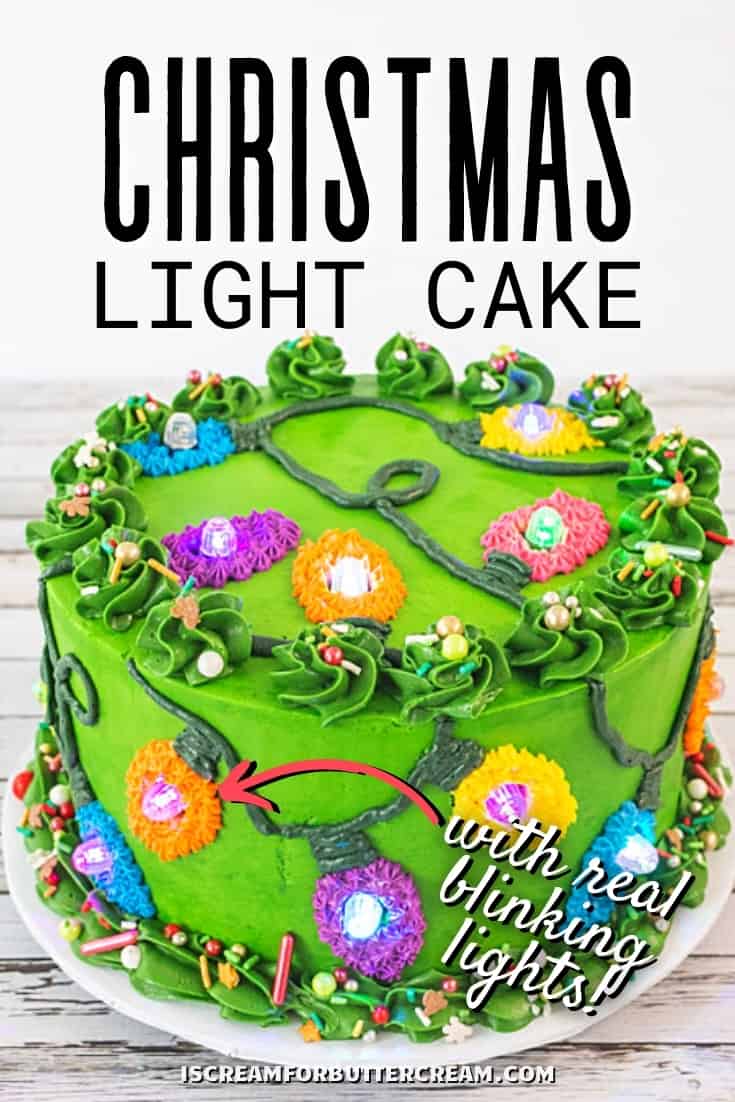
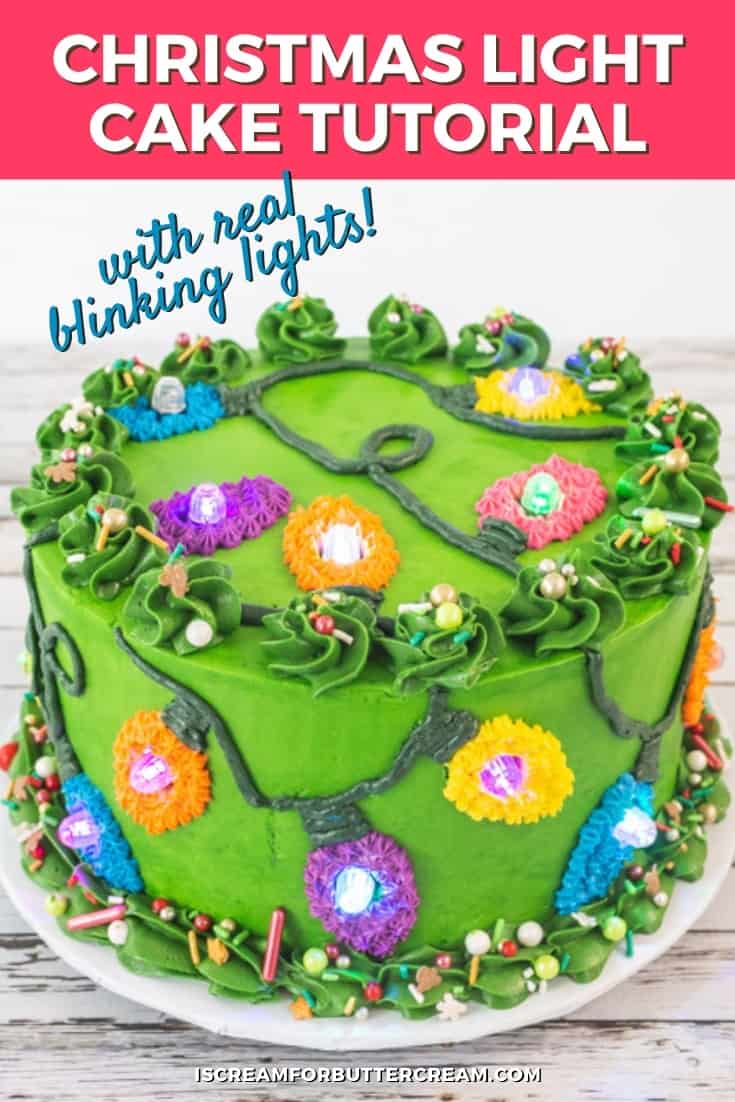
A fun Christmas cake that lights up!
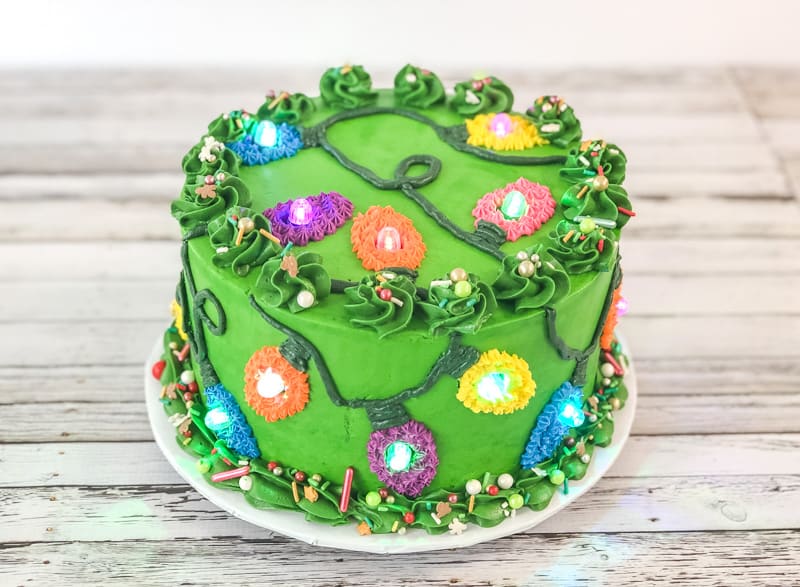
This fun Christmas light cake actually lights up! It’s a great way to add a little fun to your holiday party. This Christmas cake step-by-step cake decorating tutorial will make it easy to do.
I had so much fun making this one. The great thing about this cake is that it’s all buttercream (no fondant) and you can make it in any colors you like.
By the way, there is a video close to the bottom of this post that shows all the details.
You don’t really need any major piping skills with this one either. The piping tips do all the work for you.
You’ll essentially just be piping tiny stars for the lights and a shell border around the cake.
I’ve even provided a template you can use to pipe the lights. I AM NOT good at free-handing anything, so if that’s you too, then I’ve got ya covered.
I’ll have a link to that download in the list of supplies.
Ok, let’s get straight to the tutorial and remember there’s a video close to the bottom of this page that will show everything as well.
As an Amazon Associate, I earn from qualifying purchases.
Supplies Needed to Make this Christmas Lights Cake:
- A baked cake (I used a three layer, 8 inch round cake) You can grab my recipe for vanilla cake here and chocolate cake here
- Buttercream
- Gel food coloring (I used the neon colors)
- Template for the Christmas lights (click here to download it)
- Icing spatula
- Icing smoother
- Toothpicks
- Icing tips 1M (for the top and bottom borders), #5 round tip for light cord and tops of lights and #18 star tip for Christmas lights
- Piping bags
- Icing couplers (optional, but makes things SO much easier)
- Christmas sprinkles (optional)
- Multicolored LED balloon lights
- Press-n-seal plastic food wrap
Steps to Make this Christmas Cake:
Prepare your cake:
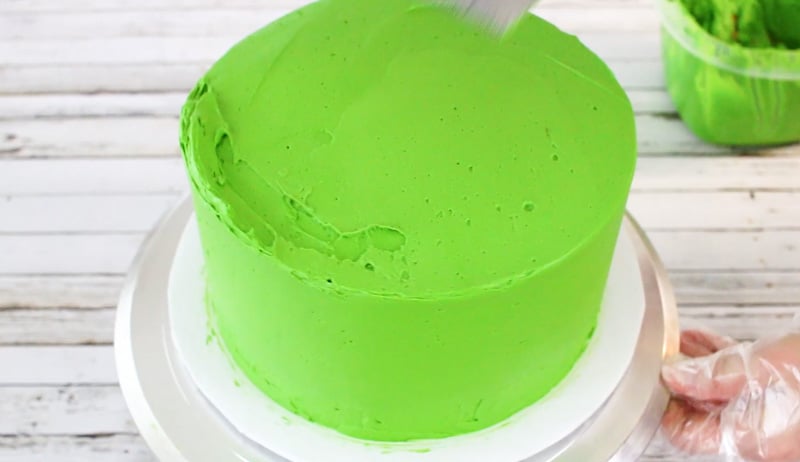
First you want to bake your cake, fill it and coat it twice in green buttercream, then you’ll want to chill the cake before you move to the next step.
Making the outlines and using the template on the cake:
Next you’ll want to print out the template in the supply list (at the start of this tutorial).
If you feel like you can free-hand it, then go you! I can’t do that though and used the template.
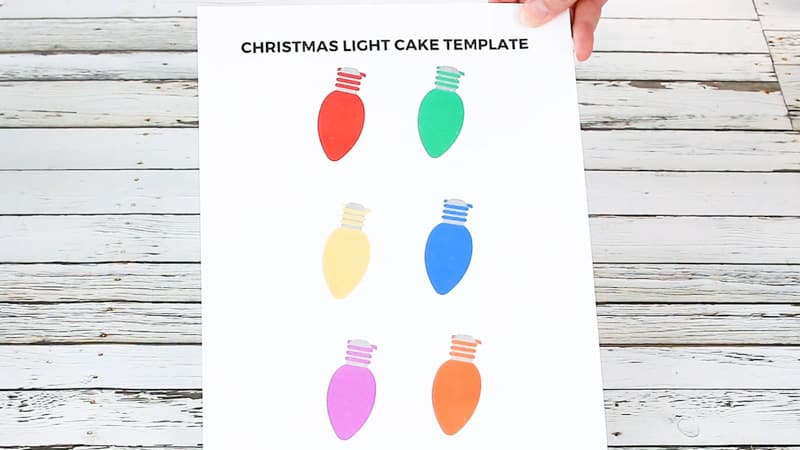
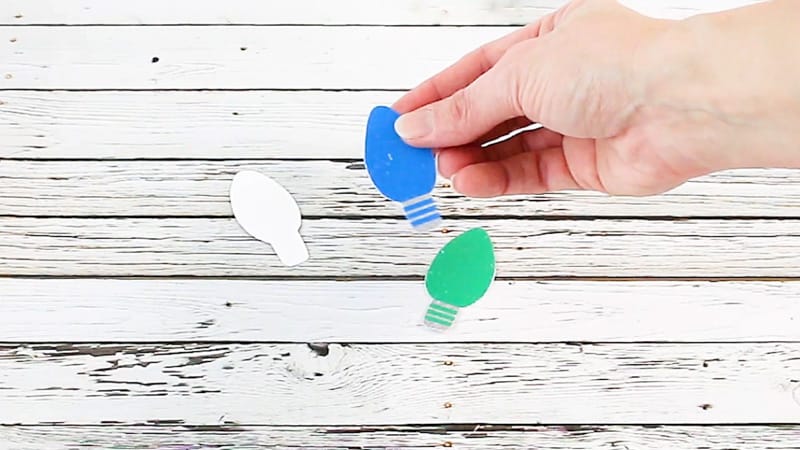
Cut out several of the lights. You can cut them all out if you want to. You’ll definitely need to cut out more than one, because they will get messy as you use them.
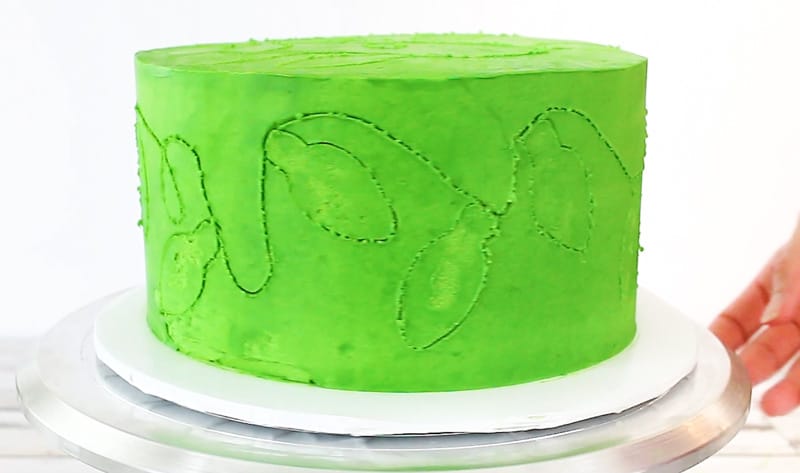
Take a Christmas light and lightly press it onto the cake, then trace around it with a toothpick and pull off the light template.
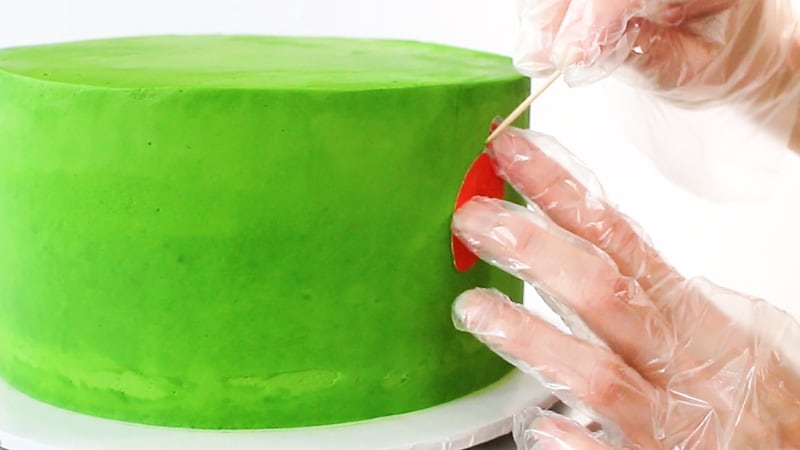
Keep tracing around the lights all around your cake and make sure to draw lines for the wire that connects each light as you go.
Just do a nice sort of random pattern of lights.
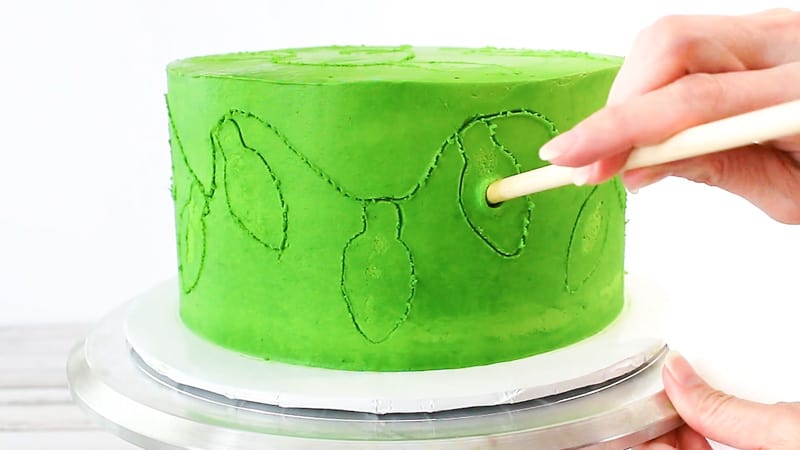
Once you have everything drawn and traced out around your cake, take a wooden dowel and poke a hole into the middle of each light that you traced out.
Piping onto the Christmas Cake:
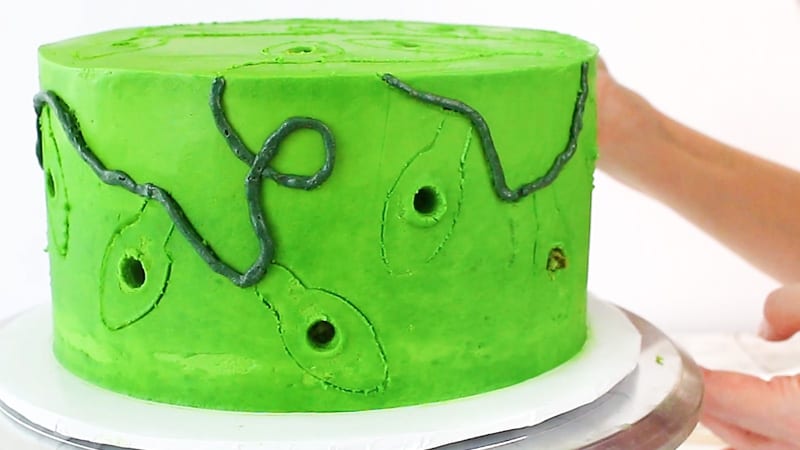
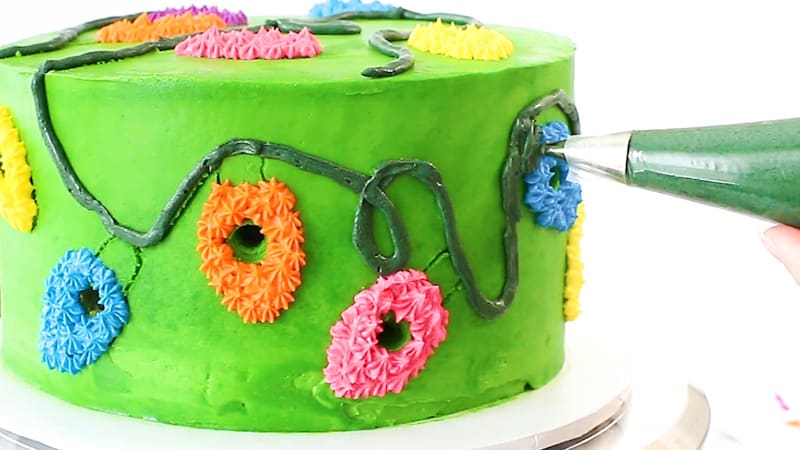
Now you’ll take your round tip and pipe dark green over the lines you drew for the wire that connects the lights.
My hands are super shaky, so hopefully you’ll do a better job at that than I did.
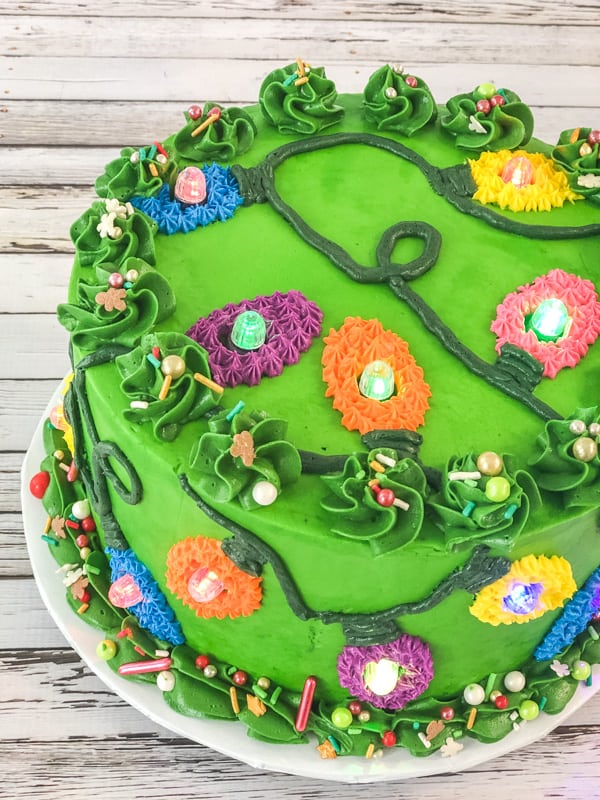
Now take your star tip and pipe stars over each light you outlined.
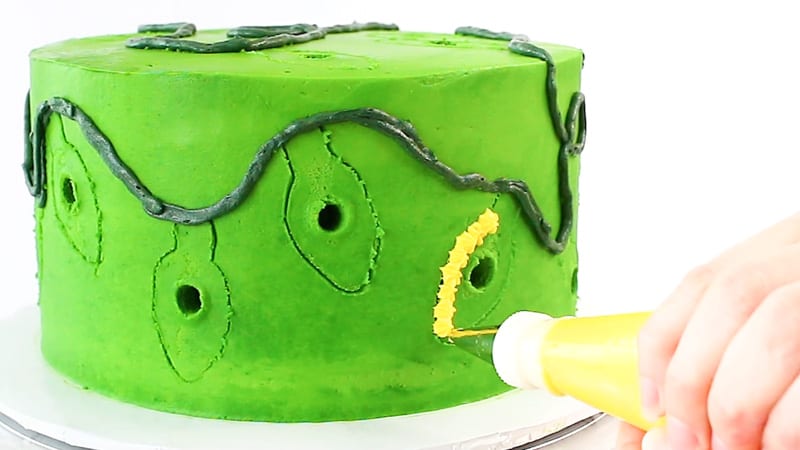
Do this for several different colors.
Next, take the round tip and use the same color you used for the wires and pipe straight lines for the light connectors.
Finishing up the cake:
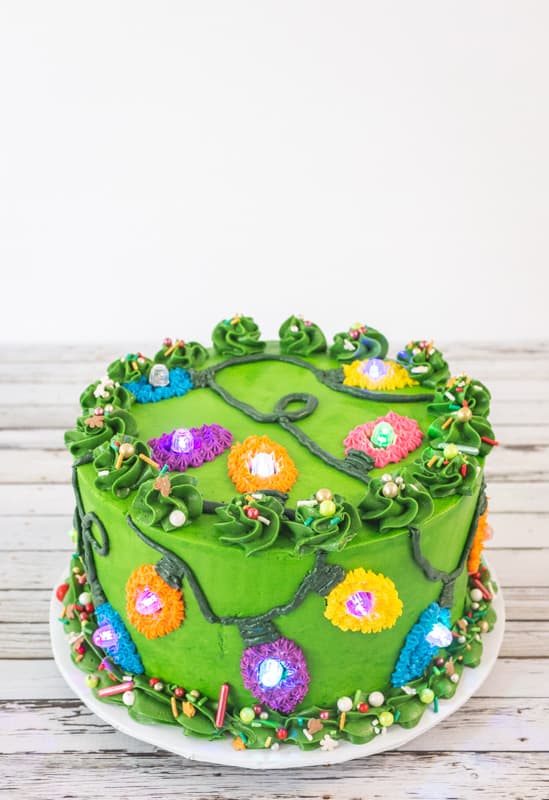
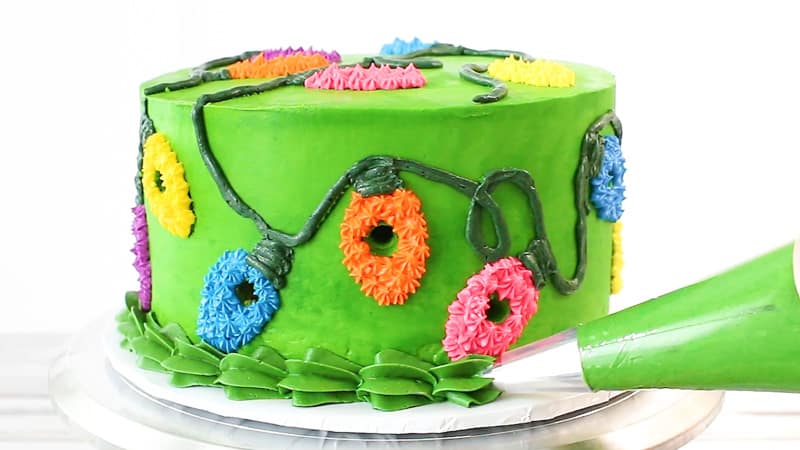
Take the 1M piping tip and pipe a large shell border around the bottom of the cake.
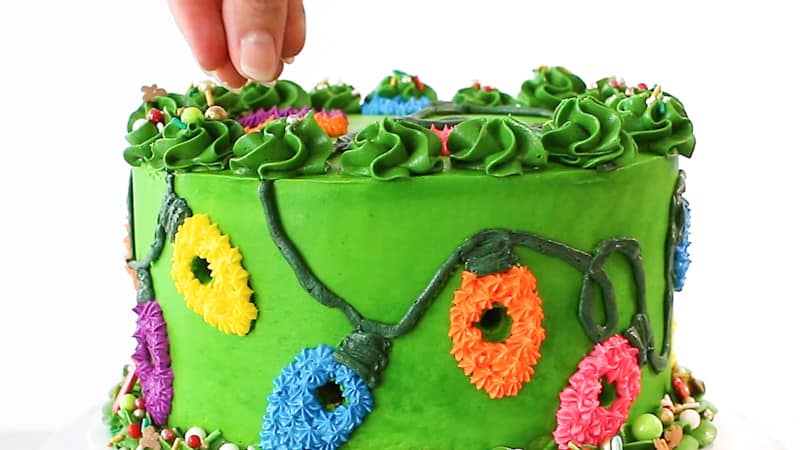
Add some piped dollops onto the top and add some Christmas sprinkles if you’d like.
Take the small LED balloon lights and remove the plastic ring.
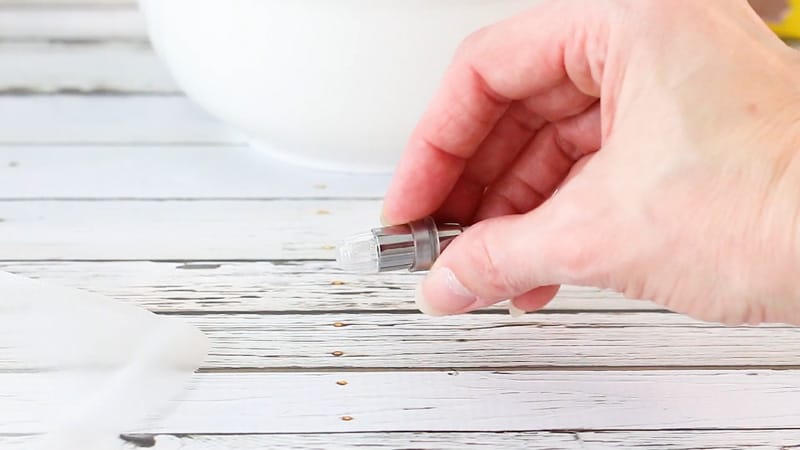
Twist them to turn them on. (Don’t worry, they will stay lit for a LONG time…mine did for over ten hours.)
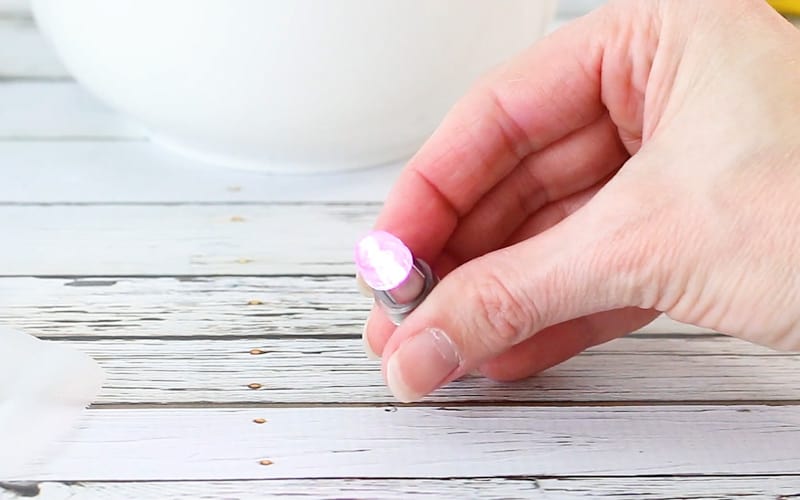
Make sure the lights are on and then cover the metal part with press-n-seal plastic wrap.
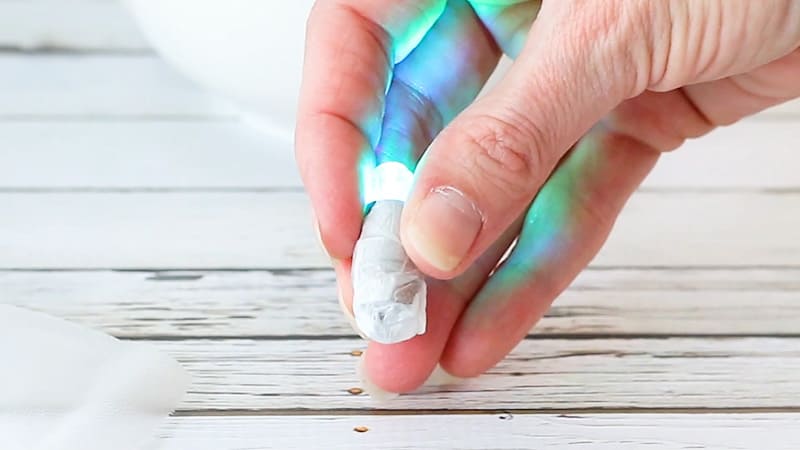
You don’t want to skip this step because you want the metal part covered in plastic wrap, so it doesn’t touch the cake.
Now, I don’t know what the equivalent of press-n-seal wrap is if you’re in another country. You might try regular plastic wrap, but it just won’t stick to itself well. (I’ve put a link in the supply list to the press-n-seal wrap.)
Once you get all your lights turned on and wrapped, then just push them into the holes you created in your cake.
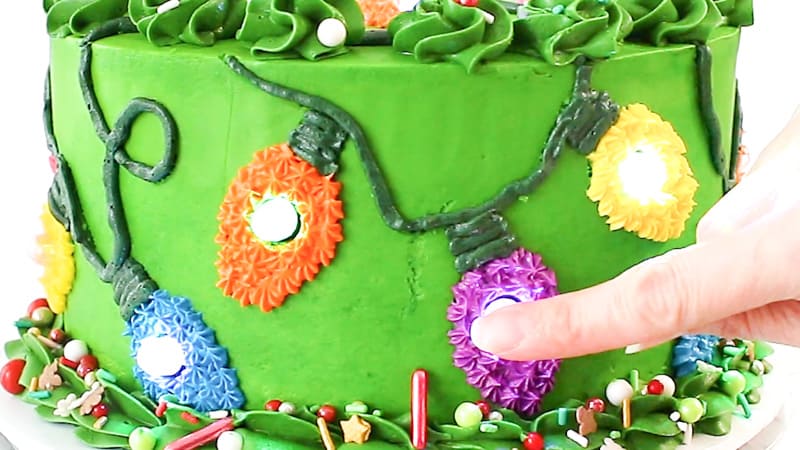
That’s it! I really hope you have a lot of fun with this one! Just remember the lights will stay lit for hours and hours, but you do want to add them last.
Video for Making This Cake:
Other Posts You Might Like:
- Ugly Sweater Cake with Lights
- Christmas Light Peanut Butter Balls
- Cake Pop Christmas Tree
- Giant Peppermint Candy Cake
E
hey, thanks for this! I was looking for ideas on how to make a light up fire truck cake and found it. Your Amazon linked item is now unavailable 🙁 But there are other similar if slightly bigger waterproof LEDs available. Just wanted you to know so you can get your affiliate $$.
Kara
Oh thanks so much! Glad you found some ideas to use for your truck cake. That sounds fun!