
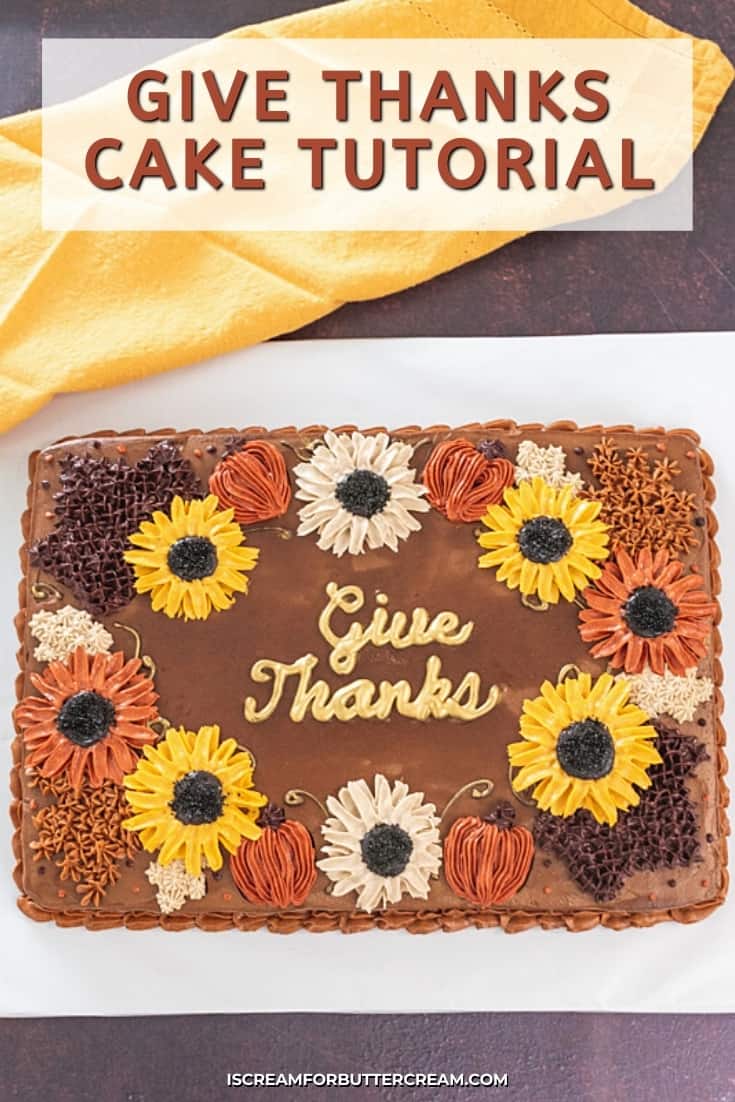
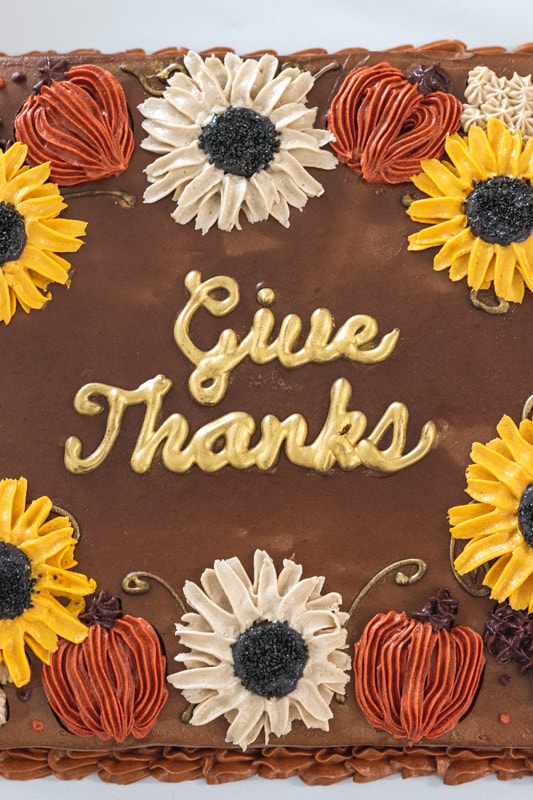
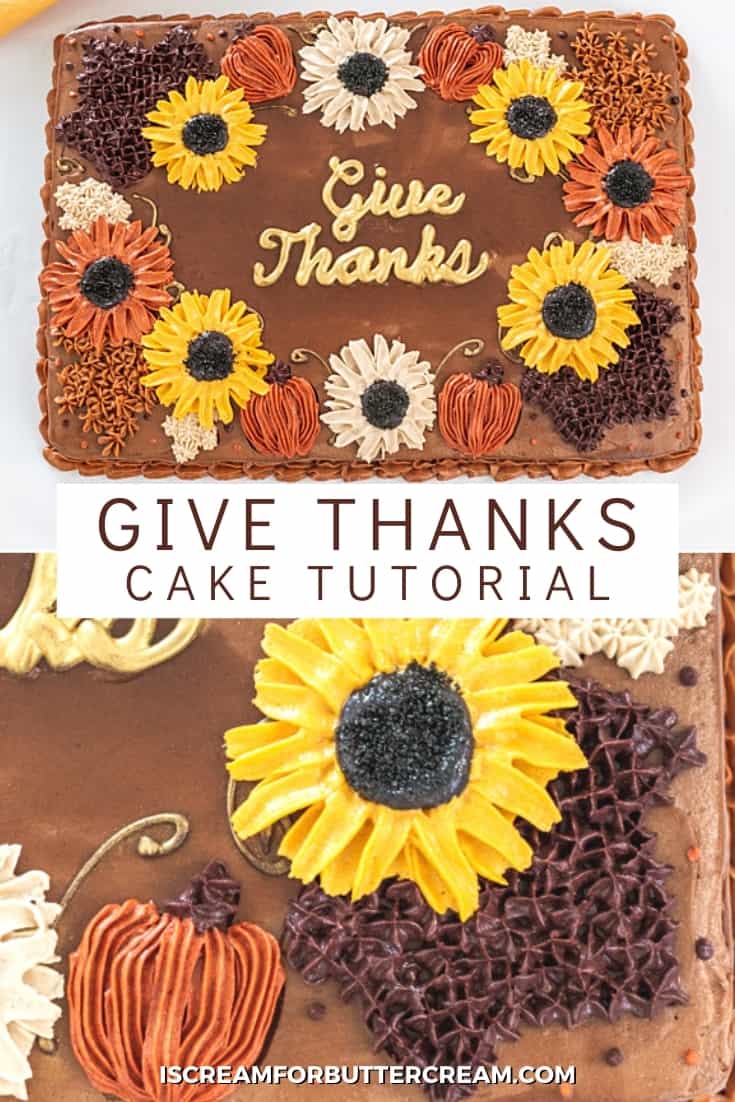
All buttercream give thanks Thanksgiving Cake Tutorial
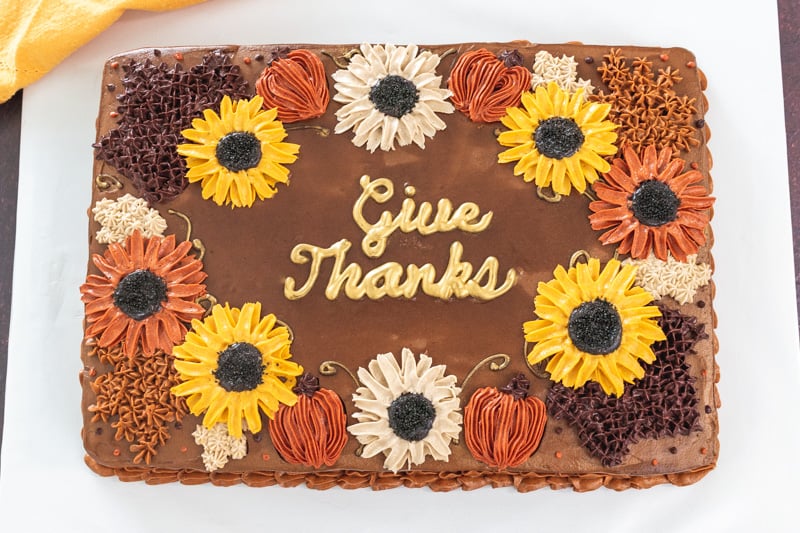
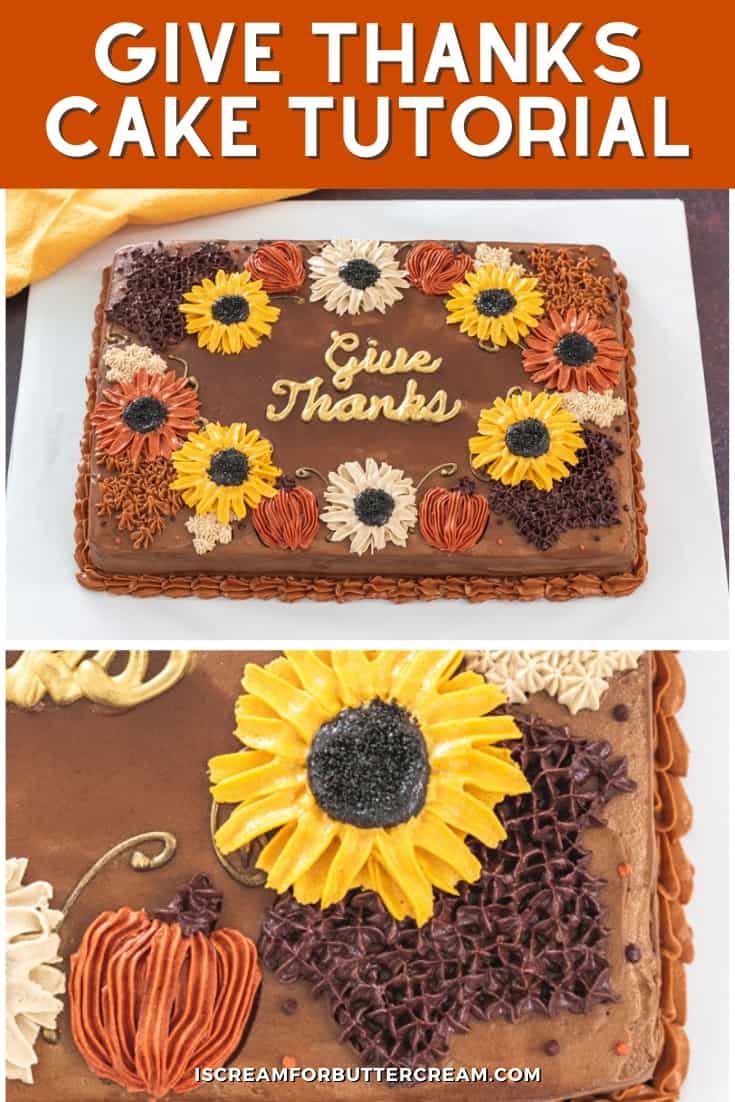
Make this fun give thanks thanksgiving cake. It’s so festive for the holidays and it’s a perfect centerpiece on your Thanksgiving table. This step-by-step cake decorating tutorial will make it really easy to do.
I had so much fun making this one. The great thing about this cake is that it doesn’t require fondant.
You can also change up the colors and design and really make it your own.
By the way, there is a video close to the bottom of this post that shows all the details.
You don’t really need any major piping skills with this one either. The piping tips do all the work for you.
You’ll essentially just be piping petals and tiny stars.
I’m also giving away my secret trick for piping words on cakes. (Hint: I don’t really pipe on cakes.)
I have super shaky hands. I mean I don’t even drink caffeine. I’m just not one of those people that are just super smooth and calm….so, my hands shake a bit.
They really shake when I’m piping because I get all nervous that I’ll mess up and that makes it way worse.
Anyway, I came up with a way to add pretty words to your cake without actually having to pipe on the cake, but it looks like you did. (I’ll go into that in the tutorial and video below.)
Ok, let’s get straight to the tutorial and remember there’s a video close to the bottom of this page that will show everything as well.
As an Amazon Associate, I earn from qualifying purchases.
Supplies Needed to Make the Give Thanks cake:
- Chocolate cake 13×9
- Chocolate buttercream
- Black, cream, dark yellow, dark orange,
- Icing spatulas
- Metal icing smoother
- Cake decorating turntable
- Piping Bags
- Icing tip couplers (optional but they make things SO much easier)
- Wax paper or parchment paper
- Piping tip #12 large round tip
- Piping tip #81 petal tip
- Piping tip, #2, #3, or #4 small round tip
- Piping tip, #35, #18, or #54 small star tips
- Edible gold luster dust
- Small paint brushes used only for caking
- Small leaf cutter set
- Large leaf cutter set
- Chocolate almond bark or semisweet chocolate (for piping the words)
- Black sugar sprinkles
- Give Thanks printable template
Steps to Make this Thanksgiving Cake:
Prepare your cake:
First you want to bake your cake in a rectangle pan. I used a 13×9 inch pan. I also went with a chocolate cake, but you can use any flavor you like.
Next add chocolate buttercream and smooth it with your icing smoother.

Now, just set that cake to the side (you can store it in the fridge if you want).
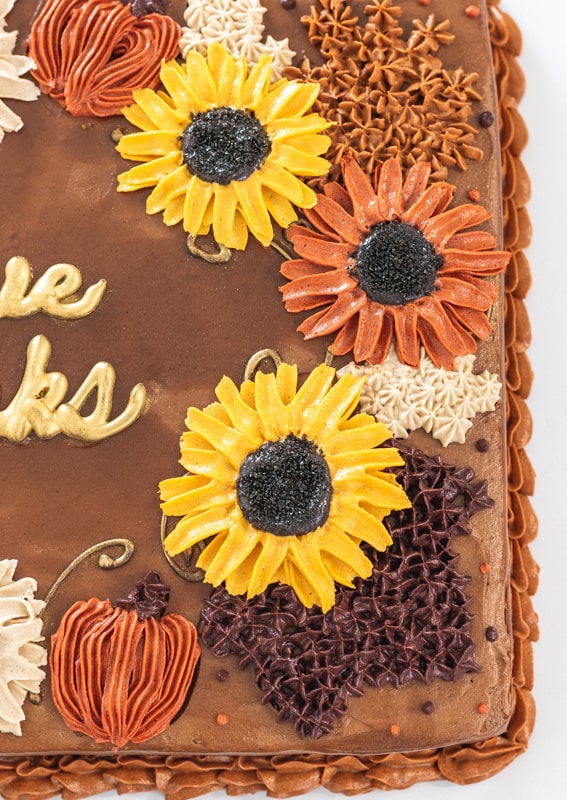
Make the buttercream sunflowers:
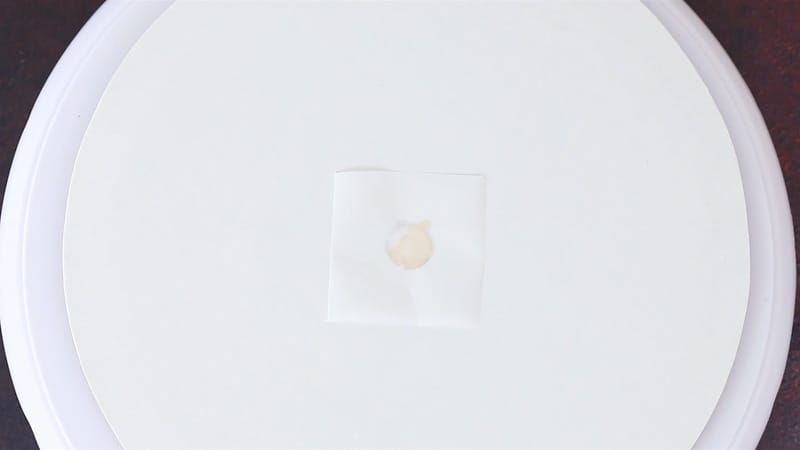
Add a cake board to your turn table. Then use a small amount of buttercream to stick a wax paper or parchment paper square to the board.
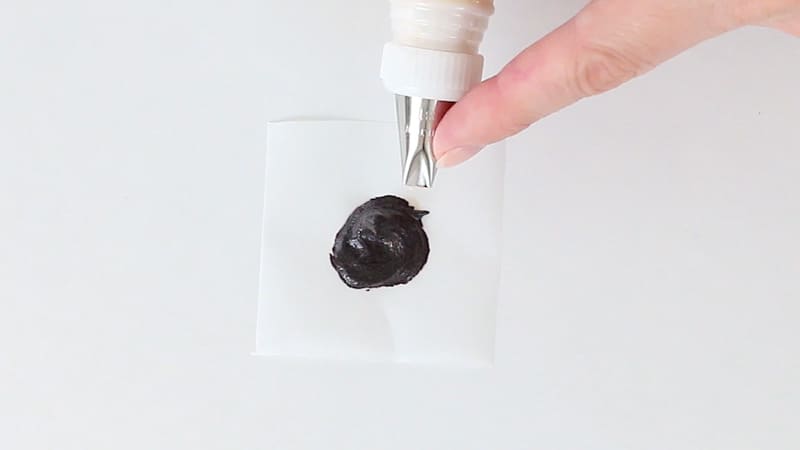
Take your large round piping tip and pipe some of the black buttercream in the middle of the parchment square. This will give you a guide for piping the sunflower petals.
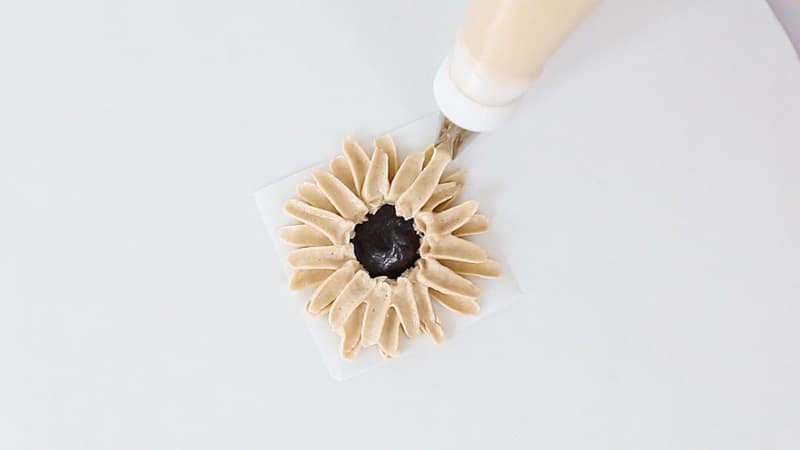
Use the petal tip #81 (listed in the supplies section at the beginning of this post) and make sure the curve is turned up…like a smiley face.
Now start piping your petals. Just squeeze the bag and pull outward from the center at the same time. (The video will go into more detail.)
Just make sure to turn the turntable as you pipe the petals…it really helps.
Make sure to pipe several layers of petals.
Now add one more dollop of black buttercream in the middle.
Take a hamburger flipper or some kind of spatula or something to help you lift the flower and just carefully take it off the cake board and add it to another board or a flat pan. (You need to transfer it to something that will fit in your freezer.)
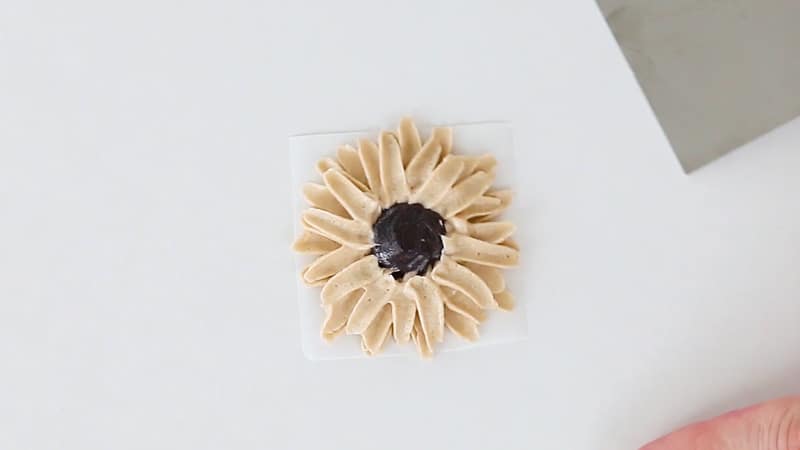
Now take the black sugar sprinkles and sprinkle the middle of the sunflower. If you have some rogue sprinkles, just use a toothpick to move them around.
Do this to make about three sunflowers in each color buttercream you mixed up. (You’ll need about three different colors.)
Pop the sunflowers into the freezer and leave them there until you’re ready to add them to the cake at the end of the process.
Making the words:
This is my cheater method for adding words onto cakes. I cannot for the life of me, pipe words very well on cakes. My hands are just shaky and I always end up starting in the wrong place.
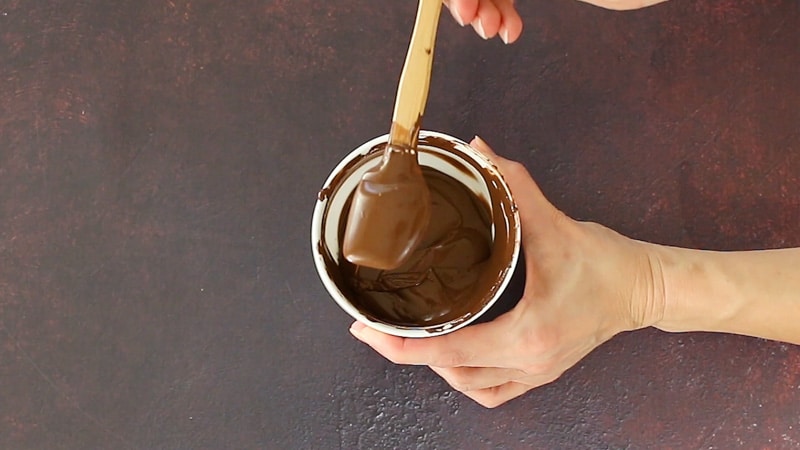
So, this is what helps me. Just use melted almond bark (regular or white) or you can use melted chocolate. You don’t want it super hot though, it needs to cool just a bit before you use it.
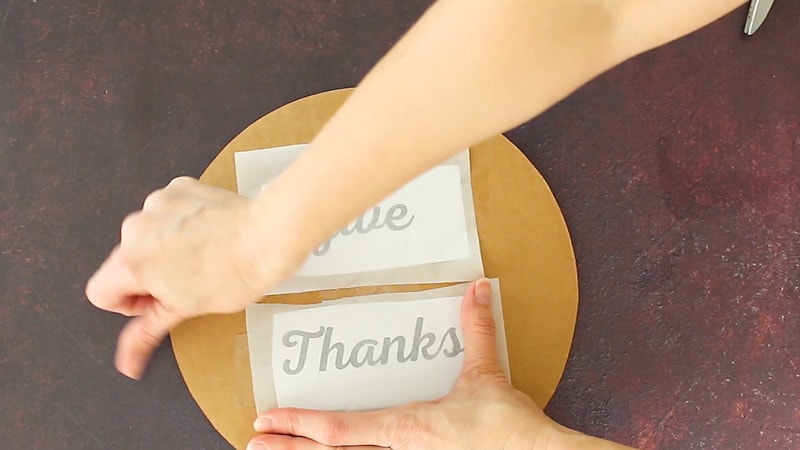
So, now you want a template to use for your words and you can use any program to make a template…Google docs or Word…whatever. Just print it out and then cut out around the words. Then tape it to a cake board or anything flat.
Next tape a piece of either wax paper or parchment paper over it, so you can pipe your chocolate onto that.
Once the melted chocolate is a bit more cool and not flaming hot, add it to a piping bag. Snip off the end of the bag (not too much though) and then just pipe over a template you’ve printed out.
This will take a bit of practice though…don’t quit…keep trying! When you’re piping the words, I’ve found it better if you just go fast…don’t try to pipe it slow.
You can find my template for this cake in the list of supplies at the beginning of this tutorial. Just click on it and it will download automatically.
Whether you use my template or make your own, you want to try to do something in cursive though because it’s easier dealing with just one word all stuck together, rather than a bunch of separate letters.

Once it’s piped, make sure to do some extras in case of breakage. Then pop them into the fridge. It doesn’t need to be frozen in the freezer, the fridge will firm it enough.
Once your words are super firm, take them out of the fridge and then you’ll add some color to them if you want. (We’ll get into that below.)
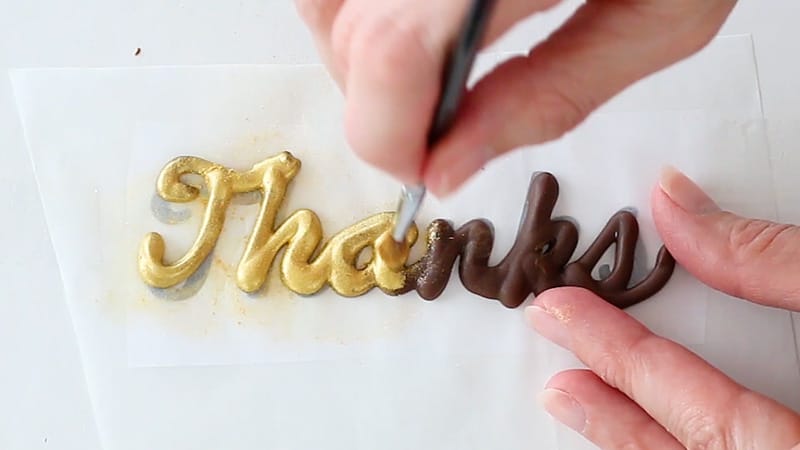
As a side note (we are adding gold luster dust to these words, but you can add any color of edible dust to them, or you can just use colored candy melts to get different colors.)
Just add dry luster dust all over them and brush off any extra.
Once you’ve covered the words, you can just pop them back into the fridge until the end when you add them to your cake.
Piping the leaves and pumpkins onto the cake:
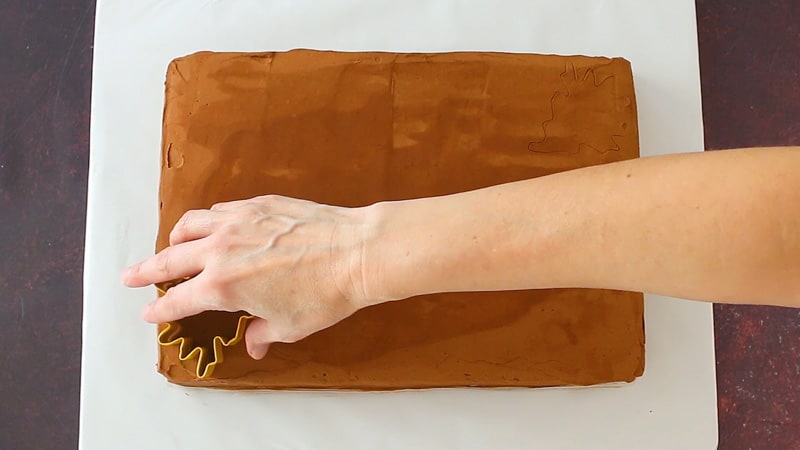
Before piping, you’ll use the leaf cutters as a piping guide so you’ll want to use them to make a few indentions.
Now if you’re really good at free-handing things, then you probably won’t need the cutter set to give you guidelines…I’m not so good at free-handing though.
Just push the cutters down into the icing a bit where you want to make yourself a piping guide.
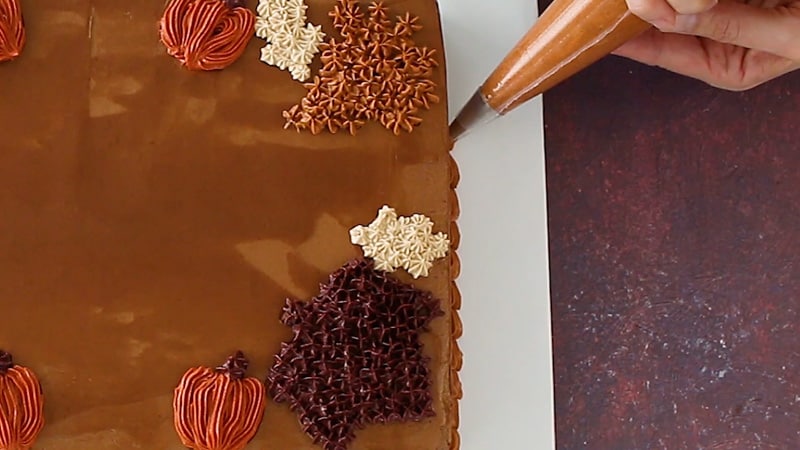
Once you’ve got all your guidelines on your cake, just start piping small stars over each one in different colors.
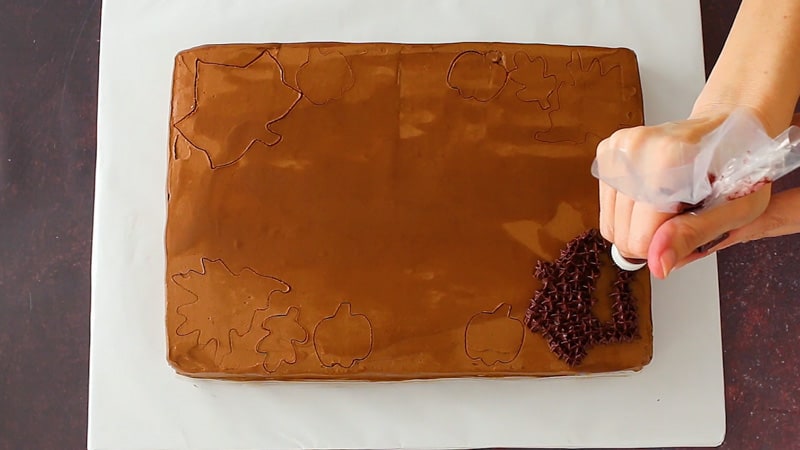
I went with a dark burgundy, burnt orange and a tan color for my leaves.

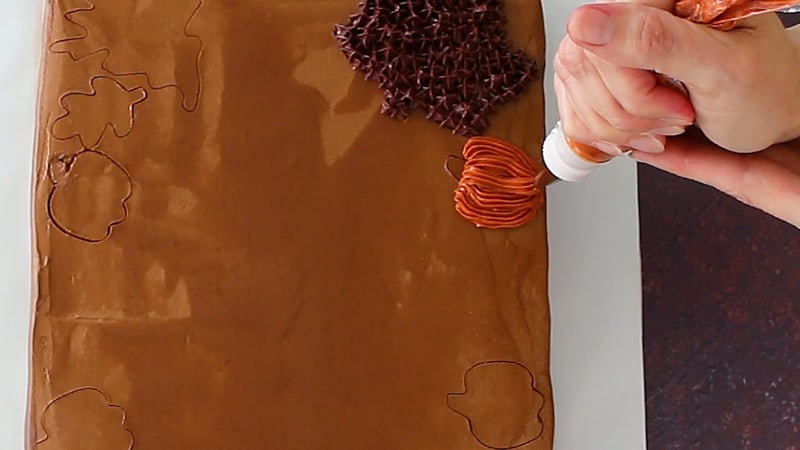
To make the pumpkins, just use your cutter as a guide (if you need it) and then use a star tip to pipe longer lines in the form of a pumpkin. You can then pipe a couple stars on the top to make a stem.
Finishing up the cake:
Now go around and pipe a bottom shell border all along the cake.
This next thing is optional, but because I had extra melted chocolate almond bark left, I went ahead and piped some swirls onto my cake and then brushed them with the dry gold luster dust.

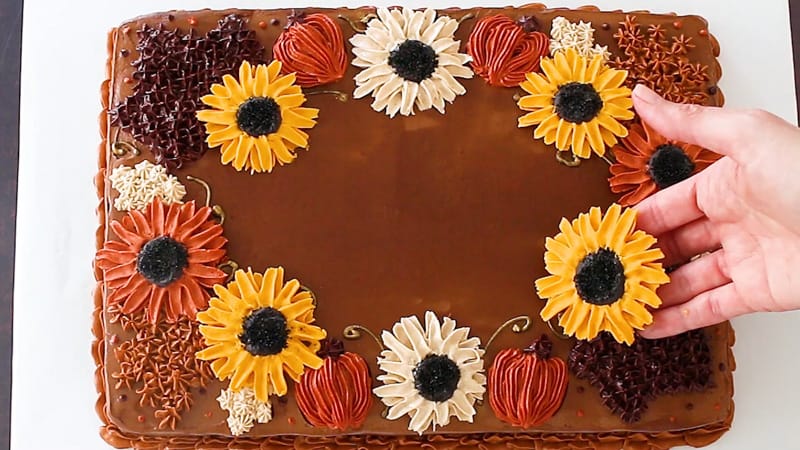
Now just take your frozen sunflowers and add them to the cake.
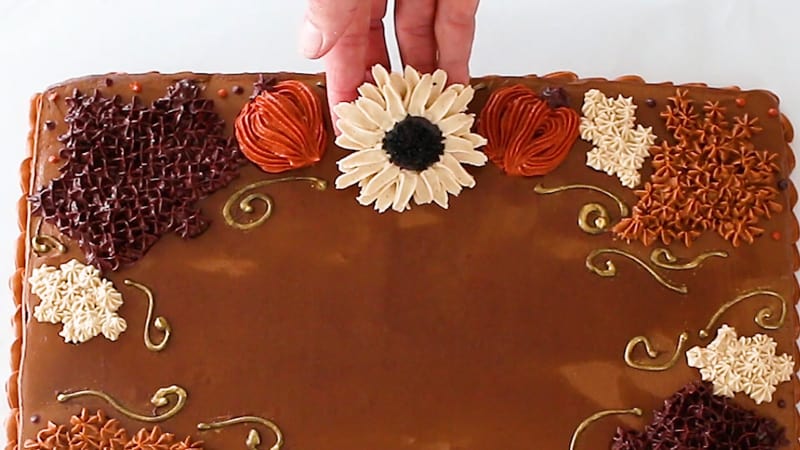
You may need to take breaks and pop them back into the freezer if they get too warm. They need to be super cold so that they don’t fall apart on you when you take the parchment or wax paper off them.
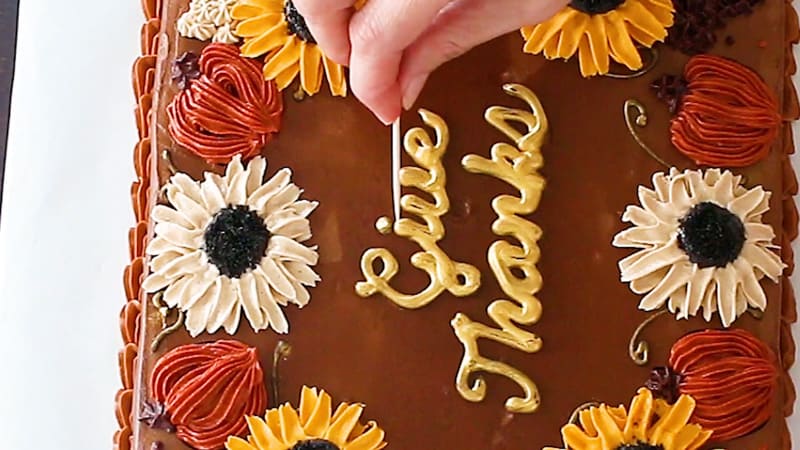
Ok, last thing is to add the beautiful gold words! Just make sure they’re chilled and firm and then gently pick them up and set them on the cake.
This is when it’s handy to have a couple pre-made in case of breakage.
You can also use a toothpick to move the words around. (You’ll definitely need it to move the dot for the ‘i’ around.)
Video for Making This Cake:
Other Posts You Might Like:
- Printable Thanksgiving Cupcake Toppers
- Thanksgiving Cupcake Cake
- 40 Festive Fall Cakes
- Fall Wreath Cake
Leave a Reply