This cookies and cream cake combines a moist from-scratch white cake with added chopped Oreos then it’s covered with creamy Oreo buttercream frosting.
This is a cake that both kids and adults will love and it makes a perfect birthday cake.
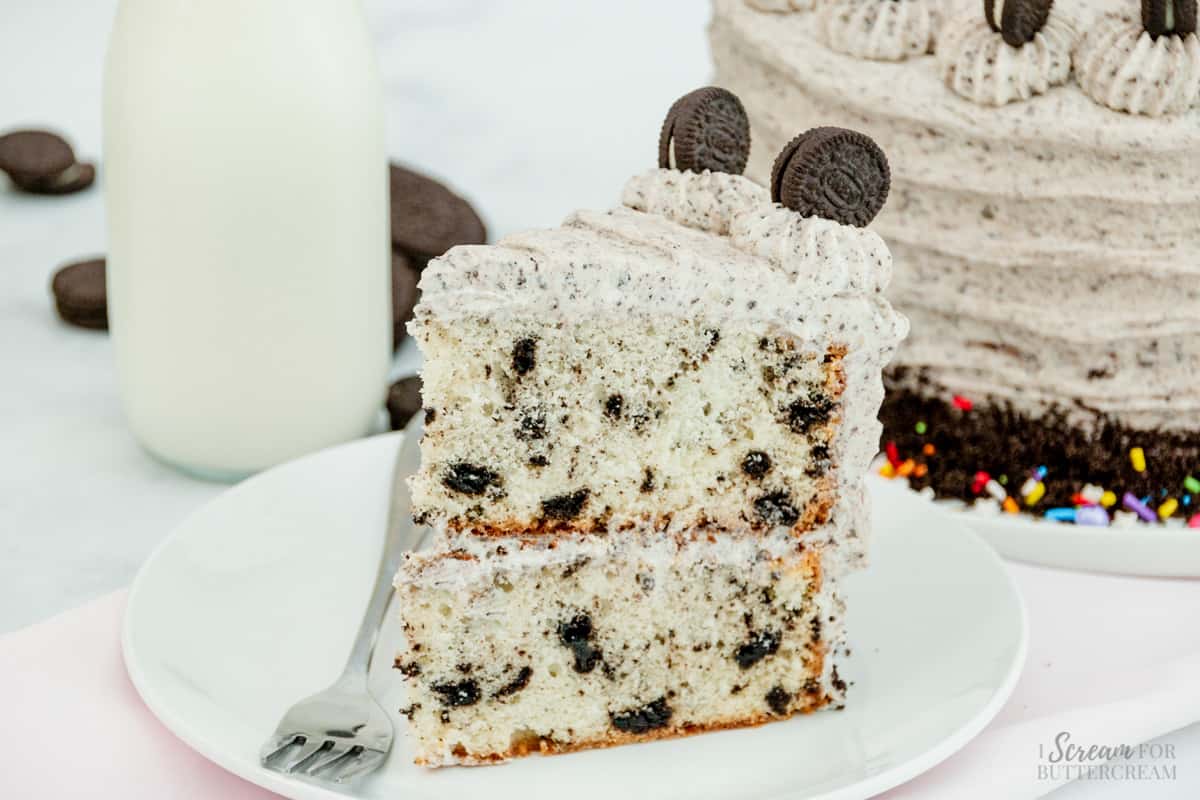
The base of this cake is a moist white cake, which is based on this popular recipe on the site: Moist White Cake
You’ll add chopped Oreos to the cake to give it the tasty cookies and cream flavor.
To make the filling and frosting, you’ll just add crushed Oreos to yummy cream cheese buttercream.
Hey there! Before you scroll, there’s lot’s of important stuff in the post!…including the FAQ section, which may answer any questions you might have about this recipe. Enjoy!
Jump to:
This homemade layer cake will take a bit of time to put together but is so worth it. It’s not complicated, but you’ll want to make sure that the cake layers are cooled before adding the cookies and cream frosting.
You can even jazz it up a bit with more crushed Oreos around the bottom, some colorful sprinkles and mini Oreos around the top.
Ingredient Notes:
Now let’s go through just a few of the important ingredients in this cake. (All the ingredients are in the recipe card below.)
For the cake
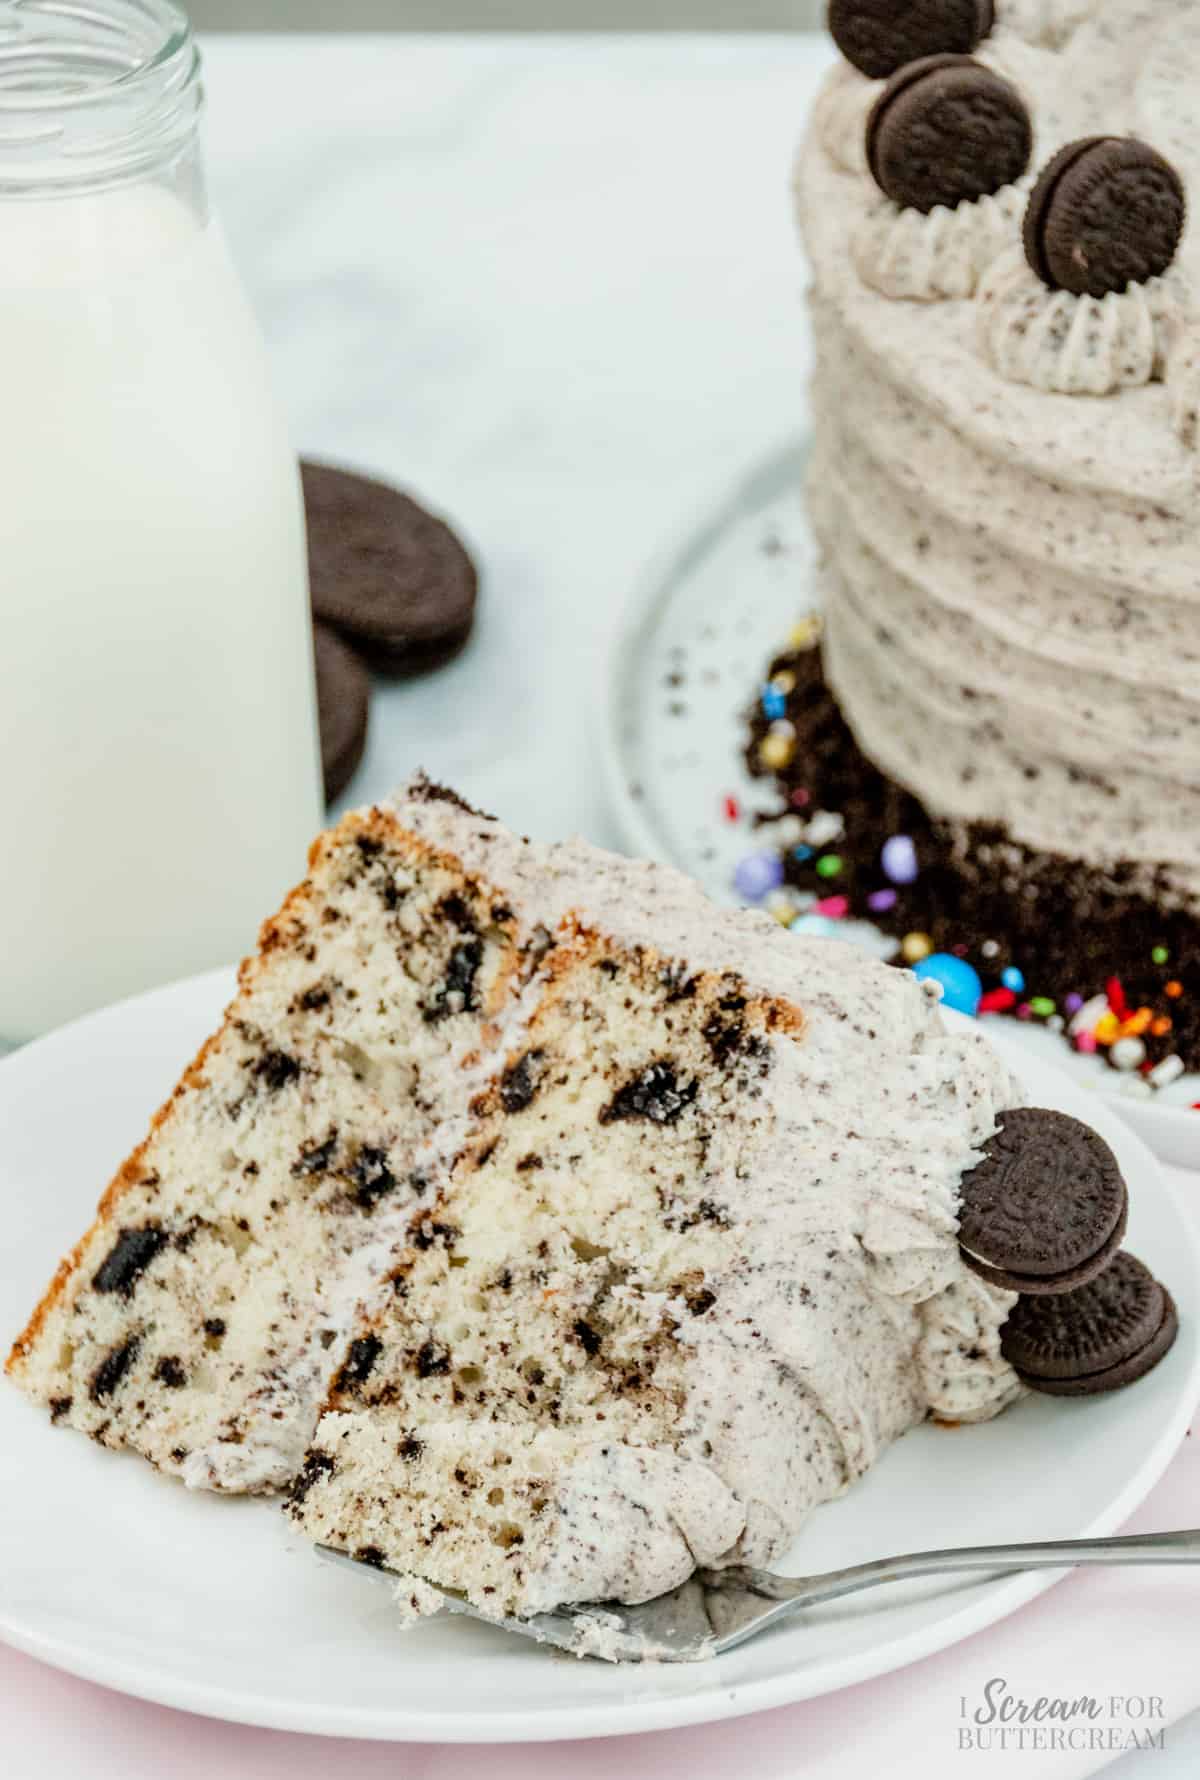
Cake flour: This cake calls for cake flour because it makes a lighter, fluffier cake and the cake will actually turn out a little whiter than if you use all-purpose flour.
If you don’t have or can’t get cake flour, make sure to check out the FAQ section below for how to substitute it.
Vegetable shortening & Unsalted butter: This recipe calls for both vegetable shortening and butter. You’ll use the shortening because it will make the cake soft and it won’t add any extra color to it since you really want a white cake.
You’ll also add a small amount of butter to give the cake a bit of a buttery taste.
Note that vegetable shortening is NOT lard. Lard is animal fat and we’re not using animal fat here. You’ll want vegetable shortening like Crisco or the store brand.
Sour cream: This ingredient just makes cakes better. It adds moisture, helps make the cake soft and adds a bit of taste. It’s best to use the full-fat version instead of the low fat.
Clear vanilla extract: I went with clear extract for this recipe in order to not add any extra color since we want the cake to be really white. If that’s not that important to you, you can use regular vanilla extract.
Egg whites: Egg whites are added instead of whole eggs in order to keep the cake white, The egg yolks will add too much color and take away from the cookies and cream look.
Chopped Oreos: You obviously need Oreos or chocolate sandwich cookies for a cookies and cream cake, right? For the cake batter, you’ll just chop these up coarsely.
For the frosting:
Unsalted butter: Unsalted butter is best here as using salted might add too much salt to the buttercream. You’ll also want this buttercream at room temperature.
Cream cheese: Adding cream cheese to this buttercream just gives it a nice tangy kick and makes it super creamy. Make sure it’s at room temperature so it’s easier to mix.
Confectioner’s sugar: You’ll use this to thicken the frosting. Confectioner’s sugar is the same thing as powdered sugar.
Clear vanilla extract: Just like in the cake batter, you’ll use this to get a vanilla flavor to your frosting without adding any additional color to it, so the frosting remains white.
Crushed Oreos: You’ll actually want to crush the oreos for the frosting instead of just chopping them. This will help them blend better.
Mixing Method Notes:
Now let’s go over the mixing method for this cake. (The full directions are in the recipe card below.)
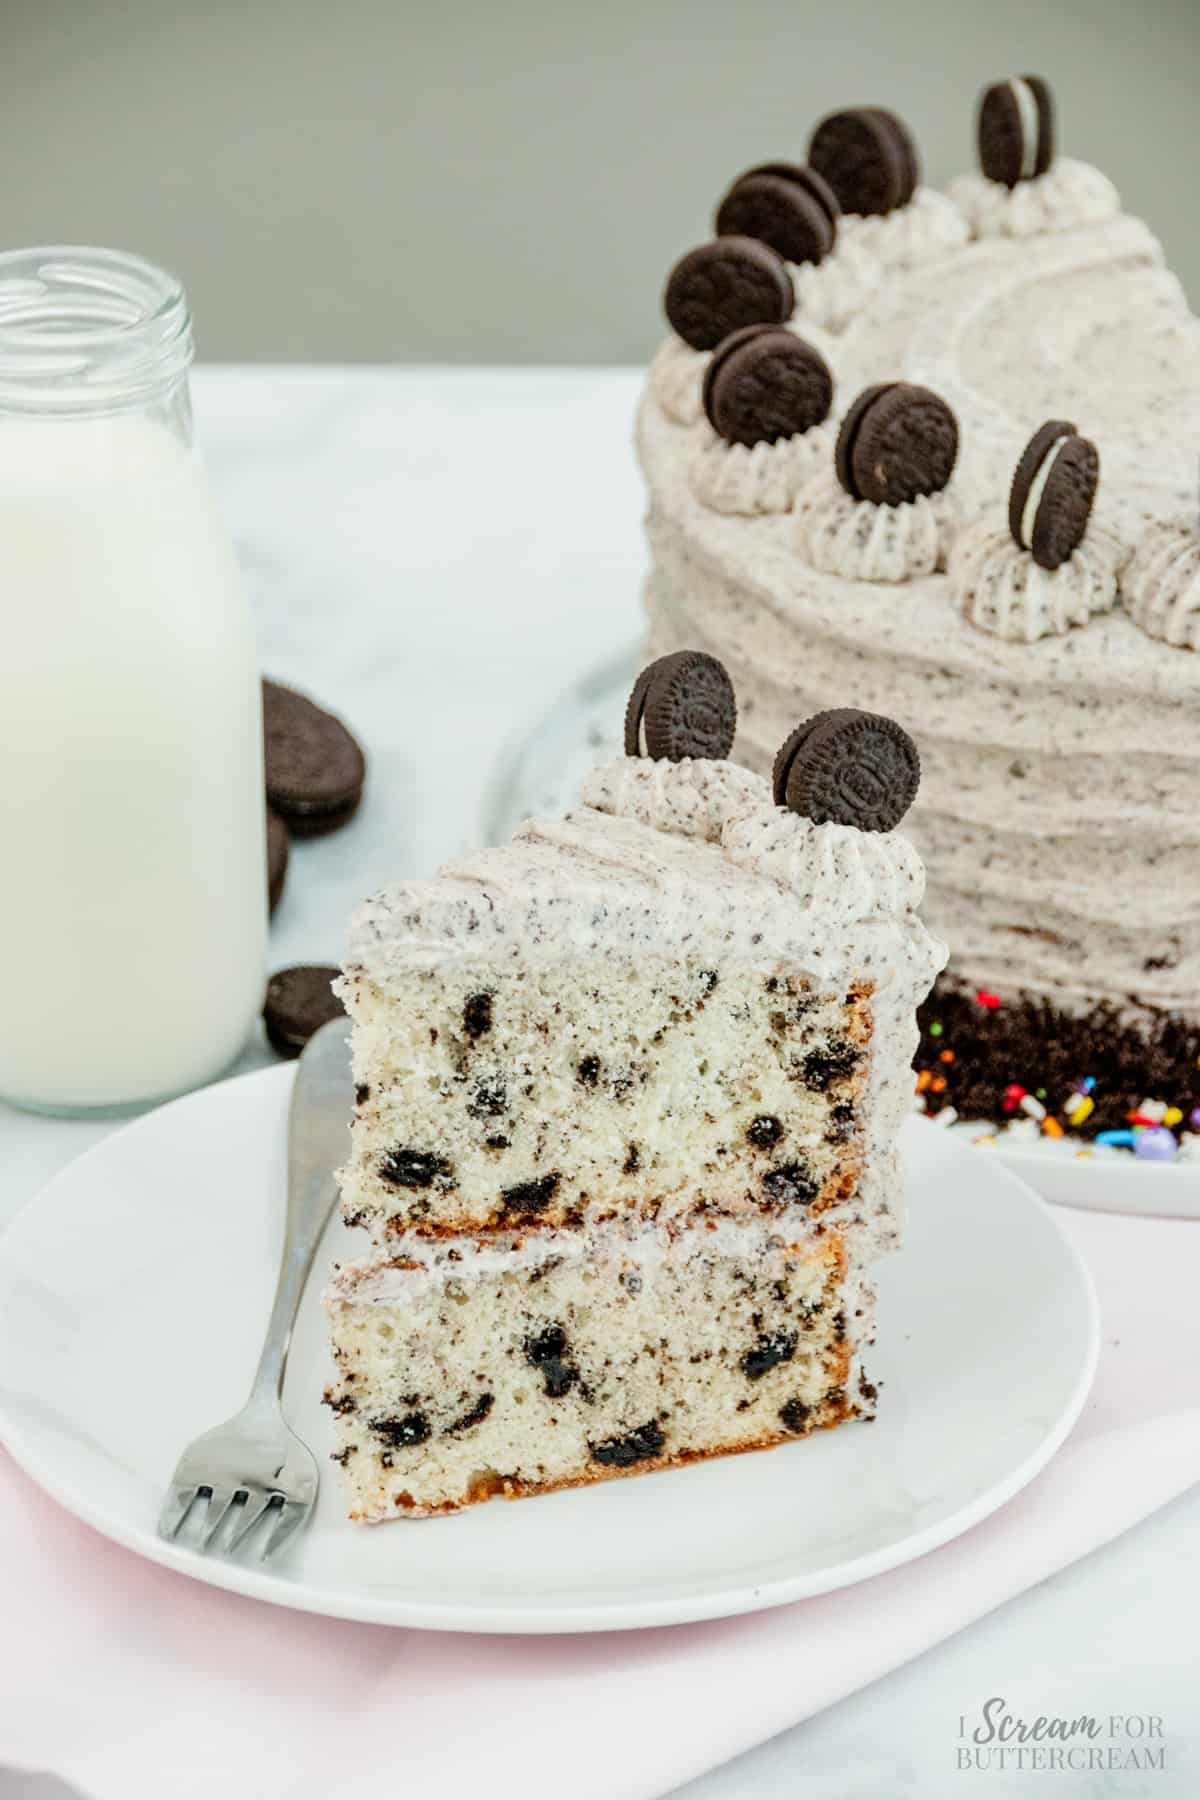
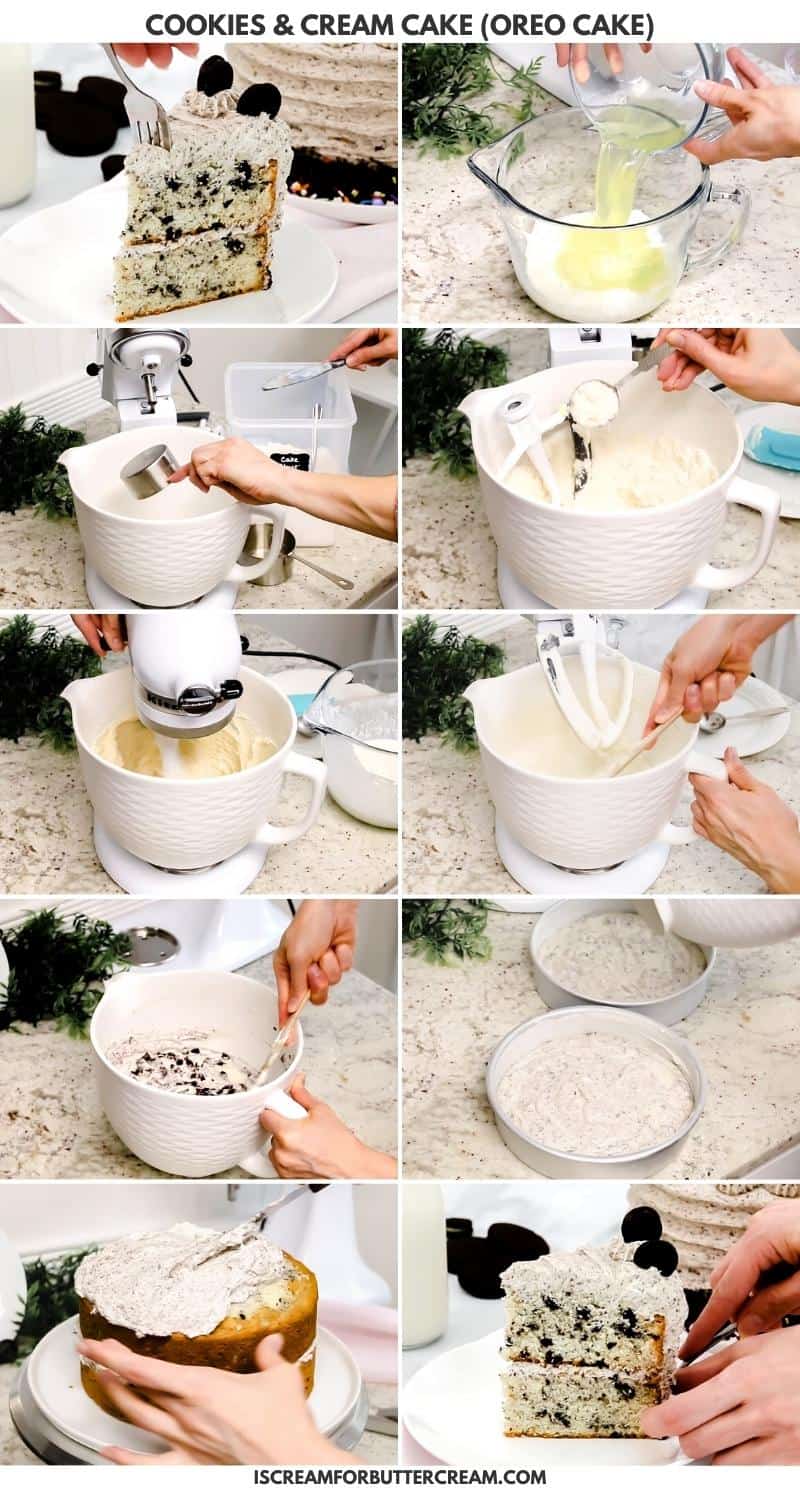
The mixing method for this cake is called the reverse creaming method. That term sounds complicated, but it’s really not and frankly, I find it easier to do than the traditional creaming method.
Basically, you’ll just add the dry ingredients to one bowl and the liquid in another bowl. Then you’ll add the room temperature butter slowly into the dry mixture until it’s all coated and has a sand-like texture.
Next, you’ll add in the liquid ingredients in two steps, mixing after each addition.
And that’s it! It’s really pretty easy. And don’t worry, the recipe card below will have all the details.
The frosting is also easy to mix up as long as you don’t turn your mixer on high speed right after you’ve added the confectioner’s sugar!
FAQs & Tips:
Yes, you can, but with adjustments. It’s best to use cake flour if you can get it. You’ll get a whiter and softer cake, but if you can’t get it, you can use all-purpose flour with this adjustment.
For every one cup of cake flour, the recipe calls for, measure out one cup of all-purpose flour and take out two tablespoons of it. Replace those with 2 tablespoons of cornstarch.
This could add too much flour which would make the cake dry.
Make sure to check out this post for more information on measuring ingredients correctly: How to Measure Ingredients Properly
I would advise against that as sugar not only adds flavor and sweetness to the cake, but it also adds moisture. If you must, you can probably lower it by about half a cup, but any lower and it could hurt the texture and stability of the cake.
Those are two different things and cannot be used interchangeably.
Make sure to check out this post for more information on that: Baking Powder vs Baking Soda
Vegetable shortening is from plants and it can also go by the name brand of Crisco. It is not lard (which is animal fat). It’s used in place of butter in this recipe as it lends a soft cake and won’t add any additional color to the cake, like adding lots of butter would. This way, the cake can remain white.
Shortening is best in this recipe, but if getting a white cake isn’t a priority and you’d rather make an all-butter cake, then you’ll want to check out my recipe for a buttery vanilla cake. You can find that recipe at this link: Favorite Vanilla Cake
Do this for the butter you’ll use in both the cake and the frosting.
Real sour cream is best, but if you can’t get it, you can substitute it with yogurt. Try to use the full-fat version instead of the low fat. Fat will help make the cake moist.
Yes, you sure can. I use clear in this recipe so that it doesn’t add any color to the cake.
We’re using egg whites in this cake as it will help keep the cake white.
You’ll want to crush the Oreos well for the buttercream, but just chop them for the cake batter.
This will help it to become fluffy and it will also lighten in color.
I have not tested this out as cupcakes, but this recipe should work just fine as cupcakes.
To make cupcakes: Fill the cupcake wrappers just slightly over half full. Bake at 350 degrees (instead of 325). Bake for about 25 - 30 minutes. Start checking at 20 minutes. Cool on a wire rack.
If using the frosting (which contains cream cheese), store this cake covered well and in the fridge for 5-6 days.
Yes, the cake layers can be frozen for up to a month (for best results) if wrapped well in plastic wrap and foil.
As an Amazon Associate, I earn from qualifying purchases.
Ok, let’s get to the recipe!
Note About Recipe Measurements: I write recipes using volume (cups) measurements because here in the U.S., this is what people are more familiar with and I don’t want anyone to feel intimidated when baking. For metric/weight measurements, click the ‘metric’ button under the ingredients in the recipe card below. The weights are converted by a program, not me, and it’s just a best guess. I can’t guarantee that weighing the ingredients will produce the exact same results, since I test recipes using volume measurements.
Recipe
Cookies & Cream Cake (Oreo Cake) with Oreo Frosting
Ingredients
For the cake
- 2 ¾ cups cake flour (can use 2 ½ cups all-purpose flour, but the cake won't be as white)
- 2 cups sugar
- ½ teaspoon baking soda
- 1 ½ teaspoon baking powder
- ½ teaspoon salt
- ⅔ cup vegetable shortening
- ¼ cup unsalted butter, room temperature (½ stick)
- 1 cup sour cream
- ½ cup milk
- 2 teaspoon clear vanilla extract (may use regular vanilla extract)
- 6 egg whites (from large eggs)
- 2 cups chopped Oreos (about 15-20 Oreos)
- Additional Oreos crushed and/or mini Oreos for decoration
For the buttercream
- 1 ½ cup unsalted butter, room temperature (3 sticks)
- 1 8 oz. pkg cream cheese, room temperature
- 1 Pinch salt
- 1-2 tablespoons milk or cream (can add another tablespoon if needed)
- 6 cups confectioner's sugar (can add another cup if needed to thicken it up)
- 2 teaspoons clear vanilla extract (may use regular vanilla extract)
- 1 cup crushed Oreos (about 10 Oreos)
Instructions
For the cake:
- Preheat the oven to 325 degrees.
- Grease and flour two 8 inch round (2 inch deep) cake pans.
- Add 15-20 oreos to a ziplock gallon bag. Push the air out and seal it. Take a meat mallot or a roller and hit the oreos chopping them up. You don't need to crush them, just chop them up well. Set aside.
- In a bowl, mix together the sour cream, milk, vanilla extract and egg whites.
- Whisk until smooth and set aside.
- In a large mixing bowl, add the flour, sugar, baking soda, baking powder and salt.
- Whisk together.
- Turn on the mixer to medium speed and add the shortening and butter in chunks to the flour mixture. (If you don't have a stand mixer, you can use a hand mixer.) Once all the butter and shortening has been added, turn the mixer on medium high and mix until all the flour is coated. The mixture should be crumbly with a sand-like texture.
- Add in half the liquid mixture and mix on medium speed just until well combined. Don't mix too long or it will whip the egg whites and make the cake spongy.
- Scrape down the sides and bottom of the bowl and add in the last half of the liquid mixture. Mix on medium speed just until the ingredients are combined, about 30 seconds. Be careful not to over-mix the batter at this point or your cake will turn out dry and dense.
- Scrape down the sides of the bowl and then mix again on medium, only for about 10-15 seconds.
- Add the chopped Oreos and mix them in by hand with a large spoon or spatula.
- Pour into the greased and floured cake pans and bake at 325 degrees for approximately 45 minutes.A toothpick inserted into the middle should come out with a few moist crumbs.
- Once baked, set the cake layers in their pans on cooling racks for about 10 minutes, then turn the cakes out of the pans and cool on the racks completely before adding frosting.
For the frosting
- Add about 10 Oreos and either add them to a ziplock gallon bag and crush them well, or add to a food processor and crush them. You want the Oreos crushed well so there won't be larger chunks in the frosting.
- Mix the butter, cream cheese and salt together on medium speed in a mixing bowl until very creamy.
- Add three cups of confectioner's sugar and 1 tablespoon of milk and mix well on medium.
- Add in the next three cups of confectioenrs sugar plus the vanilla extract and mix well on medium.
- Check the consistency. If the frosting is too thin, add another cup of confectioner's sugar. If it's too thick, add in another teaspoon to tablespoon of milk and mix again.
- Once the desired consistency is reached, beat on medium-high speed for a couple minutes, so that the frosting fluffs up and lightens a bit in color.
- Use a large spoon or spatula to stir in the cup of crushed Oreos.
- Cover the cooled cake with frosting, then add crushed oreos around the bottom of the cake, top with frosting swirls and mini oreos around the top if desired.
Notes
I have not tested this recipe out as cupcakes, but it should be just fine. To make cupcakes: Fill the cupcake wrappers just slightly over half full. Bake at 350 degrees (instead of 325). Bake for about 25 - 30 minutes. Start checking at 20 minutes. Cool on a wire rack. If you prefer to use a non cream cheese frosting, you can use the Vanilla Bean Buttercream recipe and add in 1 cup crushed Oreos. You can find that recipe at this link: Vanilla Bean Buttercream
Nutritional values are an estimate.
Make sure to check out the TIPS & FAQs for this recipe in the blog post, which may answer questions about substitutions.
*This recipe card may contain affiliate links. As an Amazon Associate, I earn from qualifying purchases.
Nutrition
How to Share
I’d love for you to share this recipe link or tag it, but please do not share screenshots or copy/paste the recipe to social media as the content and photographs are copyright protected and we (bloggers) work really hard on our content. Sharing the link, tagging us on socials and pinning it is super appreciated though!
Video:
Other posts you might like:
Don’t forget to pin it below!

Alice
This is the first time making a cake from scratch, it tastes good, but I forgot to add the 1/2 cup milk. It also came out very dense. What do you think my problem could be? Should I have used vegetable oil? Thank you.
Kara
Hey Alice, so glad you liked it. So the 1/2 cup milk is definitely needed so that played a little part in it coming out dense. Also, the biggest issue I see with dense cakes is overmixing them…basically just mixing for too long. If you try it again, make sure to add the 1/2 cup of milk and then try only mixing it until the ingredients are just well combined. You don’t want to add in any extra oil though because that would just compound the problem. If you try it again, let me know how it goes.
Rachel
This looks delicious! Does the cream from the middle of the Oreo cookies need removing before adding to the cake and frosting?
Kara
Hi Rachel, you don’t have to remove the cream from the Oreo’s. You can just crush them up as they are.
Tiffany Fiorillo
How many cupcakes does this recipe make? I need to do a 6” 2 layer cake and 2 dozen cupcakes! Thank you!
Kara
Hi Tiffany, this recipe should make around 24 cupcakes. I’d mix up two batches and that should be plenty for the 2 dozen cupcakes and the two, 6-inch round cake layers. In fact, you’ll maybe have a little batter left to make a couple of extra cupcakes or to enough to bring it up to 24 cupcakes in case a full batch is just shy of that amount. Hope this helps.
Ale
Hi, I did the frosting and it tastes really good:) my question is, can you store/freeze this frosting for a later use.? Have you done it.? Thank you
Kara
Yes, you can freeze buttercream. After awhile though the cookie crumbles won’t be crunchy, so if that’s not a problem, then it’s fine to freeze or store for later. You can store it in an airtight container at room temperature for several days or in the fridge for up to a week. You can also freeze it. I’ve frozen buttercream loads of times. I do have a post that shows how I do it if you want to check it out: https://iscreamforbuttercream.com/freezing-buttercream-plus-what-to-do-with-leftover-frosting/
Hope this helps 🙂
Elora-Belle Carpenter
Fantastic recipe! Just wondering how much of a difference it will make using all purpose flour? Thats what I use but I’d like to know if it’s worth buying the cake flour for this recipe? Or does it just change the colour?
Kara
Thanks for the great review! So glad you liked it! So, using all-purpose flour will work just fine, just make sure you use those measurements and not the cake flour measurements. Here’s my two cents about using it: So in my opinion, I actually prefer the cake texture more when using all purpose flour. I know that’s kind of backwards and I used to prefer the cake flour, however in the last couple years, I don’t know if my tastes changed or if cake flour is just made differently. Anyway, I thing the all purpose flour actually works a little better and in my opinion, the cake turns out a little more moist. It does turn out less white than using cake flour though. It just looks more like a vanilla cake, but it’s not an extreme difference. I hope this helps!
Goody
Wonderful recipe.
Kara
So glad you liked it and thank so much for the great review!
Diane Bettencourt
I have 9 inch round cake pans. Do you have the measurements for larger pans?
Kara
Hi Diane, for 9-inch pans, you could just use the same recipe and bake it for a shorter period of time, since the batter won’t be as deep in the pan. The layers will be thinner, but it can work. If you want to make thicker layers, though the easiest way to calculate it is to just make a recipe batch plus a half. You’ll have a bit of batter left over, but you’ll get two full 9″ cake layers, plus you can use the leftover cake batter for some extra cupcakes. Hope this helps!
Alana
Can I use vegetable oil instead of shortening ?
Kara
Hi Alana, I’ve not tried this recipe using only vegetable oil. The reason I use the vegetable shortening is because it keeps the cake a white color and it makes it light, fluffy and moist. The vegetable oil would probably not keep it that same texture though and it may turn out a bit too heavy, maybe even dense. Please feel free to try it though, but I’m not sure it would turn out quite as well.
Ashley Canjar
WOW! My husband and I are pretty particular about food, cakes especially. I use all organic products (I totally recommend for baking, it’s a game changer.) and this cake/frosting combo is so good. I replaced the shortening with butter, I think that helped in the savory bit of the cake. It’s a not too sweet/almost salty cake with a semi sweet frosting WOW. Adding this to my list of family favorites. We will be making this for years to come. Thank you!
Kara
Hi Ashley, I’m so glad you both loved the cake and thanks so much for the great review!
Jessica
Can you use this recipe for Bundt cake pan?
Kara
Hi Jessica, I haven’t tried this out in a bundt pan although in theory, I think it would work. Just bake at 325 degrees F. I’m not sure how long exactly since I haven’t tested it, but it’ll likely take a bit longer than the 45 minutes called for on the recipe card. Hope this helps!
Laura
Hi Kara, would the cake be more moist/less dense if I used buttermilk instead of regular milk? It seems like the cookies in C&Crm cake dry the cake out a bit, so anything extra to combat a dry cake helps. Tia. Does the shortening help make the cake moist?
Kara
Hi Laura,
Oh hmmm, the shortening in the recipe does help make the cake more moist and tender, and it also helps keep the color nice and white.
Using buttermilk instead of regular milk might add a touch more moisture due to its acidity and thicker texture, but it could also result in a slightly denser crumb. Dense and moist aren’t the same thing though, you can absolutely have a cake that’s dense and moist, or one that’s dry but not necessarily dense.
Density can be caused by several things: mixing at too high a speed, overmixing, using too much fat, or even how the ingredients are incorporated. Dryness, on the other hand, often comes from too much flour, not enough liquid, or overbaking. Adjusting ingredients too much can easily throw off the ratios, so it’s good to be cautious with substitutions.
Was your cake both dry AND dense? I haven’t experienced that with this recipe, so I’m trying to troubleshoot what might have gone wrong. If it was just dense, overmixing could definitely be the culprit.
What type of flour did you use? Cake flour or all-purpose? I usually use all-purpose because I prefer the texture and flavor, though some bakers like cake flour for a lighter, more delicate crumb. That said, I’ve found that cake flour can sometimes turn rubbery if it’s overmixed or not handled carefully.
Back to your buttermilk question: its acidity and thickness can impact the cake’s texture and it may help with tenderness and moisture, but it won’t necessarily prevent a cake from being dense. If you think the cookies contributed to the texture, you might try using fewer next time and see if that helps. You could also try switching flours—if you used cake flour, try all-purpose, or vice versa.
Everyone’s preferences are different when it comes to cake texture. Cake flour will make the cake whiter in color and some say it gives a lighter crumb. I like both, but lean toward the taste and feel of all-purpose flour.
You could also experiment with the mixing method. This recipe uses the reverse creaming method, which gives a tight, smooth crumb and helps prevent overmixing. But if the butter and flour mixture is beaten too long at the beginning, it can form a paste and lead to a dense cake.
If you want to try the traditional creaming method instead, you can:
-Cream the butter and sugar together for a couple minutes until light and fluffy.
-Mix the dry ingredients in one bowl and the wet ingredients in another.
-Alternate adding dry and wet to the creamed mixture, mixing just until combined after each addition.
With this method, you need to be even more careful not to overmix. Aim for around 15 seconds max of mixing after each addition. It’s not exact, but gives a rough idea of how minimal the mixing should be once the flour goes in.
Whew! I just wrote a whole book here, but I really wanted to help troubleshoot and give you some things to try!
Laura
Thank you so much for all the advice. You covered all possible outcomes. One additional question: Would you recommend simple syrup before frosting, for this particular cake (C&Crm)? tia.
Kara
I usually don’t do simple syrups, but you can if you want. I don’t find this cake dry, but different people have different tastes, so if you prefer a simple syrup and like the flavor and moisture it provides, feel free to! 🙂