
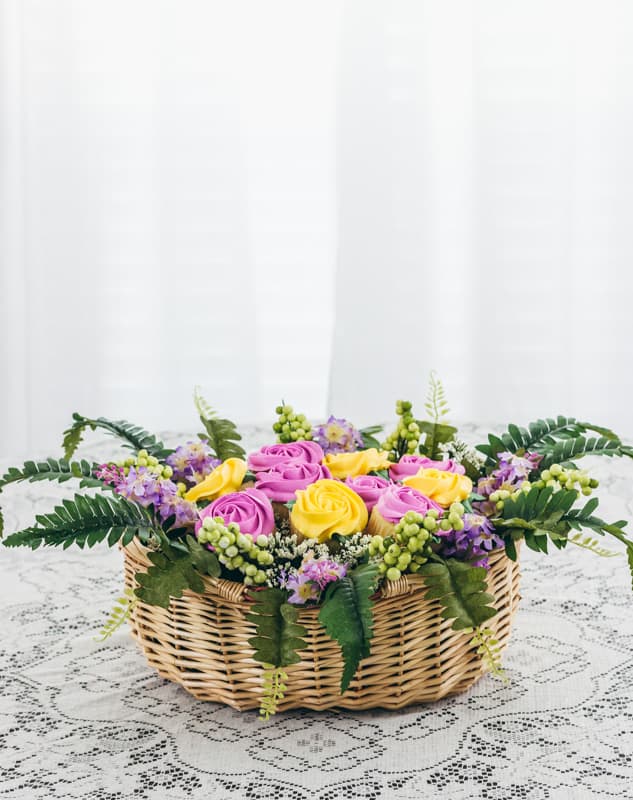
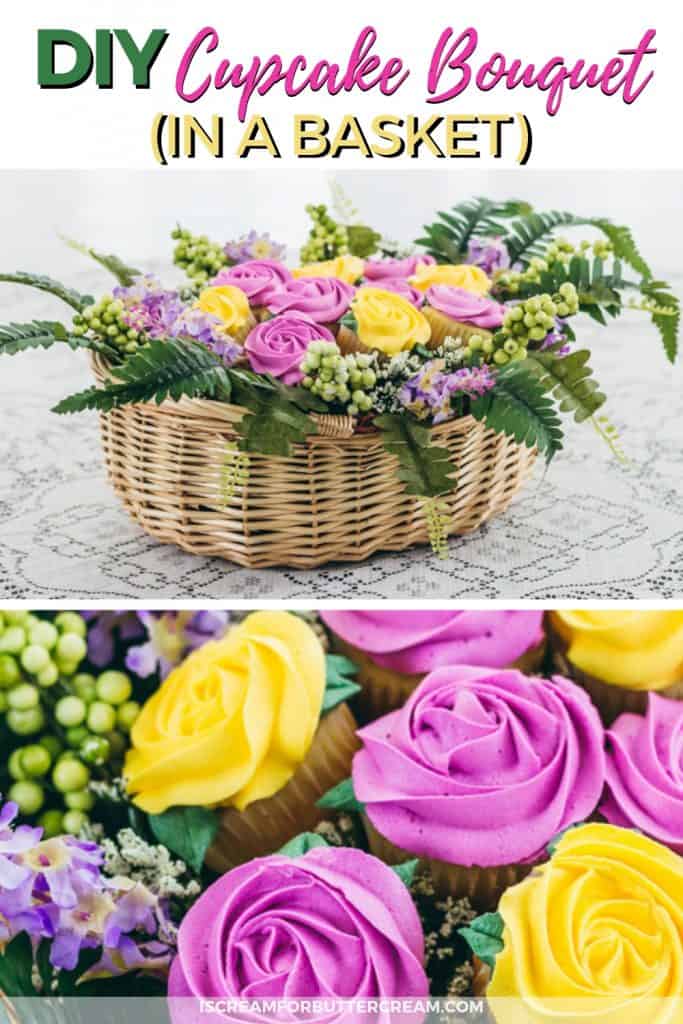
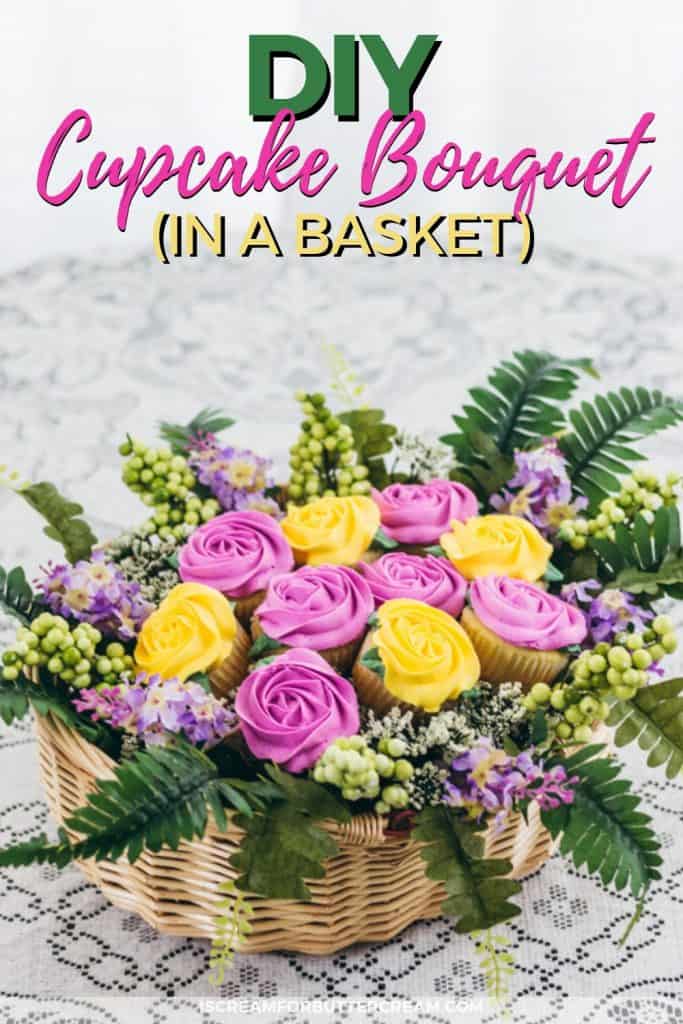
This DIY cupcake bouquet tutorial shows detailed instructions on how to make a beautiful flower cupcake bouquet that’s actually made in a basket.
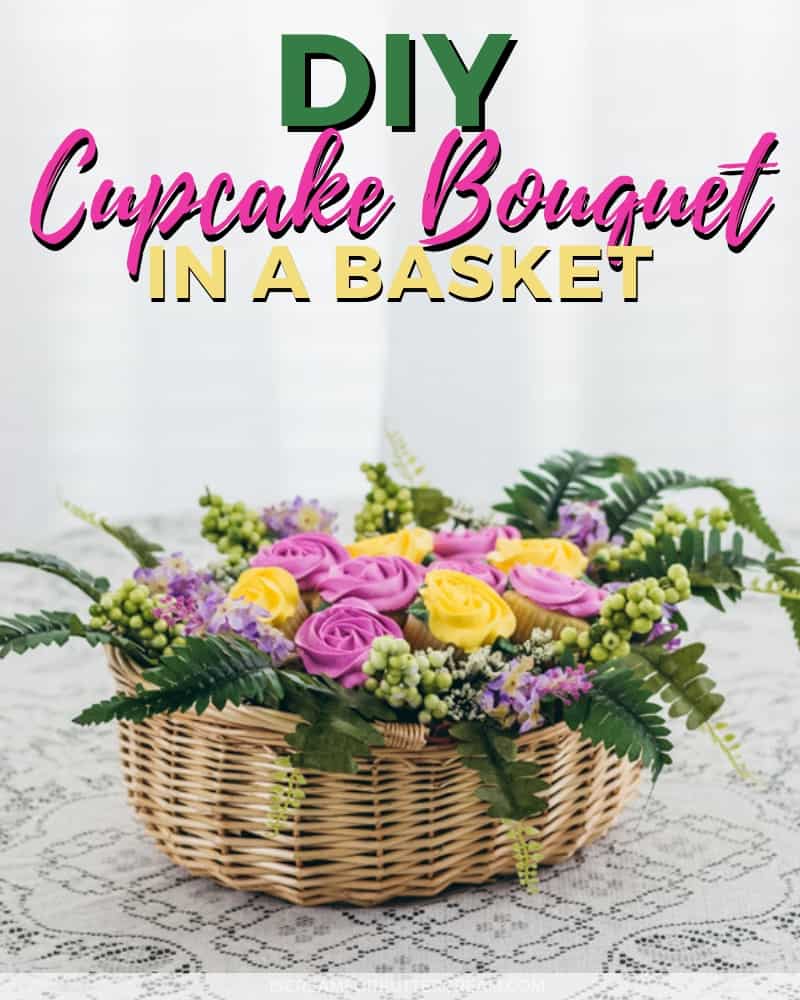
It’s perfect for birthdays, gifts or Mother’s Day. The piping is easy and you can use inexpensive supplies to make this a beautiful and much loved gift.
You can of course change up the flowers you use and even change up the colors of the roses.
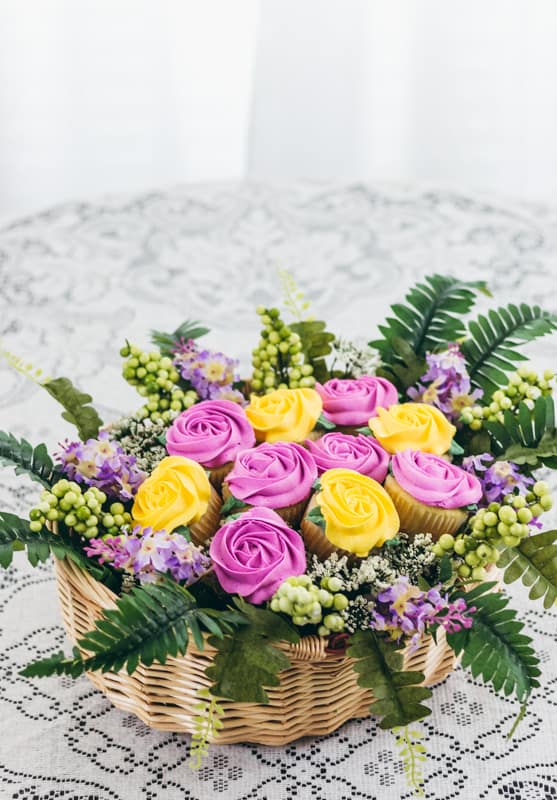
I used faux flowers, but if you want to get super fancy, you could use fresh flowers. Just make sure that you are using flowers that aren’t poisonous (some are) and use flowers that were not sprayed with pesticides.
I purchased my basket from Amazon (I’ll put a link in the supply list below), but you could use any basket you want.
I was able to fit in about ten cupcakes, but if you get a bigger basket, or use less flowers, you could probably fit in a dozen of them.
Ok, let’s get to the tutorial. (Don’t forget there’s a video close to the end of this post that shows the whole process.)
As an Amazon Associate, I earn from qualifying purchases.
SUPPLIES NEEDED FOR THE DIY CUPCAKE BOUQUET:
- A Basket ( I chose this one because I like the picnic basket look.)
- Floral Foam (you can also pick this up from most dollar stores)
- River rocks (you’ll need these to weigh down the basket a bit, so it isn’t top heavy.)
- Wooden skewers
- Faux moss (optional…we’ll talk about this later in the tutorial)
- Faux greenery and flowers (I just picked up different varieties at my local dollar store.)
- Baked cupcakes (You can use a cake mix, or make them from scratch. Here’s my scratch vanilla cake recipe: Vanilla Cake)
- Buttercream (Tinted in green and two other colors for the roses. I used a pinkish-purple and yellow)
- Gel food coloring (for tinting the buttercream)
- Leaf Icing Tip #366
- 2D Icing Tip
- Piping Bags
STEPS TO MAKE THE DIY CUPCAKE BOUQUET:
PREPARING THE BASKET:
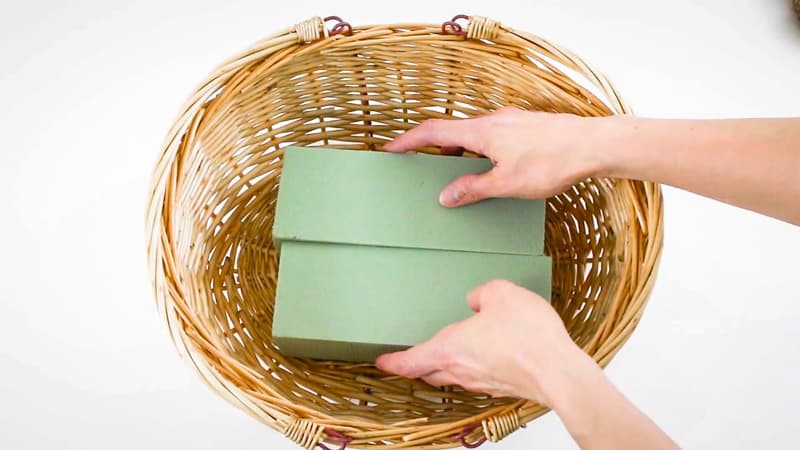
I purchased the basket in the supply list and I took out the fabric liner. You could leave it in, but I was afraid I’d get buttercream all over it, because I’m really messy.
Once you get the basket like you want it, insert the floral foam. Place two larger blocks in first.
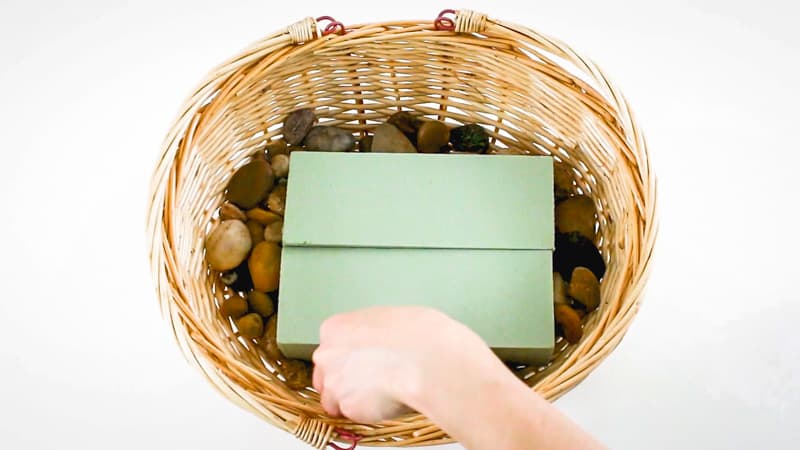
Now take your river or craft rocks and add them around the foam. This is helpful to add some weight to the bottom of your basket.
I was afraid that the basket would be too top heavy once the cupcakes were added and this really helps keep it sturdy.
You don’t have to use the rocks, you can use those beads that florists use as well.
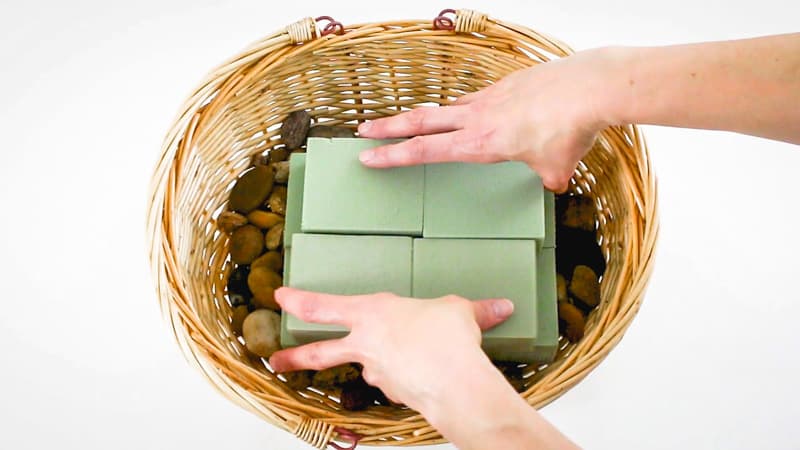
Add in more floral foam on top of the layer you already placed in the basket. You’ll need a little more height.
Now take some wooden skewers and cut them in half.
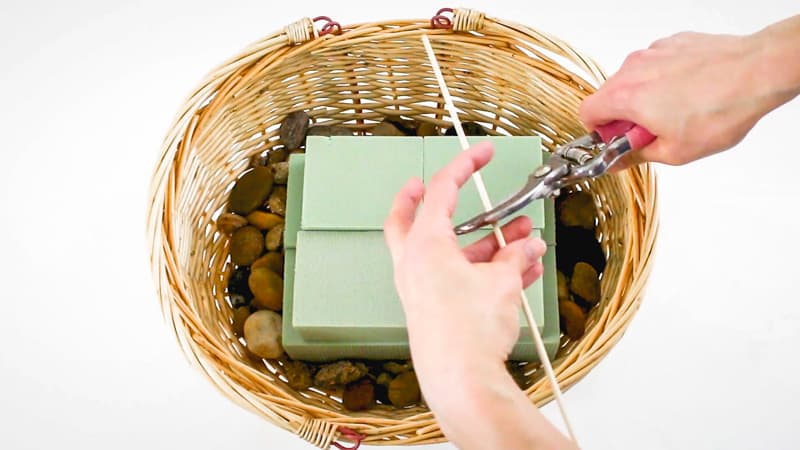
Now just insert your wooden skewer into the floral foam layers. This will help keep them stuck together and not moving around too much on you.
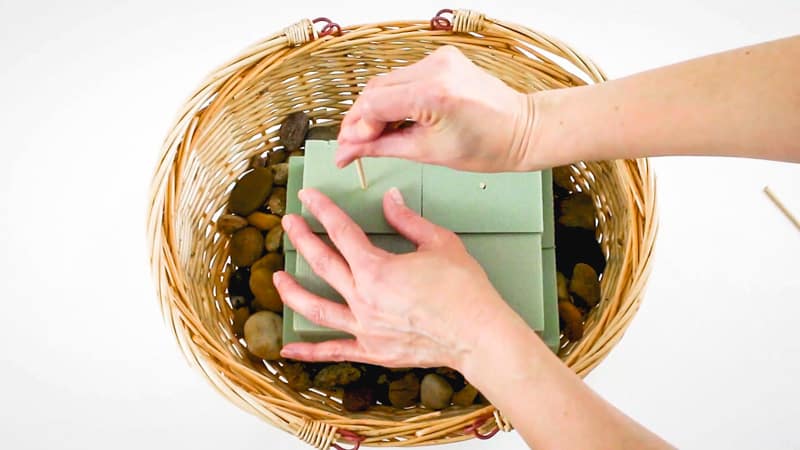
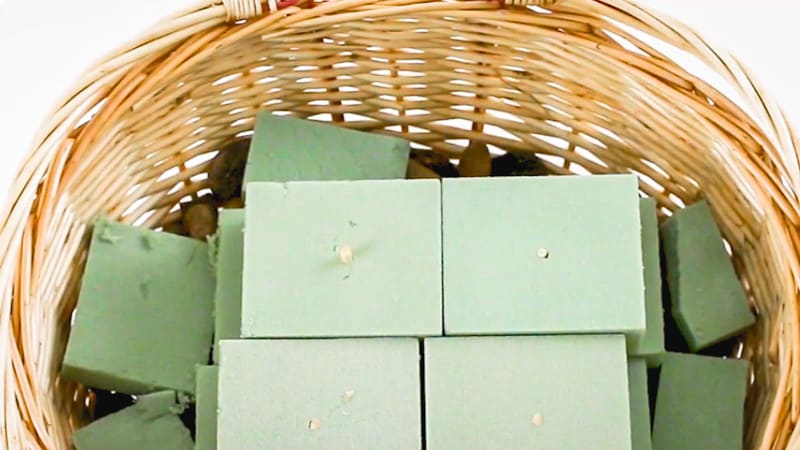
Cut pieces of the floral foam and set on top of your craft rocks around the other floral foam.
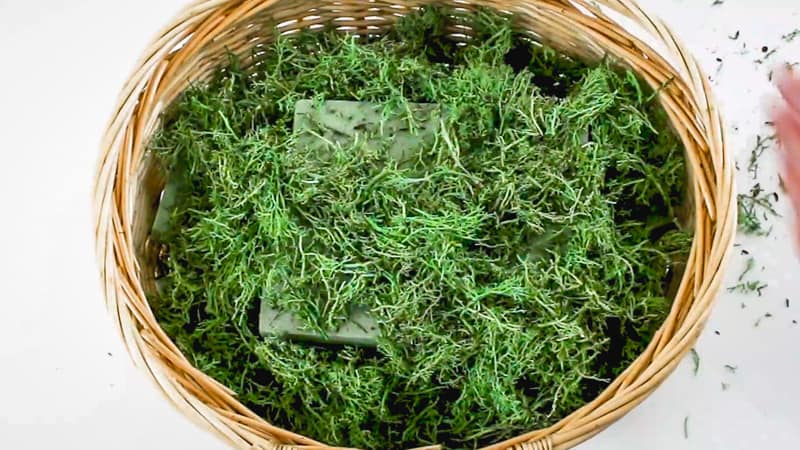
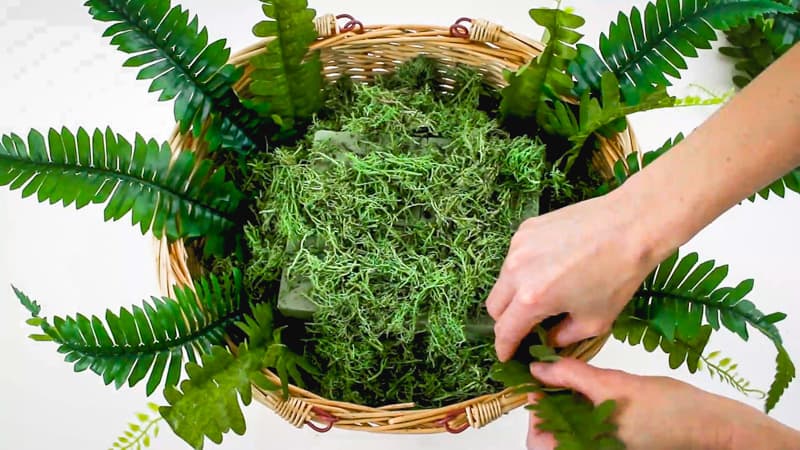
Now you can add in some moss. A word about that…I added in real moss, but honestly, I realized it has a weird smell to it, so if you’re going to add moss (which actually does a good job of covering up the floral foam), then you’ll probably want to find some faux moss. (I’ve linked to some in the supply list above.)
ADDING THE FLOWERS:
Now you’re ready to add in the flowers. I like to use faux (artificial) flowers because they’re really easy to use, they don’t wilt and you can use them later for something else.
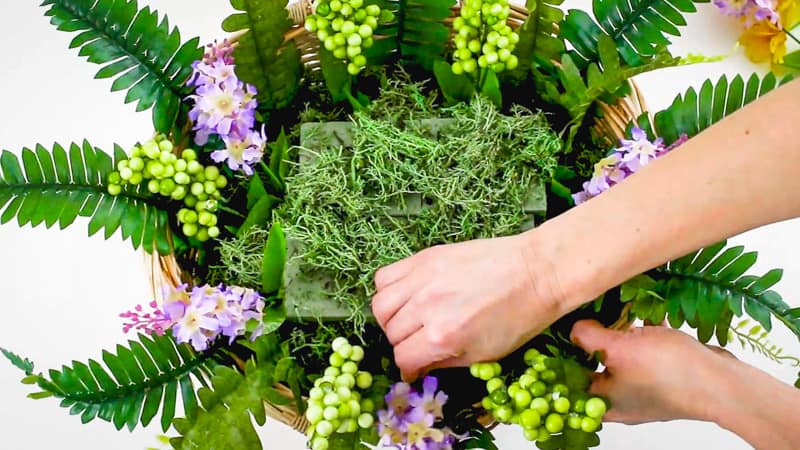
Start out by adding the large ones, or the larger greenery pieces, to the outside of your basket. Now, I’m not a professional florist, so there may be a better way of doing this and if floral design is your thing…then you go girl (or boy).
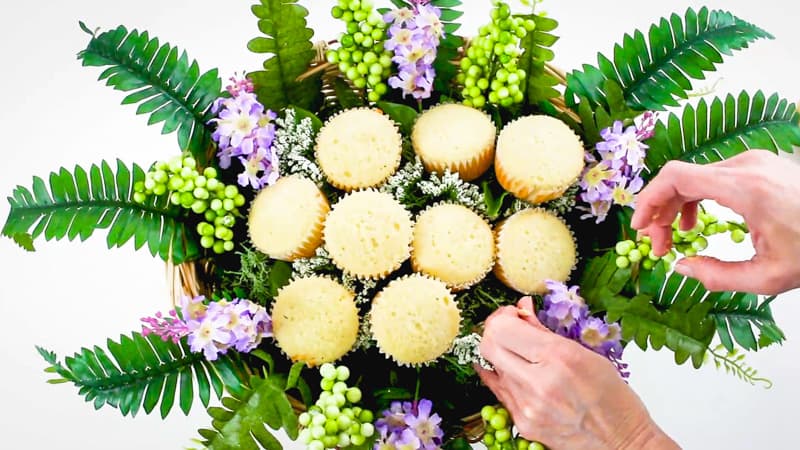
Now you can add in some of your larger flowers and some berries.
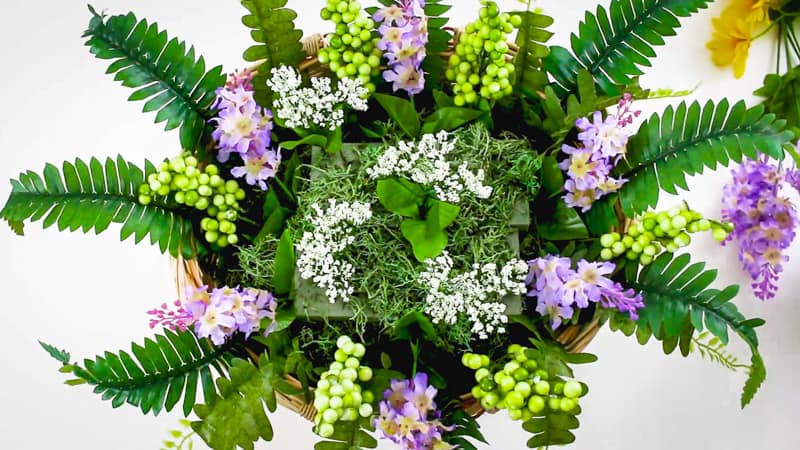
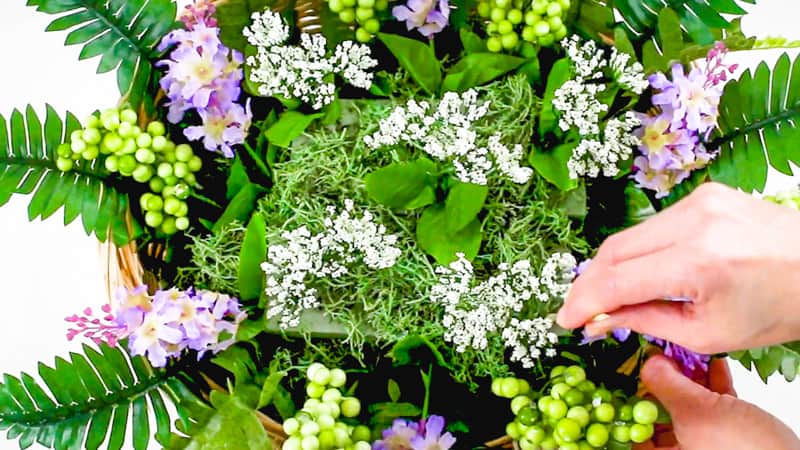
Start adding in a few smaller flowers into the inner part of your basket. I used some faux baby’s breath. Don’t add too much here though because you’ll be adding cupcakes in a bit.
PREPARING TO ADD THE CUPCAKES:
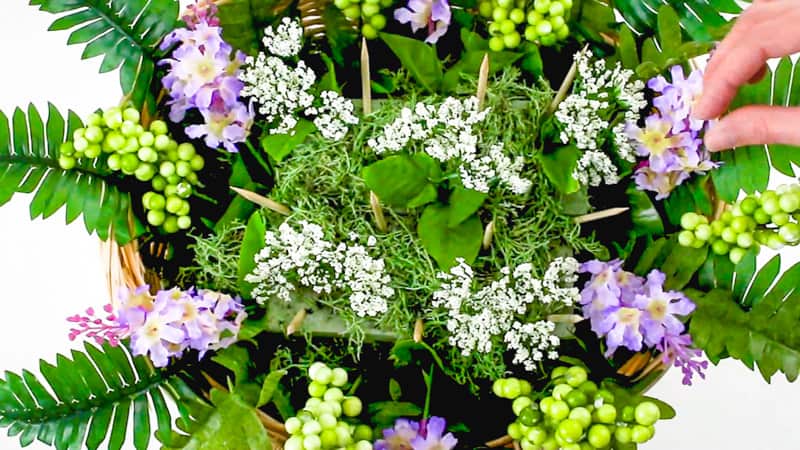
Now take your wooden skewers and cut them in half. (You may have to cut them even shorter, but start at half.)
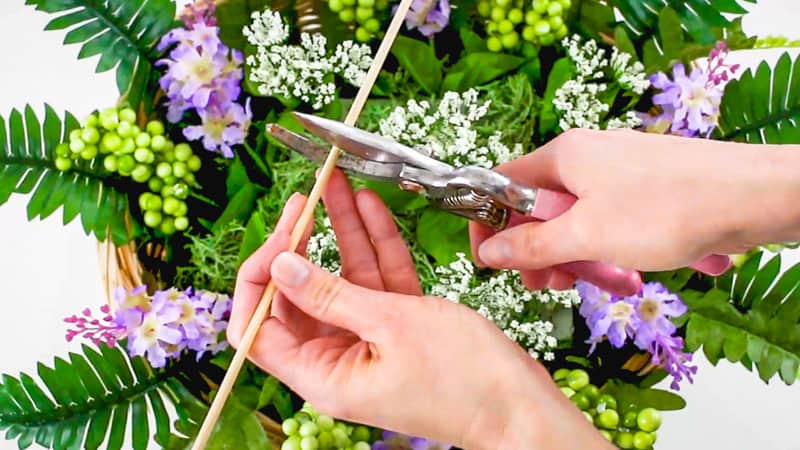
Now insert the skewers, pointy side up, into the foam. You’ll be sticking the cupcakes onto these. (Some people use toothpicks in their cupcake bouquets, which is fine, but there’s a lot of greenery in this basket, so I wanted it to be more secure.)
You don’t want these sticking up too high, or they’ll stick out of the top of your cupcakes.
Go ahead and add in about 10 – 12 wooden skewers. (You’ll probably have to adjust these once you start adding your cupcakes, but that’s okay.)
Ok, now you’ve got something that looks like some kind of medieval torture device, but it won’t look like that for long.
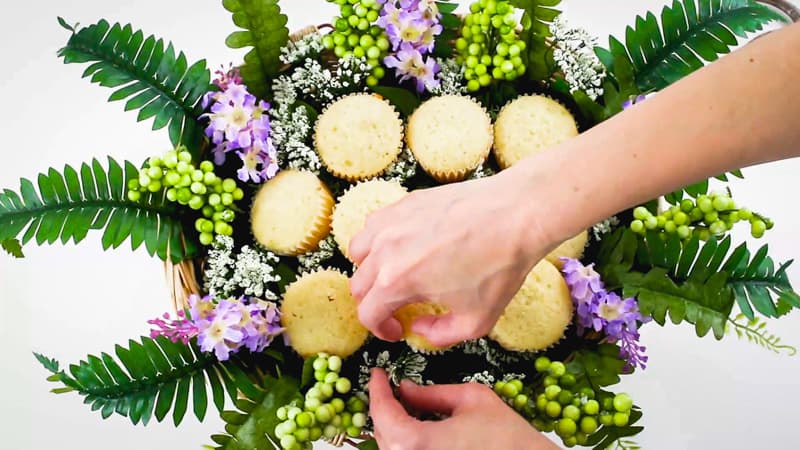
ADDING THE CUPCAKES:
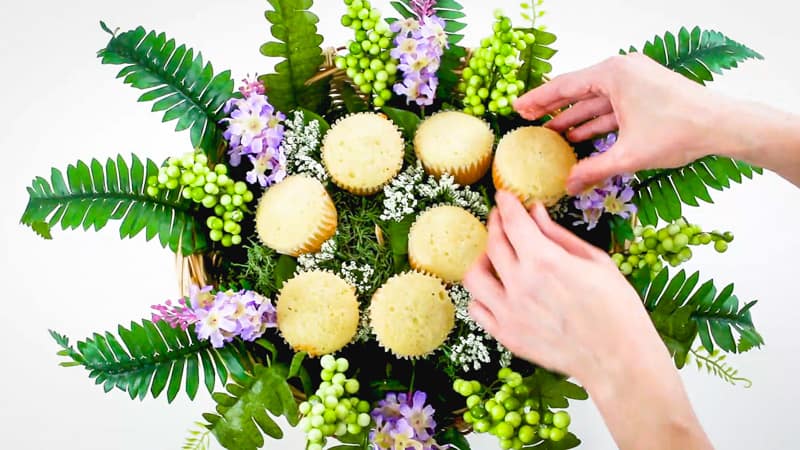
Now start adding your cupcakes. Make sure the flowers around it, don’t touch the tops of them. You want the cupcakes to actually stay food safe. You may have to push your flowers into the foam a bit more and move them around.
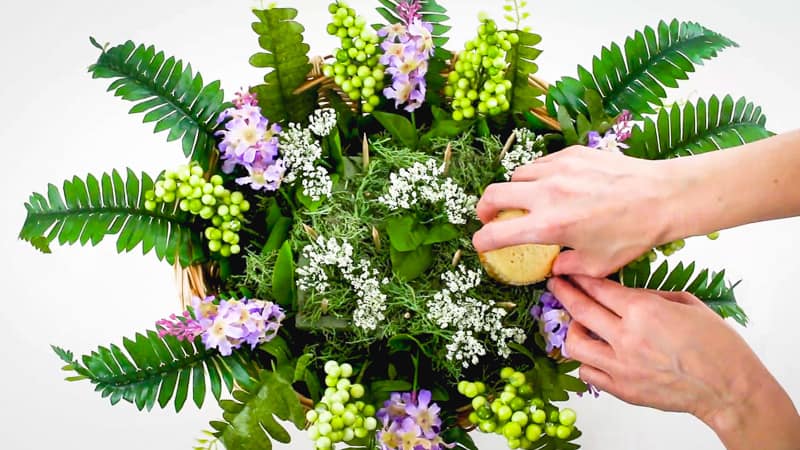
You’ll also probably have to adjust the skewers or cut them shorter. Just do what you need to do.
Now add in a few more faux flowers to fill in any empty spaces. Remember to make sure and leave a little space around the cupcakes.
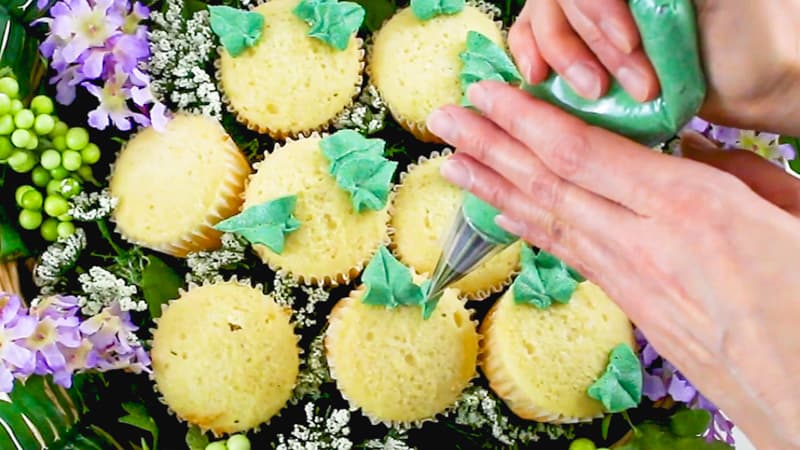
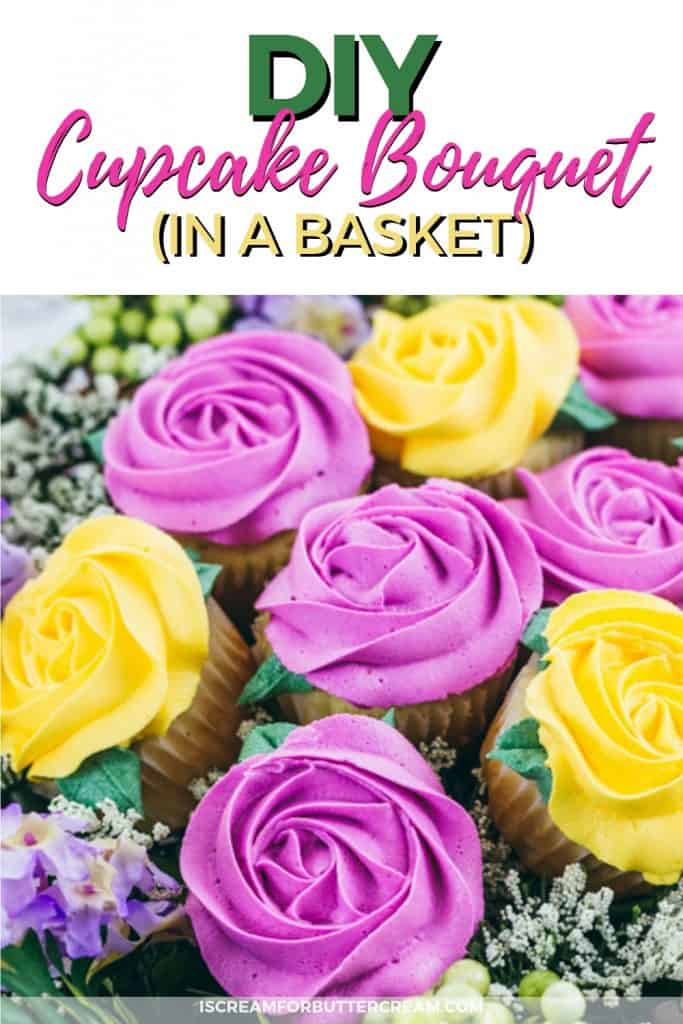
PIPING THE LEAVES AND ROSES:
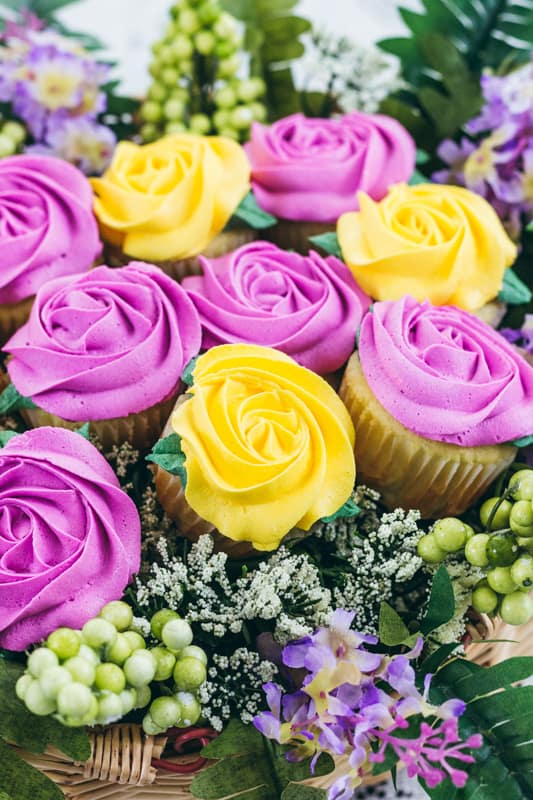
Now, fill a piping bag, fitted with a large leaf tip (#366), with green buttercream and pipe a couple larger leaves on each cupcake.
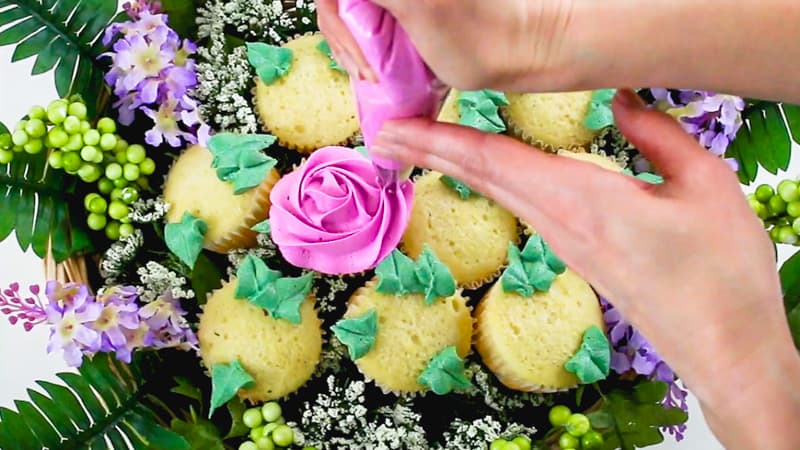
Take a piping bag, fit it with a 2D tip, and add pink buttercream. Do the same for the yellow buttercream.
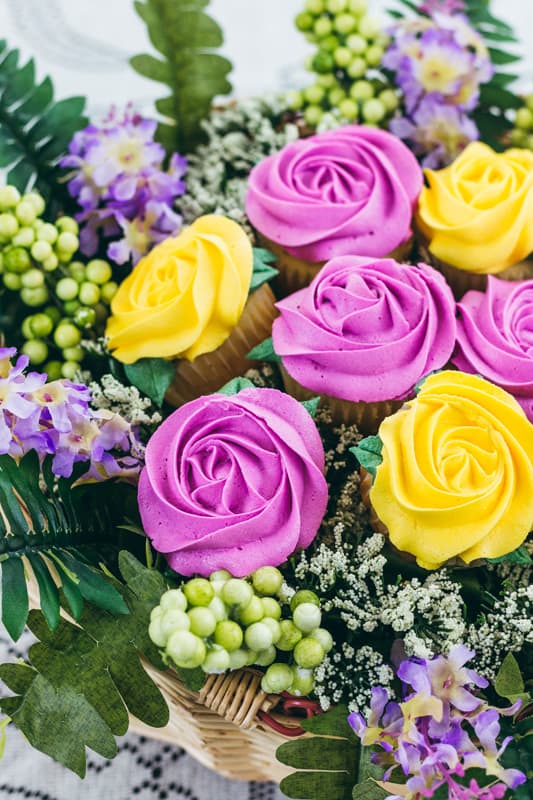
Now just pipe on rosettes. Remember to get them to look like roses, you’ll start piping from the inside and swirl outward.
If you need help with rosette piping, I’ve got an entire post about it here: Better Buttercream Rosettes.
Now just pipe several pink roses, then yellow roses.

ADJUSTING THE FLOWERS:
Now to finish it up, you’ll just go through and do any adjusting you see that’s needed. You can move around the flowers, or add in more in bare spots. Just be super careful not to get the greenery in the cupcakes.
VIDEO FOR THE DIY CUPCAKE BOUQUET:
Ok, what do you think? Who will you make this for? I’d love to know!
OTHER TUTORIALS YOU MIGHT LIKE:
- Floral and Eyelet Lace Bouquet Cake
- Easy Buttercream Flower Cake
- Easy Cupcake Decorating Using a Star Tip
Don’t Forget to Pin it for Later!
Jamie McCormick
This is so cute. When I first saw the photo in the email I thought the flowers were real. Thanks for sharing.
Kara Jane
Thanks Jamie! ?
Wendy Jean Hunter
Hi! I used your tutorial to make a Fall – Themed basket of cupcakes! It turned out beautifully! Thanks for sharing your expertise!
Kara
Hi Wendy, that’s awesome! Thanks for your comment…I’m so happy to know that the tutorial was helpful! 😊