
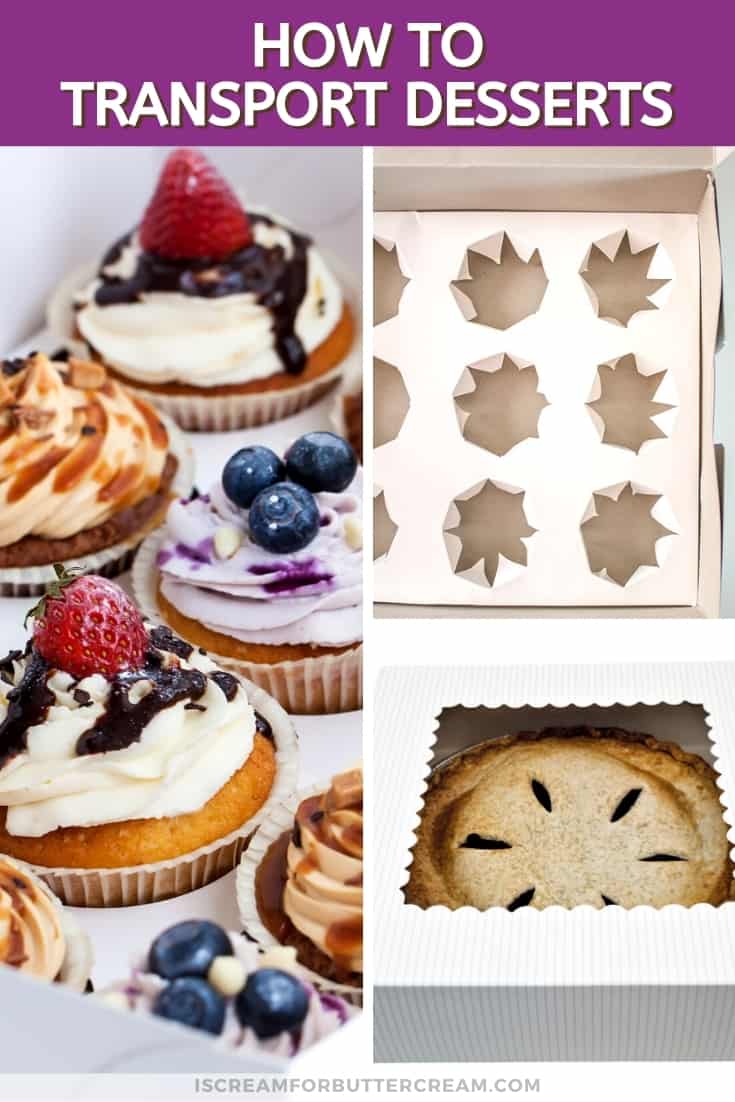
Tons of ideas on how to transport different types of desserts with dessert carrier options.
These tips for transporting desserts plus dessert carriers can help you transport desserts easily without making a mess. Transport anything from pies to cupcakes, to layer cakes to cookies. Lot’s of ideas here.
With the holidays coming up, and since we’re all going to be toting desserts around, I thought I’d take this time to pull together some really cool ideas for dessert carriers.
I’ve broken this post down into sections for what you may be transporting, so it’s easier to find ideas. I’ve also added in some links to a couple posts I have that will be helpful and links to some items I’ve found that you might really want.
Alright, let’s get to the tips and ideas.
Before I give specific examples on how to transport different types of desserts, I want to give you a few good tips that you’ll want to implement for any of these.
As an Amazon Associate, I earn from qualifying purchases.
Tips for Transporting Desserts:

- Make sure you transport your dessert on a flat surface, especially cakes. Car seats can lean back or forward and they just aren’t completely flat. It’s more level if you put them in the floorboard of your vehicle or in the trunk of it.
Now obviously if it’s super hot in your area, then it may not be a good idea for you to transport a dessert in the trunk of your car, unless your backseat folds down or you’re in an SUV or hatchback where the air conditioning will reach back there.
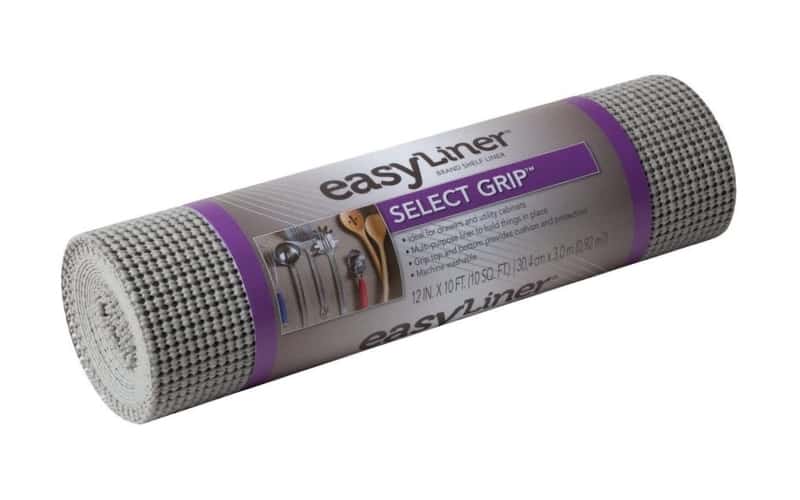
- Use a yoga mat or a non-slip liner surface under your dessert to keep it from sliding around.

Yoga mats are great because they provide cushion and they have a not slip surface, but if you don’t have one, or don’t want to use it because you’ve had your feet all over it, then lay a towel down and add a piece of non slip shelf liner on top of the towel, then set your dessert on top and it’ll keep it from sliding around on you.
Alright with those two major tips out of the way, let’s get into transporting specific types of desserts.
Transporting Cupcakes:

You can transport cupcakes several different ways.
Use what you’ve got:
A cheap way to transport your cupcakes is to add them to a 13×9 inch pan and cover them with plastic wrap or foil. (I prefer plastic wrap though because just using foil won’t seal them as well and they could dry out.)
This could get messy though because the frosting could stick to the plastic wrap.
There are tips on the internet about adding toothpicks to each cupcake to keep the plastic wrap from smashing down on the cupcakes, but that has never really worked well for me.
Now, the advantage of using foil is that you can kind of ‘tent’ it over the pan so the cupcakes don’t get smashed. Again, it doesn’t really form a good seal around the pan though, so the air might dry out your cupcakes.
Semi DIY Method:
You can use a box you already have and make some cupcake inserts out of poster board.
I’ve got an entire post with a video on how to do it. It’s super easy and you can find that here: DIY Cupcake Box Inserts
I’ve also seen people just use a box they already have and then use foil to make the cupcake inserts.
You just take a cupcake pan and turn it upside down and smash foil on top of it, then lift it off. That will make cupcake impressions in the foil and you can just fit that into the box you already have. It can sort of keep your cupcakes from sliding around on you.
You can also just use your cupcake pans to transport your cupcakes as well.
Purchase a box or carrier:
You can go to a craft store and see if they have cupcake boxes with inserts. Sometimes these can be expensive, but sometimes you can find good deals.
A lot of times they only have cake boxes though with no cupcake inserts. Just remember it’s easy to make your own inserts out of poster board. (See the link above.)
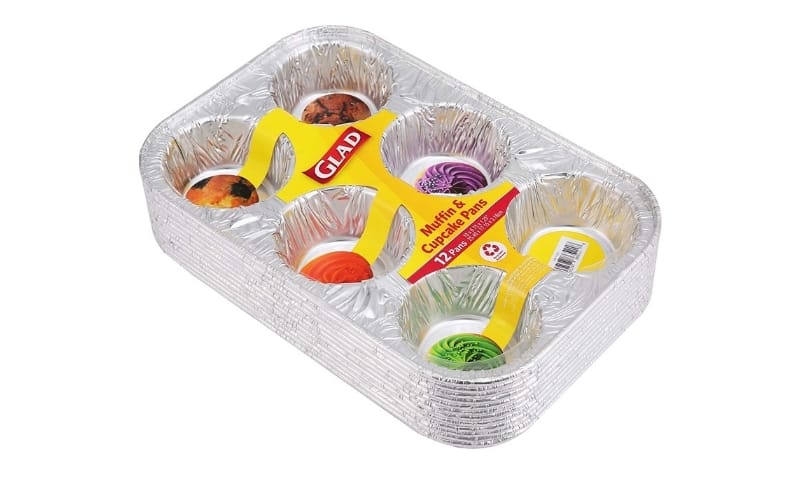
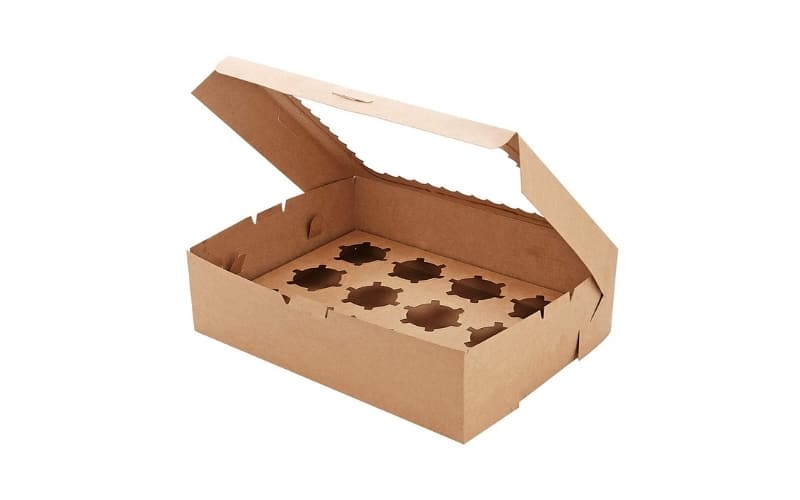
If you’ve got a box you can use, you could also just purchase the disposable foil cupcake pans like below and that would give you something to set your cupcakes in so they wouldn’t slip around.
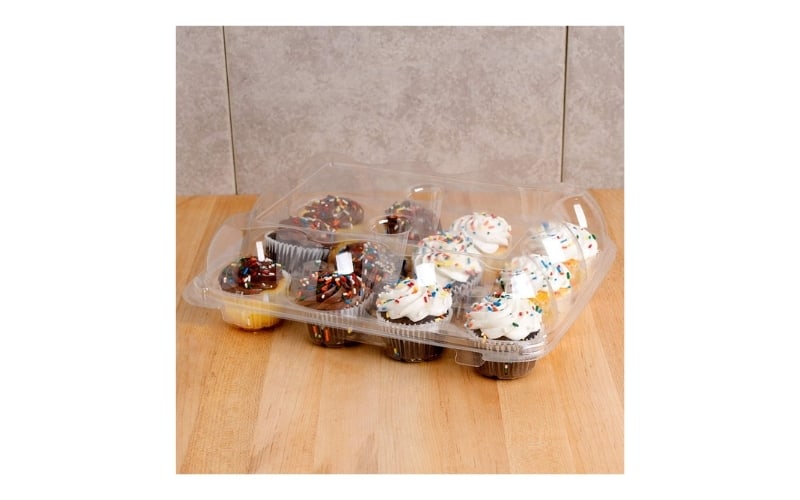
Another way to do it is to just purchase the disposable plastic cupcake containers like below.
If you plan ahead, you can purchase cupcake boxes with inserts ahead of time and be prepared.
Another way to do it is to just go ahead and purchase a reusable cupcake carrier. If you won’t be leaving the cupcakes at the event, then this is perfect.
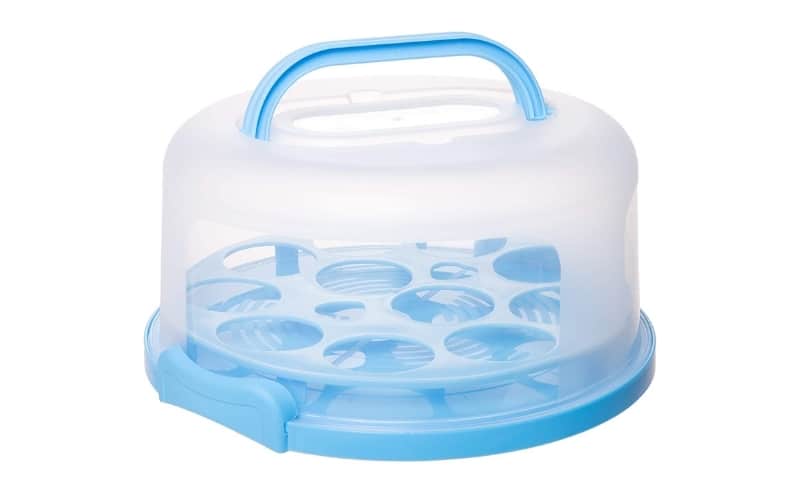
Here are some options for reusable cupcake carriers:
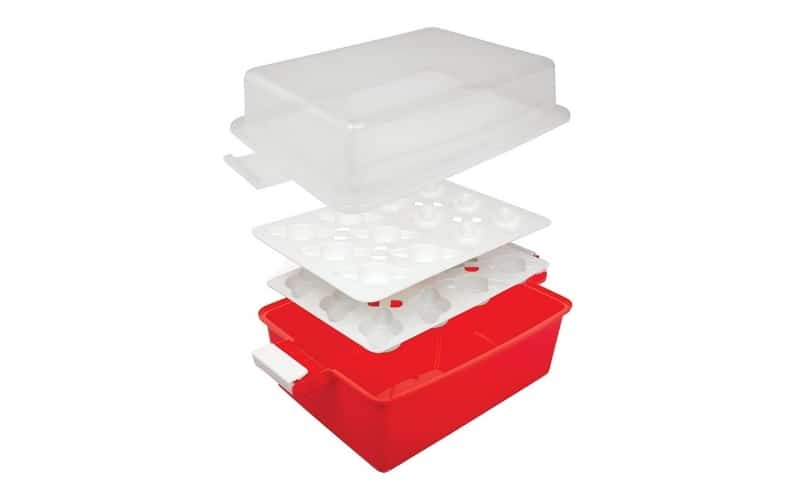
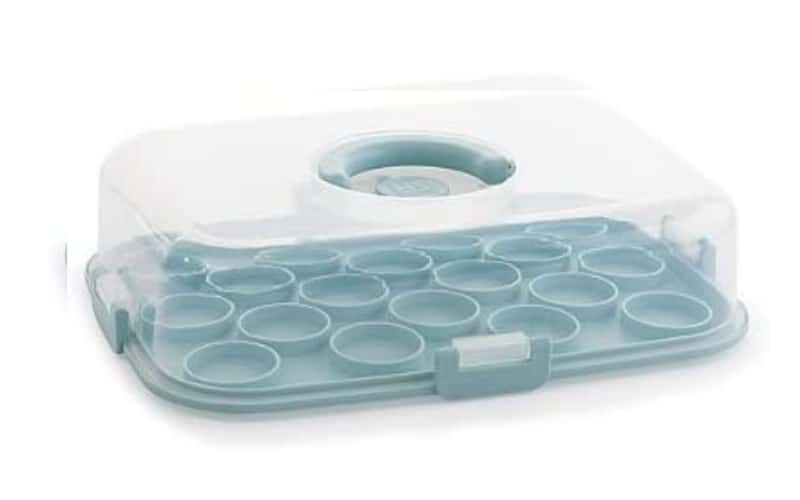
This one is nice because you can carry two dozen cupcakes in it.
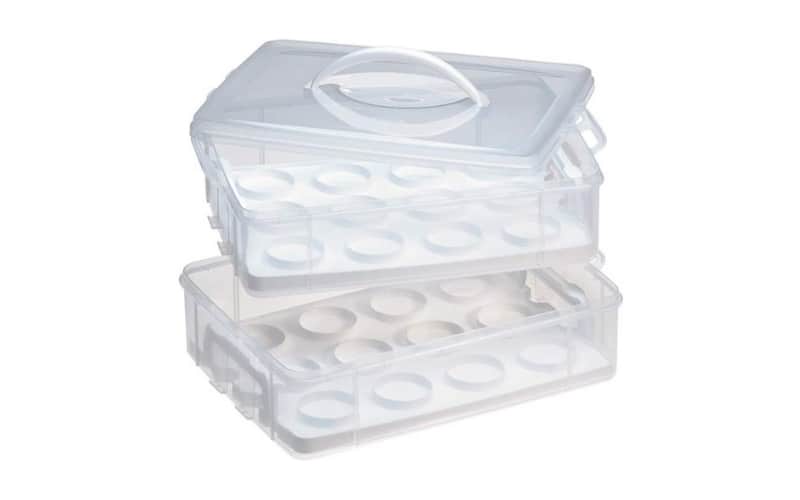
I like this one as well, because not only does it allow you to carrier a lot of cupcakes, but its collapsible, so if you don’t have much storage space, it’s perfect.
Transporting Layer Cakes or Bundt Cakes:

Use what you’ve got:
So I have to say, transporting a layer cake (or a bundt cake) can get a little tedious if you don’t have a cake carrier.
If you only want to use what you have, then just know your cake may get a little messy.
You’ll just have to set it on a plate that’s large enough and cover it with foil or plastic wrap. If you remember from my cupcake options earlier, I don’t like just covering things with foil because they seem to dry out (like it doesn’t seal it well enough.)
Foil and plastic wrap are still an option though if you don’t care if the cake gets a little messy. Again you can add toothpicks to it to try to hold back the foil or plastic wrap, but honestly that’s never worked for me.
Makeshift Method:
If you’ve got a glass cake stand and dome then you can just use the top of it.
So, you can place your cake on a platter (if your cake dome comes with a tall crystal stand, that’s not really a good idea to use when transporting a cake), then you can just set the glass cake dome on the platter and travel with it that way.
It’s not ideal, but it works in a pinch.
Purchase a box or carrier:
If you transport cakes that you’ll leave at events, parties or wherever you’re going, then just purchasing some cake boxes from a craft store or plastic disposable cake containers like below is probably best.

If you carry cakes with you to events that you stay at and you won’t be leaving it there, then it might be a good time to just go ahead and purchase a reusable cake carrier.
Here are some good options:
I like this one because it’s tall and you can tote a three layer cake in it, or a two layer with decor on top.
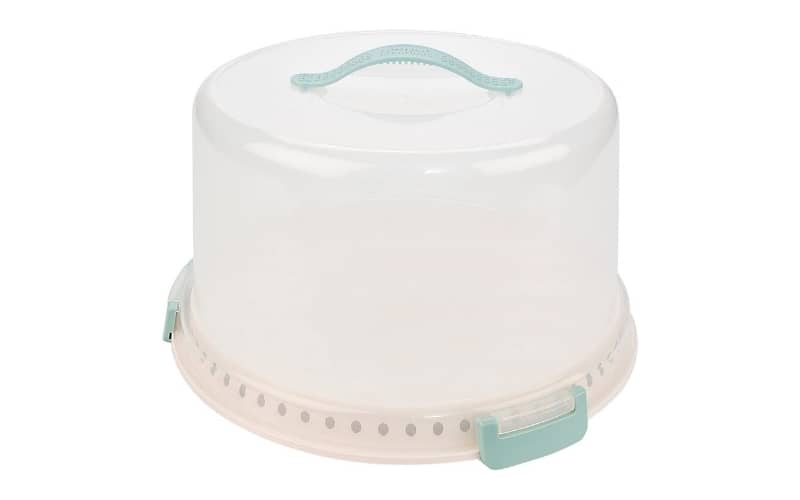
This one is cool because you can use it to carry either cupcakes or a layer cake.
Now, if you’re transporting a large customized cake or a tiered cake, then I’ve got an entire post on how to do that without buying a bunch of special equipment. You can find that here: How to Transport a Cake in a Car
Transporting Sheet Cakes or 13×9 Inch Cakes:
Use what you’ve got:
These are probably the easiest cakes to transport. If you’ve got a potluck or some other event coming up, it might make sense to just plan to bring a 13×9 inch cake with you since they’re so much easier to haul around.
If it’s an event that you’ll be staying for and you won’t be leaving the cake there, then you can just bake the cake in the pan, let it cool completely, then cover it in plastic wrap or foil and transport it.
If you’ve got a 13×9 inch pan that comes with a plastic cover, then that’s even better.
Cheap Method:
If you’ll be taking the cake to an event and you don’t really want to mess with clean up or bringing any leftovers back home then it makes sense to just purchase disposable 13×9 inch cake pans.
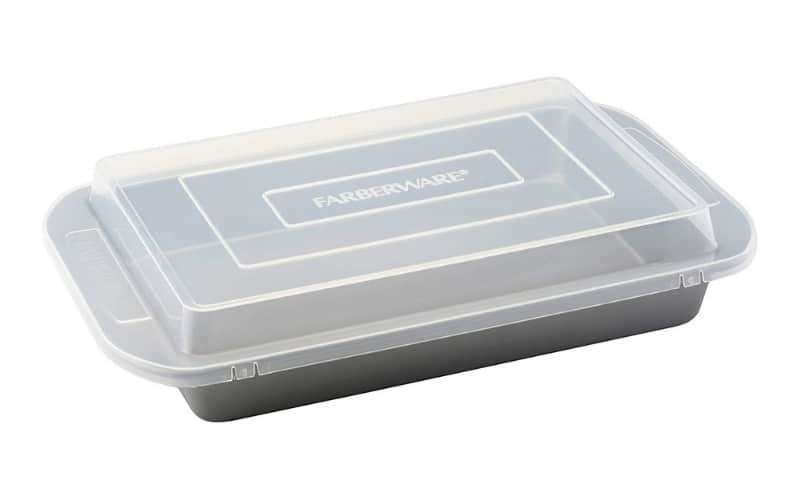
Purchase a box or carrier:
If you travel with cakes a lot, it makes sense to get a carrier and there are some nice ones for 13×9 inch cakes.
The good thing about these is that they come with lids so you don’t have to worry about messing up your icing.
Here are some examples:
This one looks very sleek and streamlined.
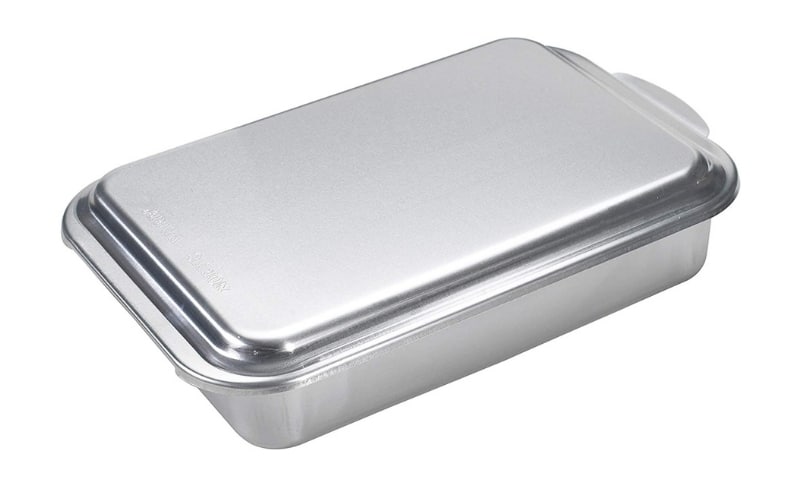
This one is nice because you can bake the cake in the pan, let it cool and then the lid actually snaps down onto it.
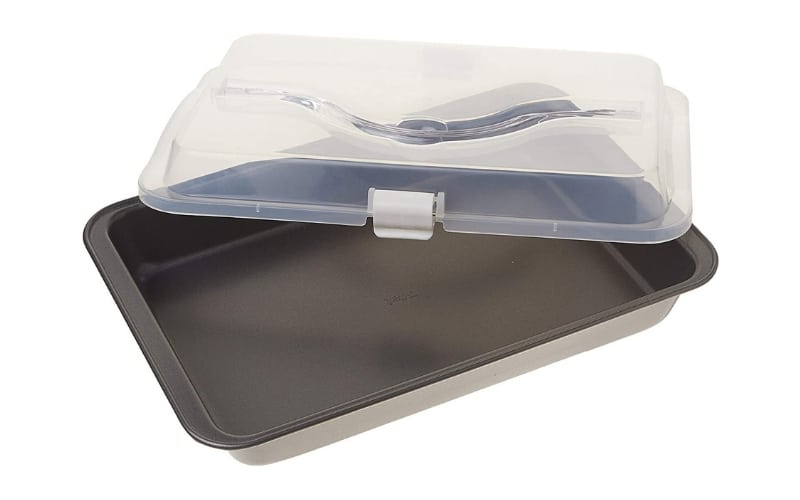
This one is a larger option and would be nice for more decorated cakes. It’s also nice because it will tote both cupcakes and a rectangle cake.
Transporting Pies:

Use what you’ve got:
This is the easy way since you can just bake your pie in your pie pan or dish and cover it with plastic wrap or foil and hit the road.
Semi DIY Method:
If you’ve got a cake carrier (like some of the options in the layer cake carrier section of this post), you could just set your pie in one of those. I’ve done that loads of times. Then just pop the lid on it and go. It works!
Purchase a box or carrier:
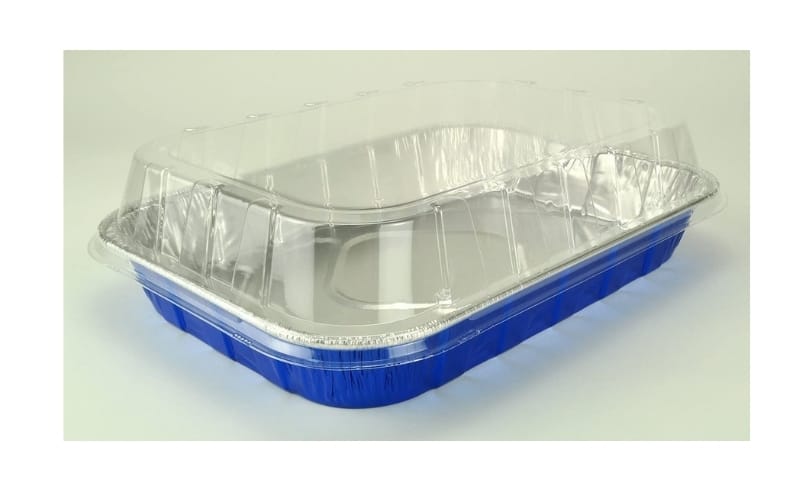
If you want to be able to just leave the pie at the event, or not worry about clean up then you’ll want to just purchase some disposable pie plates or pans like the ones below.
These are nice because you can bake the pie in the disposable pan, it has a plastic lid and comes with a bakery box. Perfect for gifting.

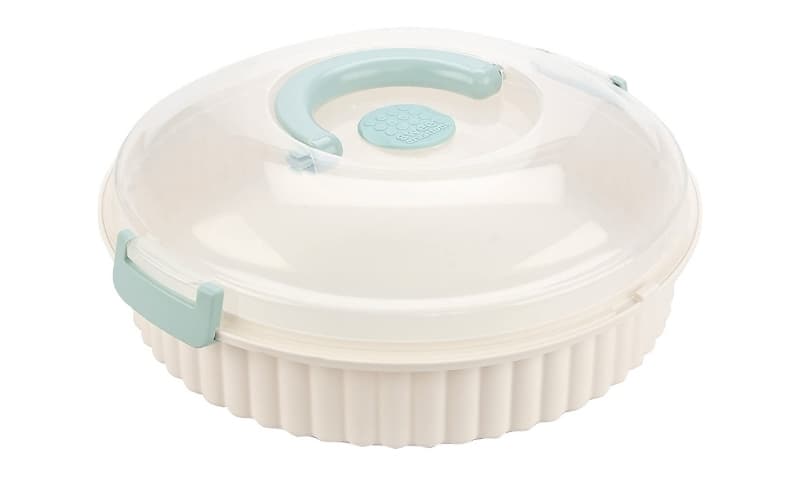
Another option if you tote pies a lot, is to purchase a reusable pie carrier.
This one is nice because you can set your entire pie pan in it and then the large lids clamps down. You can also tote other stuff in it as well, not just pies.
Transporting Cookies/Brownies/Bars:

Use what you’ve got:
If you’ve baked your bars or brownies in a 13×9 inch pan, you can just follow any of the suggestions for the 13×9 inch cake section above.
DIY Method:
You can simply tote brownies and bars in the pan you used to bake them.
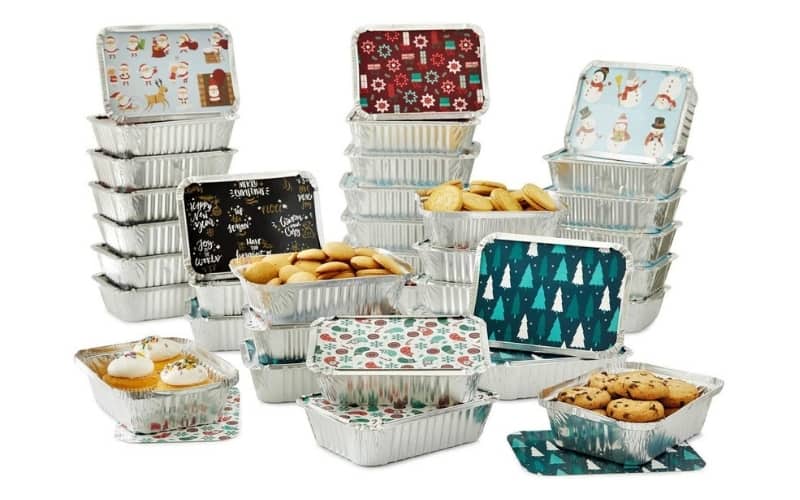
You could also bake them and tote them in disposable pans, or you can even cut them up and add them to a zip lock bag or container if you need to.
For cookies, you can add them to ziplock bags as well.
Purchase a box or carrier:
You can use any of the 13×9 inch cake carriers I mentioned in the section above for carrying brownies or bars, but the easiest way I’ve found to cart them around is to just use a large plastic container with a lid.
I do the same thing with cookies. I generally get my plastic containers from the dollar store.
I like using these types of containers for brownies, bars and cookies, because the lid snaps tightly down so they don’t dry out.
And here’s a tip: I always add a piece of bread in my cookie container. It helps keep the cookies soft.
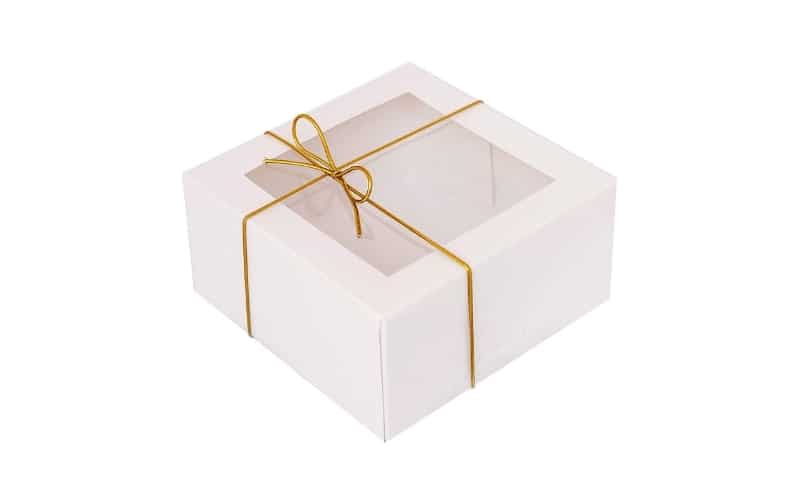
Transporting and Packaging Gifts and Treats:

Ok, you can really go crazy here. There are tons of fun ideas for how to package gifts and treats.
If you absolutely don’t have anything, but maybe poster board, you can always make your own. I have a post here: DIY Treat Boxes (it’s even got printable labels for you)
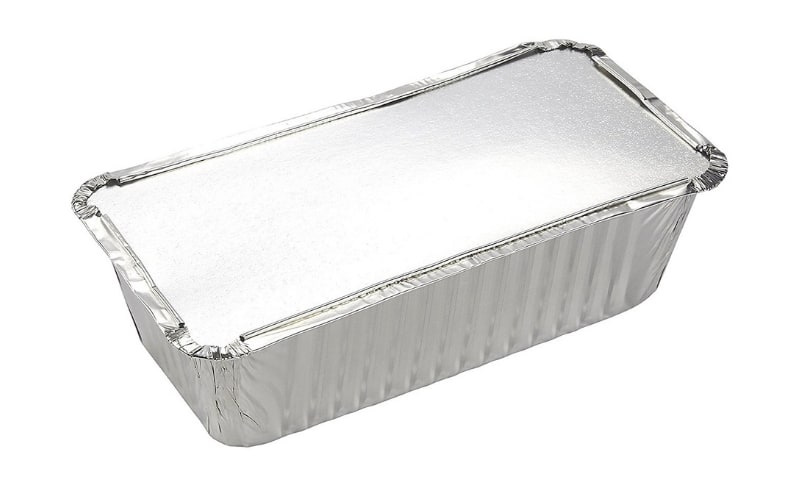
If you’re baking breads, the disposable bread pans with lids are fantastic. I use them all the time.
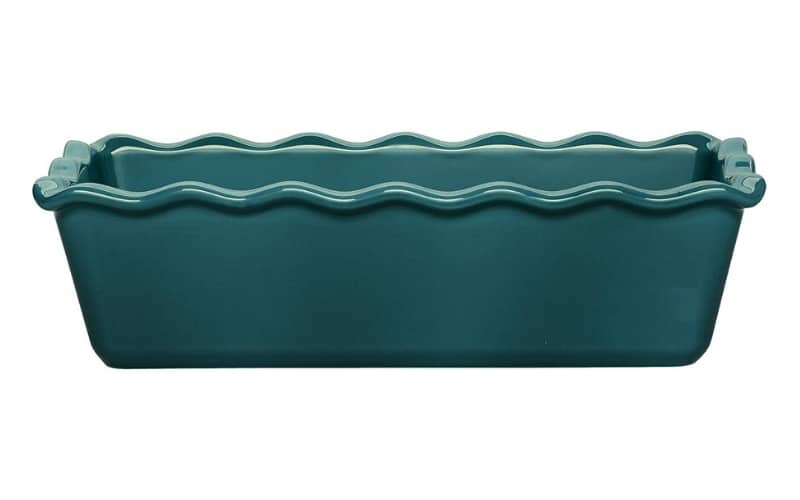
If you really want to go all out, you can just purchase a nice ceramic loaf pan, bake the bread in it, cover it with cellophane and give the whole thing as a gift.
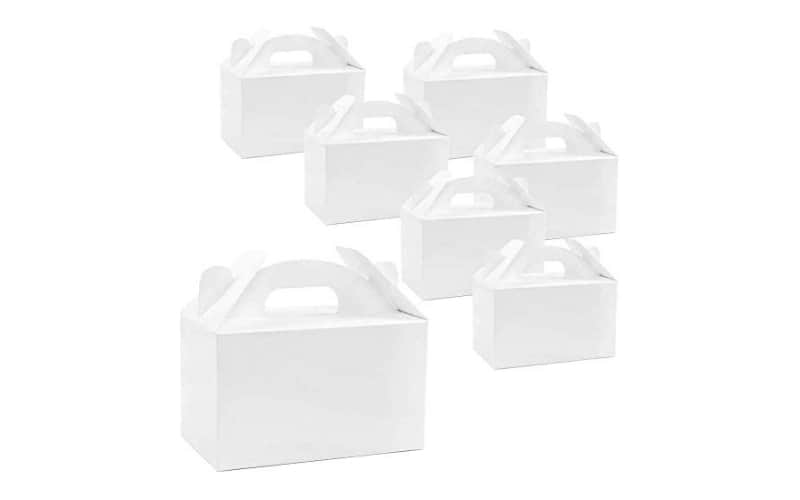
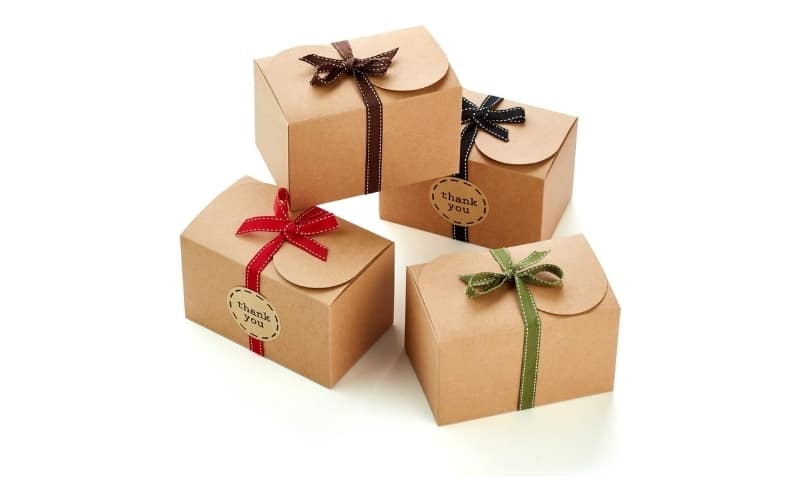
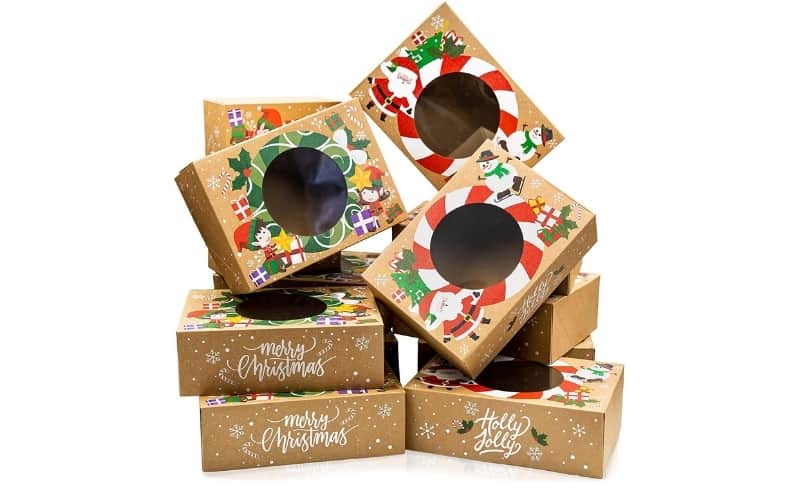
If you’re making fudge, or decorated cookies or some other type of treat, you could always go with either treat boxes or tins.
Here are some treat box ideas:
Cute tins are also an option:
You can also pick up a ton of different types of cute tins at the dollar store.
Alright well I hope I’ve given you a ton of options here on different ways you can transport different types of desserts!
Related posts you might like:
Don’t forget to pin it below!
Becky Coble
Martha Stewart suggests putting a mini marshmallow on the top of the tooth pick so it does not poke a hole in the plastic wrap or foil. It works ok. On my opinion it is still better to have a covered container. Good tips.
Kara Jane
Oh that’s clever! Thanks for sharing that! I agree with you though…that covered containers are better and they’re certainly easier to deal with. 🙂