
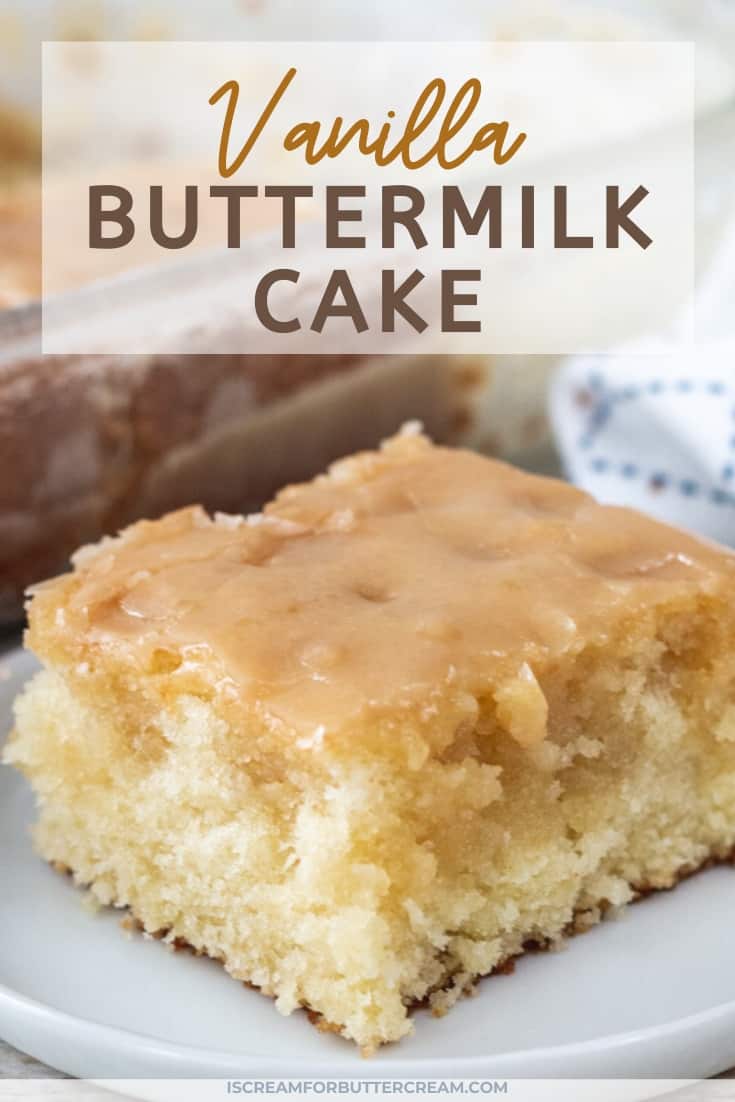
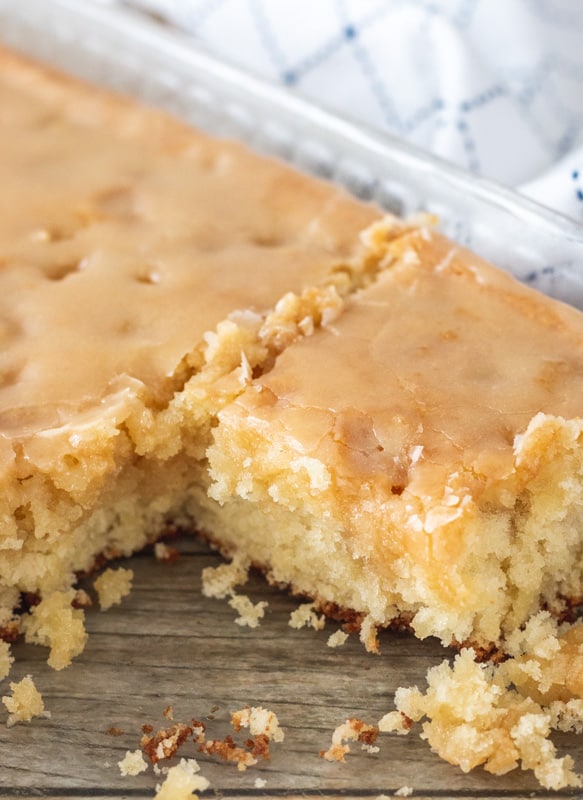
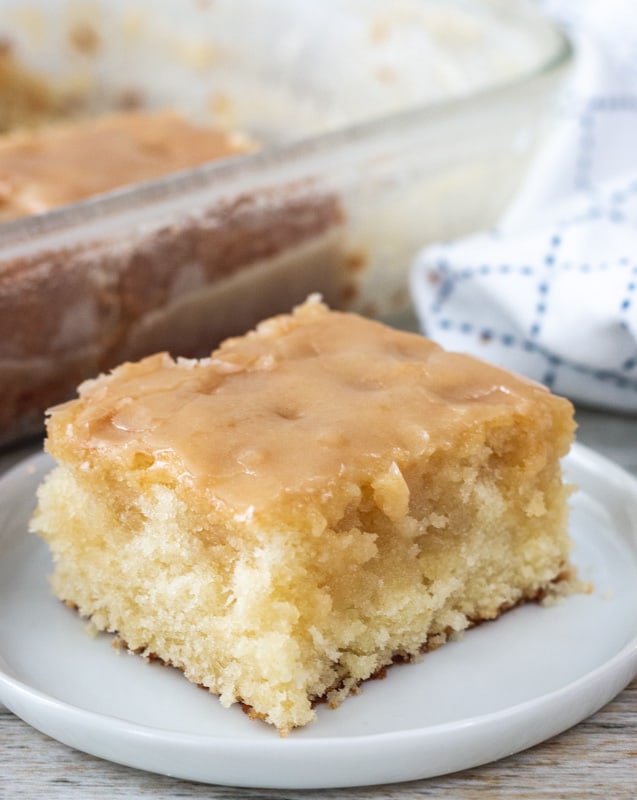
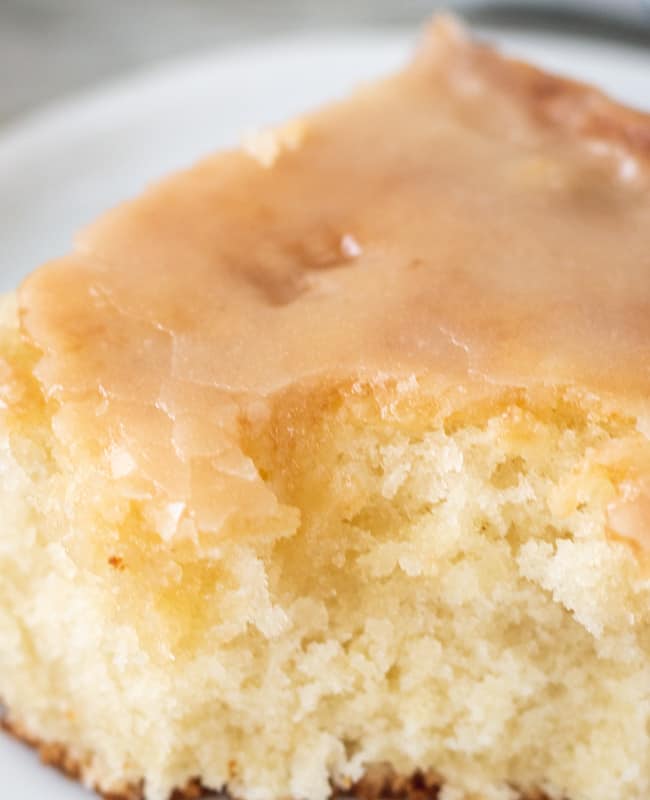
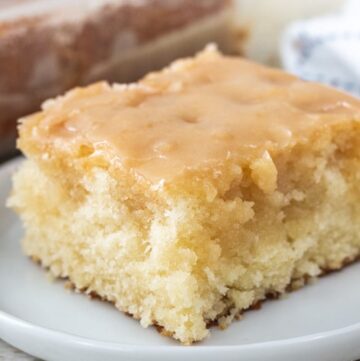
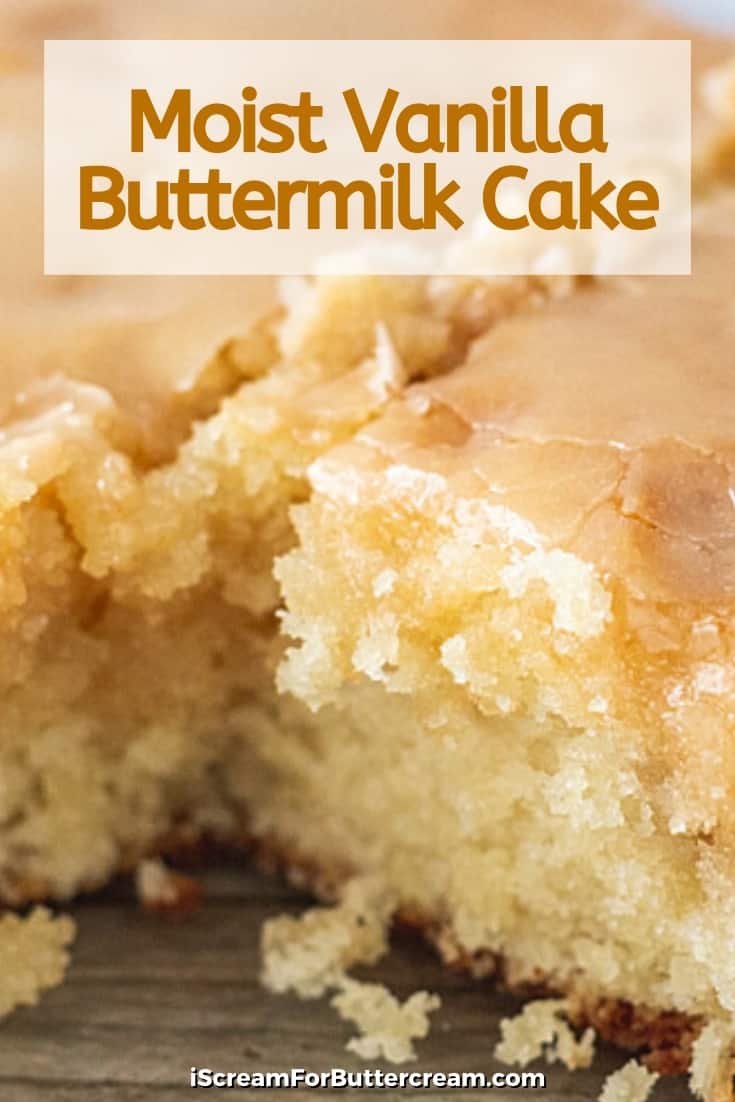
This moist vanilla buttermilk cake is a favorite. It’s easy and bakes in a 13×9 inch pan, then it’s topped with a yummy glaze that soaks in making the cake super moist and tasty. This cake is one of the best cakes I’ve ever had and it’s sure to be a family favorite.
Hey there! Before you scroll, there’s lot’s of important stuff in the post!…including the FAQ section, which may answer any questions you might have about this recipe. Enjoy!
Confession…I ate A LOT of this cake. I mean I gave some away as well, but I personally ate way too much. This isn’t an exaggeration either. I LOVE this cake and it’s one of my absolute favorites.
Let’s Talk About Some of the Ingredients in this Cake:
All purpose flour: You’ll just use regular all purpose flour here, so no having to go out and find cake flour.
Buttermilk: Of course a buttermilk cake is going to have buttermilk in it. First, if you don’t like buttermilk, don’t panic. I don’t like buttermilk either and you will never catch me drinking it, but when it’s an ingredient in a cake, it will NOT come out tasting like buttermilk.
What buttermilk does in a cake is it gives it moisture and a really amazing taste, but nothing like if you were to drink it straight from the glass. So if you’re hesitant about trying it in a cake, don’t be. It’s seriously good.
The glaze also uses buttermilk, but don’t be scared away by that either. I promise, it does not taste like buttermilk. Also make sure to read the Tips and FAQ section in this post to answer questions about substituting it if you have to.
Vanilla Extract: Ideally I’d like to use vanilla bean paste (which you can still do if you want), but lately vanilla is super expensive, so vanilla extract does the job and it’ll still taste amazing.
Unsalted butter: This will be used for both the cake and the glaze. Read the Tips and FAQ section in this post to answer questions about substituting it.
Sugar: This recipe calls for regular granulated sugar for the cake and brown sugar for the glaze…(because brown sugar makes everything better, right?).
Mixing Method for this Cake:
For this cake, you’ll use the reverse creaming method. Don’t worry, it’s easy and I go through all the steps in the recipe card below.
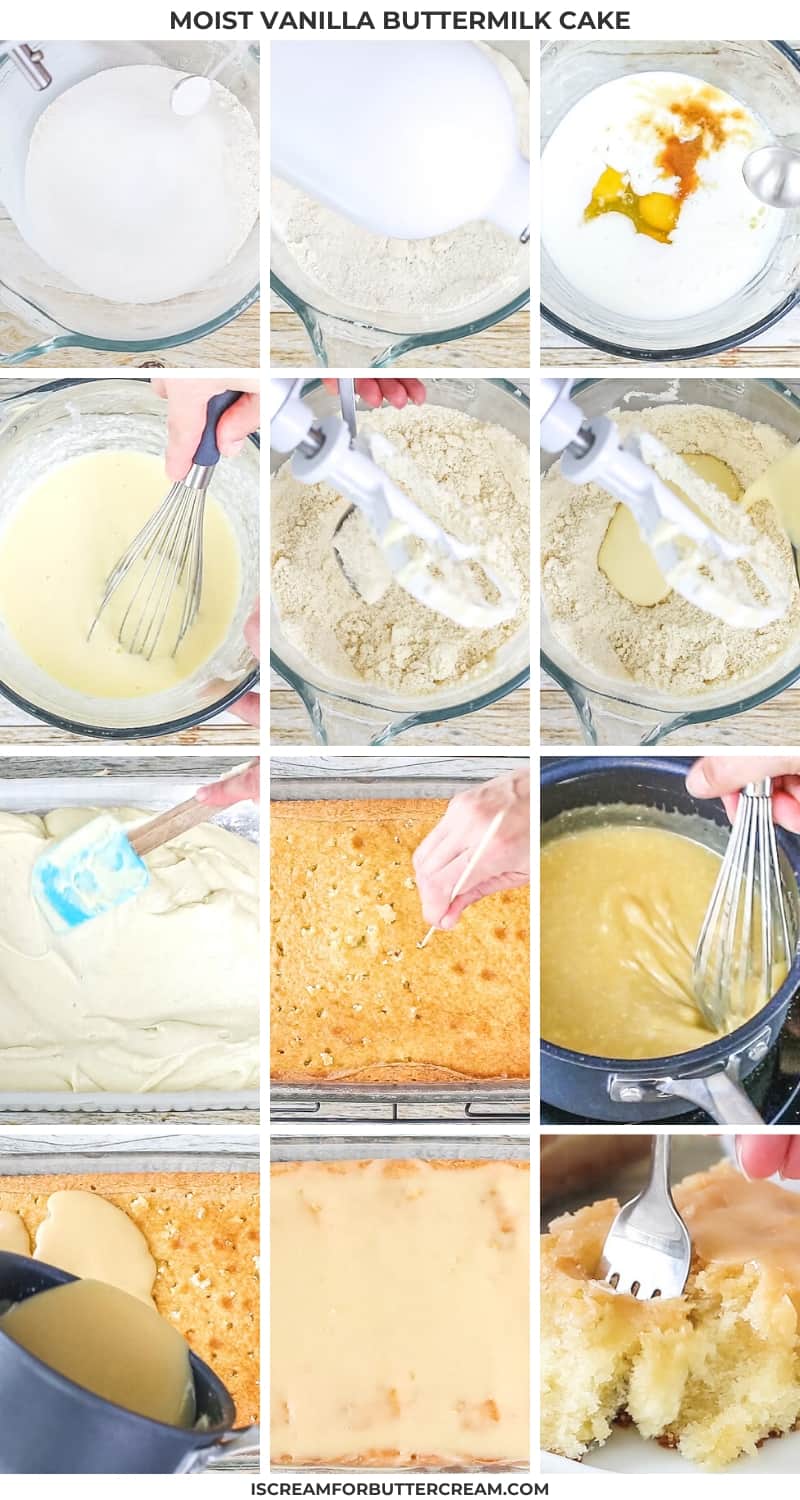
The reverse creaming method just means you’ll mix up all the dry ingredients in one bowl, the liquid in another bowl, then you cut in the room temperature butter into the dry mixture and mix until it’s crumbly.
Then you’ll add in the liquid in two parts and mix. I actually find that the reverse creaming method is easier to do than the regular creaming method where you alternate adding in the ingredients…that’s kind of a pain sometimes.
Just remember that there is a video in the recipe card below that will show the mixing method as well.
Now, the easy thing about this cake is that it’s baked in a 13×9 inch glass pan, so there’s not worrying about having to remove the cakes from layer pans or anything like that. And you don’t have to get fancy with icing either.
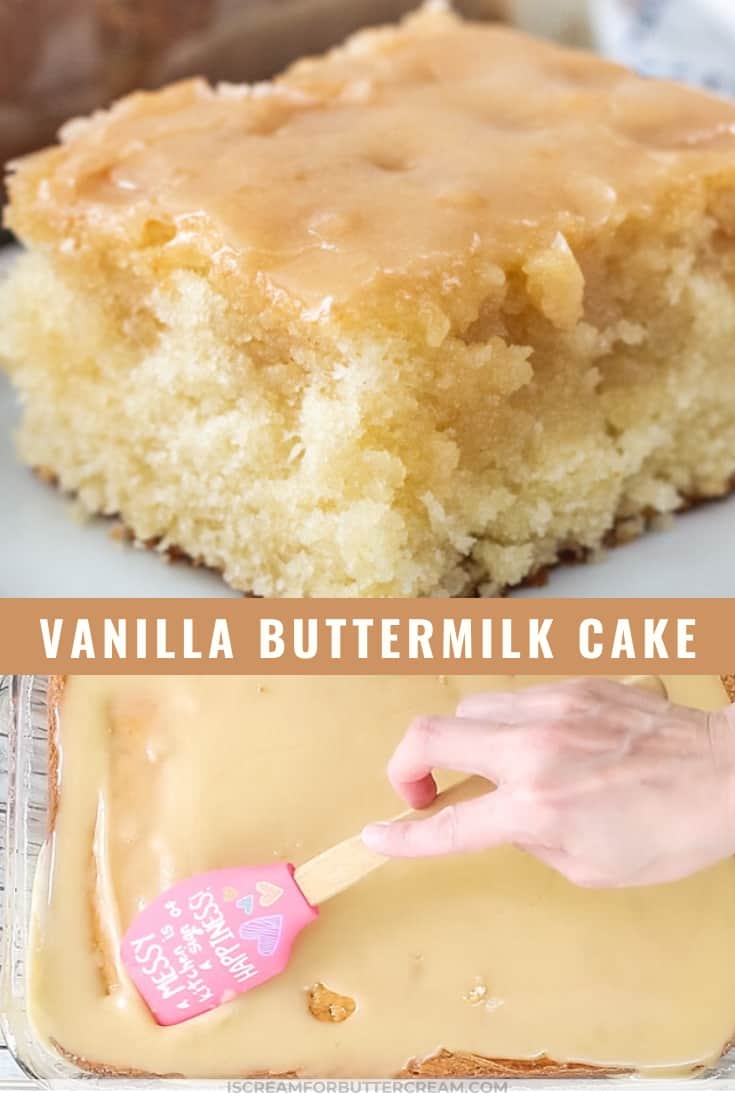
The glaze is cooked on the stove (it’s really easy though) and then it’s poured over the warm cake (that you’ve poked holes in) and allowed to soak in. Don’t skip that part as that’s what really sets this cake apart.
Tips and FAQs for the Vanilla Buttermilk Cake:
This recipe calls for unsalted butter, which I find best for baking. You don’t really want to substitute it with margarine as that isn’t the same as butter and you may get an unintended result.
If you only have access to salted butter, you can use that, but omit the salt that the recipe calls for.
Yes, the butter for the cake batter, needs to be almost room temperature. Don’t microwave it as that over-heats it and can heat it unevenly.
Just cut the butter up and let it sit out on a plate to warm up a bit (for reference…that’s usually about an hour or a bit longer in about a 73 degree room).
As for the eggs, you can set them out when you start the mixing process and they should be just fine if they’re a little cold.
Don’t substitute them out as they are different. (For more info. on that, see this post: Baking Soda vs. Baking Powder)
Either is fine to use as they are generally interchangeable. I used light brown sugar though.
Mixing this way, will give you a tender cake.
It’s scientific, but essentially, if the cake batter is a little acidic, then it will help to make the cake more moist and tender because it will break down the longer strands of gluten that can be tough.
Well you’re in luck because you don’t really taste the buttermilk in cakes. I actually don’t like the taste or the texture of buttermilk, but it’s great to use for baking cakes. It makes them moist and just brings out all the other flavors.
If you have access to buttermilk, use that as that’s what will taste best in this recipe.
If you absolutely cannot get buttermilk, then you can substitute it by adding one tablespoon of lemon juice or white vinegar to a measuring cup, then pour in regular milk until it measures one cup. Let it sit for five minutes before adding to the batter. For this recipe, you’ll need one and a half cups, so make the substitution above once and then make half that amount.
Now, just understand that you won’t end up with the same exact cake if you use this substitute, so if you’re really just wanting a good vanilla cake that doesn’t use buttermilk, then you can find my recipe for that here: Favorite Vanilla Bean Cake
Yes, it’s great if you can get full fat buttermilk, but lately it’s been hard to find. I used the reduced fat buttermilk and it turned out great.
Yes and no. The cake batter will bake up the same whether baked in a 13×9 inch pan or two, 8″ round cake pans. However you may not want to use the glaze if you’re making this into a layer cake because it will make the cake layers very very soft and may not lift out of your cake pans properly.
If you do decide to make this as a layer cake not use the glaze, you may want to check out my recipe for vanilla buttercream here: Vanilla Bean Buttercream
You also want to make sure that you’ve poked holes in the warm cake with a skewer to help the glaze soak into the cake.
As an Amazon Associate, I earn from qualifying purchases.
Supplies Used for this Cake:
- KitchenAid Artisan mixer or handheld mixer
- Flat Beater Attachment if using a stand mixer
- Stainless steel measuring set
- Glass batter bowl
- Whisk set
- Glass 13×9 inch pan
- Rubber spatulas here or here
- Cooling racks
- Liquid measuring cups
- Wooden skewers (You can sometimes find these in smaller quantities at the dollar store or at your local Walmart or grocery store.)
Video:
Ok, let’s get to the recipe!
Note About Recipe Measurements: I write recipes using volume (cups) measurements because here in the U.S., this is what people are more familiar with and I don’t want anyone to feel intimidated when baking. For metric/weight measurements, click the ‘metric’ button under the ingredients in the recipe card below. The weights are converted by a program, not me, and it’s just a best guess. I can’t guarantee that weighing the ingredients will produce the exact same results, since I test recipes using volume measurements.
Recipe
Moist Vanilla Buttermilk Cake
Ingredients
For the cake:
- 2 ¾ cups all-purpose flour
- 2 cups sugar
- 1 teaspoon salt
- 2 teaspoons baking powder
- ½ teaspoon baking soda
- 1 ½ cups buttermilk (full fat is best, but low fat will work as well)
- 3 large whole eggs
- 1 egg yolk
- 2 teaspoons vanilla extract
- 2 tablespoons vegetable oil
- 1 cup unsalted butter (2 sticks) (room temperature – do not microwave)
For the glaze:
- ½ cup unsalted butter (1 stick)
- ¼ cup packed brown sugar (dark or light brown sugar, I used light)
- 1 teaspoon vanilla
- ¼ cup buttermilk
- 2 cups confectioner’s sugar
Instructions
For the cake:
- Preheat the oven to 325 degrees Fahrenheit. Spray or grease a 13×9 inch glass pan.
- In a large mixing bowl, add the flour, sugar, salt, baking powder and baking soda. Whisk well and set aside. In another bowl, add the buttermilk, whole eggs, egg yolk, vanilla extract and vegetable oil. Whisk well and set aside.
- Cut the room temperature butter up into pieces (if not already done). Add in the butter pieces slowly to the flour mixture while you mix on medium speed. (You can use a hand mixer as well.) Once all the butter is added, mix until the flour mixture becomes crumbly and resembles sand.
- Add in half the liquid mixture and mix on medium speed, just until incorporated. Add in the last half of the liquid mixture and mix only until incorporated. Scrape down the sides of the bowl and mix again just until all the ingredients are mixed well. Only mix for about 10 seconds or so. Mixing for a minute or more is too long and can cause a dense or tough cake.
- Pour batter into prepared pan and bake at 325 degrees for approximately 45 minutes.
- Cake is done when it is golden brown on top and a toothpick inserted into the middle of the cake, comes out with a few moist crumbs. (You do not have to wait until the toothpick comes out clean as that can over-bake your cake. Just make sure there is no raw batter on the toothpick and a few moist crumbs are fine.)
- Once the cake is baked, set on a wire rack to cool for about 15 minutes, then poke holes into the cake with a skewer and cover with the warm glaze. Let the cake sit for about 30 minutes before cutting and serving.
For the glaze:
- Once the cake is out of the oven, make the glaze. (You want the cake to still be warm when you pour the glaze on it, so don’t let the cake cool completely.)
- Melt the butter in a saucepan over low/medium heat. When the butter is completely melted, turn off the heat and immediately add in the brown sugar, vanilla and buttermilk. Stir until the sugar is completely dissolved. Add in the confectioner's sugar and stir well. If it's clumpy, just keep stirring until most of the clumps are dissolved. The rest will dissolve as it sits for a bit.
- Set the glaze aside (not in the fridge) until the cake has cooled for about 15 minutes, then poke holes in your still warm cake with skewers, then pour the warm glaze over the warm cake and let it soak in. If the glaze has cooled off a bit, you can turn the burner back on just enough to warm it back up before pouring over your cake.
- When you pour the glaze over the warm cake, the glaze should still be warm, but not hot.
- Let set up for about 30 minutes before cutting and serving. This will give the glaze enough time to soak into the cake well.
Notes
Nutrition
How to Share
I’d love for you to share this recipe link or tag it, but please do not share screenshots or copy/paste the recipe to social media as the content and photographs are copyright protected and we (bloggers) work really hard on our content. Sharing the link, tagging us on socials and pinning it is super appreciated though!
Other posts you might like:
- Favorite Vanilla Bean Cake
- One Bowl Vanilla Cake
- Spiced Eggnog Cake
- French Vanilla Cake
- Moist White Cake
Don’t forget to pin it below!
Helen
I’m confused about your comment about not using low fat buttermilk, because there’s no such thing as higher fat buttermilk unless you’re just making buttermilk by mixing whole milk with an acid. Can I use regular buttermilk? Regular buttermilk is low fat.
Kara
Hi Helen, you are probably correct here. I thought I used to be able to get full fat buttermilk, but now I only see low fat buttermilk available. It’s possible I’m remembering incorrectly though. Whatever buttermilk you can find, should me just fine though. I’ve made this loads of times with what I’ve found at the store (low fat) and it’s turned out great. Thanks for asking and bringing this to my attention.
Amy
Actually, you can buy full fat buttermilk. Sometimes called Bulgarian buttermilk. Borden makes one. I grew up in the house where my mother drank, buttermilk, and pulled that buttermilk was the only buttermilk there was. I always use full fat and baking. The results are much better!
Kara
Oh that’s good to know Amy! I swear I thought I had bought it a time or two, but then thought maybe I was remembering wrong. Thank you for your comment!
Allison M
I always use the Bulgarian buttermilk, too. It’s thicker than the low fat buttermilk. I prefer it for this recipe, and also for making biscuits.
Alma
There is still full-fat Buttermilk at stores like Publix and Walmart too. full fat Milk or buttermilk is much better when baking anything. you just cannot get that richness unless you use full fat milk, buttermilk, or Heavy cream, or Yogurt. I made this cake and was definitely a hit everytime.
Eonreco
You can purchase full fat buttermilk. I do all the time, its just not as common in most stores.
Amy
While you can buy full fat cultured buttermilk, it is a modification. Natural buttermilk is a low fat product by virtue of what it is.
Kara
Oh, good to know!
Alma
I baked this cake. and where i messed up at is the syrup glaze was way way to sweet for me. and the cake all ready had 2 cups of sugar. this cake would have been very good. but it had way to much sweetness. with the white sugar, the powdered sugar, and brown sugar. I had to throw the whole cake out. it was just to sweet. for my family. way to much sugar in this cake, and frosting.
Kara
Hi Alma, thank you for your feedback. Some people do end up making only half the glaze, because they’re not into icings. It’s just a matter of preference though as sometimes I write recipes that aren’t sweet enough for some and sometimes they’re too sweet for others. Thank you for giving it a try, though!
Scheryl Smith
You’re correct it’s hard to find regular buttermilk where I’m from
JaQ
This cake was easy to make and tastes amazing!
Kara
Yay, so glad you liked it and thank you for the great review!
Ruby
Can this recipe work in a bundt pan instead of a 9×13? Would anything have to be changed?
Kara
Hi Ruby,
I haven’t personally tried baking this cake in a bundt pan, so I can’t say for sure how it would turn out. That said, this is a very tender and soft cake, and bundt cakes typically do best with batters that are a little sturdier or denser. Because of the pan’s shape and detail, more delicate cakes can sometimes stick or fall apart when you try to remove them.
If you’d still like to give it a try, it might work, just be sure to grease and flour the pan really well. You can bake it at the same temperature, but since the batter will be deeper in a bundt pan, it will likely need a longer bake time. Just start checking around the 40–45 minute mark and keep an eye on it until a toothpick or skewer inserted in the center comes out with just a few moist crumbs on it.
Let me know if you try it, I’d love to hear how it turns out!
Eve
I made this last night and served it with fresh strawberries from our garden and vanilla ice cream. It’s so goooood! Everyone loved it. I have two questions/bits of feedback:
1. Why can’t we simply melt the butter instead of this pastry method of cutting it in? Most cakes are made with a wet and dry ingredient mix and can be made with either veg oil or melted butter. Since the cutting in is a hassle, I may try just melting the butter next time.
2. I only used about a third of the glaze and I will cut that down accordingly next time.
But it’s a fantastic cake. Thank you!
Kara
Hi Eve, thank you for the wonderful review!
To answer your questions, there are different types of mixing methods that produce different types of textures. For some cakes, I do prefer the reverse creaming method (which is what I used for this cake). I find that it’s harder to accidently over mix the batter which causes a dense cake and the texture just seems softer. The reverse creaming method is when the butter coats the shortening and it helps the gluten not overdevelop quite as easily. This helps keep the cake a velvety texture. It’s also great for cakes with lots of sugar in them.
Using melted butter may change the texture a bit and it may turn out a bit more dense. It’s worth a try though and it may not be that much of a difference to you and if that would help, then I say go for it.
Another method is the regular creaming method, where you cream the butter and sugar first, then alternately add in the wet and dry ingredients, that would probably work as well. That method just adds in a bit more air into the batter, so the cake is a little fluffier. The texture might be slightly different and you may prefer that.
I use both methods (plus other methods) in my recipes here, so it really depends on the final texture that someone is going for. Many cakes do use the regular creaming method, however it isn’t too out of the ordinary for some cake recipes to call for the reverse creaming method. It’s sometimes fun to change things up and get different texture results.
As for the glaze, you can absolutely make just a small batch. I’ve heard from others that they prefer less glaze. I have a massive sweet tooth and sometimes my recipes end up making a lot of glaze or frosting, so I think it’s just a preference thing. Some people like less sweet, some people like more. I just try to go with what I feel tastes the best, but I know everyone is different. It’s totally ok to make less of it though! 🙂
Thanks again for your wonderful review!
Jordan
I haven’t made this cake yet, but I’m looking to make a peach upside down cake for my partners birthday. Would I be able to use this recipe for something like that?
Kara
Hi Jordan! I haven’t tested this specific cake as a peach upside-down cake, but I do think it could work. The flavor and texture of this cake would probably pair really nicely with caramelized peaches, just keep in mind that it’s a fairly soft and tender cake, so I can’t say for sure how it’ll hold up once flipped over and out of the pan.
You’ll just want to follow a trusted method for preparing the peach layer (with butter and brown sugar) and arrange that in the bottom of your 9×13-inch pan first. Then you can mix up the batter from this recipe and pour it right over the peaches and bake.
Since this cake makes enough batter to fill a full 9×13 pan, make sure you’re using a peach layer recipe scaled to match that pan size. If the upside-down peach cake recipe you’re using is written for an 8-inch round or square, you’ll want to double that part to match the volume of this cake batter. Or, if you’re sticking with an 8-inch pan, you could halve the cake batter instead.
You’ve actually inspired me to try this myself for a future recipe!
Jordan
I was planning on just an 8 inch cake pan, so I will definitely halve the recipe and will report back if I can remember! Partners birthday is this coming week and we’ve got a local fruit stand I plan on getting peaches from
Cassandra Johnson
Made it for first time today. Everyone Loved it!!! It wasn’t difficult which I LOVED I will Definitely be making again🙌🏼🙌🏼🙌🏼
Kara
Oh yay!!! So glad you loved it and thank you so much for the great review!
Jordan
So not only did I make this as an upside down cake, I made it in a Bundt pan. Everyone loved it, it was pretty dense so I’m not sure if that was due to something I did or if perhaps my baking powder was not good anymore but I made sure to not over mix. Will try again
Kara
Oh wow, what an experiment! So glad everyone loved it as well. The extra density you mentioned could definitely be from the baking powder if it’s a bit old. Also using a Bundt pan could have lead to a slightly denser cake, since it’s a deeper pan. When baked in a 13×9 inch cake pan, it’s a pretty tender cake in my opinion, so I’m thinking it was just the weight of the batter in the bundt pan that packed it down a bit. It sounds like you were careful not to overmix (which is great!), that’s generally the problem with dense cakes, so this probably had more to do with the pan. I’m so glad everyone still loved it though and I really appreciate you taking the time to share how it went!
Rena Kim
The cake was DELICIOUS!! So moist! Any chance I could make this into cupcakes?
Kara
I’m so glad you loved it! I haven’t actually tried the this cake recipe as cupcakes. It might work, but I can’t be 100% sure. They would probably bake up with flatter tops and you’d want to bake them at 350 degrees F instead of 325 and start checking at around 12-15 minutes. If you try it, I’d love to know how they turn out!
Elle
I changed a lot, but this was amazing!! Instead of all-purpose, I used freshly-milled whole grain flour. Since all of the white cakes we’ve made with it so far have tasted like slightly bedazzled corn-bread, I wasn’t expecting much out of this, but I was totally wrong. It was great, just like a normal-flour cake! My aunts are going to flip 😊.
Other changes: Instead of the egg yolk and veg oil, I added ½ mayo for extra moisture.
I browned and re-chilled the butter.
I used a more familiar creaming method, instead of reverse cream.
Kara
Hi Elle, so good to know even after making that many adjustments, it was still good! Thanks for the awesome review!
Allison M
I use the more familiar creaming method when making this too, and it always turns out perfectly.
Bobbie
Can I substitutw almond flour for all purpose?
I have gluten free guests coming and this matters!
Kara
Hi Bobbie, I do understand that gluten free is very important, however I am not experienced in gluten free baking, so I can’t tell you for certain that using almond flour would work. I have very bad nut allergies, so I do not use nut flours and have never tried it. I think there may be a comment on the post where someone has tried making this gluten free though. That might be something to look through to see if there are tips there to make this gluten free.
Susie Harold
Could I make mini loaves with this recipe? I love the cake and would like to make minis for my coworkers
Kara
Hi Susie, sorry it’s taken me so long to respond to you. We’ve been moving and things got a little hectic. I think this would work in mini loaf pans. I haven’t tried it, but I don’t think it would be a problem. You could probably bake them at 350 F and just start checking them at around the 15 minute mark to be safe, but they’d probably need a bit more baking. If you try it, I’d love to hear how it turns out!
Allison M
I bake several times a week and give it all away. This vanilla buttermilk cake gets rave reviews, no matter who receives it. Getting the cake to come out perfectly flat is a plus, because then the luscious glaze stays put. I cut the recipe in half and bake in an 8X8 pan. If you haven’t tried this recipe yet, do it. You can thank me later. 🙂
Kara
Thanks Allison for your wonderful review and helpful comments! I’m so glad this one gets rave reviews!
Stefanie
Would it be ok to prepare the cake batter in advance, or actually pour it into the 9 x 13 baking pan several hours prior to baking?
Kara
Hi Stefanie, if you make the batter ahead of time, I would really try to bake it as soon as you can, as it has both baking soda and baking powder in it and the baking soda will lose its ‘power’ sooner, so waiting too long would cause it not to rise as well. Mixing it a few hours early might be okay, but you’ll need to store the batter in the fridge, covered, until ready to bake. If the batter is cold, it might take it a bit longer to bake as well.
Pam
Hi Kara – I commented on how much l loved this cake a couple years ago, and how I wanted to bake it in a 15 x 10 x 1 cake pan. Now I have another questions – can I use olive oil, if it is the light tasting kind? It’s the only oil I use these days. If not, what would you suggest substituting for that?
Kara
Hi Pam! It makes me feel so good to know you came back to this recipe again. That’s wonderful! I’ve never actually tried olive oil with this cake. Theoretically, it could work, but I just don’t know what it might do to the flavor. You mentioned the light tasting kind, so maybe it would be just fine, though. The only other suggestion would be to try coconut oil. It doesn’t add much flavor to things, so I think it could work. I’ve also heard of people using palm oil, but I haven’t tried that. If you try it out, I’d love to know how it turned out!
Megan
I just made this using leftover buttermilk and it’s very yummy! I didn’t have enough butter so I subbed vegetable oil in the cake and saved the butter I had for the glaze. It’s so rich, even with the veg oil- I will definitely make this again with butter and I bet it’s even better! 10/10.
Kara
Hi Megan, that’s great to hear! Glad you liked it, and that’s good to know that it still came out great using the oil. I’m betting you’ll love it even more with the butter, as it adds such good flavor to it. Thank you for your wonderful review!