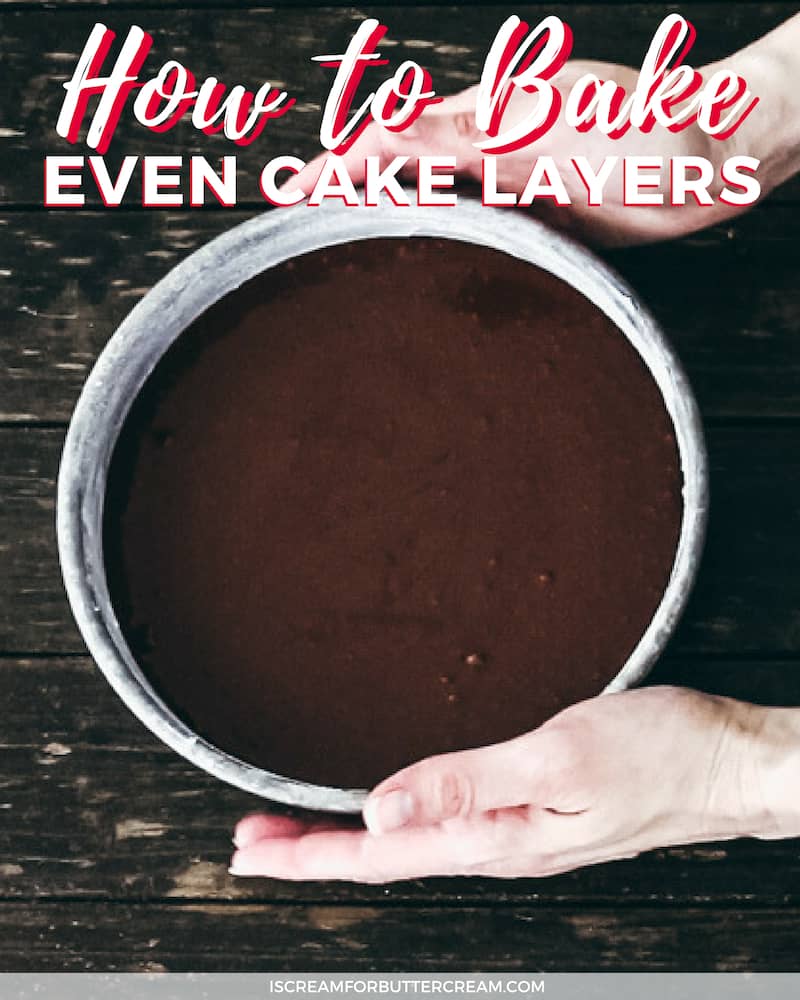
I’ve been asked multiple times, “How do I get my cake layers to bake up even and level?”. Well there are multiple ways you can go about this and today I want to share my best tips and tricks on how to bake even cake layers.
We’re going to talk about how to add cake batter evenly to your pans, to how to use a cake leveler plus some other tricks and tips.
These baking hacks and tips will help you create a beautiful cake that you can be proud of.
Before we start, don’t forget to watch the video close to the end of this post. It will give you a visual of measuring, weighing out the batter and using a cake leveler.
As an Amazon Associate, I earn from qualifying purchases.
SUPPLIES NEEDED TO BAKE EVEN CAKE LAYERS:
Alright, first let’s talk about some supplies you’ll need in order to get even cake layers.
GOOD PANS

You’re going to need some good pans. The really cheap ones, just will not bake up as even. Wilton pans will work, but personally, I prefer to use Magic Line Pans. They really do make a difference.
Whatever pans you choose, just make sure the sides are straight and don’t angle in or out.
BAKING STRIPS

Ok baking strips are not a must-have, but some people use them. I have never used them personally, but some people swear by them, so I wanted to include them. You wrap these around your pans and it helps your cake layers to bake more evenly.
Alternately, some wrap and pin a damp washcloth around their pans. I don’t do this either, but some swear by it.
I prefer to use the magic line pans and a heating core for large cakes (which we’ll discuss in a minute). Those things have been enough for me to get good and even cake layers, but you do what works best for you and try out different methods.
HEATING CORE
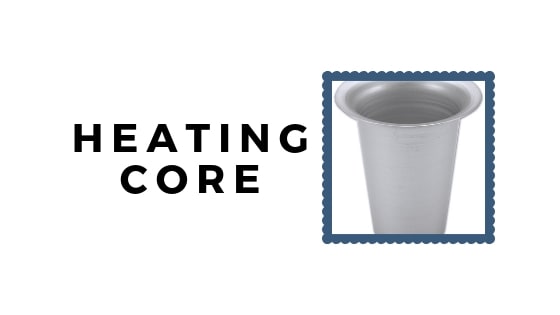
If you’re baking a large cake layer, it’s really helpful to use a heating core. This will help your cake bake evenly as it helps give the cake batter in the pan a little help with some added heat.
What you do is place the heat core in your prepared cake pan. (I like to use a heating core on layers that are larger than 10 inches.) Add the batter and move the heating core back to the middle of the pan if it got displaced when you added the batter.
Now just add in a bit of batter to the heating core. You don’t need to add much, because it will puff up, but add a little bit of batter.
Once the cake layer is baked and cooled, you’ll then pull out the heating core, pop the cake out of the heating core, then use that to plug up the hole in the middle of the cake layer.
Something to note: Make sure to spray the inside of your heating core with non-stick spray, or butter it so that you can get that hunk of cake out of there. You’ll need it to replace the small hole in the middle of your cake layer when you pull out the heating core.
This really does help the cake bake evenly. I think once you try it, you’ll get the hang of it and it really is helpful.
Some people use a flower nail (the metal flower nails you use to pipe buttercream flowers on) instead of a heating core. I just don’t feel like that works as well as an actual heating core, but to each his own, right?
CAKE LEVELER OR LARGE KNIFE

Ok, this is something that can help you AFTER you’ve baked your cakes. If you get a bit of a dome on your cake, you’ll want that flat, so you don’t have trouble when you go to put your cake together and decorate it.
You can use a cake leveler to do that, or you can use a knife. There are a couple different kinds of cake levelers and I just own the inexpensive Wilton wire leveler and it works well for cakes under 10″. (Well talk some more about how to use a leveler in a bit.)
If you need to level a larger cake, you’ll need to spend more money to get a fancy leveler, or you can just use a really large knife.
GOOD CAKE RECIPES
The final ‘supply’ that you’ll need are good cake recipes. You can use scratch cakes or mixes, ,whichever you prefer, but you’ll need some dependable ones.
Here are some of my best scratch cake recipes that are moist, delicious and dependable. Some will bake up with a small dome and some will not. (I’ll get to my thoughts about that in a bit.)
TIPS FOR BAKING EVEN CAKE LAYERS:
WAYS TO BAKE EVEN CAKE LAYERS
To bake even cake layers, you have to first make sure you’ve got an even amount of cake batter in each pan.
There are several ways to do that.
You can eye-ball it (which honestly is what I do most of the time). This is not really precise, but if you’re good at eye-balling stuff, then go for it. Me?…I’m not so good with eye-balling, but I do it anyway.
The other options are to measure it out evenly between pans, or to weigh out your batter.
So let’s look at those options.
MEASURING OUT YOUR CAKE BATTER
This method is pretty easy because after you mix your cake batter, you’ll just grab about a ½ cup measuring cup and scoop the batter into your pans alternating between each pan until all the batter is gone from your mixing bowl.
You won’t get it super exact, but it’s pretty close.
WEIGHING YOUR CAKE BATTER
Ok, this one will take some forethought, but it’s much more precise.
You’ll want to weigh your mixing bowl first, without cake batter in it to get the weight of the empty bowl. Write that number down.
Now mix up your cake batter and then weigh your mixing bowl with the cake batter in it. Subtract the amount your wrote down earlier. (That was how much the bowl weighed.)
Now you have how much the cake batter alone weighs. Now divide that number by 2 and that’s how much cake batter needs to go into each pan (if you’re using 2 pans.)
Now, you can just set a pan on your scale, but make sure to tare (zero) it out, before you add any batter. You must zero it out (hit the tare button), so that it’s not taking into account the weight of your pan.
Now you can add the batter until you get the amount you calculated. Add the other pan onto the scale, zero it out and add the other half of the batter. (I guess you don’t really have to weight the second half unless you just want to double check yourself.)
Now if your pans are too large and you can’t see the measurements on your scale when you set them on it, you can always just use a bowl, zero it out, then add the batter to that bowl in the proper amount and then add that to your cake pan.
Also, if you are using three pans instead of two, remember you’ll need to divide the weight of the batter into three and not two.
SMOOTH THE CAKE BATTER

You’ll want to make sure to smooth the top of the cake batter once you’ve added it to your pans.
Now a very liquidy batter will probably be okay, but if your batter is on the thick side, then you’ll want to go ahead and get it as smooth and even as you can on the top. You might as well help it as much as you can to bake even.
TAP THE PANS ON THE COUNTER

Once you add the batter to your pans, then just tap them on your counter a few times to get any of the air bubbles out that may be trapped in the cake batter.
OTHER TIPS:

BAKING LOWER AND SLOWER
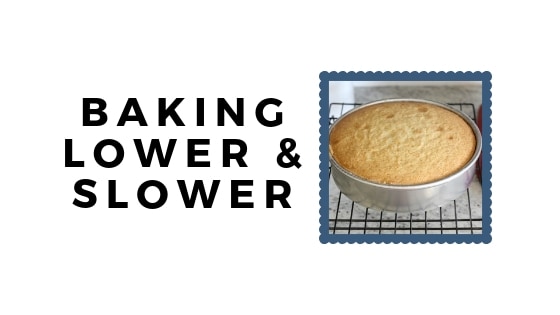
Sometimes when you bake the cake lower and slower, it rises a bit less and has a lesser chance of getting a dome on top. A lot of my recipes call for the temperature to be 325 instead of 350 and I really think that helps.
THE REVERSE CREAMING METHOD
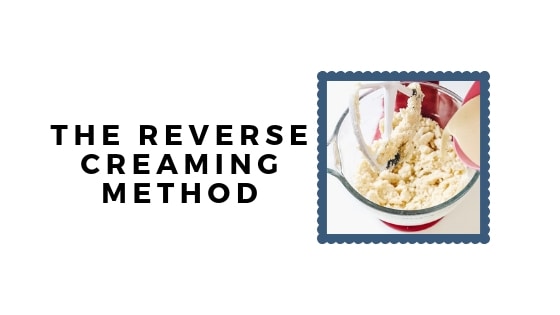
I’ve found that if I use the reverse creaming method when mixing cake batter, my cake layers are more flat on top. So, the recipes I have on my blog that are the reverse creaming method (like my Vanilla Bean Cake), will have a more flat cake layer, which some people prefer. (And I’m gonna share something about that later on.) (Oh and you can learn more about that method in the video below.)
MAKE SURE YOUR OVEN IS LEVEL

Make sure your oven is level. When I was younger, I used to live in an apartment where my oven was a bit off and one side of the cake was always thicker than the other side.
I didn’t realize, until my Mom told me, that there were little level things under the oven that you could screw in more to lower it or unscrew to lift it up a bit. It’s an easy fix.
GETTING EVEN CAKE LAYERS AFTER THEY’VE BAKED:
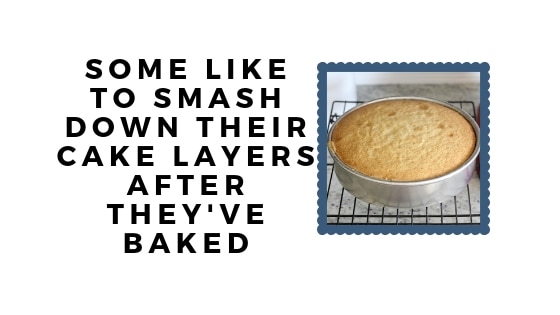
Some people smash down their cakes. I really don’t know what that’s doing to the texture of the cake, but I don’t want my cake texture to be even more dense, so I don’t like to do that.
I don’t want to mess with the texture of my cake. Whether or not, it makes that much of a difference, I don’t know, but I just find it’s not that big of a deal to just even off the top with a cake leveler or a knife. (More about this in the video.)
USE A CAKE LEVELER OR A KNIFE TO GET THE TOPS EVEN

Using a cake leveler is super easy. Just set it to the height you want it and slice away. I really like Wilton’s simple wire one. It works for smaller cake layers. I’m not so even handed with a knife, so I prefer using this when I can.
If your cake layers are on the larger side, then you’ll need to get a mega cake leveler, or just use a large knife.
The best tip I’ve heard on how to use a knife when slicing cake layers was by Joshua John Russell. He says to lock your elbow close to your body and hold the knife with one hand and twist the cake around with the other hand while slicing. Locking your elbow close to your body helps you keep the knife level while you slice. It really does help.
OTHER THINGS TO NOTE & A WORD OF ENCOURAGEMENT:
I see this everywhere…people REALLY want to bake flat cake layers. I don’t understand why it’s so imperative that you bake flat cake layers, but everyone is different.
Yes, you will need your cakes to be flat on top in order to decorate them without having issues, but there are ways to deal with that, that are easy fixes.
I just want to make a quick note that if your goal is to bake up flat cake layers and it’s frustrating you, just stop worrying about getting your cake layers to bake up completely flat on the top.
All this adding stuff to the top to smash down the cake to get it flat and doing all this extra stuff…I don’t know what that’s doing to the cake texture, maybe nothing, but I for sure don’t want to chance make my cake more dense. (I mean unless I need to make a carved cake, or something.)
My point is, it’s easy to just slice off the dome of a cake with a leveler or a knife. Getting a dome on the top of your cake is not a sin. It doesn’t mean you did something wrong, or that the recipe was bad. It’s really okay…don’t stress.
Cut off that dome, relax and eat it with some milk or something.
If you hate the idea of cutting off a dome or leveling your cake and you’ve been flattening your cake layers since forever, then go for it! I have no problem with people doing what work for them, even if it’s something different than what I do. We all have our own style and preferences.
Earlier I mentioned that I think using the reverse creaming method when mixing cakes seems (at least it does for me) to make flatter cake layers. I also find that baking at a lower temp for longer helps as well. I will say though, it’s always best to follow the instructions of the recipe though.
If you’re interested in learning more about cake mixing methods and how to properly mix a scratch cake, you can check out these posts:
So, I’m really just trying to save you some stress about getting flat layers. It’s not the end-all, be all if your cake layers don’t come out of the oven flat on top. Don’t beat yourself up…you’re not doing anything wrong.
Follow all the steps above and your cake layers will come out even. That means one layer won’t be much thicker than the other one, or lopsided. And IF they have a small dome on top…no worries, just slice that off!
I hope this was helpful! Be sure to watch the video below, so you can see these tips in action and let me know if you have any questions. I’m happy to help!
VIDEO FOR HOW TO BAKE EVEN CAKE LAYERS:
Don’t Forget to Pin it for Later!


Leave a Reply