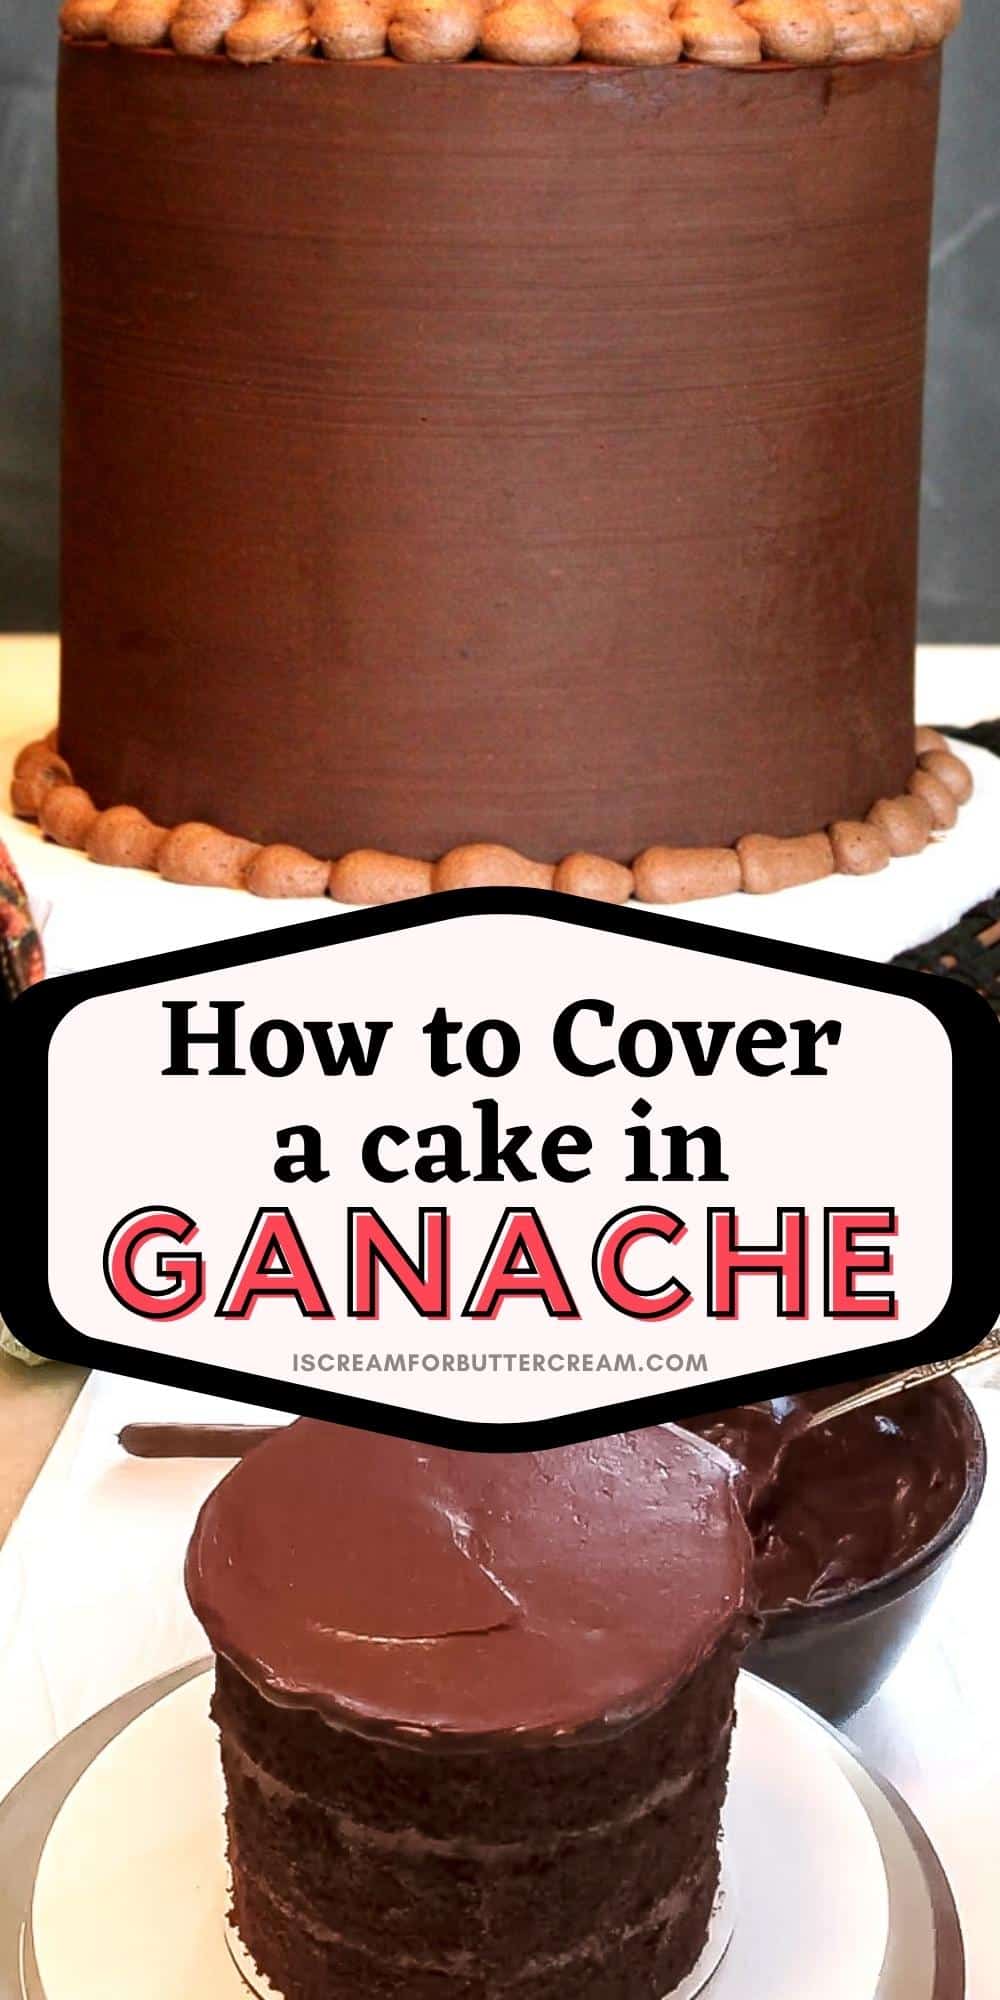
In this post, I’m giving you all my best tips, along with step-by-step instructions with video, on how to ganache a cake for decorating.
Ganache is perfect as a smooth finish on your cake, whether you leave it as is, or add fondant over it. It also works well for piping when it’s whipped.
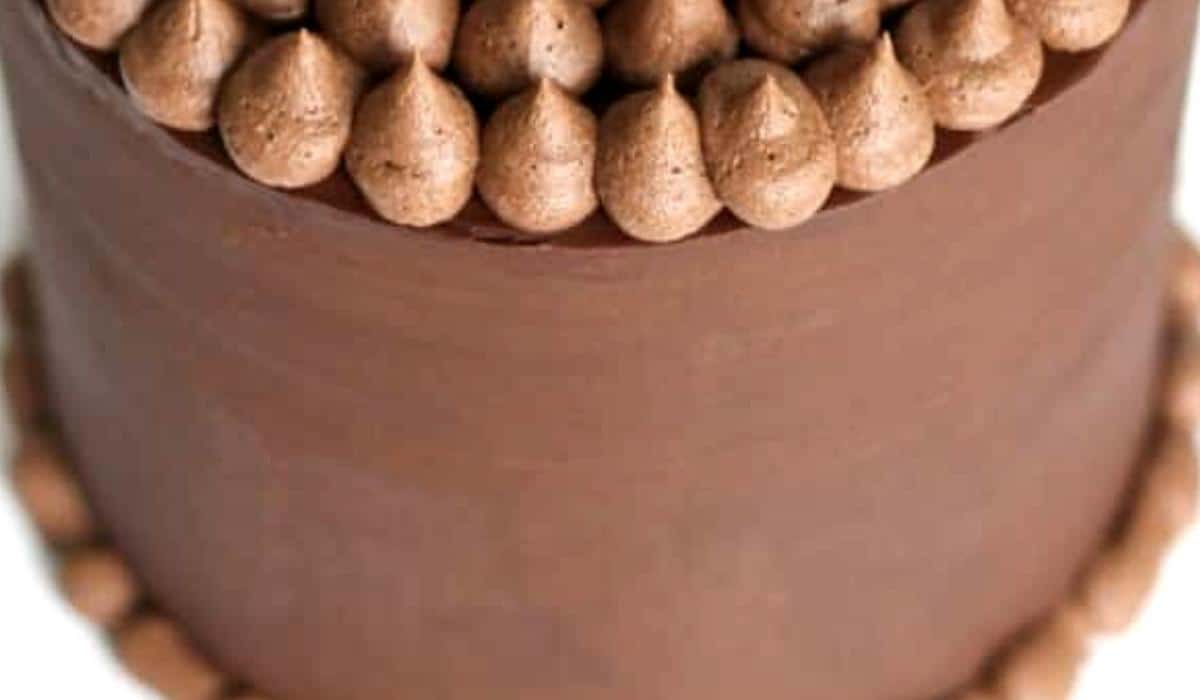
Oh ganache…that smooth rich chocolaty goodness. It’s perfect as the final coating on a cake and in my opinion, it’s THE perfect icing for under fondant.
You just can’t beat the look and taste and it’s so versatile. You can use it as a smooth coating around your cake, or you can whip it and pipe it on your cake.
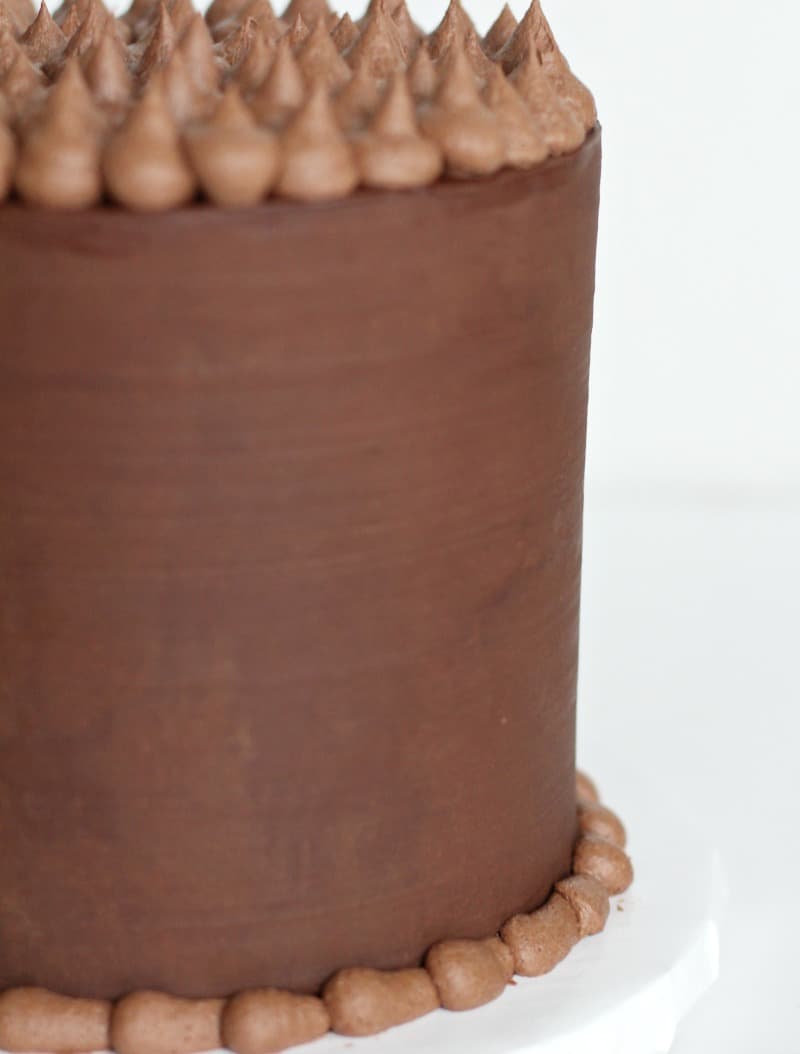
What I really love about ganache is that you can get a super smooth finish with it and it’ll form a firm shell over your cake. Now, it’s firm, but you can still cut through it. It’s not going to crack much.
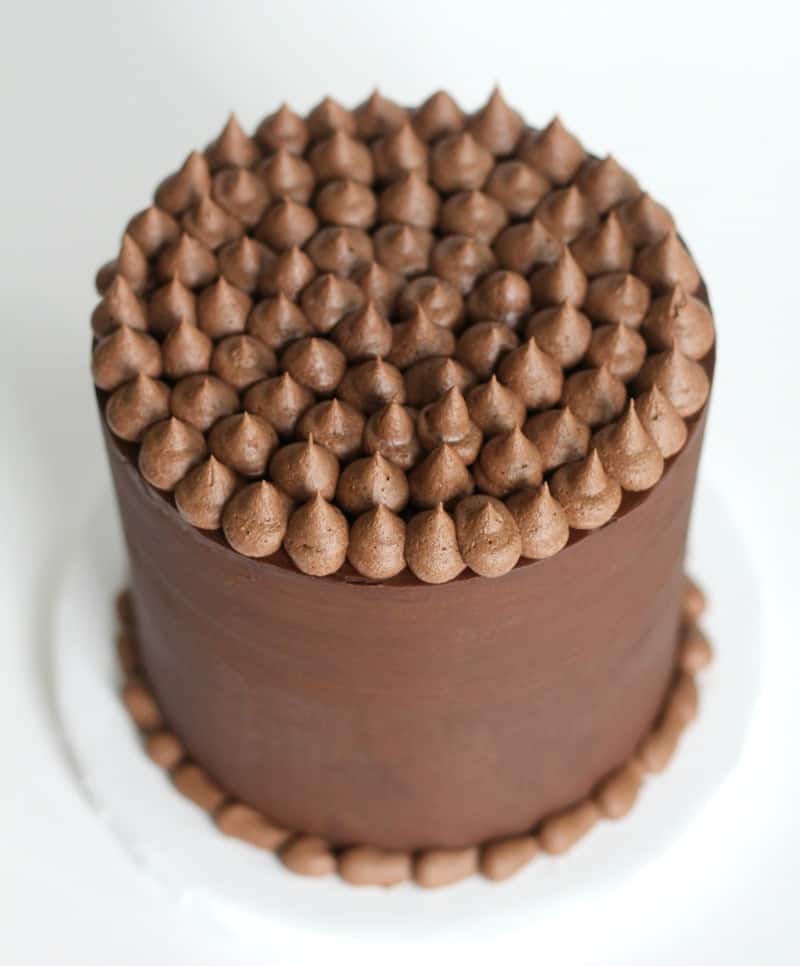
You can also whip ganache to get a different look and use it to pipe onto your cake or even cupcakes. It’s a rich alternative to regular buttercream and not as sweet.
There are tricks to getting super smooth ganache and getting the sides completely straight. I like to use my cheater method to achieve that. It takes a little more time and preparation, but it’s very worth it in the end.
Let’s get going on how to add ganache to your cakes.
First things first, we need the proper supplies before we can ganache a cake.
Supplies Needed:
As an Amazon Associate, I earn from qualifying purchases.
- Ganache – I have an entire post on how to make ganache, so be sure to check that out. It goes over all the ratios for making chocolate ganache, white chocolate ganache and more.
- Cake – Any cake you like. Here are two classics on this site: Favorite Vanilla Cake and Chocolate Butter Cake
- Cake rounds (the same size as your cake)
- A larger cake round (you’re just using this one as a base until you put the finished cake on the decorative cake base.)
- Cake Base (one that’s at least two inches larger than your cake.) For tips on making your own cake bases, see this post: How to Cover a Cake Base
- Icing smoother
- Wax paper
- Scissors
- Small and large icing spatulas
- Cake decorating turn table
- Long sharp knife for trimming the cake
- Buttercream for filling (if you aren’t filling your cake with ganache) I used my double chocolate buttercream.
- Pot of boiling water (you’ll use this later in the process)
- Small level
Process & Steps:
(Pssst…you can also find a video tutorial below all the steps.)
Preparing the cake and ganache:
Make sure your cake layers are cooled and that your ganache is spreading consistency (about like peanut butter). Remember you can find the ganache recipe and ratios here: How to Make Ganache
If the ganache starts to harden up on you during this process, you can microwave it for only about 15 seconds at 50% power at a time, then stir it until desired consistency.
Stack and fill the cake:
First, you want to stack and fill your cake. Use a bottom cake board the same size as the cake. (You can set everything onto a large ‘working’ board if you need to.)
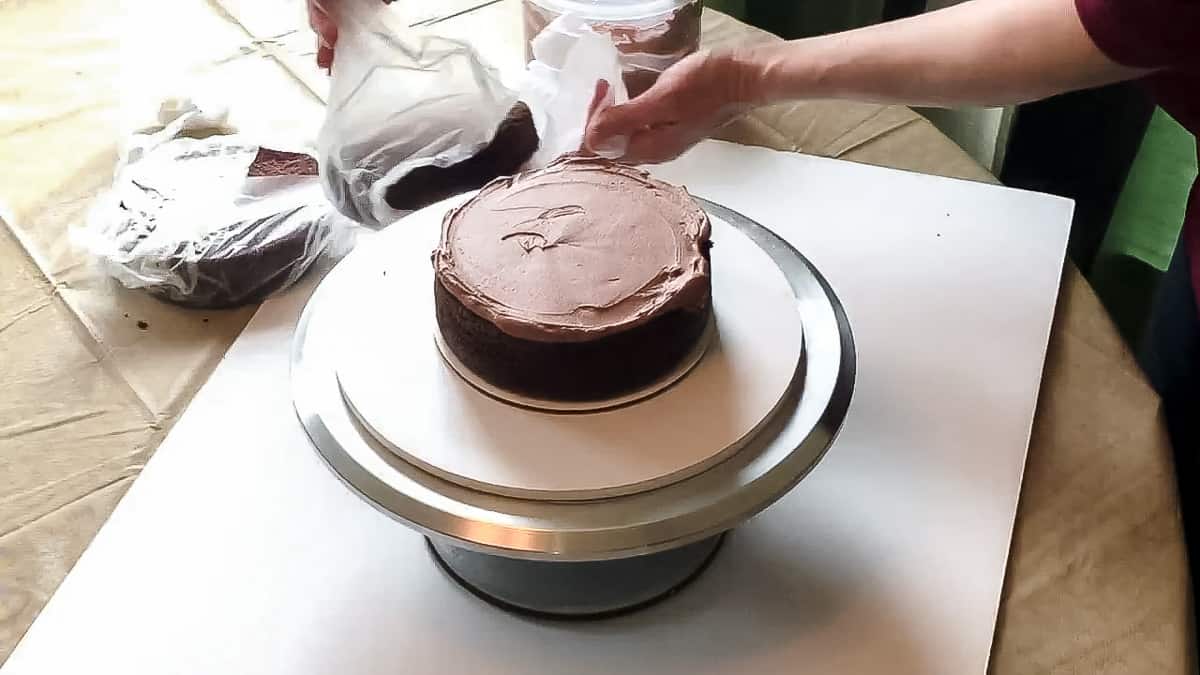
Add a layer of cake, then fill and repeat. I like to use three layers of cake and prefer to use buttercream as the filling because most people love buttercream and it’s nice to have a variation between the filling and what the cake is covered in.
You can use what you prefer though.
Let the cake settle:
After filling the cake, cover it and let it settle for at least a couple of hours, preferably overnight. This will help prevent the dreaded ridgelines in your cake. If you want more information on that, you’ll want to check out this post: Should I Refrigerate My Cake Before Decorating?
Add top board and trim:
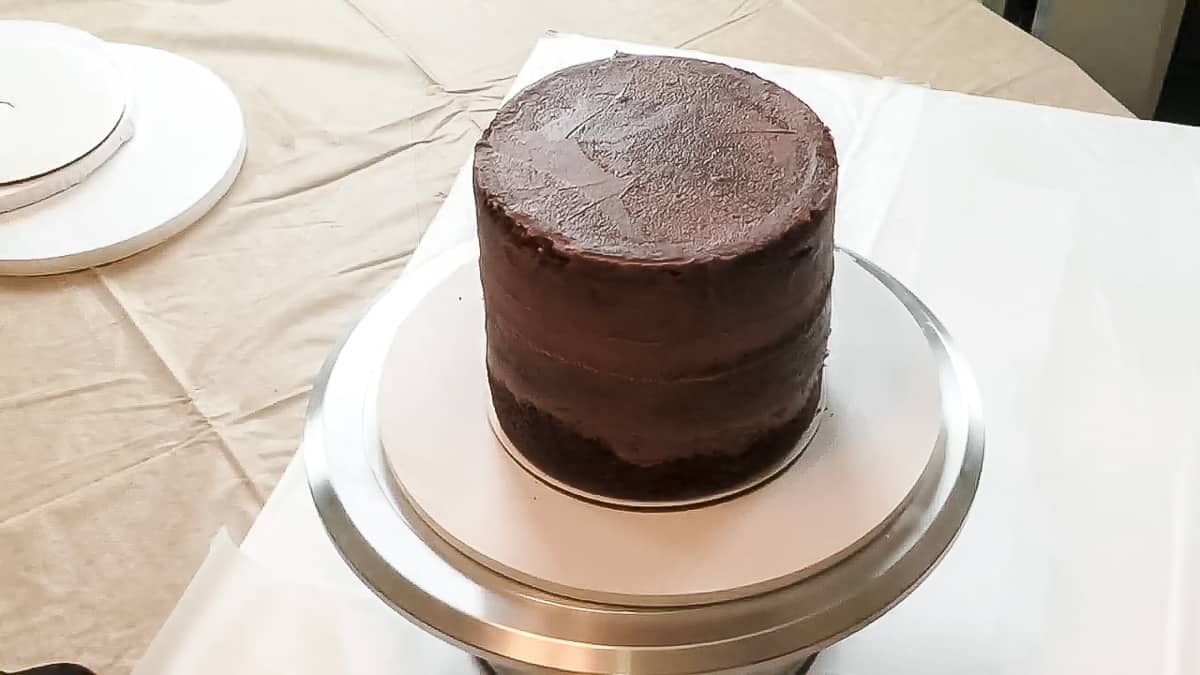
After the cake has settled, then you’ll add a top cake board over that. Just set the board on top. The cake board should be the same size cake board as the cake and the bottom board. Center the cake board.
Check to see if any of the cake is poking out beyond the two cake boards and that will need to be trimmed off. (This will make more sense in the video.) You don’t want any cake peeking through while you’re trying to smooth the ganache.
After trimming any parts of the cake that extend beyond the cake board, then take the top board off and set it aside.
Ganache the top and add a top board:
Cut a circle of wax paper the same size as the cake board. Attach the wax paper to the top cake board you just set aside with a little buttercream.
Spread ganache on the top of your cake and smooth it.
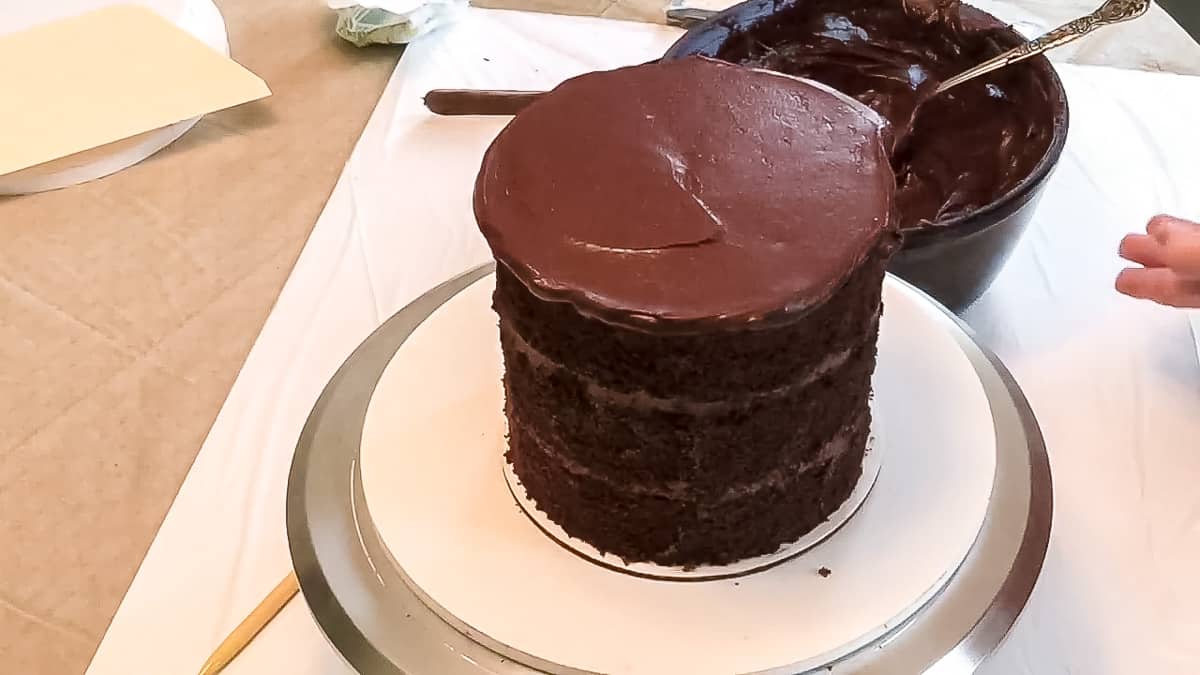
Set the wax paper-covered board on top, face down (the wax paper facing the cake).
Level the board:
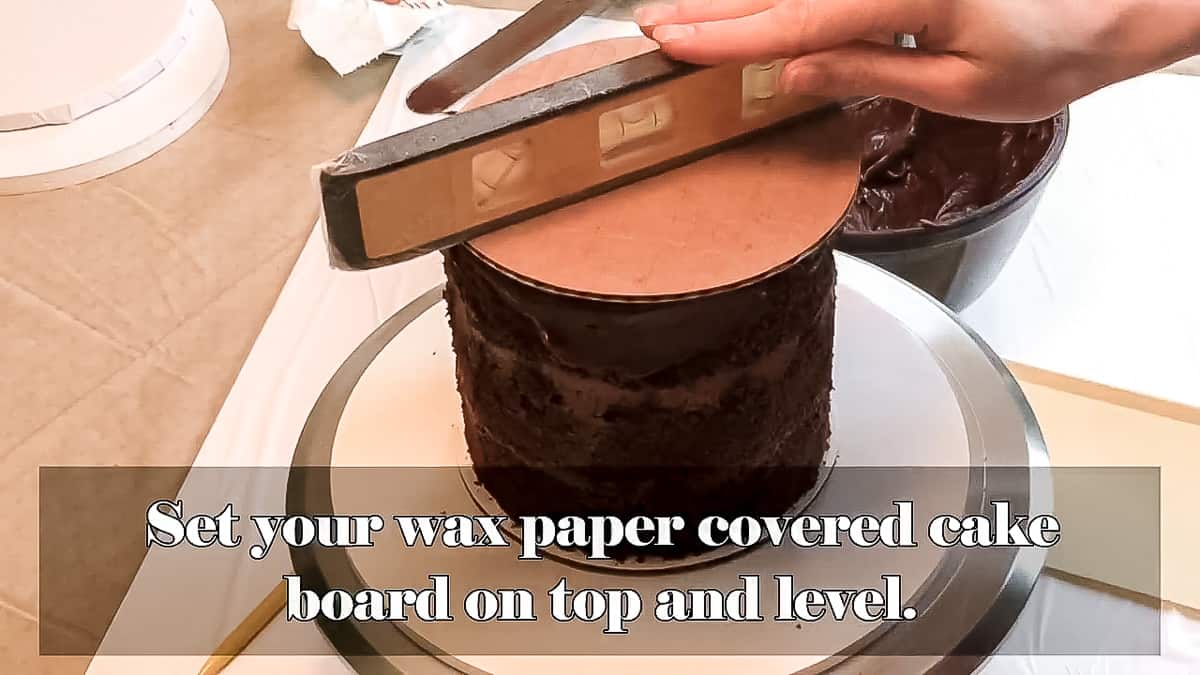
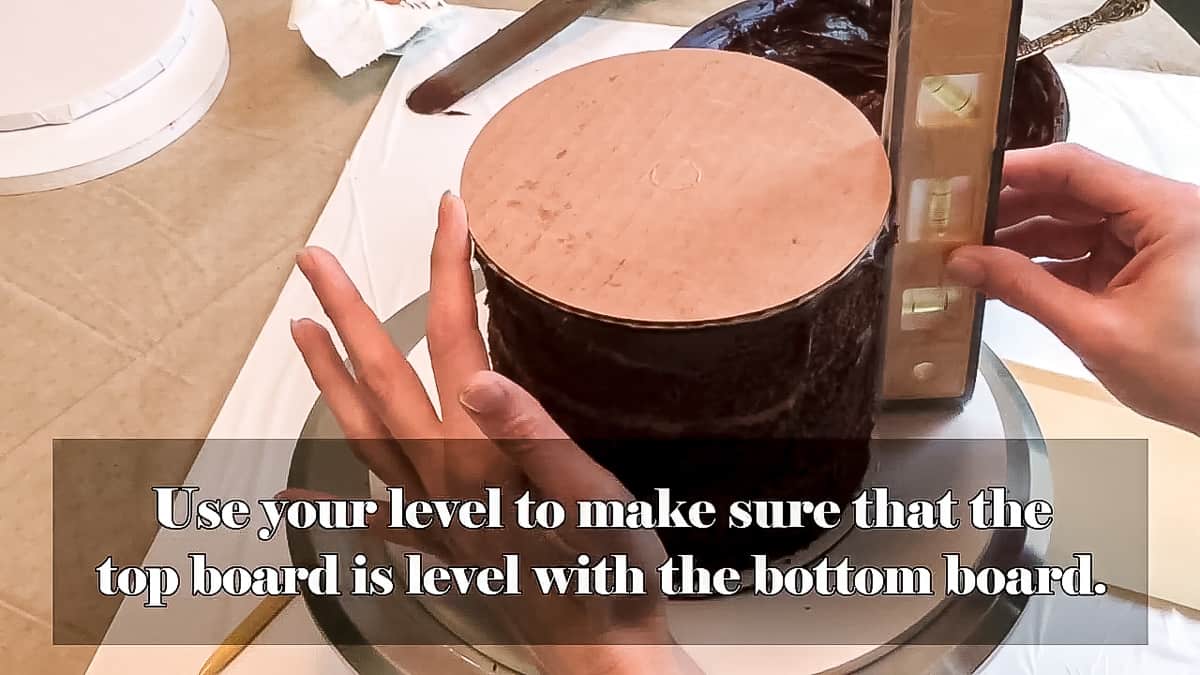
Level the top of the cake board and make sure it’s centered. You want everything lined up, so it’s best to use a small level if you have one.
Chill for the first time:
Now, chill the cake in the fridge for only about ten minutes, so the ganache on the top will set up a bit.
Add ganache to the sides:
Once chilled, take the cake out of the fridge and cover the sides of the cake with ganache using a large spatula. Don’t take off the top cake board. Leave it on as it will be a guide when smoothing the ganache.
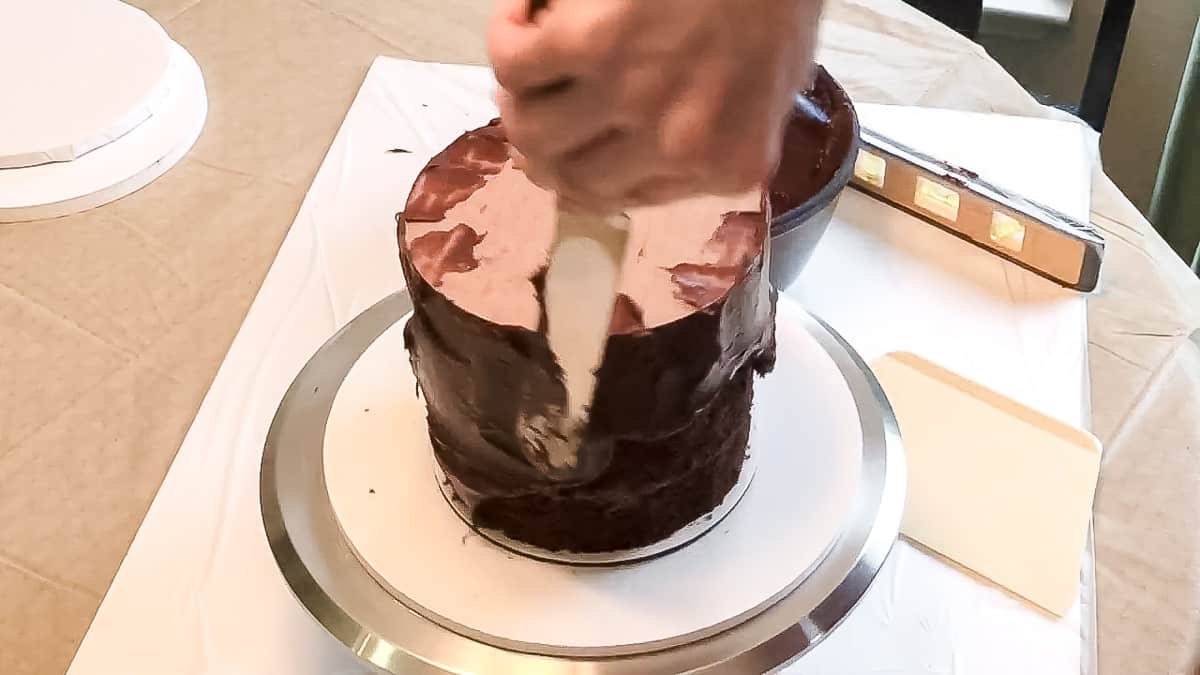
Once the ganache has been added all around the cake, then take a smoother and smooth around it. Here’s where the top and bottom boards come in handy because they’ll be the guide to keep your smoother level.
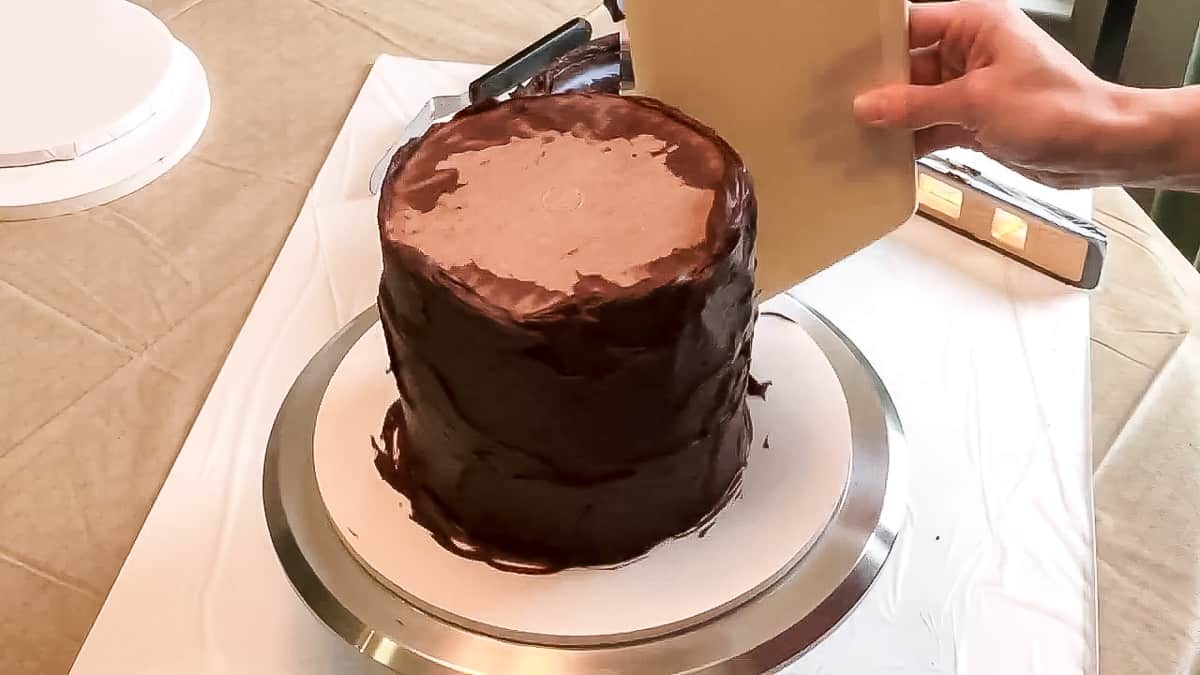
Chill the second time:
Once smooth, chill the cake again for only about 10-15 minutes.
Add second coat of ganache:
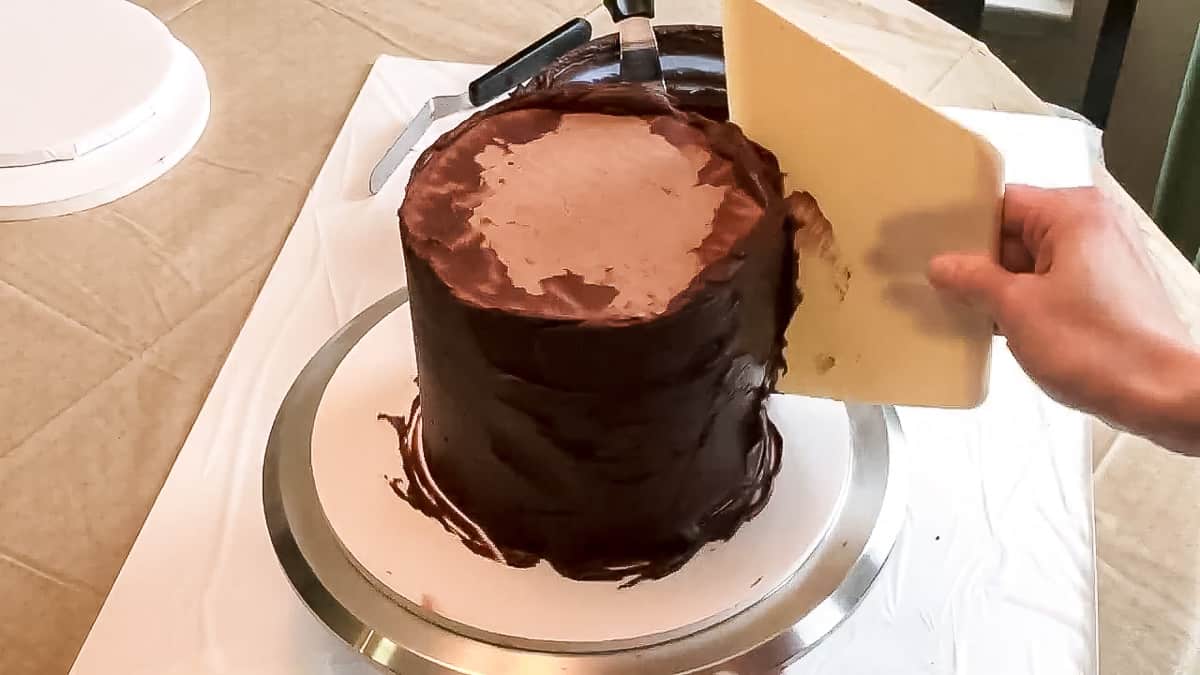
Once chilled, do one more coat of ganache and smooth again very well.
Chill for the last time:
Chill one last time for about 20 minutes.
Take the top board off:
Once chilled, take the spatula and heat it up in boiling water. Dry it off and slide it under the top board. Try to insert the spatula between the board and the wax paper. You’ll need to reheat the spatula multiple times during this process.
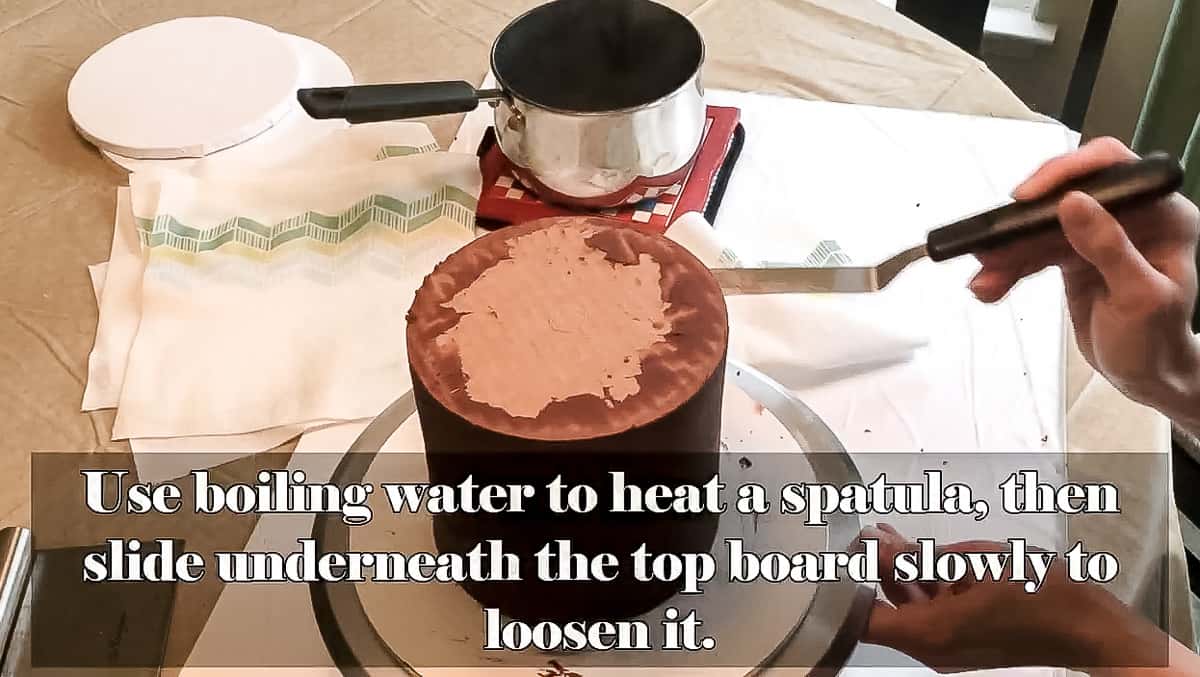
Next, pop the top board off, then peel off the wax paper.
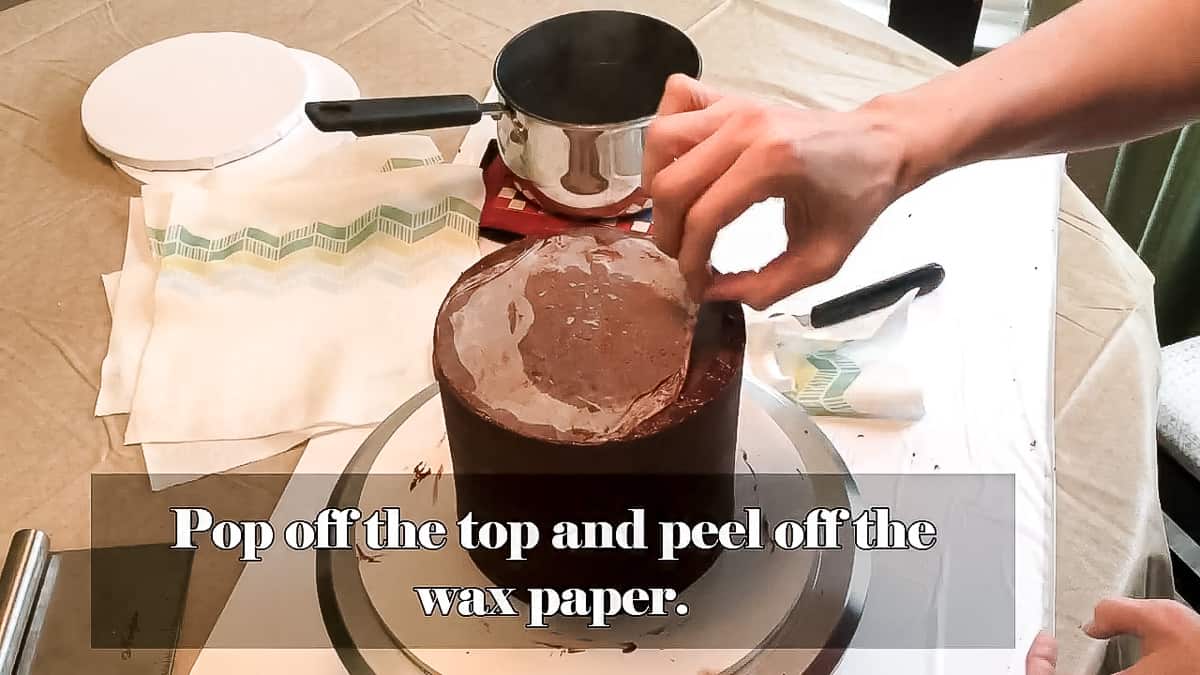
Smooth top layer of ganache:
The top probably won’t be super smooth, so you’ll most likely need to spread a little more ganache on the top and smooth.
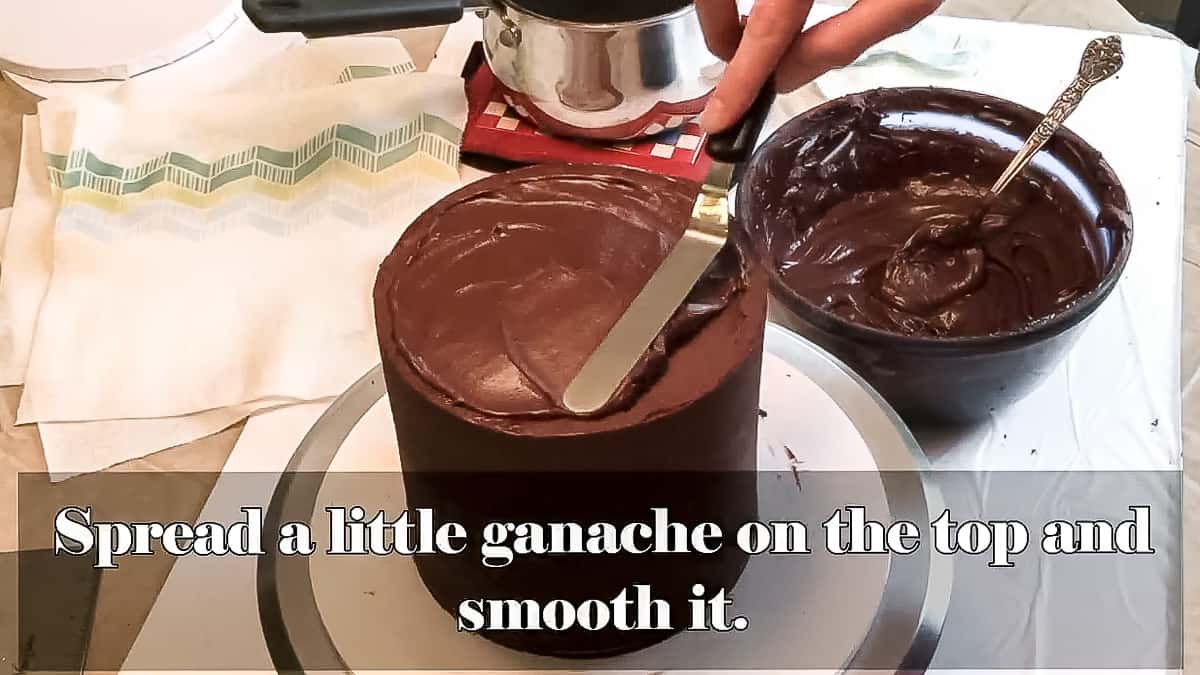
Let the cake set up:
Now, just let the cake set up the rest of the way. You can leave it out or pop it in the fridge.
Decorate cake:
Once the ganache has set up, it will be a firm shell around the cake, keeping in the moisture and providing a perfectly smooth surface for adding fondant or however you like to decorate cakes.
To see more on how to cover cakes in fondant, you’ll want to check out this post: How to Cover a Cake in Fondant
FAQs:
Add ganache to an either chilled cake or a room temperature cake.
First, after making ganache, it will take awhile to set up to the proper spreading consistency. I like to make it the night before, cover it and use it the next day.
As far as once it’s on the cake, it depends on how warm it was when it was added. If it wasn’t super warm, it will set up quick in the fridge and usually within an hour or two at room temperature.
Video:
Other posts you might like:
Don’t Forget to Pin it for Later!

TERRY MORROW
THIS CAKE LOOKS SO YUMMY….
Kara Jane
Thanks Terry! I plan to share the actual chocolate cake recipe I used for it on the blog soon. 😉
Michele
Making a Spiderman cake and the top is chocolate. I want to put a layer of ganache on then a layer of colored buttercream. Will this be ok?
Kara
Hi Michele, I’ve really never added buttercream over ganache. I’m guessing it would probably be fine though as long as the ganache has firmed but…I just can’t say 100%, since I’ve really never tried it. I have added a very thin layer of buttercream on cakes, then added a thicker layer of ganache over that…this is what I do for cakes I’m going to cover in fondant. It’s not the same as adding buttercream over ganache, but I don’t think there would be an issue.
Chloe
Hi! Would I be able to stick sprinkles on to the hardened ganache or would it be better to decorate prior to the ganache setting? Would using white chocolate ganache make a difference in terms of decorating with sprinkles?
Kara
It would probably be hard to stick the sprinkles onto already firm ganache. I’d probably add them before it sets fully. I don’t think white chocolate would make much of a difference although it is a bit softer.