
Here are 12 must have tools you need to start baking amazing cakes today even if you’re a beginner and just getting started. These cake baking tools will give you a great start to baking the perfect cake.
I don’t have a whole lot of fancy equipment for baking cakes. I know lots of people spend mega bucks on baking equipment, but I don’t have ‘mega bucks’. I didn’t even buy my own KitchenAid mixer. I won it in a raffle…seriously, best day of my life.
My point is you don’t have to buy a ton of expensive equipment to get started making delicious cakes. There ARE things that will make your life easier though and that will help your cakes turn out much better and that’s why I wanted to share with you my favorite cake baking equipment and tools. This post is all about what I use and WHY I like each tool.
Now, this is only about actually BAKING cakes, not decorating them. That encompasses an entirely different post and you can find that here: Inexpensive Supplies You Need to Start Decorating Cakes
This list really isn’t in any particular order and some of the items, I’ve even got a lower cost alternative.
Ok, let’s get started.
As an Amazon Associate, I earn from qualifying purchases.
Pyrex Mixing Bowl:
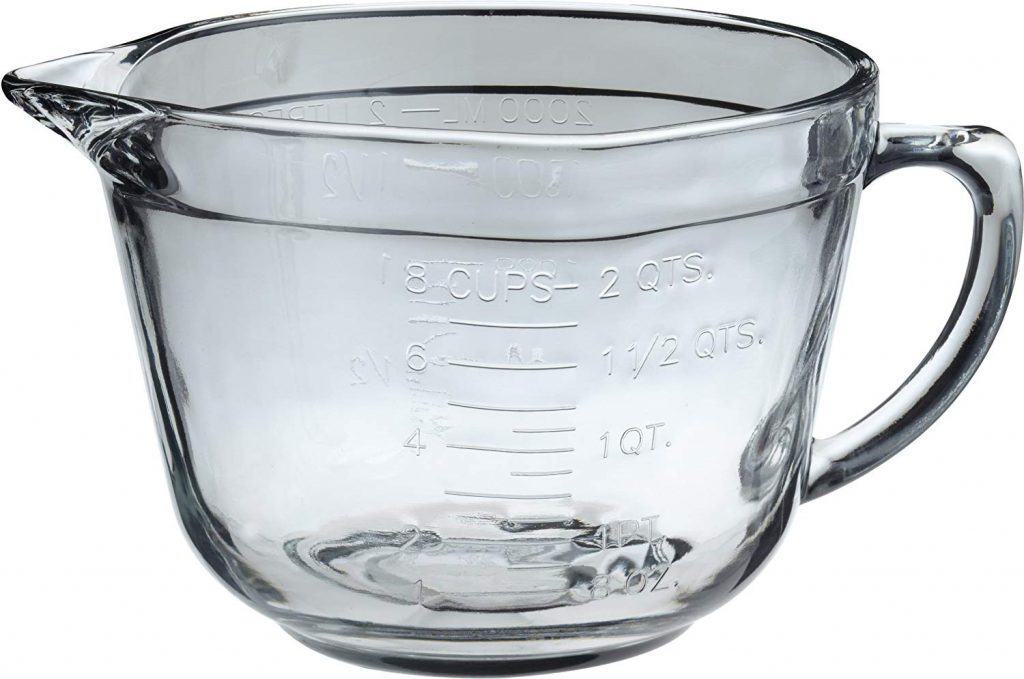
I really love my large glass pyrex measuring bowl. You can use it for measuring large quantities if you need to but I like it because it’s glass, so I can see through to my ingredients, it’s microwavable safe (great for ganache) and it’s got a handy spout on it, which is great when adding the liquid ingredients to your cake batter.
Mixing Bowl Set with Pouring Spouts:

I also have a similar set of mixing bowls that are three different sizes and they also have pouring spouts. Are you catching the theme here? I love the pouring spouts. I do have other mixing bowls I use as well, but for some reason I just like the ones with the spouts. You find what you like best.
Heating core for larger cakes:

I like to use this for any cakes that are larger than 10 inches. It's just a little metal thing that you add in the middle of your large cake. You pour the batter around it, recenter it, then pour batter into it. It really helps your large cake layers bake up evenly.
You could also use a flower nail. I like the heat cores because I feel like they do a better job, but the choice is yours.
Some people get fancy and use the wraps that go around their pans to help them bake evenly, but I’m not fancy and sometimes I'm just a little impatient and just want to get that cake in the oven and baked so I can eat it.
Wooden Spoons:
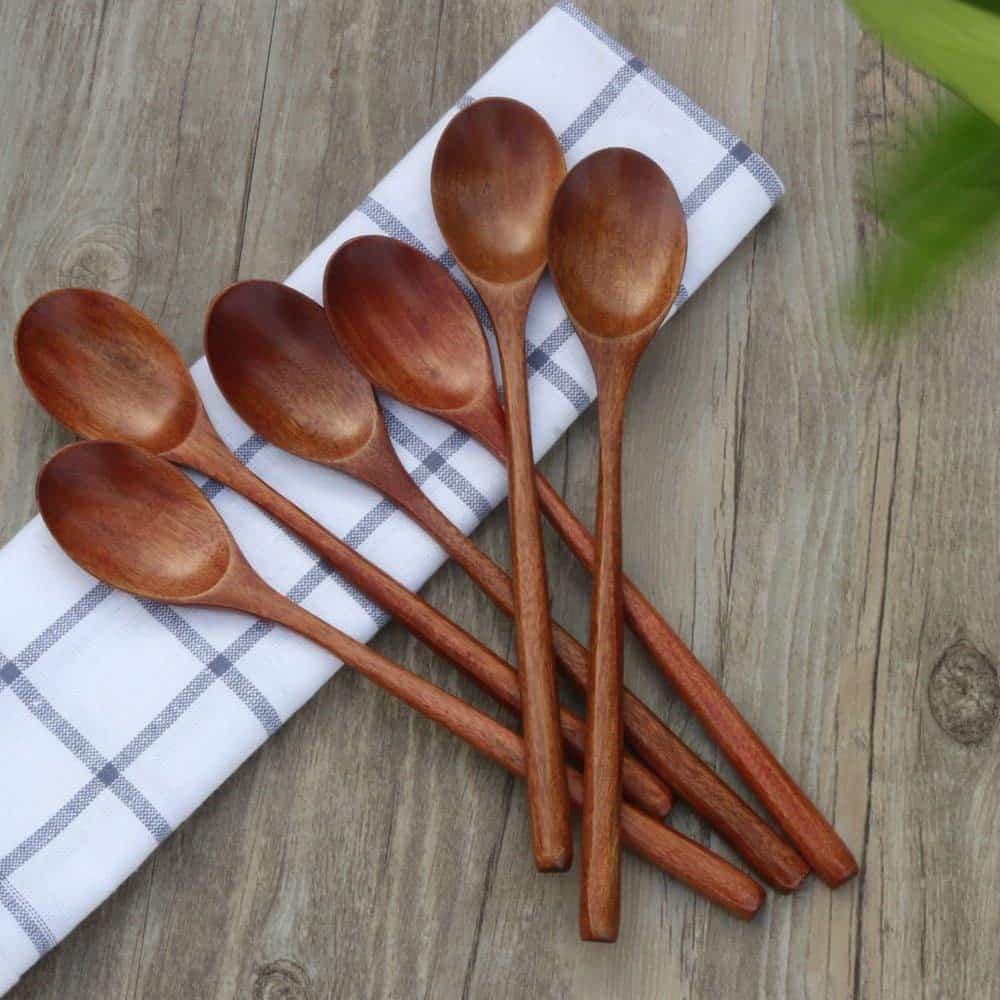
Wooden Spoons
Yep, the good old fashioned wooden spoon. These are great for cakes with fruit in them like banana cake etc. that you really don’t need a mixer to mix the batter. It seems simple, but you just can’t beat them.
Oh and I am one of those people that puts everything in the dishwasher, including wooden spoons. Be careful not to buy the super cheap ones because they warp and bend in the dishwasher after just one wash. I know from experience.
Rubber Spatulas:
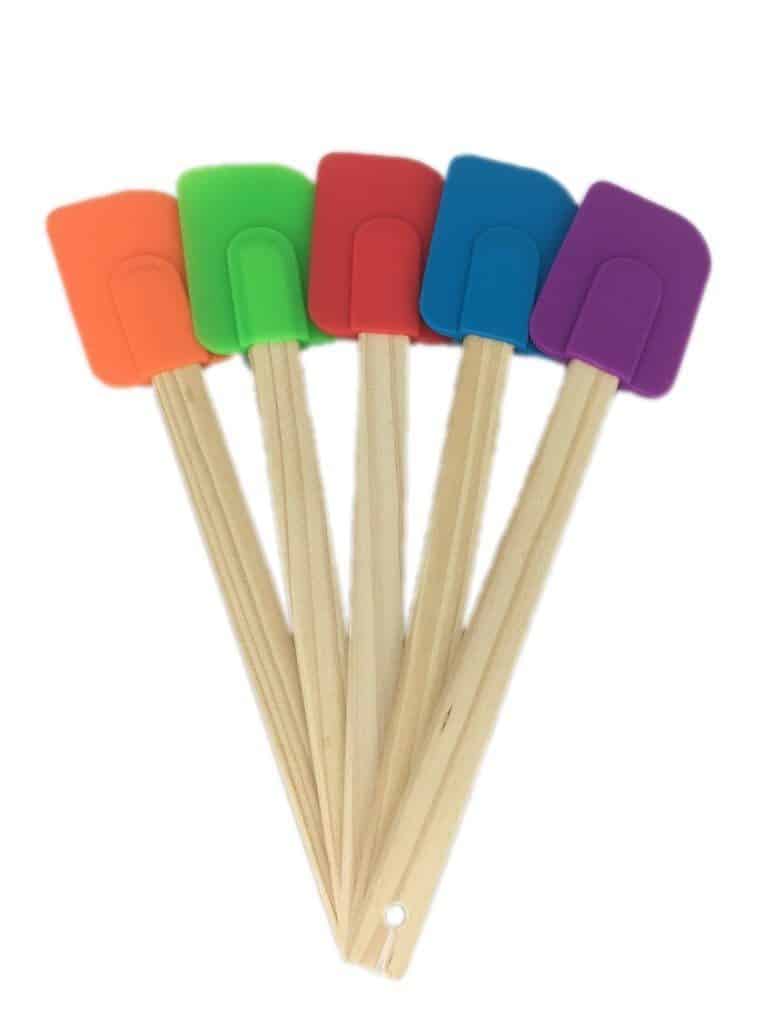
These are my favorite things ever. I mean can you really have too many of these? I might be getting close, but I like to have them at the ready and I use them for everything.
Use them to add ingredients to your batter, to scrape down the sides of your mixing bowls, to get all the batter out of your bowl when you’re filling your pans, for spreading batter into pans or for just licking off the excess batter or buttercream. 😉
Get the kind with the sturdy wood handles. They're less likely to break than the ones with the plastic handles.
Oven Thermometer:

This one is so simple and so cheap and still people just don’t do it. You need to know if your oven is accurate. It's really cheap and really easy to do. Just go and get one.
Magic Line Pans:
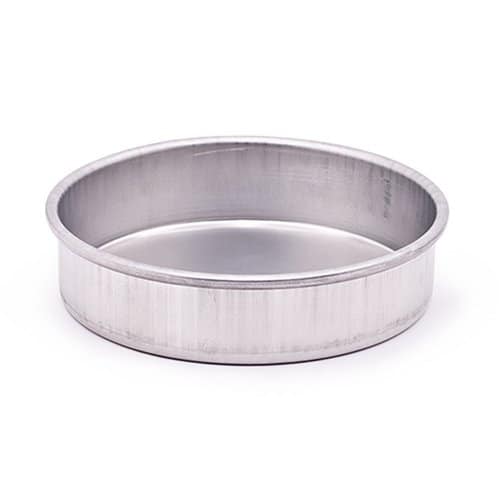
I love these pans. They really help your cakes bake evenly. I definitely noticed a difference in the way my cakes came out when I started using these.
Alternatively you can use Wilton cake pans. These aren't as good as the magic line pans, but they're still good pans.
Just make sure your pans have straight sides. My favorite sizes are 6″ round pans that are 2″ deep and 8″ round pans that are 2 deep.
Oh and if you want to know how to prepare your pans, so that your cakes come out easily, you’ll want to check out this post: Tips for Getting Your Cakes to Release from Their Pans
Bundt Pan:
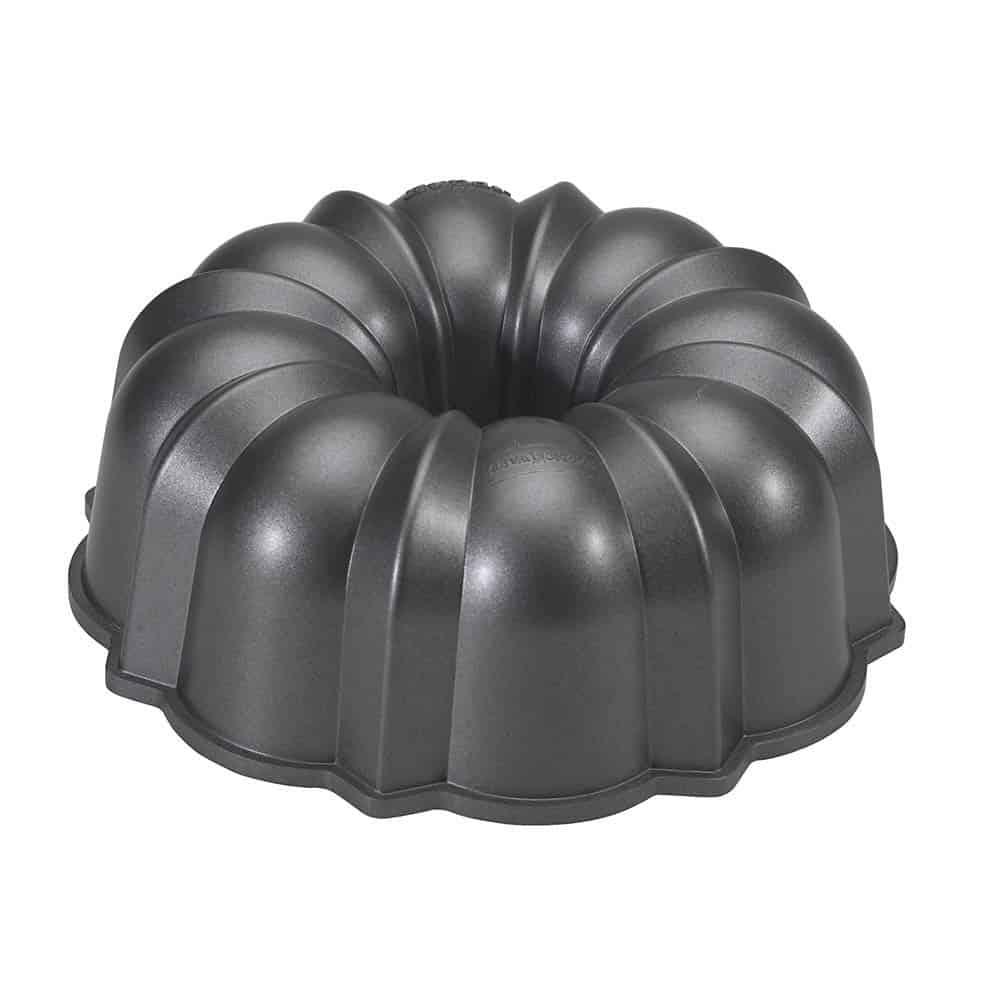
I LOVE bundt cakes. You just bake them and that's it. You can put a glaze on them if you want, but really they're so simple, but pretty.
Get yourself a good bundt pan.
A tip for using bundt pans: Make sure to grease and flour that sucker within an inch of it's life. For me I have the most trouble with cakes sticking to bundt pans. Maybe you don't have that experience, but I sure do, so I grease and flour that sucker really well and that seems to work for me.
Cooling Racks:

I use these three cooling racks. There are bigger, larger racks, but I like these because I can stack them.
If you make larger layer cakes though, you'll want to get a bigger option.

Press n Seal wrap and foil:
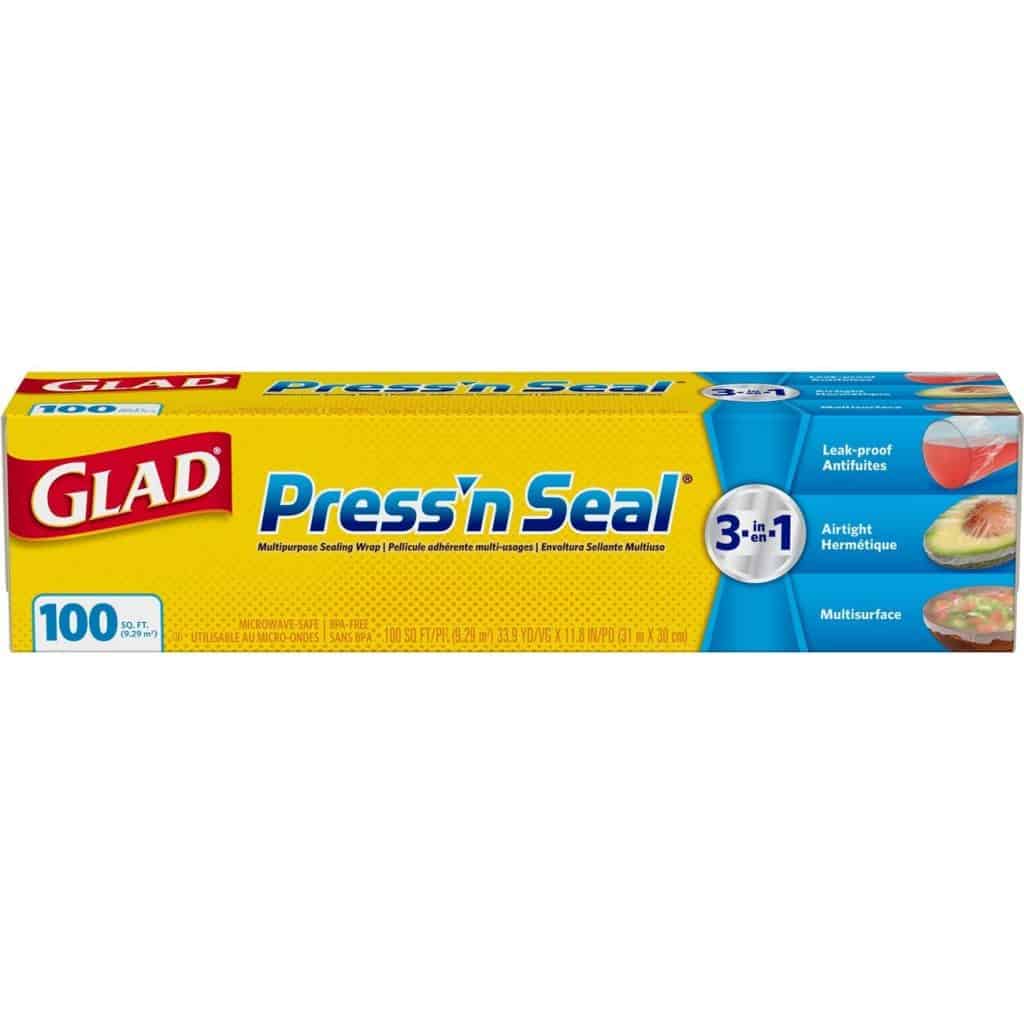
Did you think you’d get to read just one of my posts where I DON’T talk about my love of press n seal? If you know anything about me at all, you know that I'm in love with press-n-seal. I don’t know if this is available in all countries, but I really hope it is in your area.
I use press n seal when I freeze my cakes, when I cover buttercream, or when I cover my mixer bowl when mixing my buttercream. I just use it for a ton of different things.
If you want to see how I use it to freeze cakes and cupcakes, you can check out that blog post here: Tips for Freezing Cakes & Cupcakes
A Good Mixer:
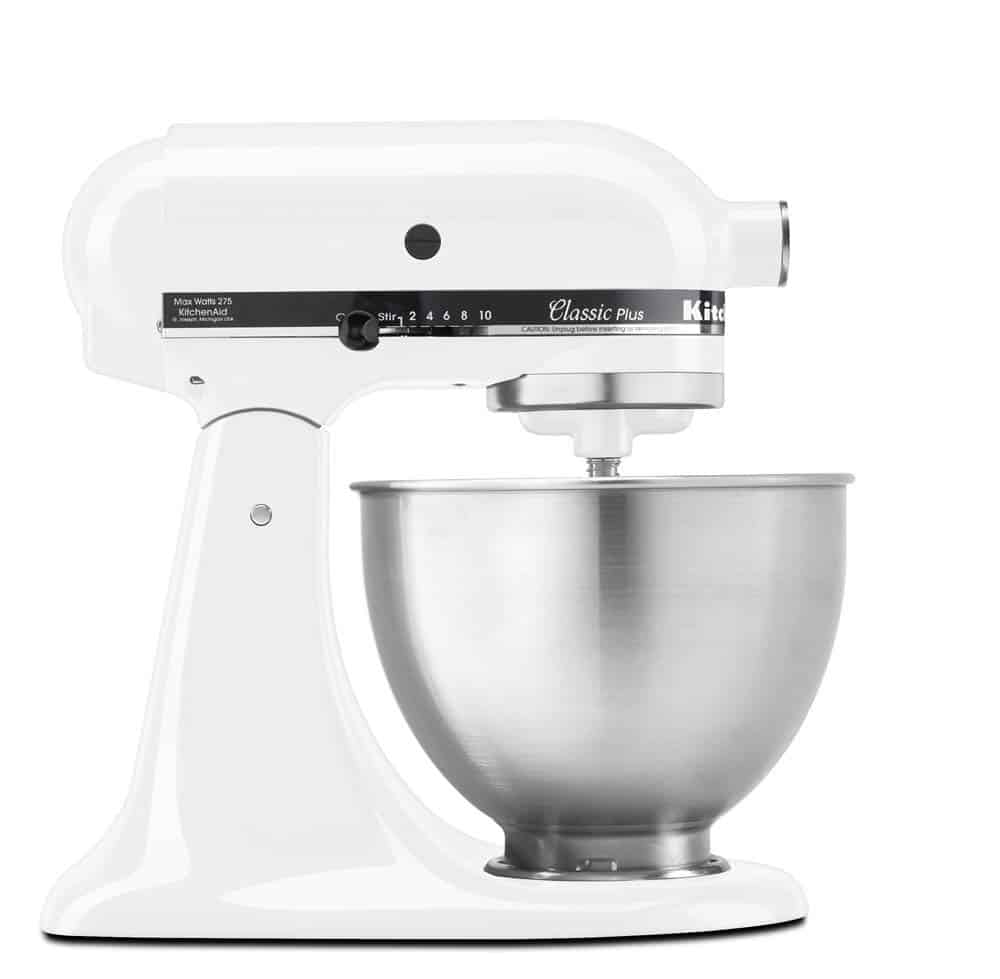
You don’t have to get a fancy one, but if you can get a stand mixer, I definitely recommend it. I have the classic style Kitchenaid and it’s worked fine for years and it’s more economical than getting a really fancy one.
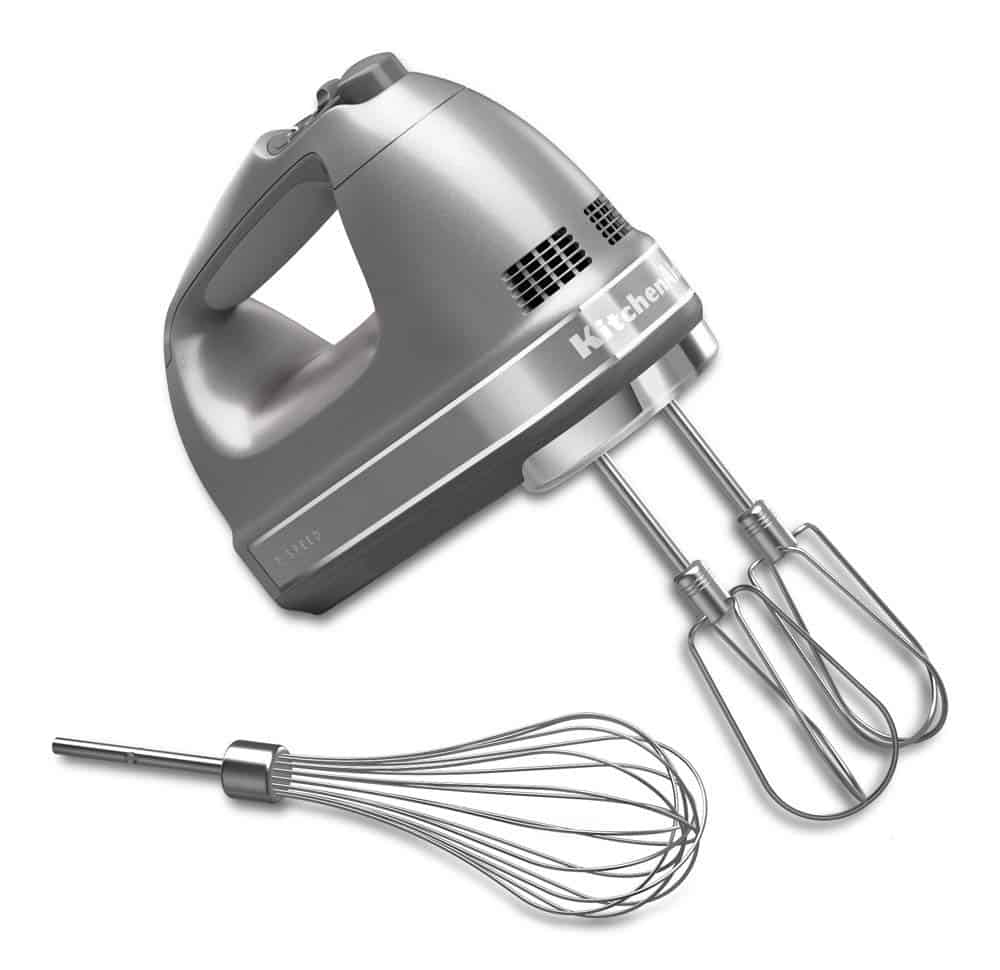
I also have a Kitchenaid hand mixer as well and it works great. I actually use both the stand and hand mixers. Really it just depends on what bowls I have clean. 😉
You can most certainly make amazing cakes using a hand mixer. Don’t think that you have to go out and spend a lot of money on a stand mixer. I love mine and yes it really is convenient, but if you don’t have one, don’t let that stop you. Just get a good handheld mixer!
Flex Edge Beater:
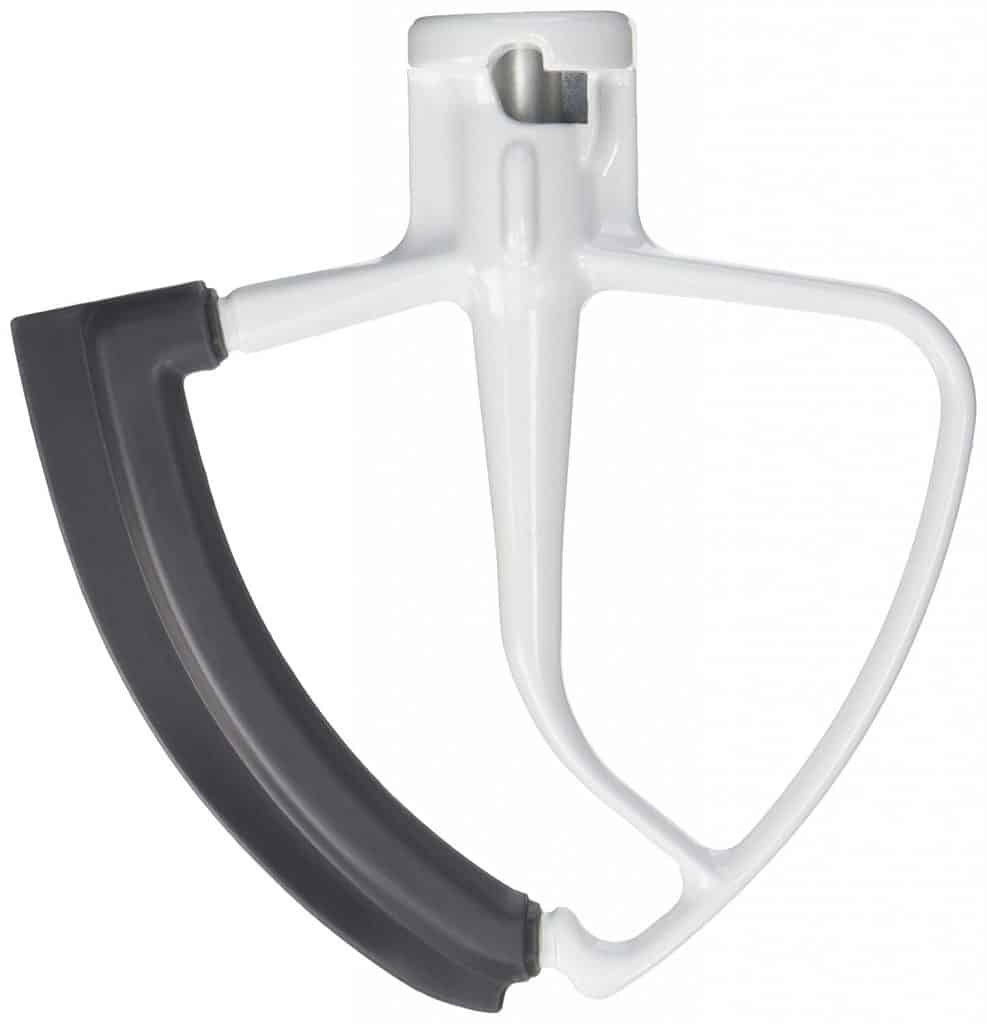
If you have a stand mixer, this attachment is a must. I think some call this the paddle attachment, but I’ll just go by the name that KitchenAid calls it.
A beater attachment is great because it doesn’t beat your cake batter to death. As you’ve heard me say a thousand times before, you don’t want to over-mix your cake batter. People are so used to beating it for several minutes because that’s what cake mixes say to do, but a scratch cake isn’t a cake mix. It works differently and if you go mixing it hard, at too high a speed and for too long, you’ll end up with essentially a rubber cake.
So the beater attachment helps a bit with this because it doesn’t incorporate too much air into cake batter and icing. It’s flat, obviously, and it doesn’t whip like a whisk attachment would.
You can buy plain beater attachments, but you can also buy the flex beater attachment, which is what I like to use. It’s got a rubber edge to it and that glides along the side of the bowl while mixing and picks up all the extra bits to incorporate it into the batter. It’s not perfect, but does a much better job than the regular beater attachment.
Now, if you’re using a hand mixer, that’s totally okay. Do NOT go into debt buying a stand mixer and all the attachments. Your hand mixer will work fine, but once you know you really love baking, you might want to start saving up for an upgrade.
Large Glass Mixing Bowl for the KitchenAid:
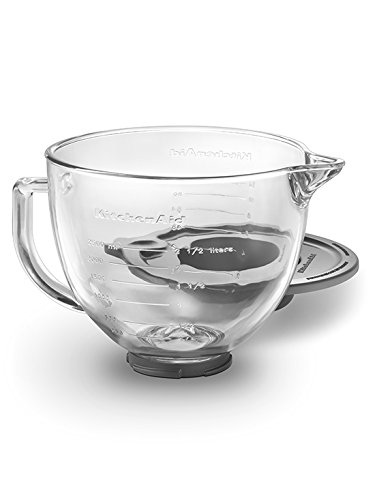
Large Glass Mixing Bowl for the KitchenAid
Again, if you’re using a stand mixer, I LOVE these glass bowls. The classic Kitchenaid mixer sometimes comes with a silver bowl. It’s great, but I really like the large glass bowls. I like to be able to see what's going on without leaning over. Maybe that’s weird, but I really prefer the glass bowl. It’s heavy duty and it has a handy pouring spout.
Of course when you start decorating cakes, you’ll also need things like a cake leveler and cake turntable and spatulas, but you can read about that here: Inexpensive Tools You Need to Start Decorating Cakes or you check out this post as well will ALL of my recommended tools: Cake Decorating Tools I Love
Don’t forget to pin it below!
Joan - My Cookie Clinic
Hi Kara Jane, That is so cool that you won your Kitchen Aid mixer. I find it’s easy to over-mix cake batter with both the Kitchen Aid and today’s hand-held mixers, which are more powerful than older models. For years I greased up my bundt pans with Crisco & flour too. Now I use PAM Baking Spray and it works beautifully without leaving the cake greasy. I still use the Crisco & flour method for layer cakes. Have a nice day!
Kara Jane
Yes I agree about the mixers. Used to, you could just go at the lowest setting on something and it would actually be low. I’m now noticing that in some mixers, the lowest setting can spray out half the stuff you’ve added to your bowl! I’ve found I have to pulse mine at first to keep that from happening.
That’s great that PAM is working well for you. I’ve had many people tell me that, but for some reason I just don’t get good results from it. I always end up reverting to the ‘old fashioned’ grease and flour method, or the pan release recipe. Thanks for the comment! Have a wonderful day! 🙂
Natasha Jankowski
Hi Kara Jane,
I have the flexi beater attachment, but I find it sends stuff flying everywhere even if I only have a small amount of ingredients, which is rather disappointing, as I was very excited to get it. Best xmas present I got this year!!!! How do you find it??
Happy Friday
Natasha
Kara Jane
Hi Natasha, yes that sometimes happens to me too. I do two things: I sometimes make myself a ‘tent’ that goes over my mixing bowl. I use plastic wrap or press-n-seal and just wrap it around the top of the bowl and beater. Then when I turn it on, if anything tries to fly out, it’ll just hit that plastic wrap and fall back down into the bowl. I do this almost every time I make buttercream because that confectioner’s sugar is the worst at flying out. The second thing I do that seems to help is when I first turn the mixer on, I just basically pulse it on and off. It’s hard to explain, but I just move that on switch a tiny bit on, then off, then on etc. I do this several times until the dry ingredients are a little more mixed in then I’ll mix like normal. I hope this helps!
Josephine Mullane
Loved all your suggestions. One item I find very helpful is an instant read thermometer. No more under baked or overbaked cake layers, /jiggling cheesecakes or baking quick breads that are either unbaked in the center or overbaked with dark sides. Takes away all guess work. Also a cake stand with a very high cover; no more plastic wrap. All my baking tins are aluminum. Parchment paper circles for the baking pans. Just a few thoughts.
Also, where did you buy thought beautiful wooden spoons? Thank you.
Kara Jane
Josephine, those are wonderful tips! And I believe those wooden spoons come from Amazon. I need to go in and update that link. Thanks!