
Have Questions or Need More Details?
Don't forget to check out the Tips & FAQ section in the post!

If you ever have trouble getting cakes out of pans, here are tips that will keep that from ever happening again.
There are several ways you can go about this including the cake release recipe. We’ll get into all the different tips plus how to make the cake release and use it and some alternatives.
Confession time…I am the queen of shortcuts. I’m constantly trying to figure out how I can do things ahead of time, do them quicker and more efficiently.
I test multiple methods out for whatever I’m doing. Maybe half the time, my method works the first time. The other half, well, I basically learn from my mistakes.
These tips for getting your cakes to release from their pans are basically tips I learned from screwing up. The number one lesson I’ve learned is that this is a step you can’t skip and shortcuts just don’t work.
So, I wanted to share my tips with you, so you don’t have to mess with guessing what will work and what won’t work.
As an Amazon Associate, I earn from qualifying purchases.
First I WILL say that in my experience, different cakes call for different methods. The more moist and tender a cake is, the more it will tend to stick to the pan.
For me, chocolate cakes and cakes with fruit in them, just LOVE to stick to pans. For these cakes, I tend to go the extra mile and do a little more preparation.
The biggest tip here is that you HAVE to prepare the pans ahead of time. There’s just not a lot you can do if your cake is stuck.
You can try setting the pan in some hot water for a bit to see if it will loosen, but that trick just doesn’t work that often.
You may have a cake that you can hide its flaws with icing though or you may be stuck just using it to make a trifle or cake pops.
For next time, you’ll want to know how to prevent your cakes from sticking and that’s what we’ll go into here.
Now on to the options!
Jump to:
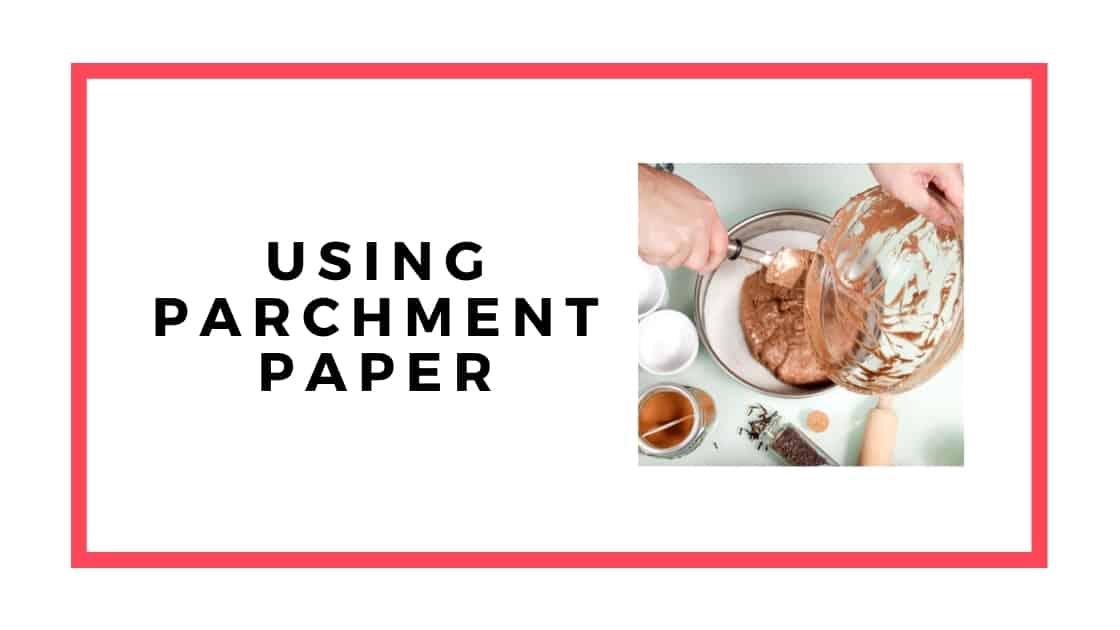
Using parchment paper
A lot of people prefer this method and it really seems to work well for them. There is nothing wrong with this method, but it’s just not one that I’ve gotten into the habit of doing.
This is the way to go though if you don’t want to use any additional oil on your pans to keep your cakes from sticking. The only thing is it may take you a little time to cut the right size parchment circles.
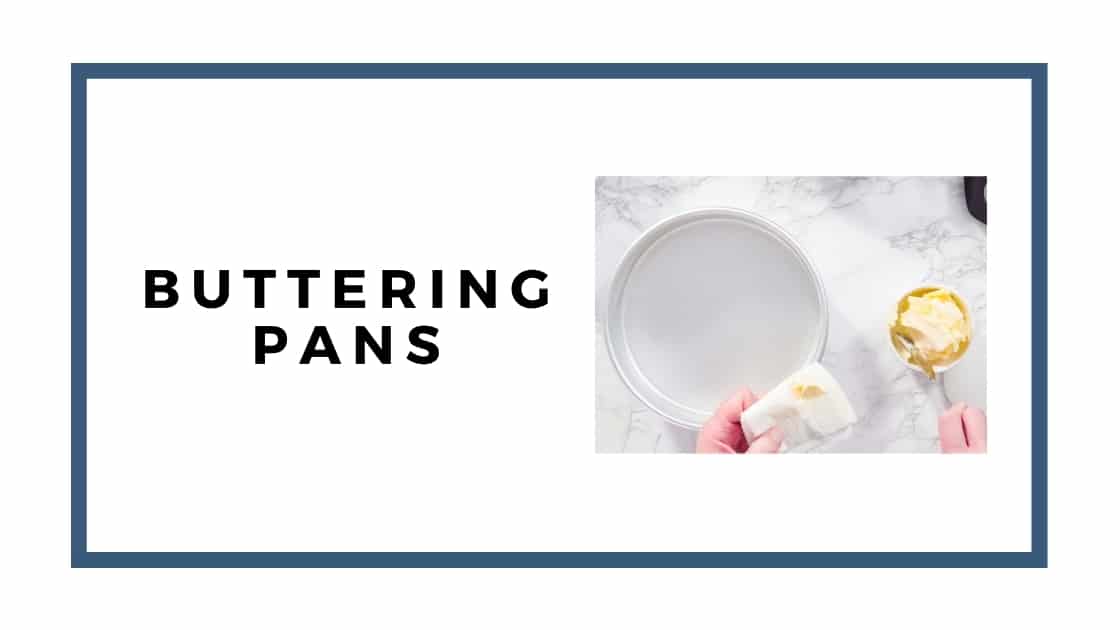
Buttering Pans
I used this one a lot when I was a kid and baking cakes. This is not my favorite method and it just doesn’t work as well as other options.
Butter burns and it really seems like it over-browns the bottom of the cake layer and then just doesn’t give it enough releasing power.
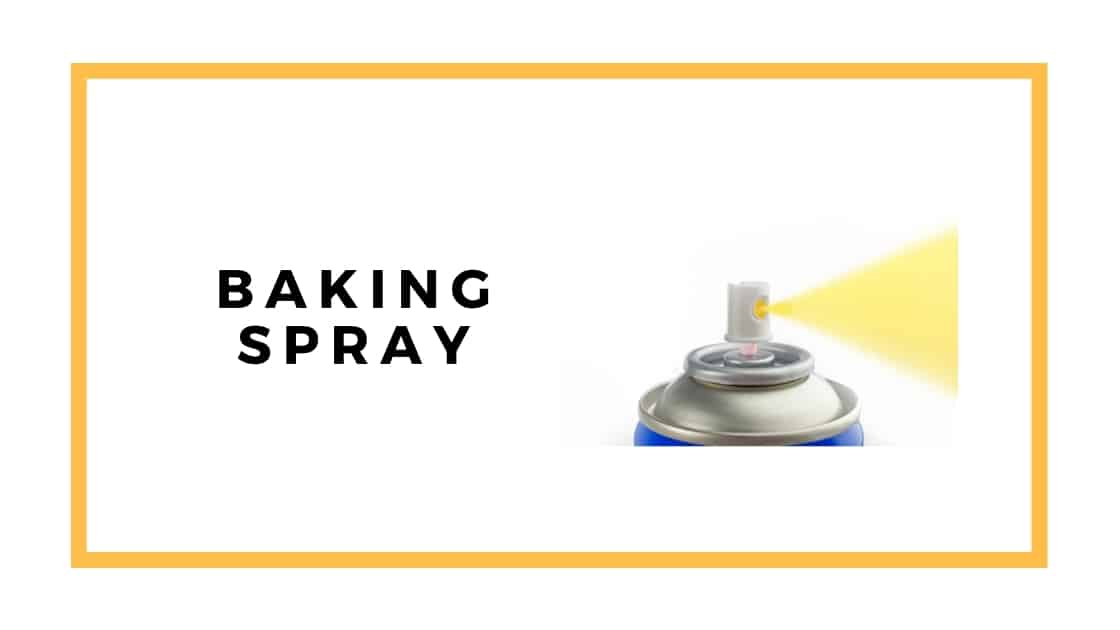
Baking Spray
You can spray your pans with PAM cooking spray or the Baker’s Joy spray that has flour in it. If you go this route, I can’t guarantee it’ll work on every cake.
It’s kind of been hit or miss with me, but I have found if I spray it VERY well, there’s a better chance my cakes might release.
I would not recommend this on super moist cakes or cakes with fruit in them like carrot cakes etc. as the spray just doesn’t seem to work as well as other methods.
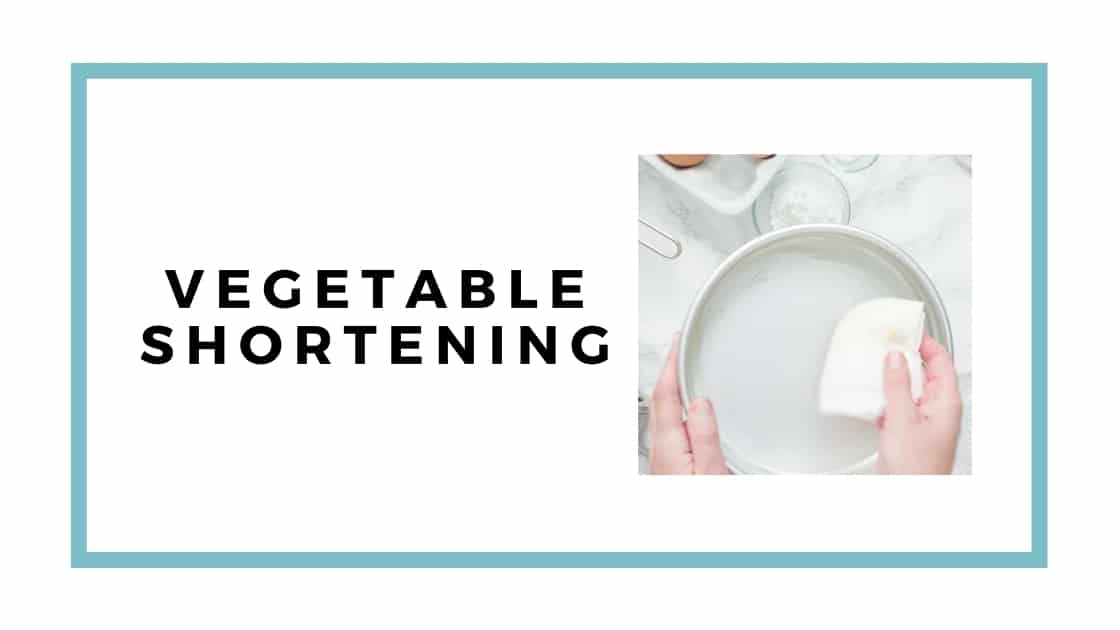
Vegetable Shortening
Another option is to coat your pans with vegetable shorting (like Crisco). I actually use this method quite a lot.
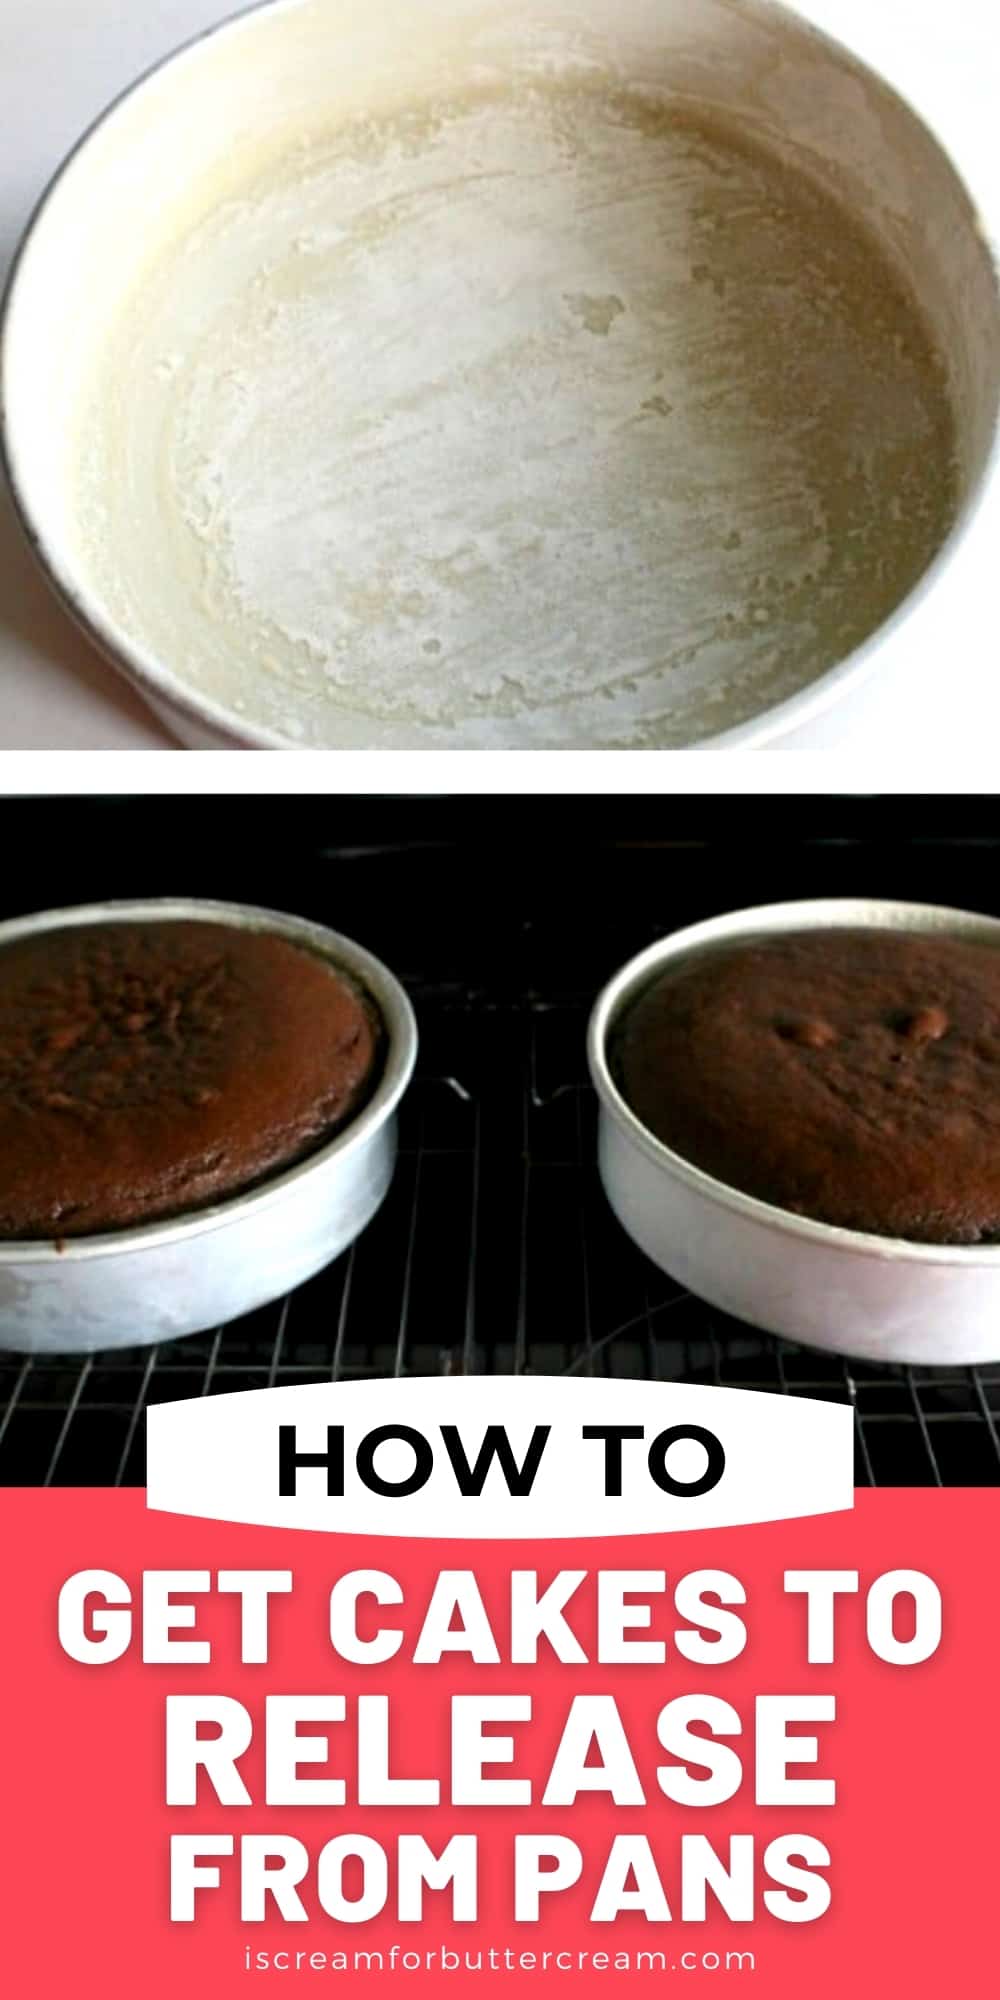
You’ll just take a paper towel and smooth a thin film of vegetable shortening all over your cake pans and the sides, then pour your batter in.
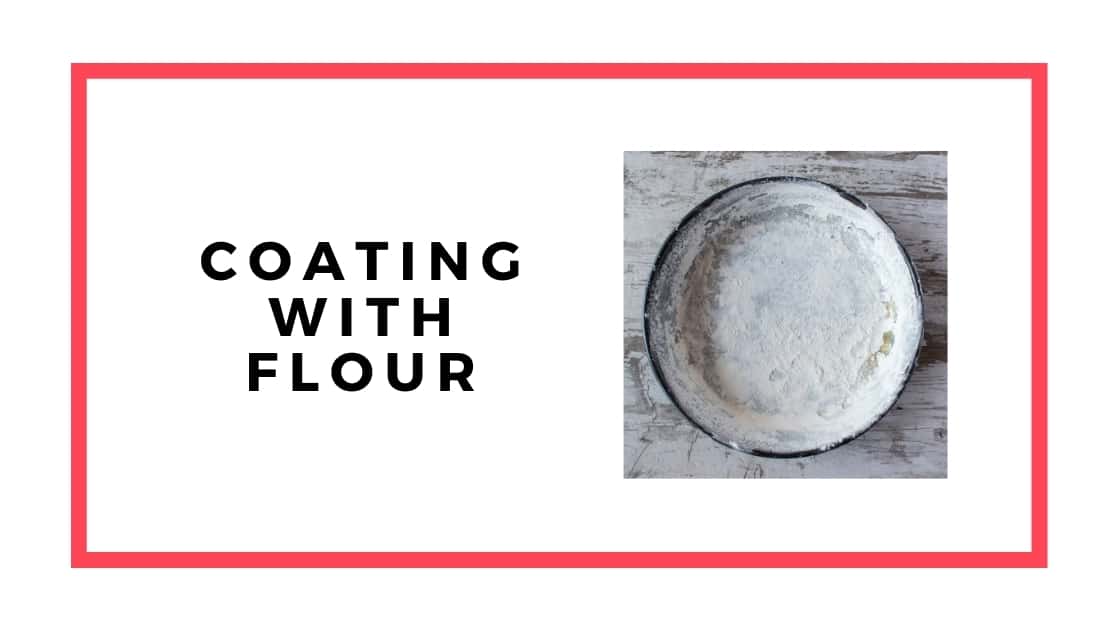
Coating with flour
Now, if you want to go the extra mile, you can then coat your pans with flour. Make sure though that you coat them with vegetable shortening first so the flour has something to stick to.
I use this method a lot if I’ve got a very delicate cake that sticks easily.
Using the pan release recipe
You’ve probably heard about the pan release recipe. My recipe is slightly different and is at the end of this post. Make sure to also watch the video below as well to show you how to make it so it doesn’t come out clumpy.
So, for most vanilla cakes, I’ve found the pan release is really all you need. You usually don’t need to sprinkle any flour on the pans after you’ve added the pan release.
For chocolate cakes, or cakes made with a lot of oil, I’ve found that it doesn’t hurt to go one more step and flour them after you’ve added the pan release, but it’s not an absolute necessity.
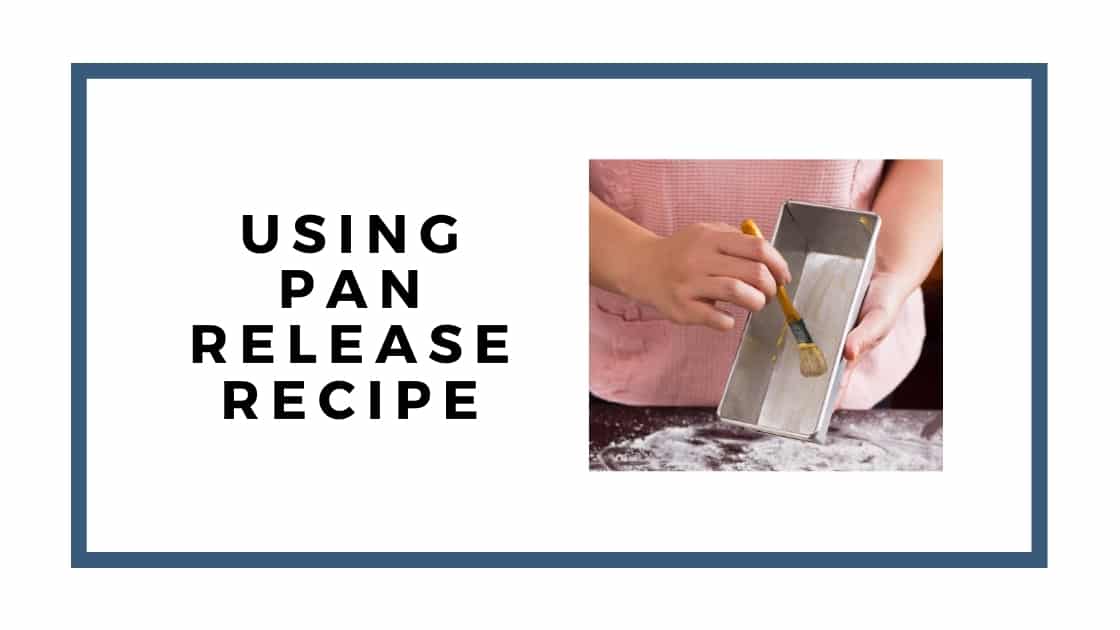
How to use the pan release recipe
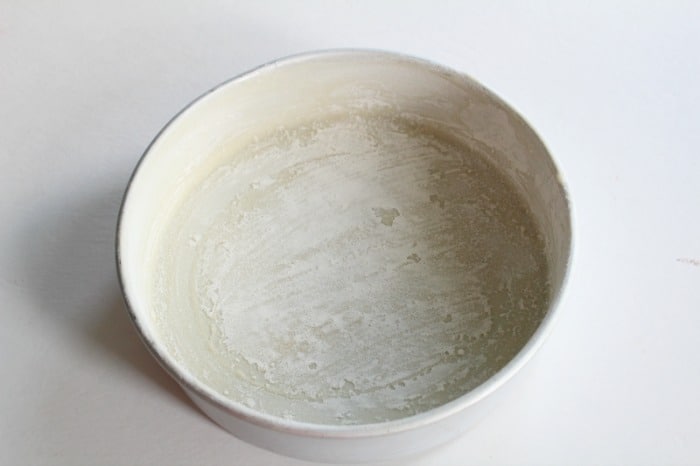
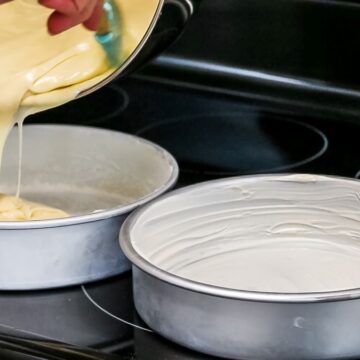
Take the pan release mixture and rub a good amount on the cake pans. Don’t be stingy with it. You can just use a paper towel like I do, or you can brush it on.
Just make sure that if you use a brush that it’s only for food and that it’s not shedding brush bristles everywhere.
My recipe for pan release is a little thicker and I find it’s easier to work with and you can add it just using a paper towel.

If you want to go the extra mile, then you can sprinkle flour into the pan and then tap it around to coat the bottom and sides and dump out excess.
This method has worked great for me. (Don’t forget to grab the pan release recipe down below and to watch the videos for tips on making it.)
What to do after the cakes have baked
These steps are important for getting your cakes to release.
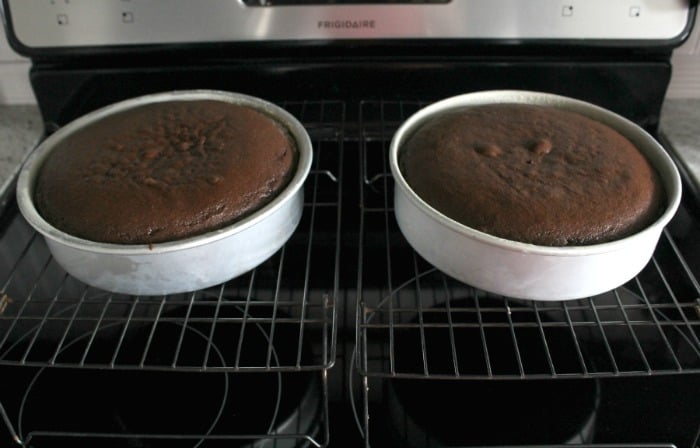
After you take your cakes out of the oven, let them cool on wire racks for ten minutes. Don’t try to take your cakes out of the pans right away. That will be a disaster.
You also don’t want to cool them completely in the pan (unless the recipe explicitly says to.)
Now, if you’ve got larger pans or perhaps a bundt cake, you might want to let it sit on the racks like this for about fifteen to twenty minutes…but don’t forget about it.
Once you let the cakes sit for the recommended amount of time, take the cake pan and set it directly on your stove or counter. Take the rack and turn it face down on top of the cake.
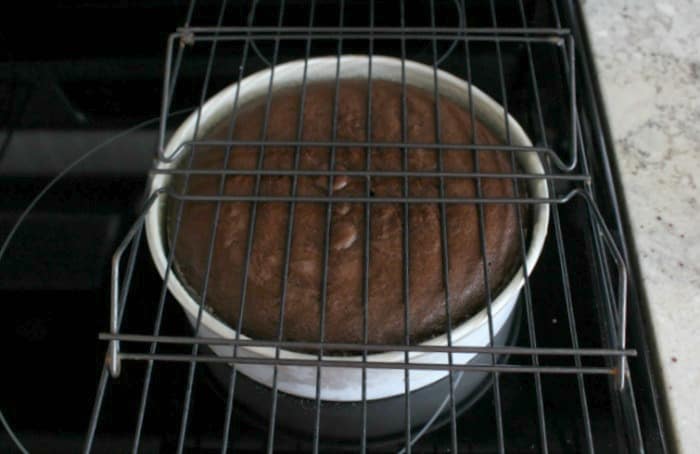
Now grab the whole thing and flip it over in one quick motion. Your cake will be sitting upside down on your rack.
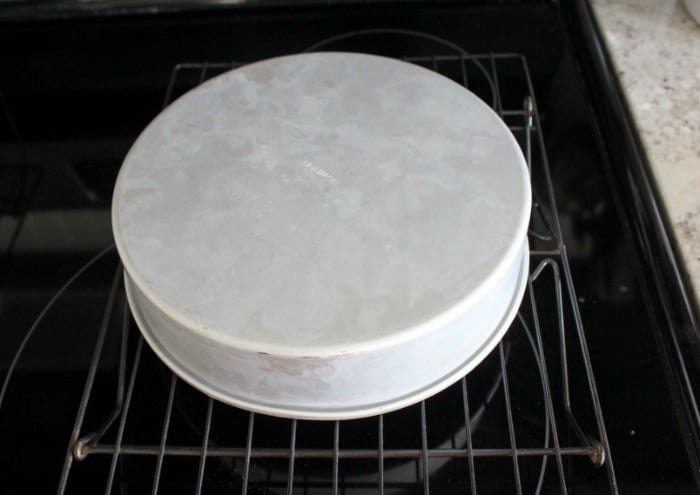
Just grab the pan and lift up and off your cake.
At this point, you can flip the cakes back over right side up if you want or just leave them like this. (I show how I do this in the video below.)
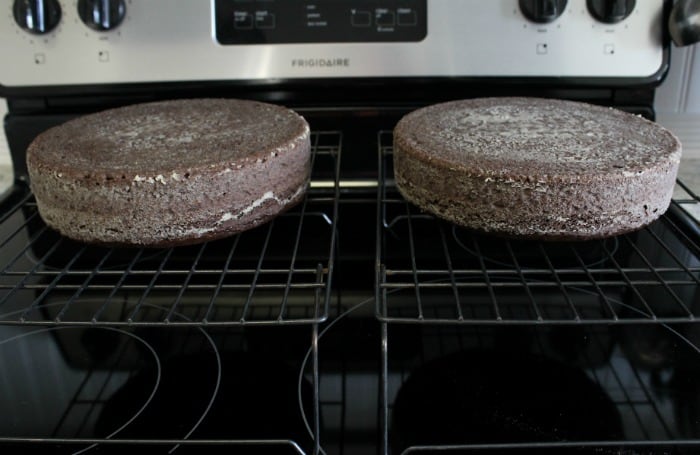
You then want to let your cakes cool completely on the racks. After they’ve cooled, you can layer and fill them, or you can freeze the layers for later. Here are my tips for freezing cakes and cupcakes: Tips for Freezing Cakes and Cupcakes
That’s it! It just takes a little extra time to prepare your pans, but it’s so worth it. No more frustration and heartache of chunks of the cake sticking in the pan (unless you just want an excuse to eat that layer all by yourself.)
Video
And here’s the cake release recipe I promised:
Recipe
Pan Release
Ingredients
- 1 cup vegetable shortening (like Crisco)
- 1 cup all-purpose flour
- ½ cup vegetable oil
Instructions
- Add the shortening to a mixing bowl and mix with an electric mixer until smooth.
- Slowly mix in the flour. Add it in little by little as you're mixing. Once all the flour is added, mix until everything is smooth. Make sure to scrape down the sides of the bowl and mix again. (You're adding in the flour a little at a time so that the mixture doesn't become clumpy.)
- Add in the oil a little at a time and mix while adding. Once it's all added, mix until it's all smooth. Scrape down the sides of the bowl and mix again.
- Once it's smooth, add it to a container and store in a cool dry place.
- To use, just dip a little out of the container with a paper towel or brush and coat your pans before adding cake batter to them.
Notes
How to Share
I’d love for you to share this recipe link or tag it, but please do not share screenshots or copy/paste the recipe to social media as the content and photographs are copyright protected and we (bloggers) work really hard on our content. Sharing the link, tagging us on socials and pinning it is super appreciated though!
Other posts you might like
- 15 Things I Wish I’d Known When I Started Baking Cakes
- Why are my Cakes Dry?
- Why do Cakes Sink in the Middle?
Don’t Forget to Pin it for Later!
Kim
I use cocoa powder to dust pans instead of flour on my choc cakes (and brownies). Just to get rid of the ghostly look of flour on my layers!
That has worked so far, any reason it shouldn’t?
Kara Jane
I’ve seen people do that before, but I’ve never actually tried it. I think it’s an awesome idea though. Looks better than the ‘ghost look’…you’re right about that. I think as long as it’s working for you, I’d keep doing it!
Dorita
I made the release and the outside of my cakes were hard. What did I do wrong
Kara Jane
Hmmm, I’m not exactly sure why they would come out hard. You mixed equal amounts of shortening, vegetable oil and flour right? I can’t figure out why the outsides would crisp up like that. Next time, you might try dusting the pans with a bit of flour after you coat them in the pan release. I’m not sure if that would help or not. I’m wondering if too much pan release was spread around the pan though, maybe it could have caused it. Let me know if it does it again. I’m curious.
Pauline Morris
The outside cooks faster and will get done first I bought some cake strips you wet them & they go around your pan before you bake your cakes the bonus is your cake will be flat not domed works like a charm every time!! Wilson sells the cake stripes very cheap and they give you a lot they go around any size pan!!! ( happy baking )
Barbara Norris
This was great with lots of useful tips
Kara Jane
Thank you! I’m so glad it was helpful! 🙂
Alvanise
What about loaf pound cakes? I used baker’s joy forever and then it stopped working. It’s hit or miss with the flour and shortening method as well as the cake release. Iam at my wits end. I bake to sell and a little part always stays in th e pan
Kara Jane
Yeah I know what you mean about Bakers Joy. Sometimes it works, but sometimes not. You must have some really moist loaf cakes if they’re still sticking in the pan like that. They sound amazing! It does sound like you’ve tried everything though. I have a couple suggestions: You could try using a bit more shortening and really flour that pan, or use the cake release recipe and then flour on top of that. Another thing you could do is just line your pans with parchment paper. Cut out a strip for the longest part and then another wide one to go across the other way. (Hope that made sense.) I think at this point if the shortening and flour isn’t doing it for you, you may just have to go with parchment paper, or look at purchasing different loaf pans to see if that helps.
Danielle
How do I store the cake release mixture?
If you said it above and I missed it, I apologize. Thank you for the tips!
Kara Jane
No worries. I just store mine in a plastic container in the pantry or just on top of my fridge with my cake turn tables. 🙂
freefalling
Hi, great post – lots of helpful tips.
I was wondering why you don’t just use baking paper?
Kara Jane
Baking paper works as well, but I’ve just never really got into the habit of using it. I just don’t like messing with it. It seems easier to me to just use shortening and flour or the pan release but that’s just my preference.
Chris
Genius, this worked perfectly – before reading this, my cake came out as crumbs, after the cake practically jumped out by itself! Thank You!
Kara Jane
Oh yay!!! I’m so glad it worked for you! 🙂
Ingrid Shapiro
Hi, enjoyed your article. Very helpful. Have another problem though. Cakes are not level after baking. Tried to make sure I level pan, still not sure what I am doing wrong.
Thank you.
Kara Jane
Hi Ingrid, thanks for your question. I’m wondering if your oven is level? I used to have that problem when I lived in an apartment years ago and figured out that my oven just wasn’t level. If the cake rises higher on one side then it might just be that your oven isn’t level. You can usually adjust them though. If you don’t think that’s the issue, I’ve got an entire post about baking even cake layers (not necessarily flat cakes), but level ones. Here’s the link to that: https://iscreamforbuttercream.com/how-to-bake-even-cake-layers/
I hope that helps a bit!
Christa
Every single time that I bake a pound cake it sticks to the Bundt pan. What would I should I do?
Kara Jane
What helps me the most is to grease the pan really well with vegetable shortening, then coat the pan with flour. I’ve tried using the spray stuff, but it’s just not enough for bundt pans. I find that greasing with the vegetable shortening and then coating that with flour works best.
Vee
My pound cakes always have a hard crusty top. I prefer a moist even top.
Help!
Kara Jane
Hi Vee, what temperature are you baking them? Sometimes you can lower the temp from 350 degrees F to 325 and just bake it longer. That sometimes keeps the outside from over-browning.
Lisa
This mixture is amazing! I just used it on intricate cake pans and the cakes came out perfectly. Thank you for sharing!!!
Kara Jane
Yay! I’m so glad it worked out! ?
Margeé
What is shelf life for cake release recipe?
Kara Jane
It’s good for months…about three in the pantry and probably up to 6 months in the fridge. (I forgot to add this info to the recipe card, so I’ll update it there as well.) Hope this helps!
Shirley H
Hi Kara, I happened upon your blog by accident. Girl, I am soooo glad I did. I was looking for info on the two stage method of baking when I came across your video. It was so helpful and informative. I especially love your creaming method, like adding your eggs to the wet ingredients and whisking all together instead of adding them one at a time. I have definitely been overmixing my cakes. I will be using this creaming method from now on. Just wish I had come across your blog a long time ago when I was in the home baking business doing specialty cakes. I have never subscribed to a blogger until now, so consider yourself special, lol. You give so much informative and helpful information in all your articles that I have read. I keep clicking on a link and it has more links I just can’t stop reading. Well it’s almost midnight and I am getting sleepy so I will read more tomorrow. You are well worth subscribing too. I will recommend you to my other baking friends.
Kara
Hi Shirley…glad to have you here! So glad you subscribed and I hope I can live up to expectations! 😉 Please let me know if you come across anything you need clarification on and feel free to respond to any of my emails. I read them all. 🙂
Robin
WOW!!! Thank you, so much for sharing the Release Recipe. Magic, I tell you. Life changing. I am hooked and will never use anything else. Exceeded my expectations.
Kara
Awesome! So glad it was helpful!
Peggy
Hi, Kara,I’ve learned a lot from you about baking cakes. I’ve progressed from mixes to scratch baking, trying my best to follow the info from you. My problem is getting my cakes to rise well. I’ve moved from NC to MD, and for some reason it seems to have started since moving. 🤷🏼♀️ Both layer as well as mix cakes. They seem to rise a bit, but not as high as before. And when I remove from pan, they cool and get a bit “shorter”. I use the hanging thermometer and feels that’s more accurate. Any info will be greatly appreciated. Thanks
Kara
Hi Peggy! I love that you’ve branched out into baking scratch cakes! Many people are a little afraid to and I’m glad you’re trying it out. That is so interesting about the change in your cakes rising and then shrinking since the move. It could be a number of things though. Is it a brand new oven? Is it a different type than the one you used before like you went from gas to electric or vice versa? I’ve recently started having issues with my oven doing the exact same thing and the temperature says it’s fine. It bakes, but doesn’t seem the same, so we decided to get a new oven. If yours is electric, you might need to replace the lower heating element in it. It might be reaching the appropriate temp, but doing it unevenly and maybe a new element might fix the issue. I don’t think they’re expensive – maybe $30-$40, so that might be an option to try. My partner tells me they’re fairly easy to replace yourself.
Another factor could be the altitude. Are you at the same altitude? Was it higher in NC? I don’t know if that would make enough of a difference to this extent though.
Did you transport this oven with you in the move? If so, maybe the element or something got damaged? I’m asking my partner now and he says all it takes is a tiny hairline crack to make it heat unevenly.
I’m just throwing things out there in the hopes that something helps. Let me know if you figure out what’s going on though. Would love an update!