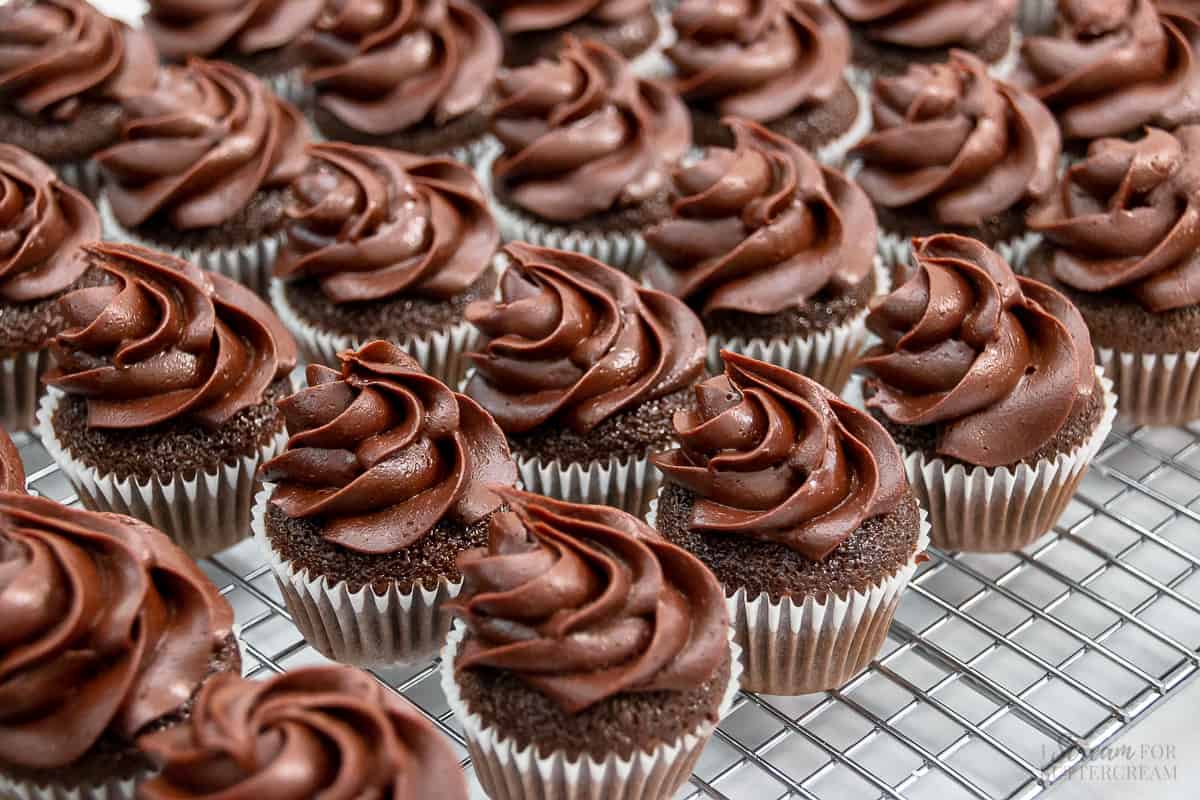
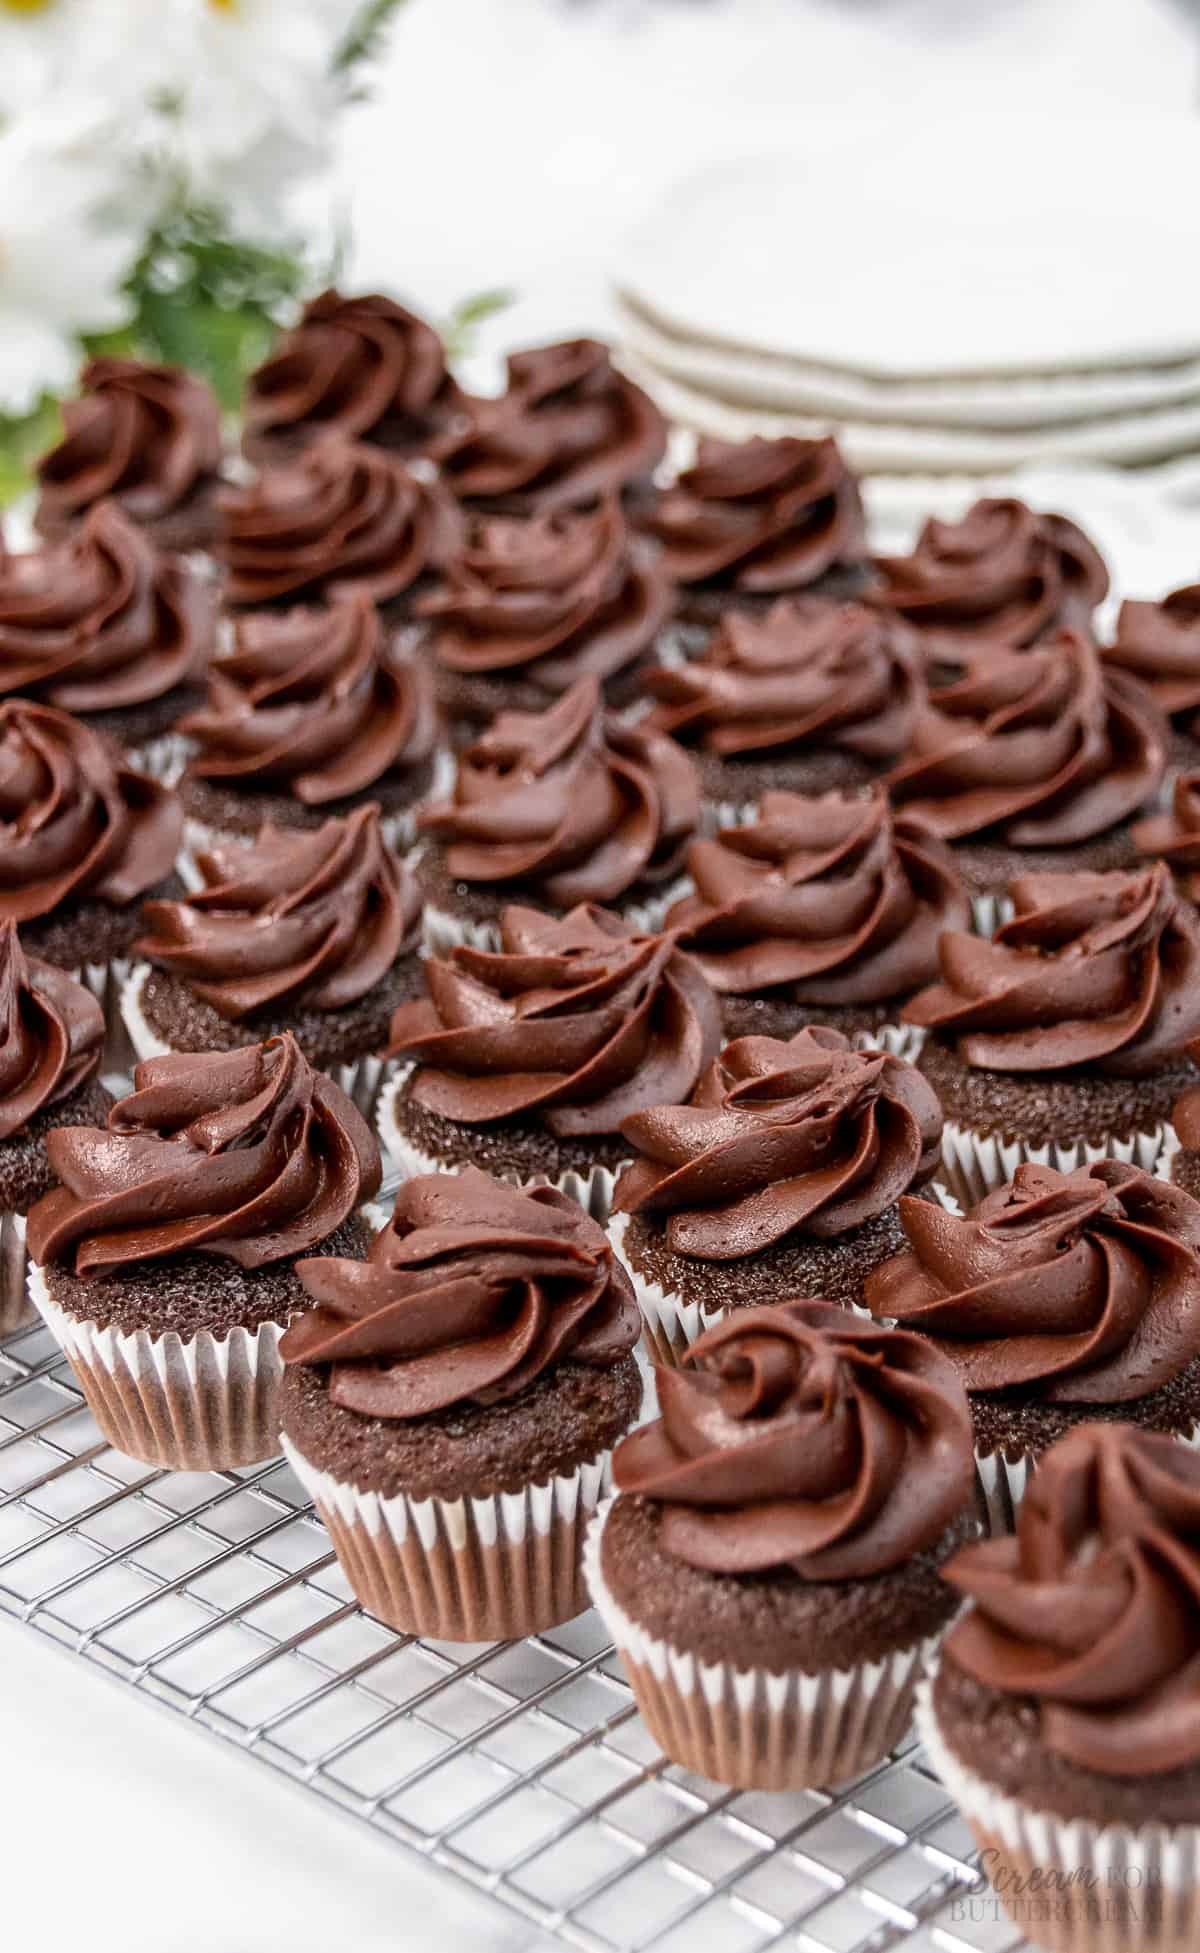
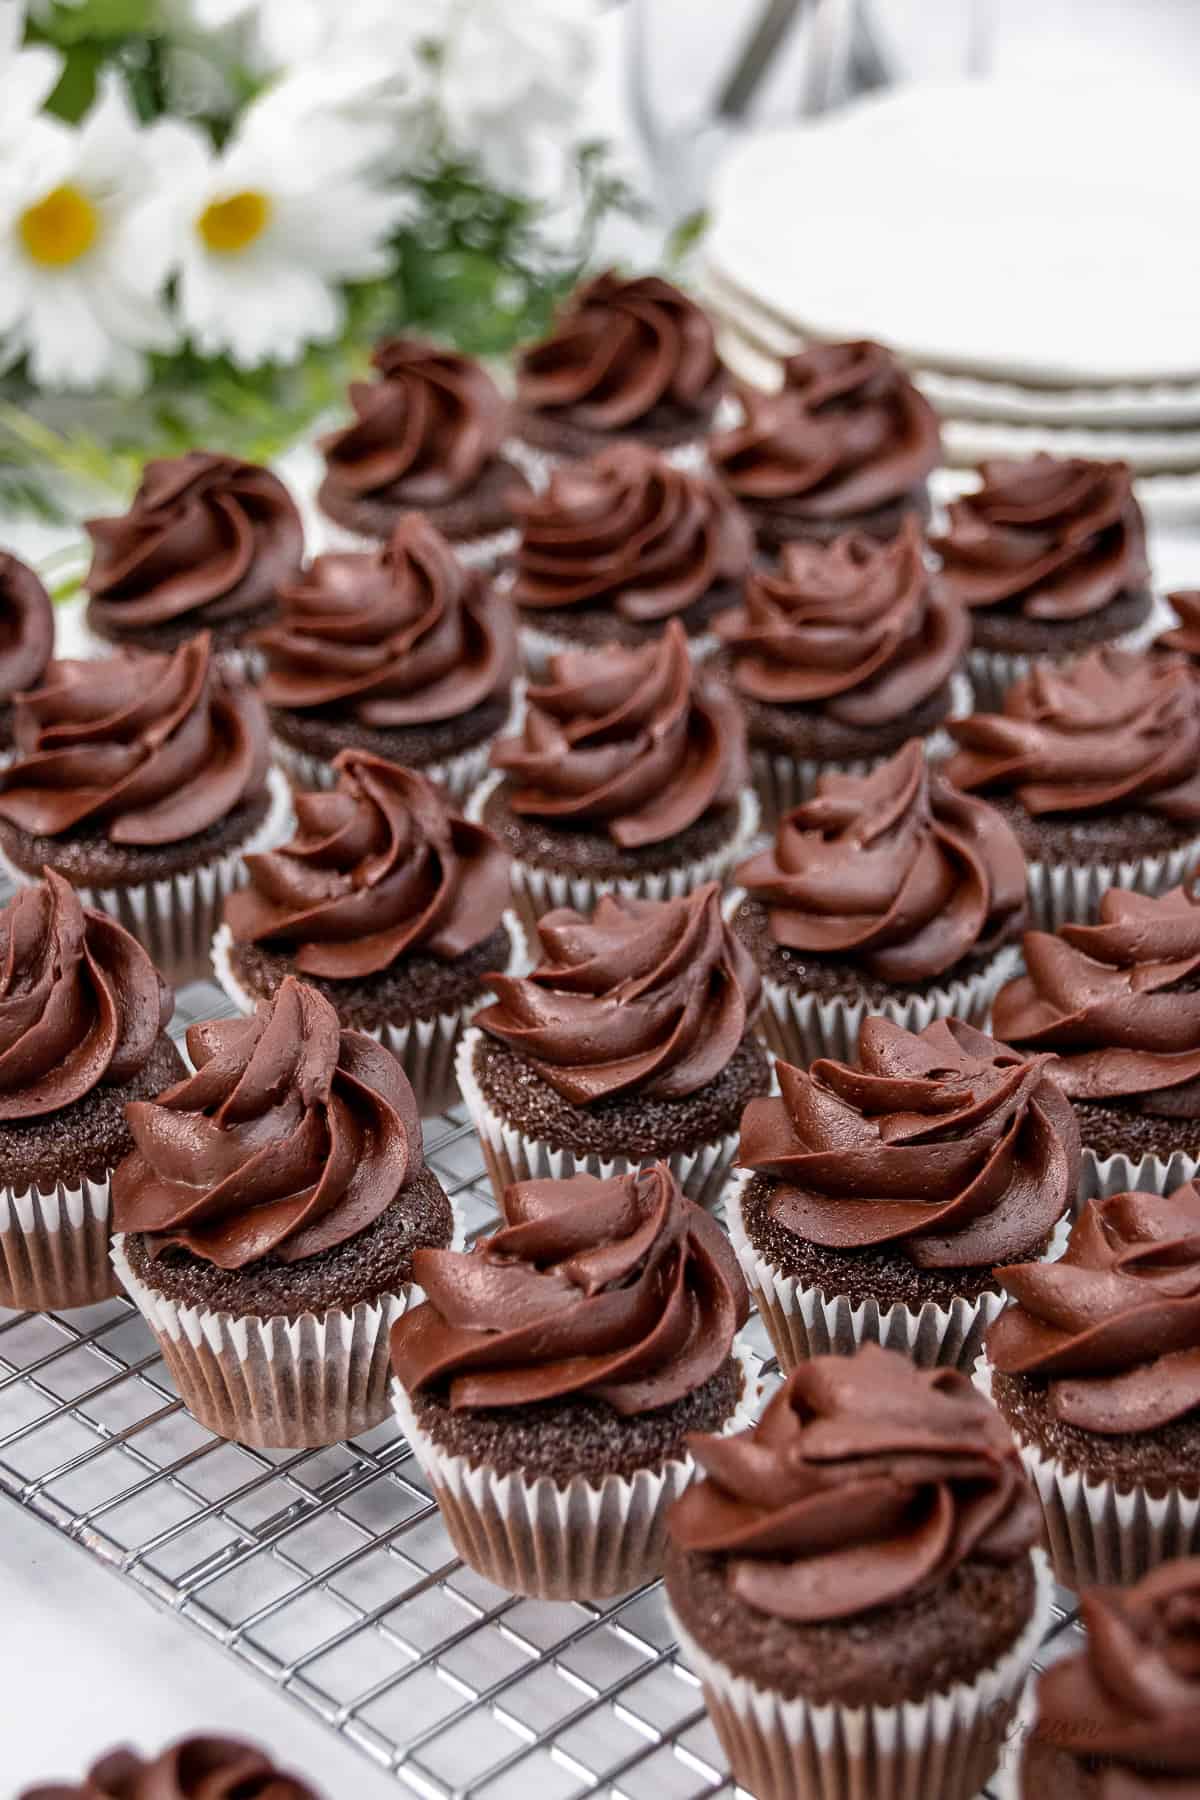
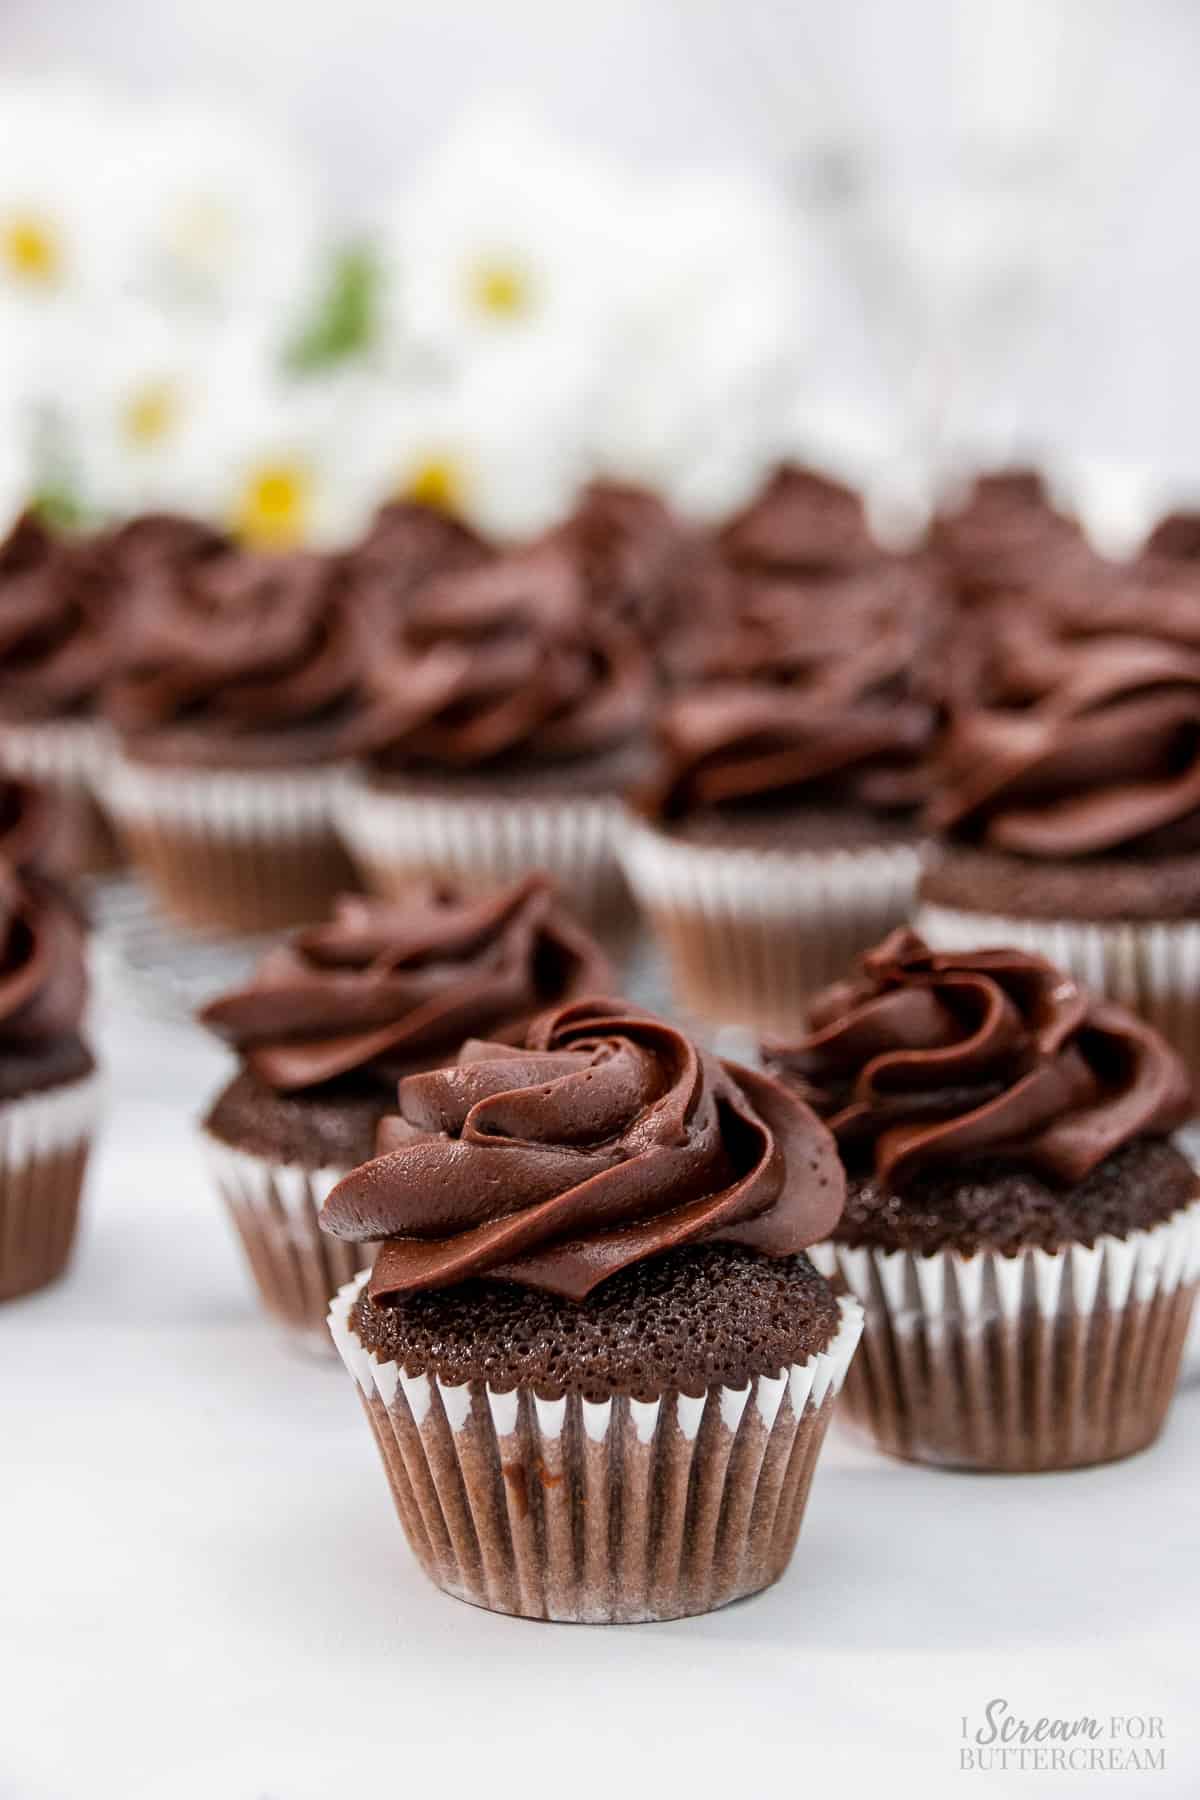
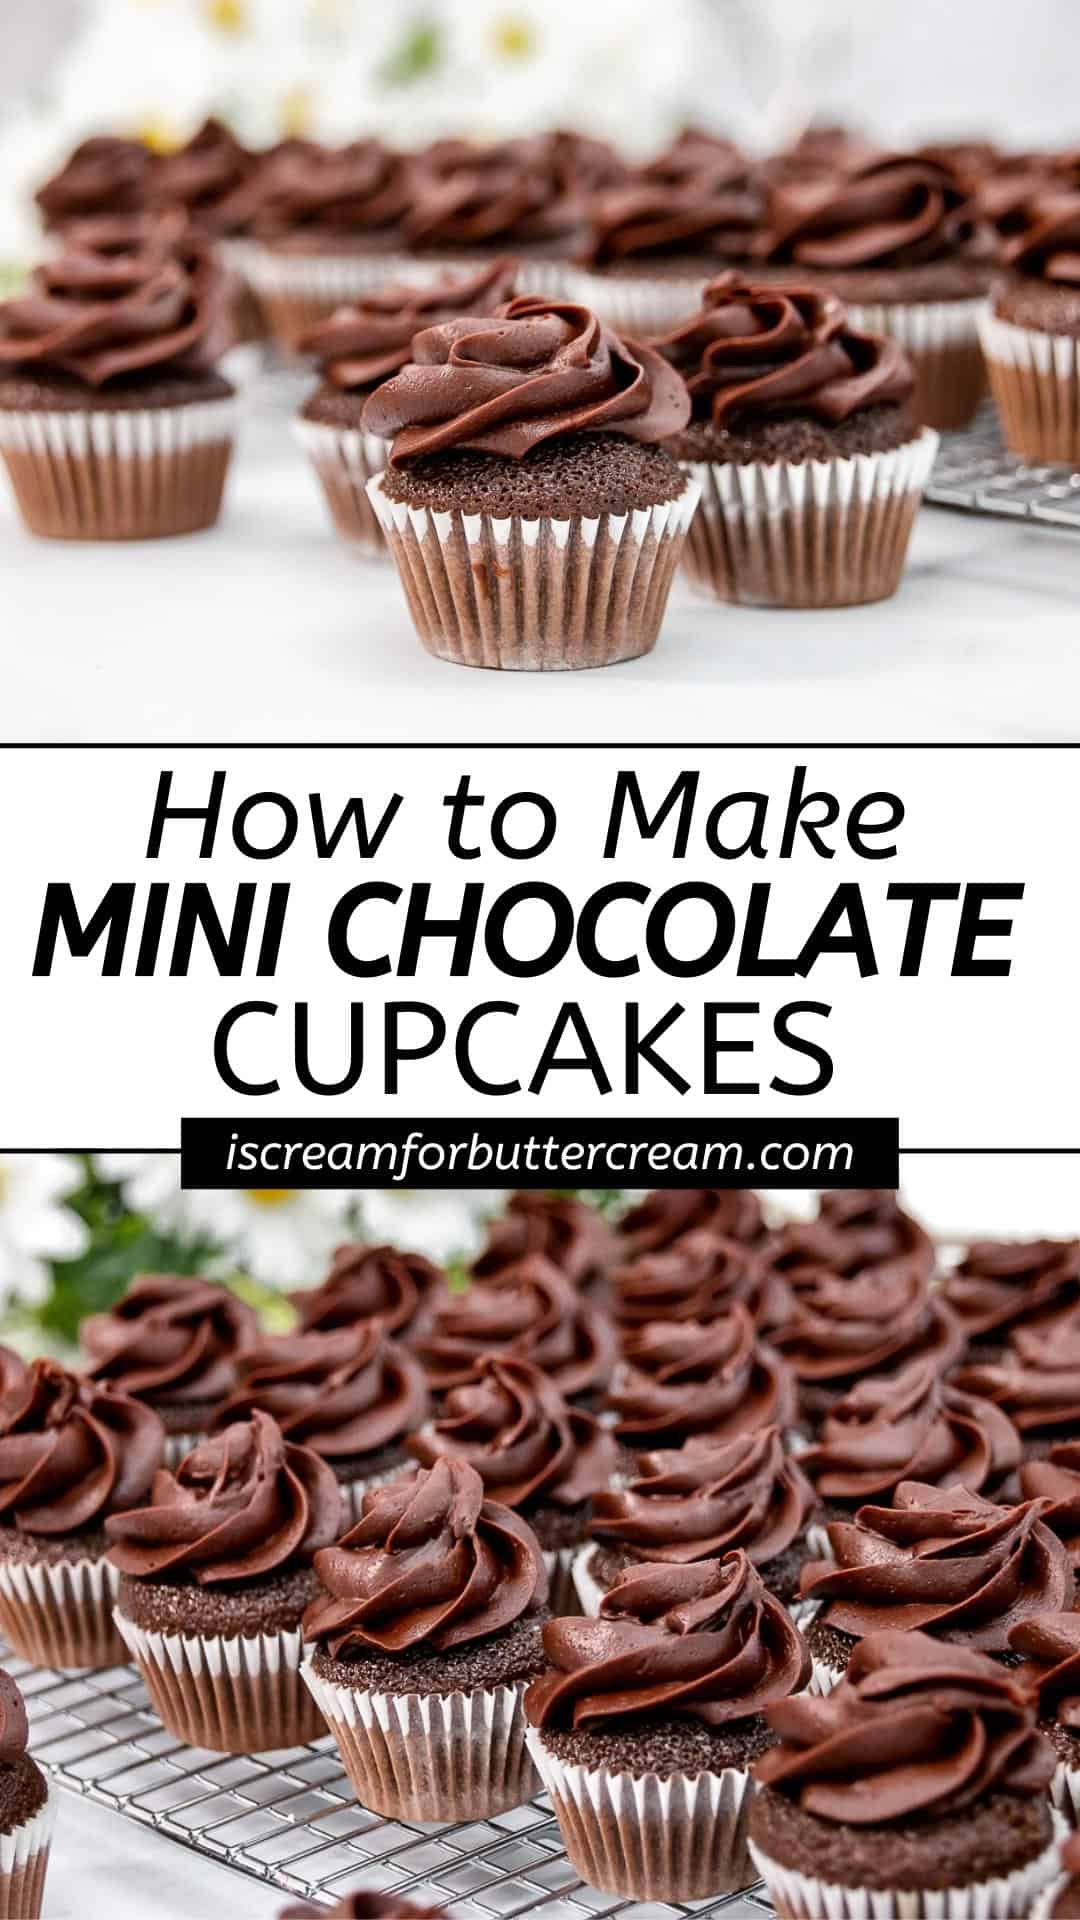
These are the best mini chocolate cupcakes that are made from scratch, are super moist and just perfect for snacks and parties.
Mini cupcakes are just so cute and these are the perfect hand-held treat for the chocolate fan.
Hey there! Before you scroll, there’s lot’s of important stuff in the post!…including the FAQ section, which may answer any questions you might have about this recipe. Enjoy!
Jump to:
These little cupcakes are going to be a family and kid favorite. You can also take them to parties, potlucks and other get-togethers.
The fun part is that you can eat a couple of these and you don’t feel like you’ve eaten a huge piece of cake (which is probably just wishful thinking though).
I think you’ll really love how easy these cupcakes are to make. You’ll need to have a mini cupcake pan and mini cupcake wrappers, but that’s really the only other equipment you’ll need other than the main things you probably have on hand.
I’ve also linked to some pans and liners in the supply section below.
Ingredient Notes:
Now let’s talk a little about just some of the ingredients that are in these mini cupcakes. (The printable list of all ingredients are in the recipe card below.)
All-purpose flour: This recipe just calls for regular all-purpose flour, so there’s no worrying about getting any special type of cake flour.
Unsweetened natural cocoa powder: This type of cocoa powder is not the same as Dutch-processed cocoa powder. Dutch-processed cocoa powder is not acidic and therefore won’t work the same as regular cocoa powder since this recipe also calls for baking soda.
Baking powder and baking soda: This recipe calls for both of these. They’re not the same though, so it’s not good to sub these out for each other. These ingredients are necessary to help the cupcakes rise.
Granulated sugar and brown sugar: I like to use both types of sugar when making chocolate cakes. It’s possible to use all granulated sugar, but I feel like the brown sugar gives it a slightly deeper flavor. It just makes it yummy.
Vegetable oil, vanilla, milk, eggs and water: These are the liquids that will be added and they’re all important. They’ll give the cake its moisture and the eggs will help it to rise.
Just make sure to follow the recipe card instructions below and wait until the end of mixing to add in the hot water.
Frosting: You can use any frosting you like and I’ve provided links to several of my frostings in the recipe card below.
How to make these mini cupcakes:
Let’s talk a little about how to make these mini chocolate cupcakes (The printable instructions are in the recipe card below.)
Step 1:
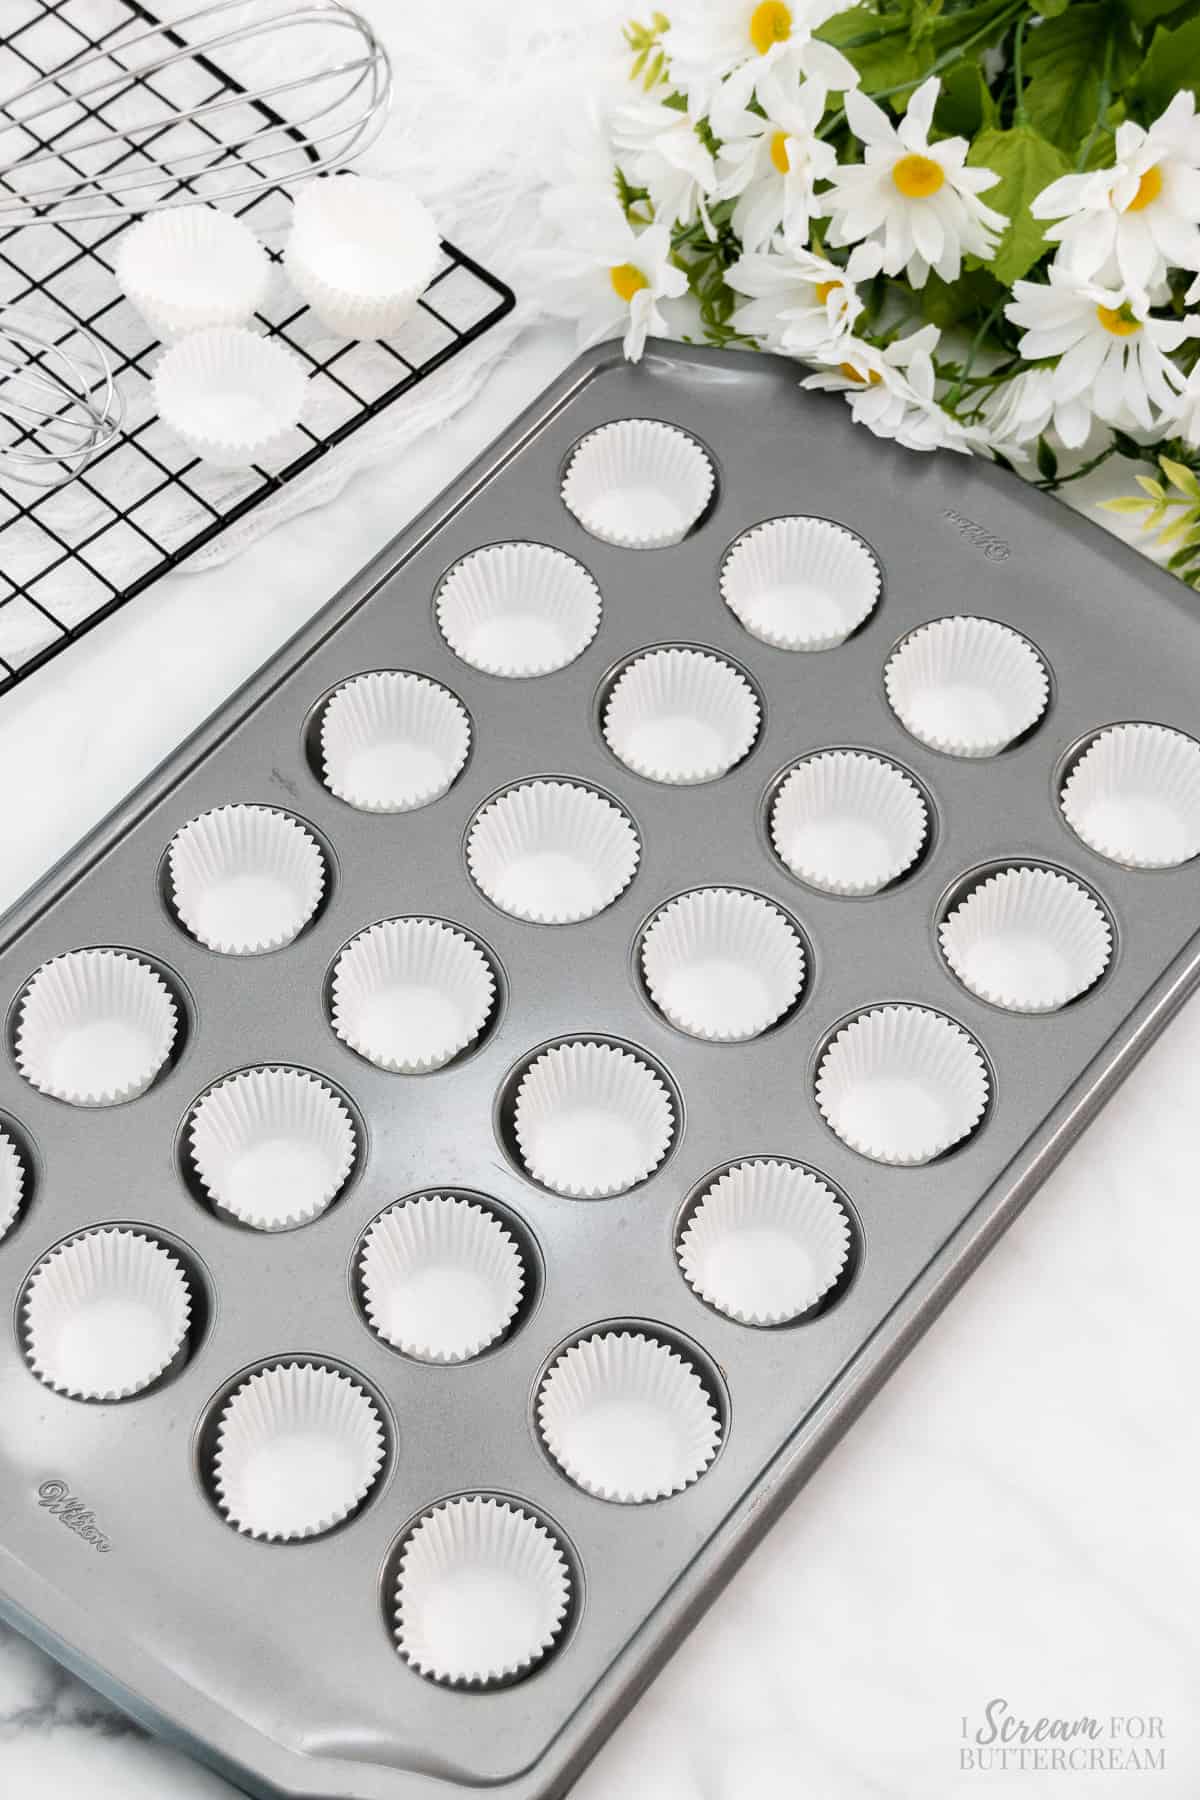
Preheat the oven to 350 degrees F. and add mini cupcake liners to two 24-count mini cupcake pans then spray them lightly with non-stick spray.
Now, if you only have one mini cupcake or mini muffin pan, just bake one batch at a time.
Step 2:
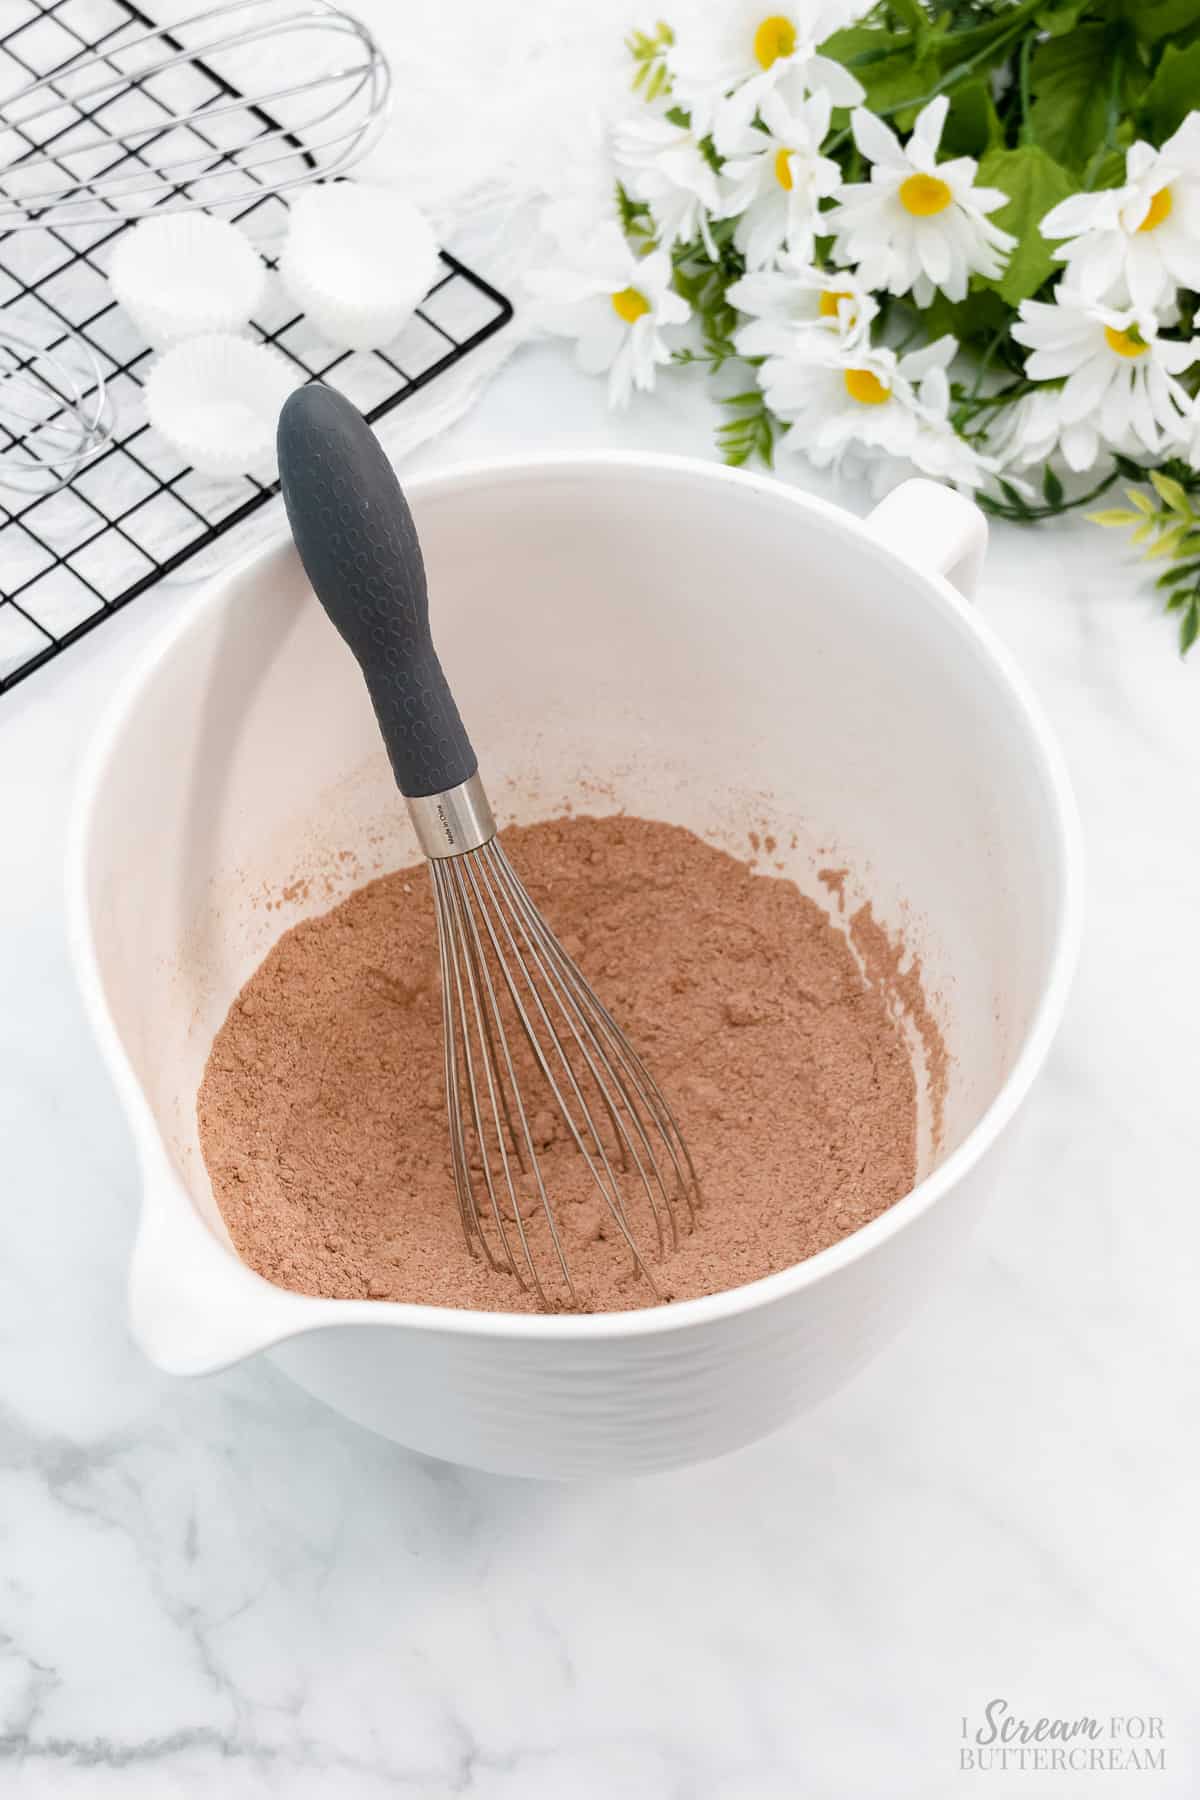
In a large mixing bowl, add all of the dry ingredients and mix well with a whisk, then set aside.
Step 3:
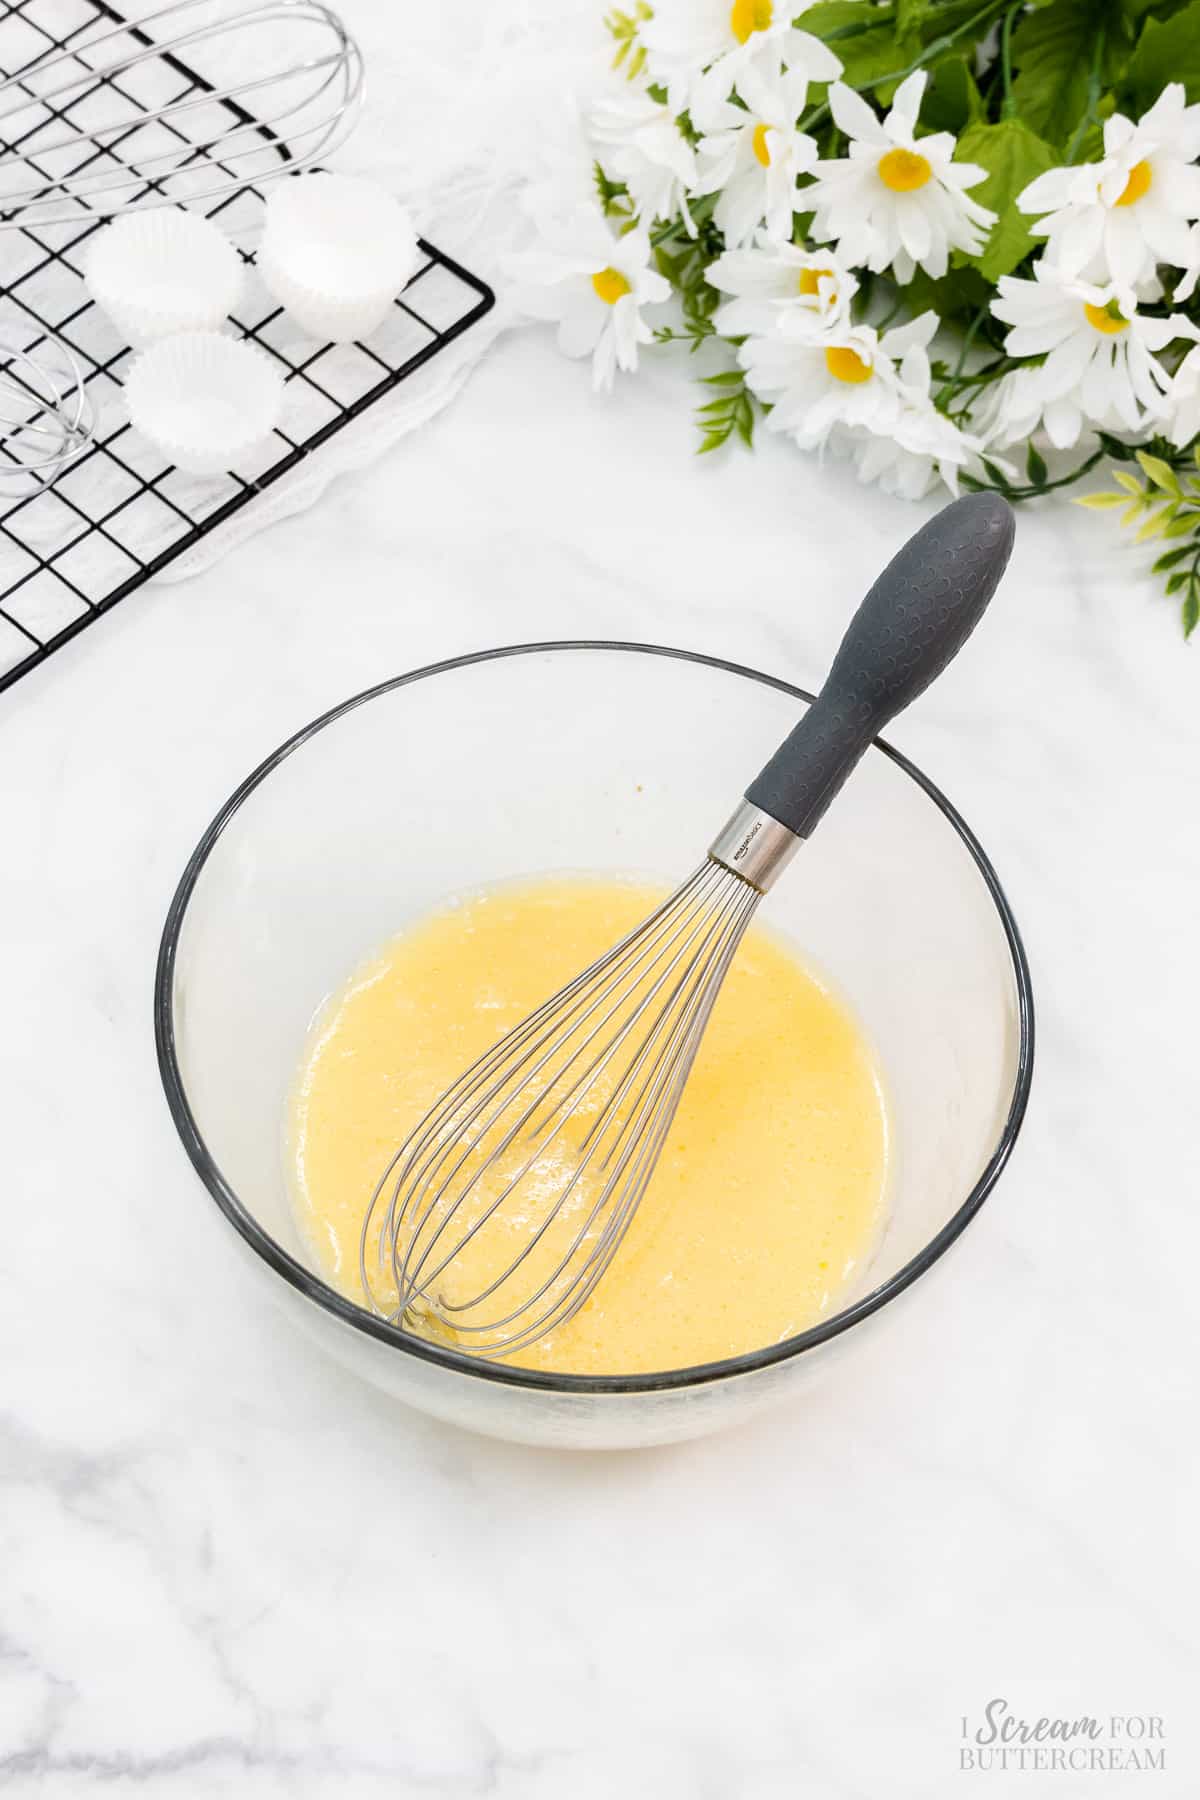
Next add all the liquid ingredients, except for the hot water, to a mixing bowl and whisk well.
Step 4:
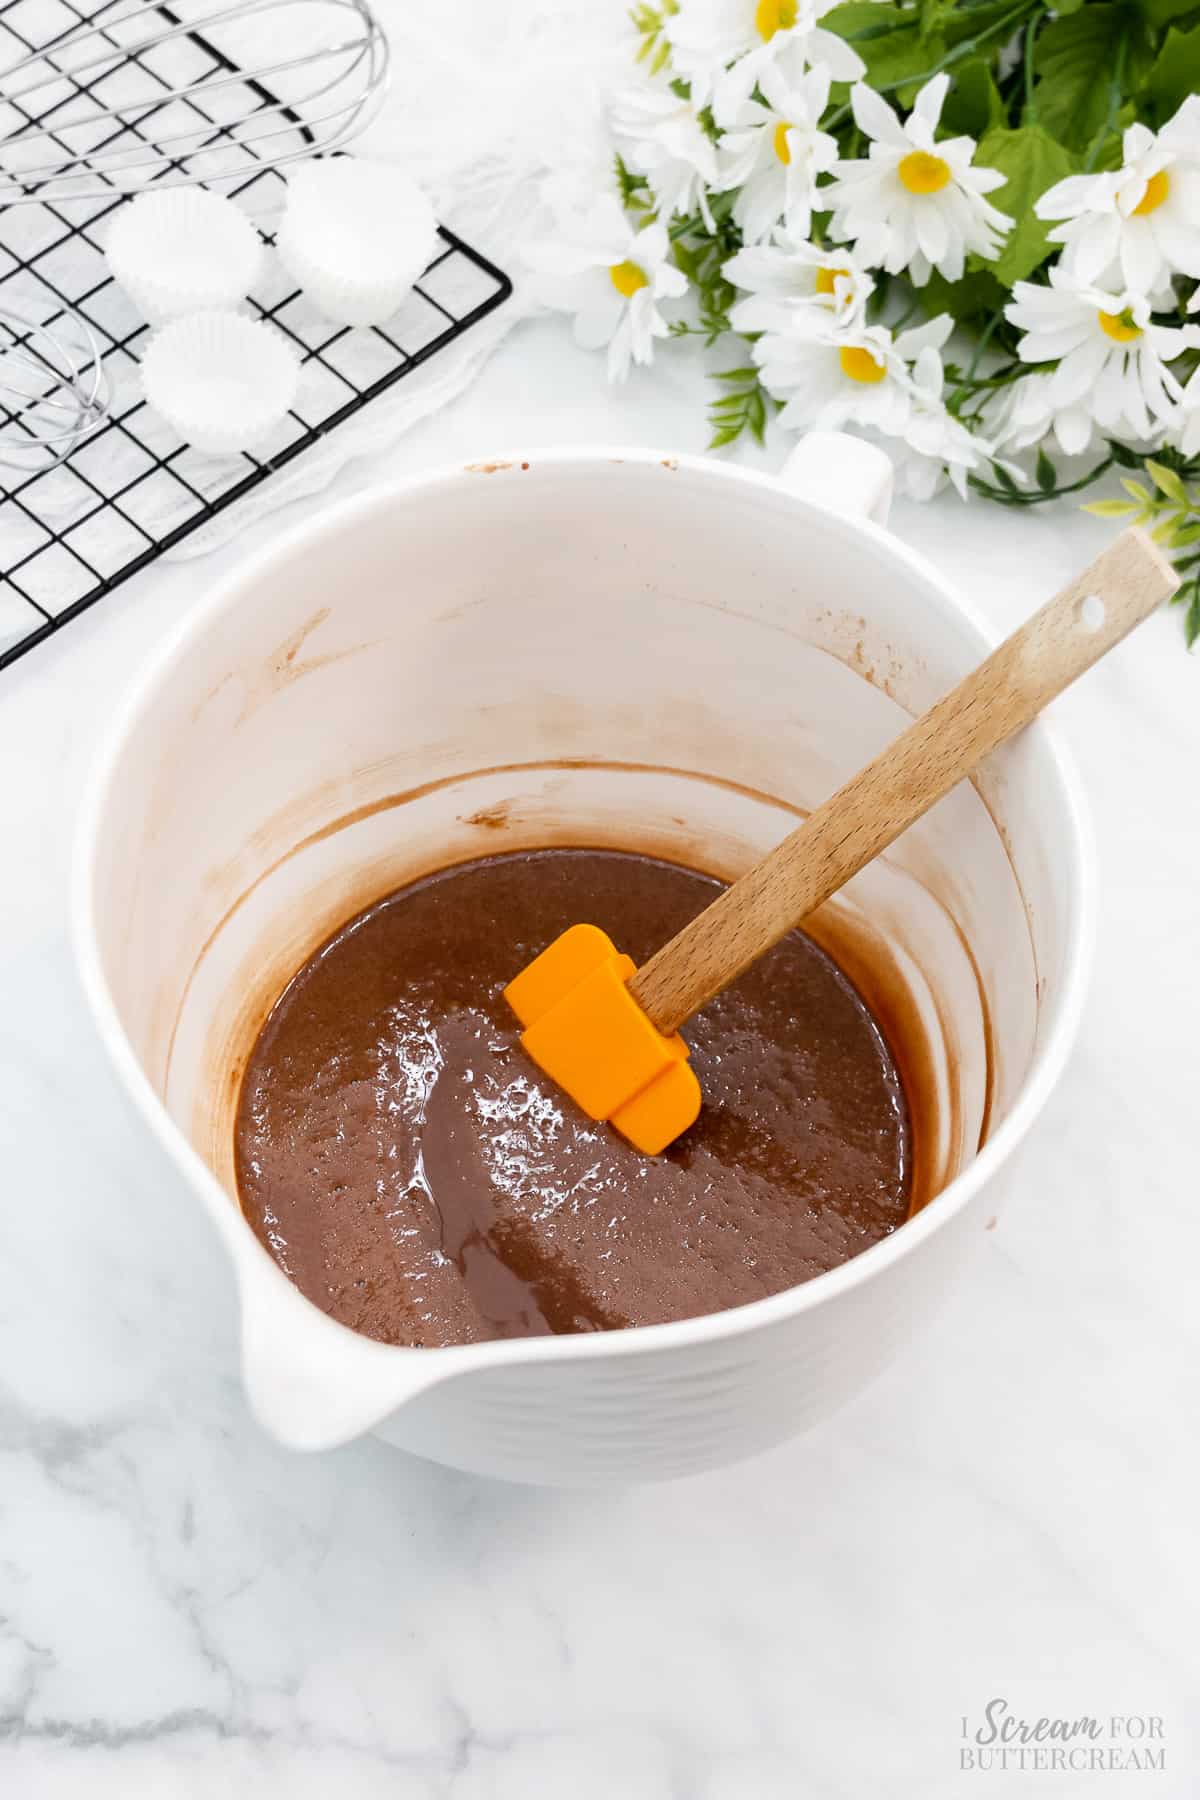
Now just make a well in the center of the dry ingredients and add the liquid ingredients. Use an electric mixer and mix on medium just until the ingredients are well combined. Scrape down the sides of the bowl and mix again for only about 5-10 seconds more.
Next, add the hot water and mix until well combined. If you need to scrap the sides of the bowl again, do it, but when you mix afterward, just make sure to not mix for a long time. Only mix for another 10-15 seconds or so. Overmixing will make tough and dense cupcakes.
Step 5:
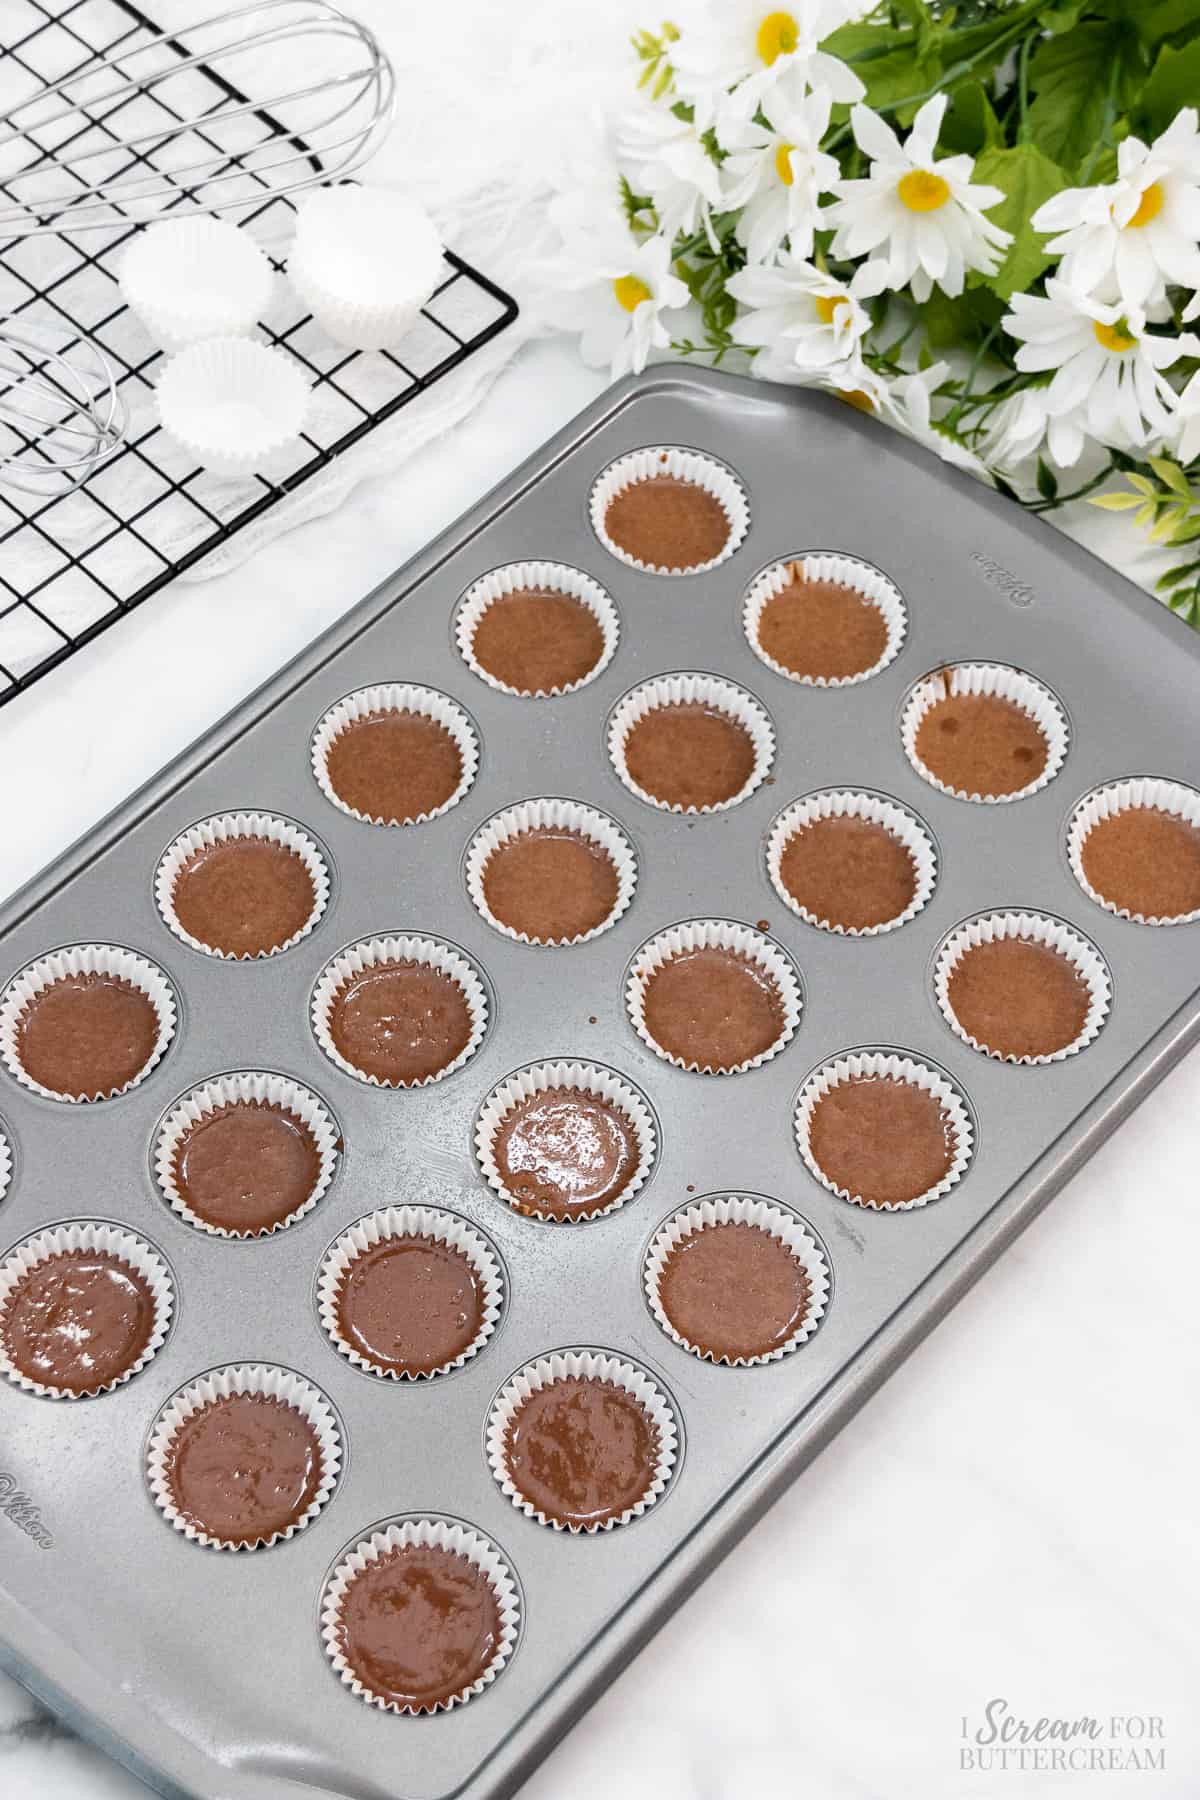
Fill the mini cupcake liners a little over halfway up (about ⅔ of the way full) and bake at 350 degrees F for approximately 10-12 minutes.
Step 6:
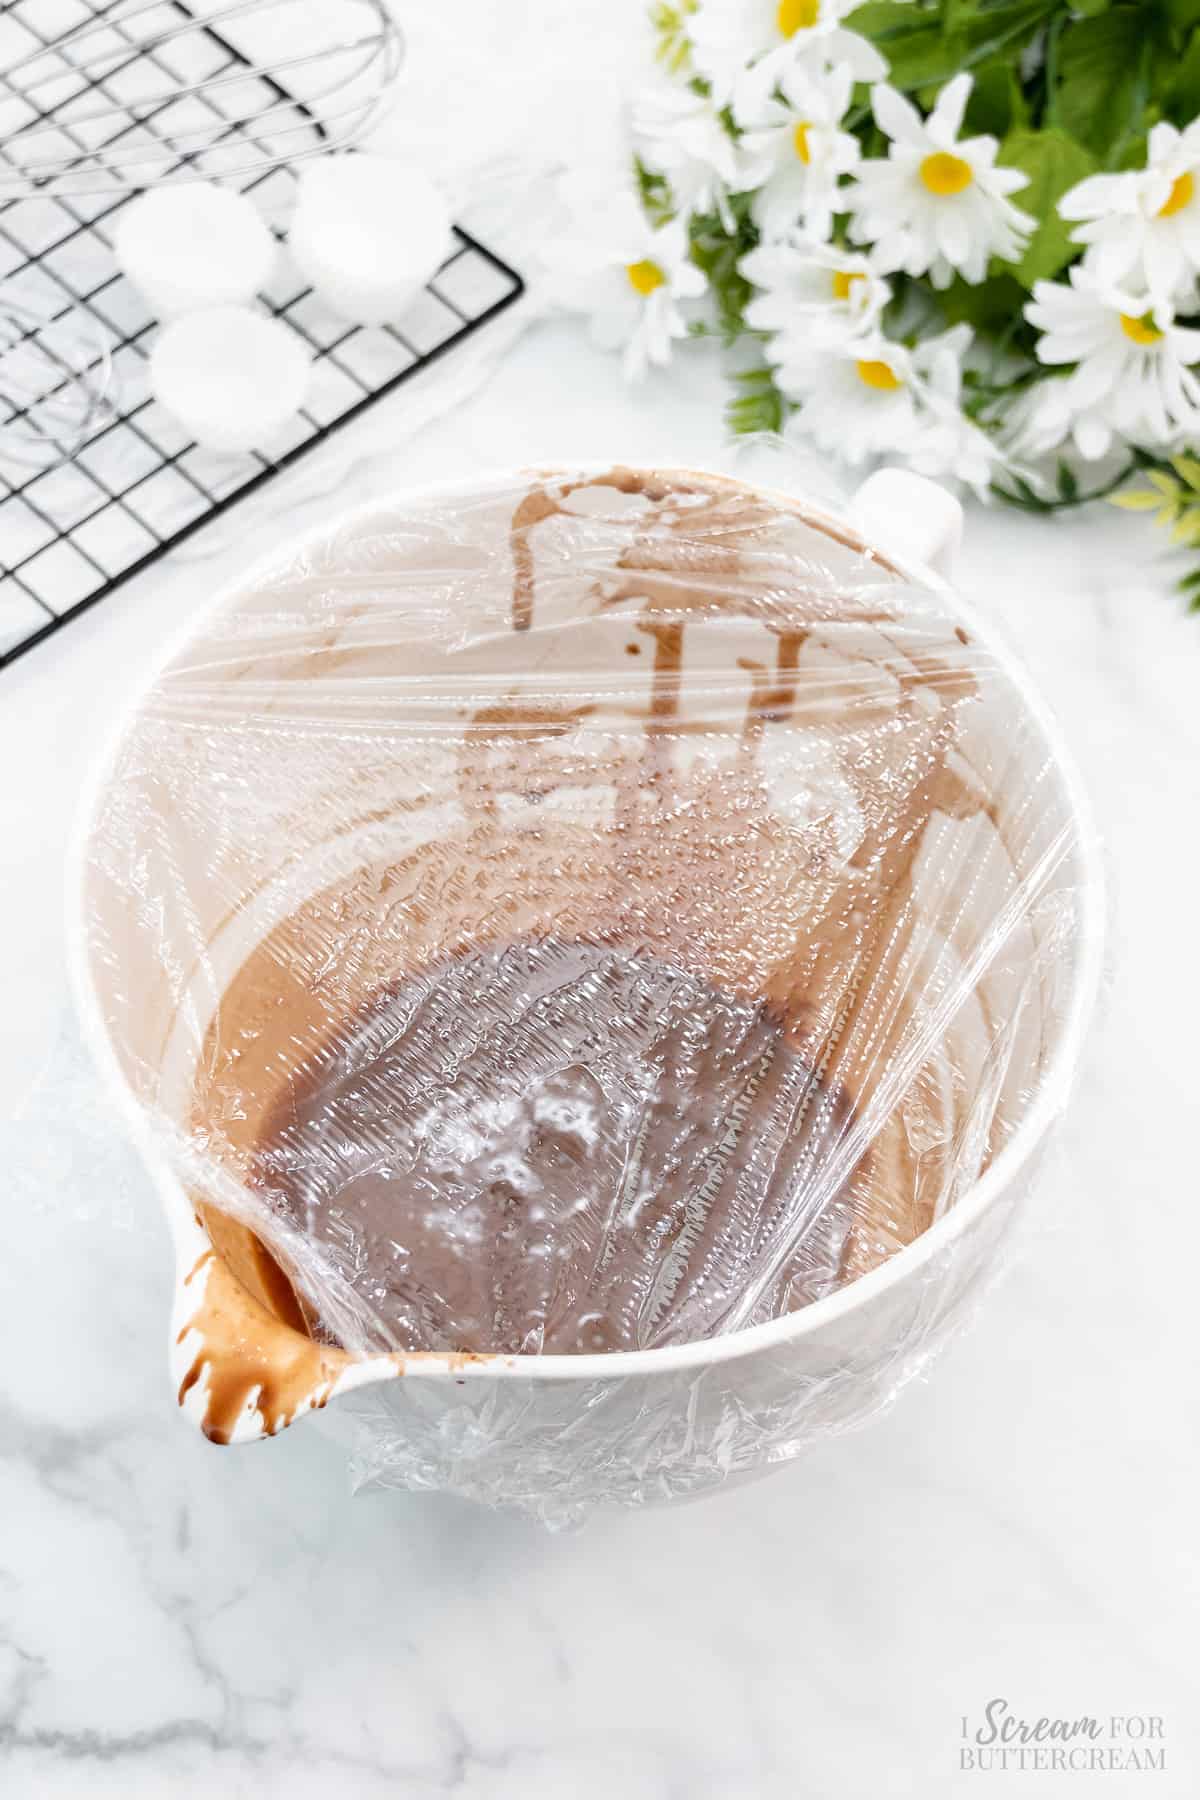
Now, if you only have one pan, just cover the remaining batter with plastic wrap and place the bowl in the refrigerator until the first batch bakes.
Once the first batch is baked, then just bake the second batch. There will only be enough batter to partially fill the second pan.
Step 7:
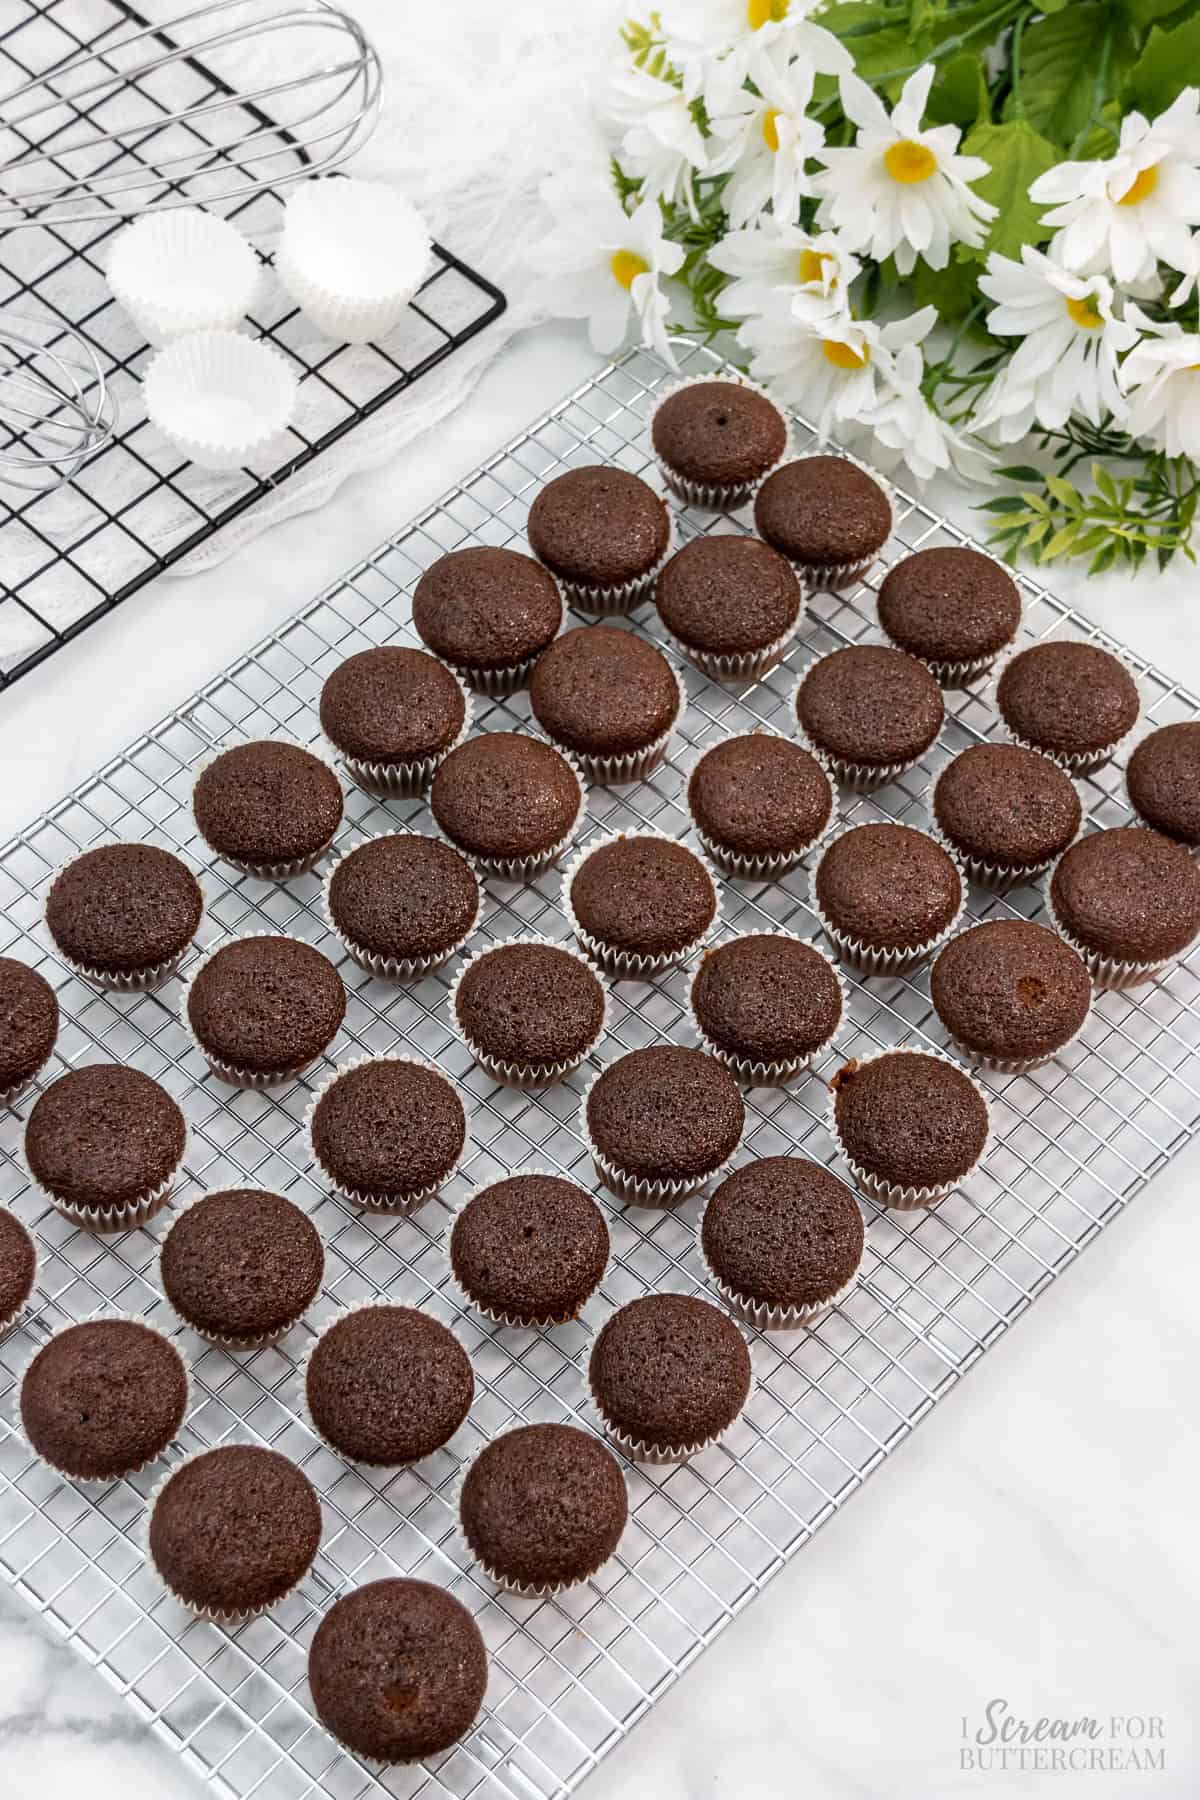
Once baked, set the mini cupcakes on a wire rack to cool for about 5 minutes, then take the cupcakes out of the pan and let them cool completely directly on the cooling racks before adding frosting.
Step 8:
Once they’re completely cooled, pipe or spoon frosting onto the mini cupcakes. Make sure to see links in the recipe card for frosting recipes.
Tips & FAQs:
Make sure when you measure out the flour that you spoon the flour into the measuring cup and level it off, but don’t scoop the flour with the measuring cup.
Using the measuring cup to scoop the flour into it will end up packing the flour down and adding too much flour to the batter causing the cake to be dry and/or dense.
Dutch-processed cocoa isn’t acidic like natural cocoa powder and using it would cause the other ingredients to not work as well and they’d need to be adjusted specifically the baking soda and baking powder. So the cupcakes may not rise properly.
If you only have access to Dutch cocoa powder, you may need to do some experimenting by lowering or eliminating the baking soda and going up on the baking powder. I have not experimented with that myself, so I cannot give exact measurements for that.
For more information on the differences in cocoa powder and why they don’t substitute out for each other, see this post: Which Cocoa Powder Do I Use?
No, you don’t want to do that. Those are different and cannot be substituted for each other. If you’d like more information on the difference, check out this blog post: Baking Powder vs Baking Soda
I used light brown, but you could also use dark brown sugar if you like.
The hot water helps the cocoa powder melt a little and allows it to mix in a little better with the other ingredients.
Be very careful not to mix the batter too long. Scratch cakes and cupcakes should not be mixed for minutes at a time, or they will become dense. Only mix until the ingredients are well incorporated.
These cupcakes are fully baked when a toothpick inserted into the center comes out with a few moist crumbs on it or clean, but no raw batter.
Technically they can, but because they’re so small, they may have a tendency to dry out if frozen.
If you want to try freezing them anyway, just let the baked cupcakes cool completely, then wrap them in plastic wrap and foil or add them to a freezer bag and place them in the freezer for up to a month.
To thaw, take the cupcakes out of the plastic wrap or the freezer bag and place them into an airtight container on the counter at room temperature and let them thaw completely. Once defrosted, add the frosting.
These cupcakes will keep for a few days, covered at room temperature. Keep them in an airtight container, so they don’t dry out. If you add perishable frosting, these will need to be kept in the refrigerator well covered so they don’t dry out.
This recipe can be used to make regular-sized cupcakes however it will not make a normal 2 dozen cupcakes. If you’d like a recipe written specifically to make chocolate cupcakes, see this one here: Best Chocolate Cupcakes.
This recipe will not make a two-layer cake as there won’t be enough batter. If you’d like a recipe written specifically to make a chocolate layer cake that is very similar to this recipe, see this one here: Chocolate Butter Cake
These cupcakes can be eaten chilled or at room temperature. My personal opinion is that cake and cupcakes are best eaten at room temperature.
Feel free to add nuts or mini chocolate chips to these cupcakes. You could even top or fill them with caramel sauce.
As an Amazon Associate, I earn from qualifying purchases.
Video:
Recipe
Chocolate Mini Cupcakes (from scratch)
Ingredients
- 1 cup all-purpose flour
- ¼ cup + 2 tablespoons unsweetened natural cocoa powder (not Dutch processed cocoa – see notes)
- ¾ teaspoon baking powder
- ¼ teaspoon baking soda
- ½ teaspoon salt
- ½ cup granulated sugar
- ½ cup packed brown sugar (I used light brown sugar)
- ⅓ cup vegetable oil
- 1 teaspoon vanilla extract
- ½ cup milk
- 2 large eggs
- ¼ cup hot water
Instructions
- Preheat the oven to 350 degrees F. Add mini cupcake liners to two 24-count mini cupcake (or mini muffin) pans and spray them lightly with non-stick spray. (If you don't have two mini cupcake pans, just bake one batch at a time.) There will only be enough batter to partially fill the second pan.
- In a large mixing bowl, add the dry ingredients (flour, cocoa powder, baking powder, baking soda, salt and sugar). Mix well with a whisk.
- Add all the liquid ingredients, except for the hot water, to a mixing bowl and whisk well.
- Make a well in the center of the dry ingredients and add the liquid ingredients. Mix with an electric mixer on medium just until the ingredients are combined. Scrape down the sides of the bowl and mix again for about 5-10 seconds more.
- Add the hot water and mix until well combined. Be careful not to over mix. Once it’s combined, stop mixing. You don’t want to mix for several minutes, that’s too long.
- Scrape down the sides of the bowl and mix again for about 5-10 seconds.
- Fill mini cupcake liners a little over half way up (about ⅔ of the way full). Bake at 350 degrees F for approximately 10-12 minutes. (If using only one pan, cover the remaining batter with plastic wrap and place in the refrigerator until the first batch bakes. Remember there will only be enough batter to partially fill the second pan.)
- Set the mini cupcakes on a wire rack to cool for about 5 minutes, then take the cupcakes out of the pan and let them cool completely before adding frosting. (See notes for frosting options with links to those recipes.)
Notes
Nutrition
How to Share
I’d love for you to share this recipe link or tag it, but please do not share screenshots or copy/paste the recipe to social media as the content and photographs are copyright protected and we (bloggers) work really hard on our content. Sharing the link, tagging us on socials and pinning it is super appreciated though!
Don’t forget to pin it below!


Rose Fordonski
I, too, make mini cupcakes all the time. I buy plastic mini cupcake containers and give them away. My daughters take to work too. I just love to do it and yes, I eat plenty myself too. I’m not as enterprising as you although I was when I was younger. I have a fab recipe for salad oil chocolate cake and interesting decorating frosting recipe I’ve used for years. I was highlighted in monthly newsletter of Maid of Scandinavia (if you’ve ever heard of them, don’t know if they’re still in business) and they tested and printed my recipes. The cake is so simple. Turns out whether you beat a little or a lot. It used to (still does) amaze people who bought my decorated cakes because of its dark, moist appeal. Not something they expected in a beautiful cake – good taste too! The frosting has almond flavor and compliments the dark chocolate with almost a hint of cherry.
Would you be interested in those recipes? Im only offering because of my love of them and would like to share. No credit needed. I have two daughters, neither likes to bake much and the recipe may die with me. Im going to try to copy photo of minis I made for granddaughter’s 13th birthday. They matched her cake and were shared with her friends and dance team.
Unfortunately cut and paste doesn’t work and I don’t know how to use scan feature. I will email recipes and photos to you if you request.
Kara
Rose, wow that cake recipe sounds amazing. Something that turns out moist and rich even when you accidently beat it too long is really something…I need to know the secret! 🙂 I’d love it if you’d like to share it with me. Feel free to send me an email at kara@iscreamforbuttercream.com. And thanks so much for being willing to share! My email will accept images if you want to attach them there. Talk later!
Megan
i would absolutely love your recipe!
Brooklyn Turner
This recipe is AMAZING! Me and my mom made it & we LOVED it, also I am a baker and I am only 10 and if I make this I will definitely tell my customers where I got the recipe! Thanks sooooo much!
Kara
Yay!!! I’m so glad y’all loved it. Thanks for your amazing review! 😊
Liz
Hello! I was wondering if this recipe is able to be doubled?
Kara
Hi Liz, I have not tried this recipe doubled, so I can’t be 100% sure if it would work or not. I’ve doubled some recipes and they’ve worked fine, but some end up sinking in the middle, so I can’t be sure without testing it out.
Amanda
The batter was really runny, so I was worried I had done something wrong, but the mini cupcakes turned out perfectly! Thank you!
Kara
Awesome, Amanda! So glad you liked this recipe and thanks so much for your wonderful review!
Paisley
How many does this recipe serve? How many cupcakes does this make?
Kara
Hi there, at the very top of the recipe card, it will show the amount it makes. It makes about 40 mini cupcakes. Hope this helps!