
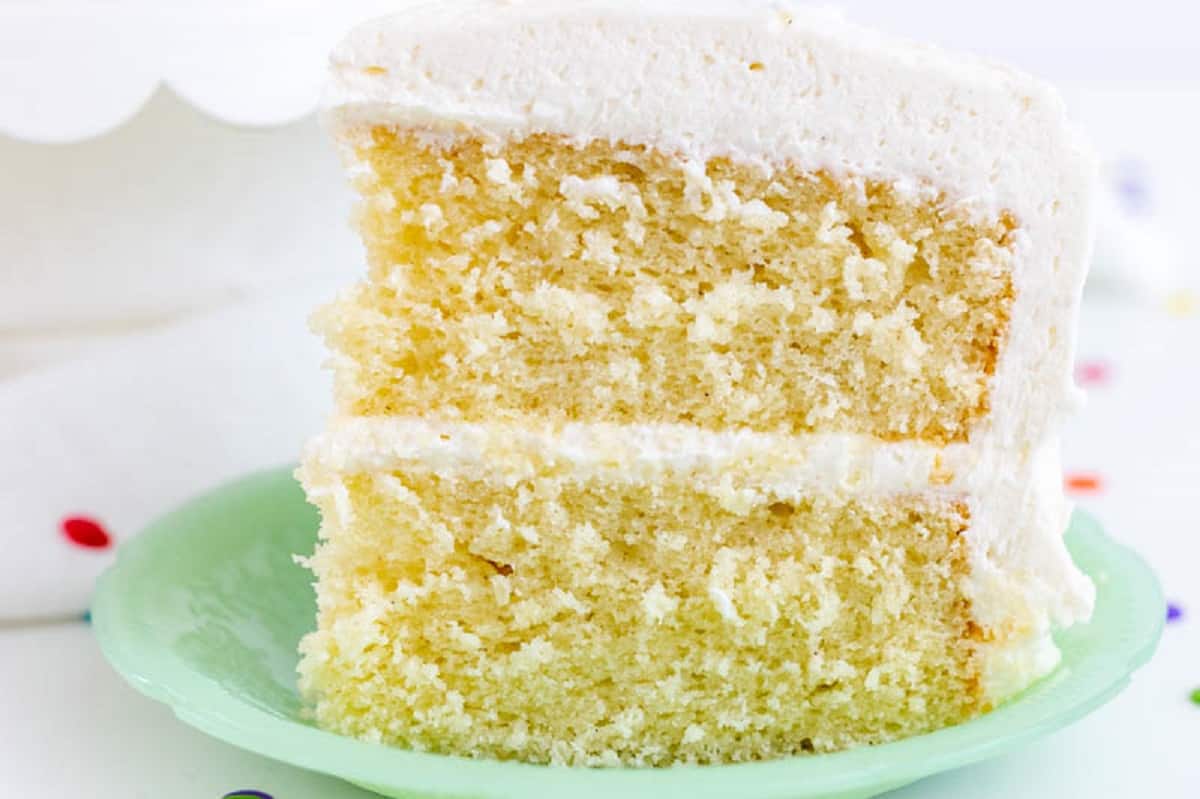
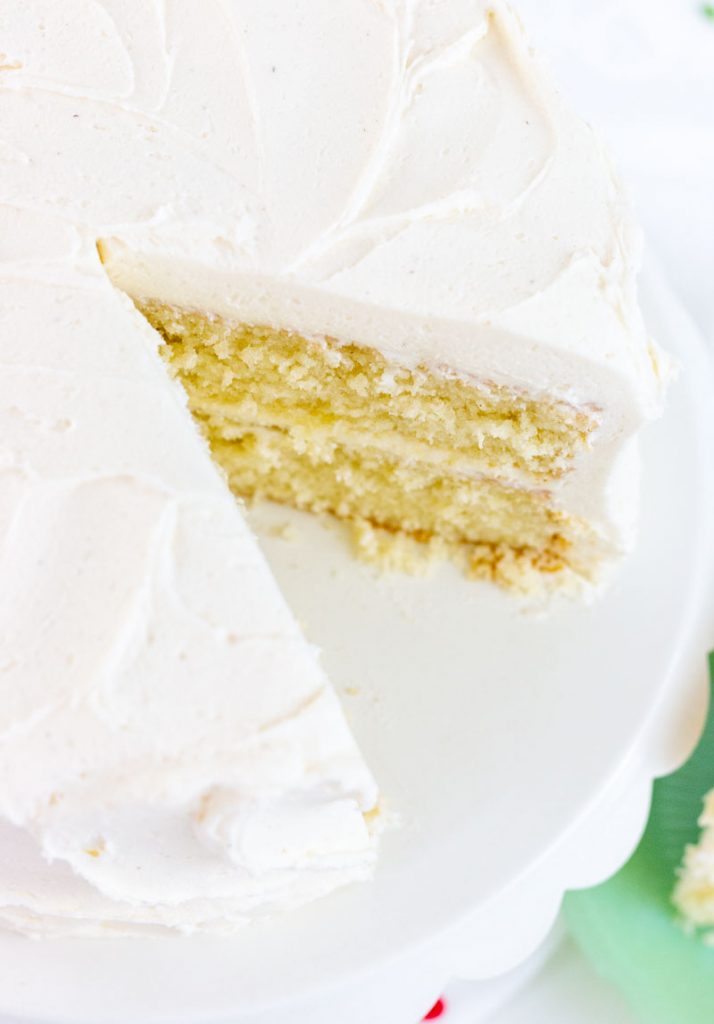
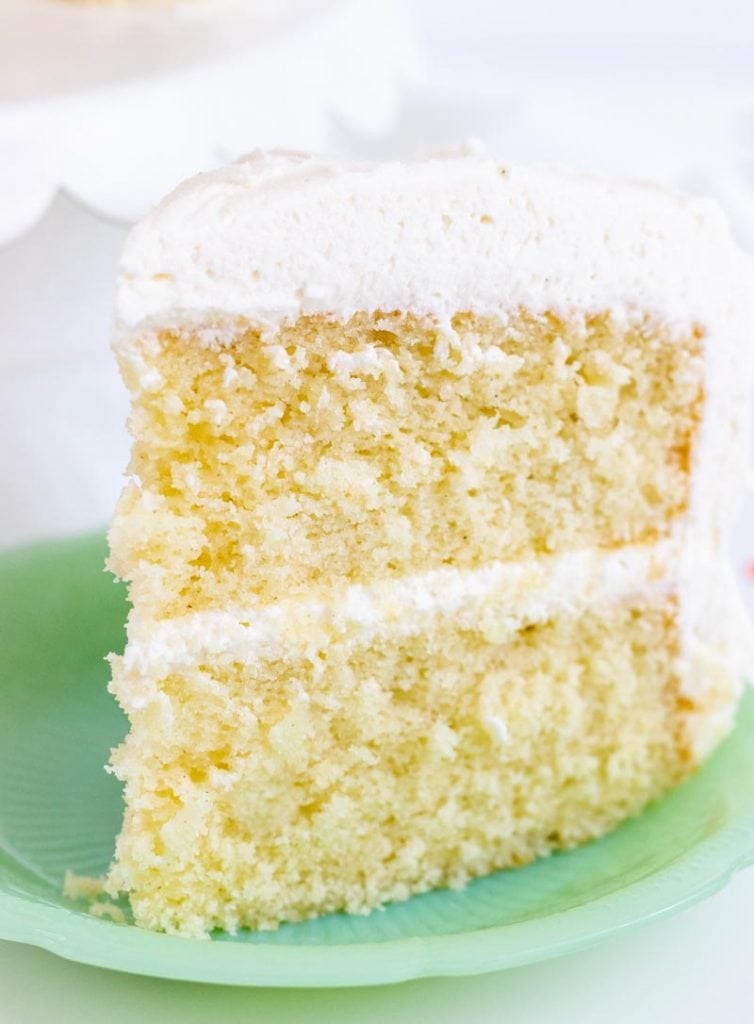
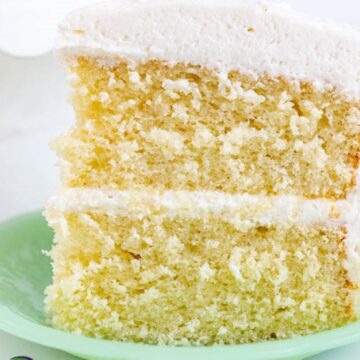
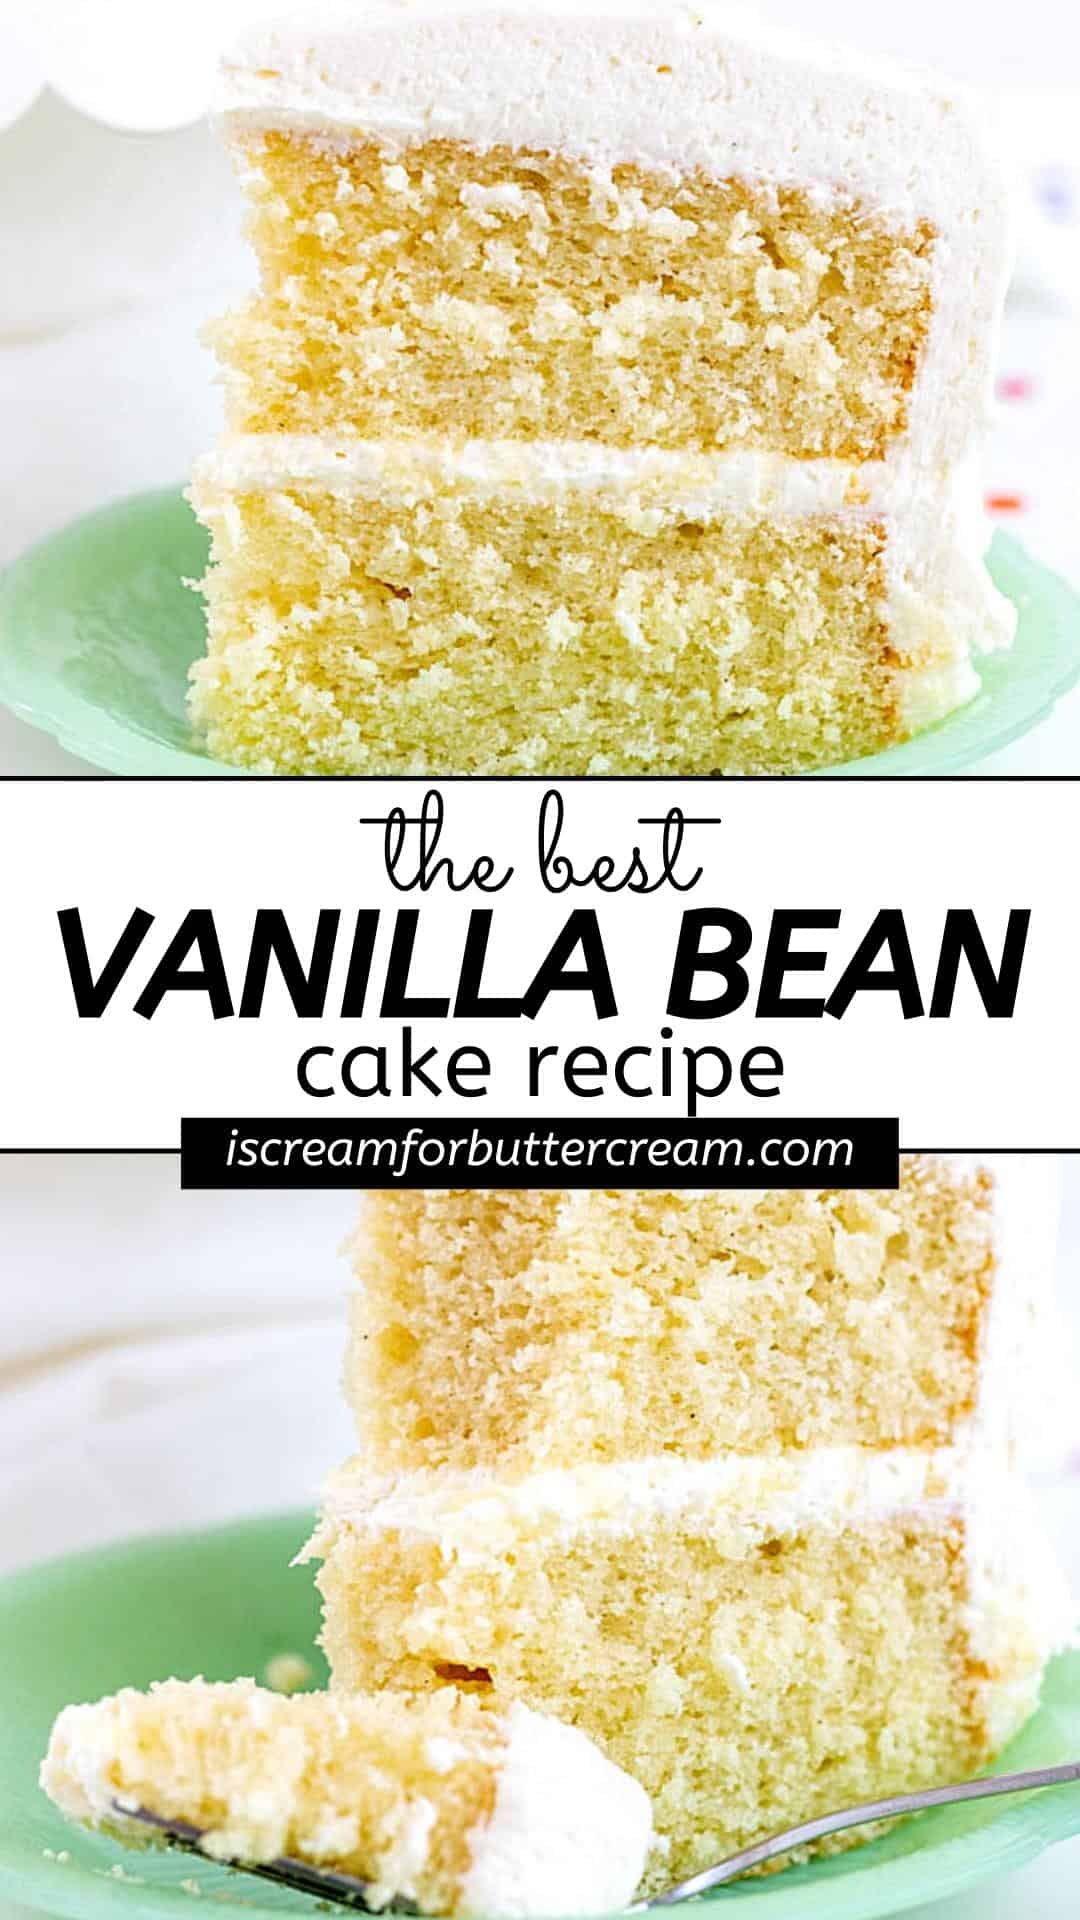
This vanilla bean cake is super moist, full of vanilla flavor, is rich and buttery, made from scratch and covered in buttercream. It’s the best vanilla cake I’ve ever had and I have a feeling it will quickly become your family’s favorite.
When it comes to cake, there is nothing more comforting than a vanilla cake. It’s a classic for a reason. It’s not overpowering in flavor and is perfect for weddings and birthdays.
Hey there! Before you scroll, there’s lot’s of important stuff in the post!…including the FAQ section, which may answer any questions you might have about this recipe. Enjoy!
The good news is that you don’t need a box mix to make a good vanilla cake. This cake is super moist, with just the right amount of sweetness without being too heavy or dense like some scratch cakes can be.
Plus it’s actually pretty easy to make. In my opinion, it’s the absolute best vanilla cake recipe and you won’t want to stop eating it.
I’ve also included a video lower in the post on how to make this layer cake from scratch so that you can follow along step-by-step.
Ingredient Notes:
Now let's talk a little about just some of the ingredients that are in this vanilla bean cake. (The printable list of all ingredients are in the recipe card below.)
(Make sure to check out the FAQ section below in this post for substitution questions.)
Cake flour: This recipe calls for cake flour instead of all-purpose flour. Using cake flour will give your cake a softer texture. If you can’t get cake flour, make sure to check out the FAQ section lower in this post for a substitute.
Unsalted butter: Butter gives this cake a really nice flavor. It also gives a lot of moisture to the cake.
Sour cream: I love using sour cream in cakes. It really adds to the flavor and gives it a ton of moisture.
Vanilla bean paste: This is the real flavor star of this recipe. Although you can still use vanilla extract, using vanilla bean paste gives it even more flavor. It’s just so good and I urge you to just try it.
Here are a couple of vanilla bean pastes to try:
Sometimes, vanilla pean paste can get a little expensive though, so just know that you can use vanilla extract and it’ll still taste amazing.
Almond baking emulsion: This ingredient is optional, but I think it’s really the secret ingredient to this cake.
Now, just hear me out on the almond emulsion. The recipe only calls for a very small amount and it does NOT taste like ordinary almond extract, which I personally don’t even like.
No, this recipe calls for almond baking emulsion, not almond extract. To me, they taste WAY different.

Even if you think you won’t like anything with almond extract in it…I have one question for you…have you tried it? Sometimes things taste totally different than you expect. I mean I don’t even like almonds, but I like this because to me…it doesn’t taste like almonds.
Here’s my point on the almond emulsion: This recipe only calls for half a teaspoon. That isn’t much and it’s not strong or overpowering at all. All it does is help bring out the flavor of the vanilla bean paste.
When you taste this cake, you don’t really taste an almond flavor. You just know it’s got this full vanilla bean flavor and something a little special that makes you never want to stop eating it.
I’ve personally been told loads of times by people that they don’t what’s in the cake, but they just couldn’t stop eating it.
As always though…if you are allergic to almonds, then don’t use it. If you’ve already tried it and you don’t like it…it’s ok! I won’t be mad at you and you can still make this cake with just vanilla bean paste or extract and it will STILL be awesome.
Vanilla bean buttercream: You’re gonna want to add buttercream to this cake and I have just the one for you. You can find that recipe here: Vanilla Bean Buttercream
How to Make this Cake:
Let's talk a little about how to make this vanilla bean cake. (The printable instructions are in the recipe card below.)
Step 1:
First, you’ll need to preheat the oven to 350 degrees F. (Now, just know that you're going to turn the oven temp down to 325 degrees F once you put the cakes in the oven.)
The thought process behind this is to give the cake a boost of heat to help it rise higher, but then to let the temp go lower so that it doesn’t over-brown the bottom and top.
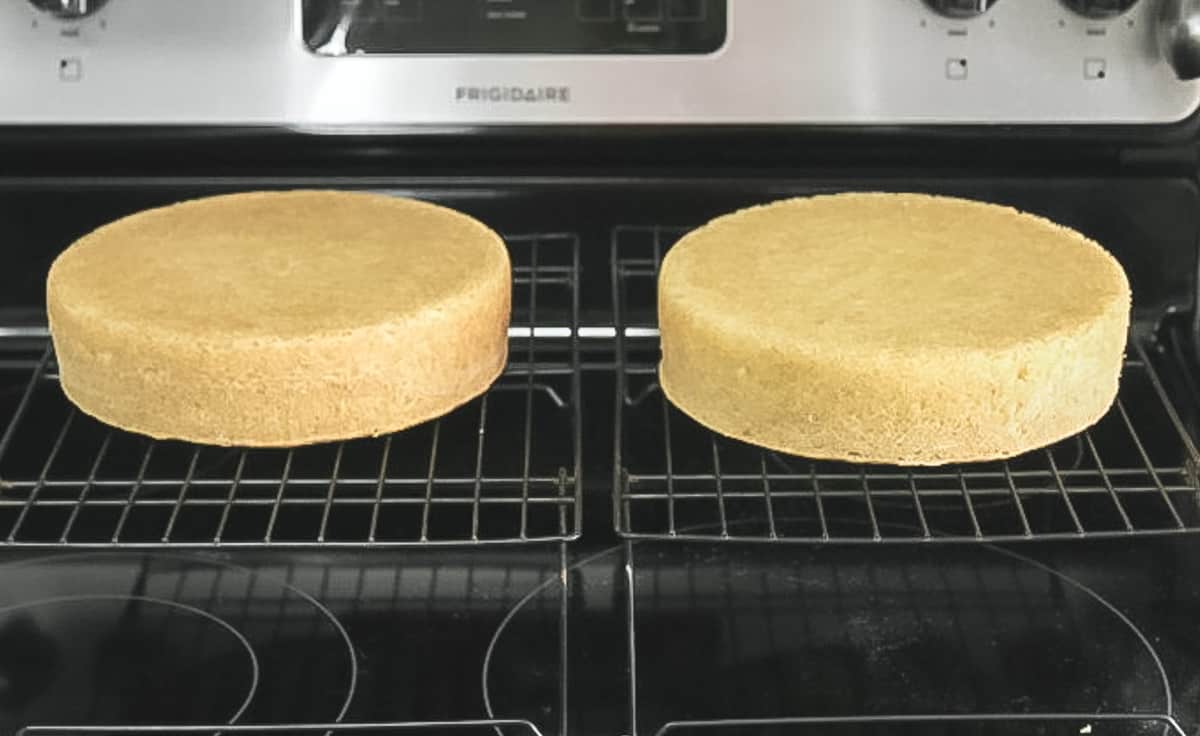
You’ll also want to go ahead and grease and flour two 8-inch round cake pans that are about 2 inches high. (If making cupcakes, make sure and read the notes in the recipe post or the FAQ section lower in this post.)
Step 2:
Now combine the flour, sugar, baking powder, baking soda and salt in a mixing bowl and whisk.
Step 3:
In another bowl, combine the sour cream, milk, oil, vanilla, almond and eggs. Mix well with a whisk and set aside.
Step 4:
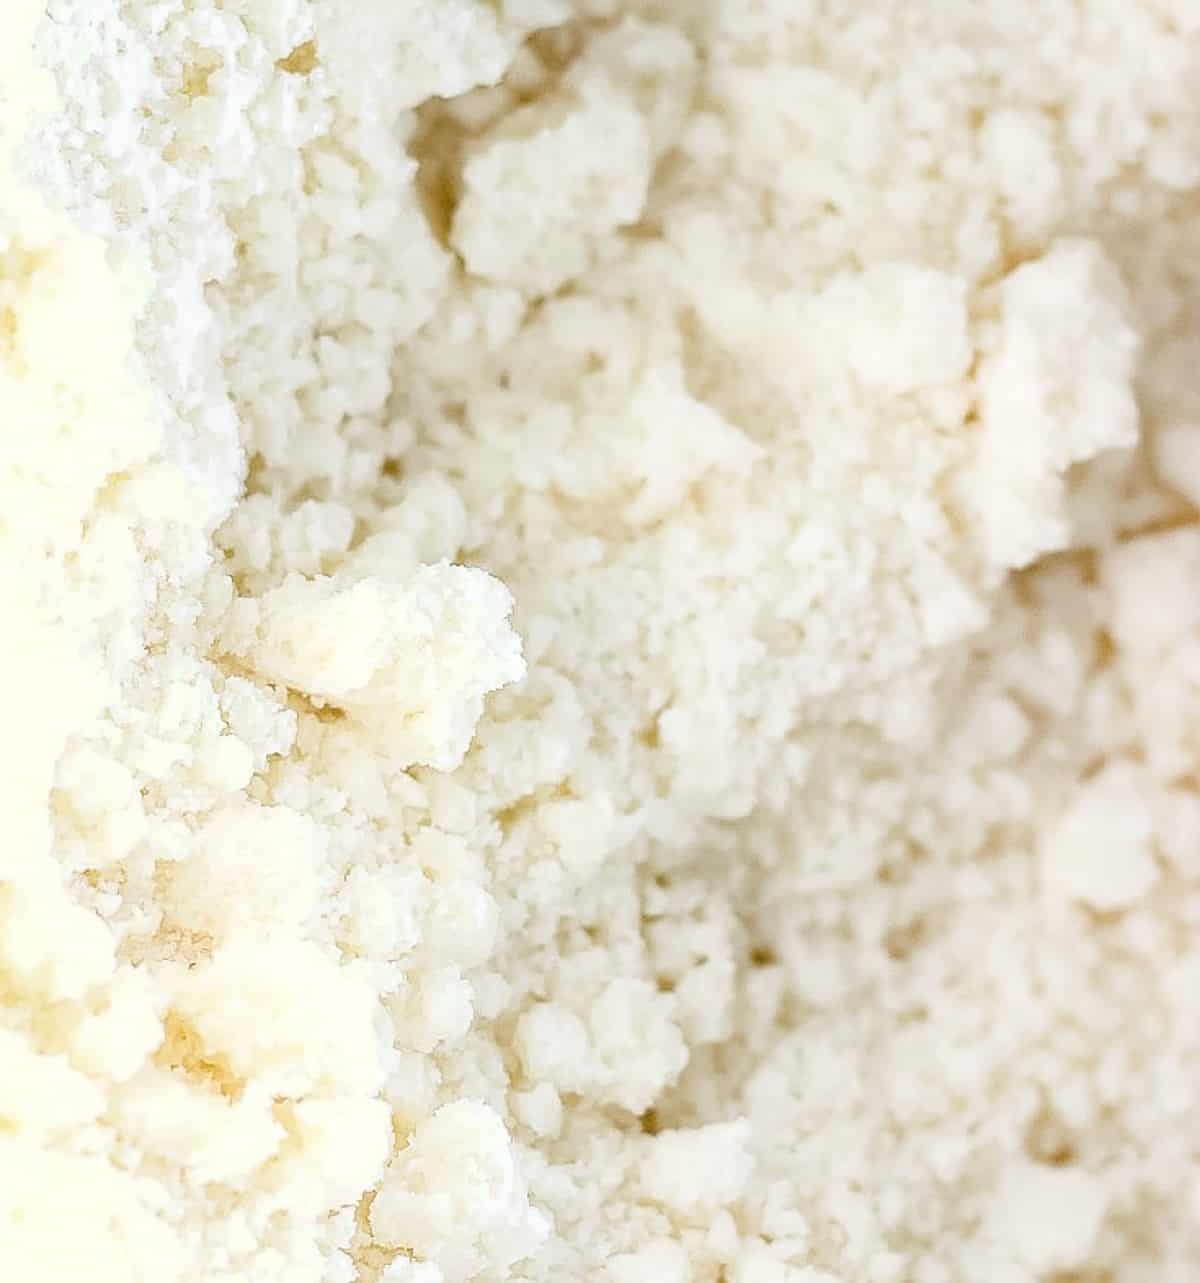
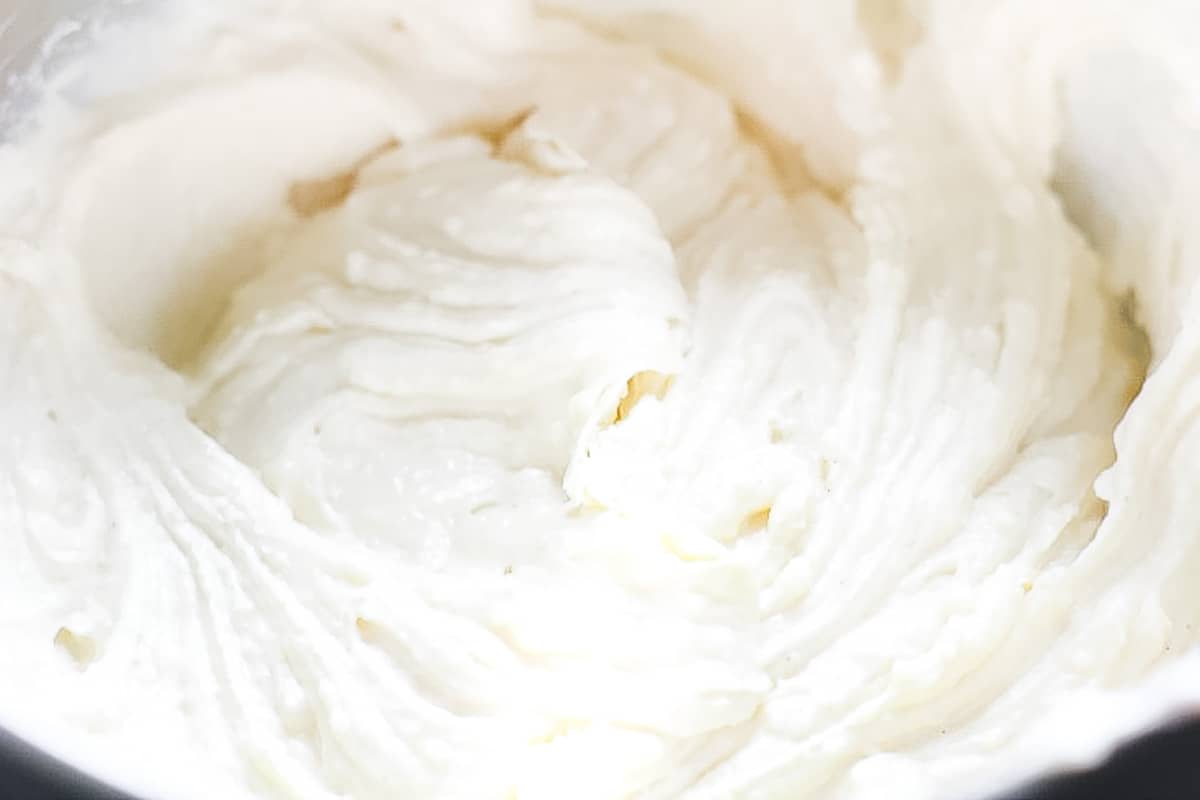
Now cut the butter into chunks. Then, turn the mixer on low and add the butter slowly to your dry ingredients. You’ll just mix on low to medium until all the butter is added, then switch to medium, medium-high and mix until all the flour is coated with the butter and the mixture is crumbly.
You want the mixture to resemble a sand-like texture.
Step 5:
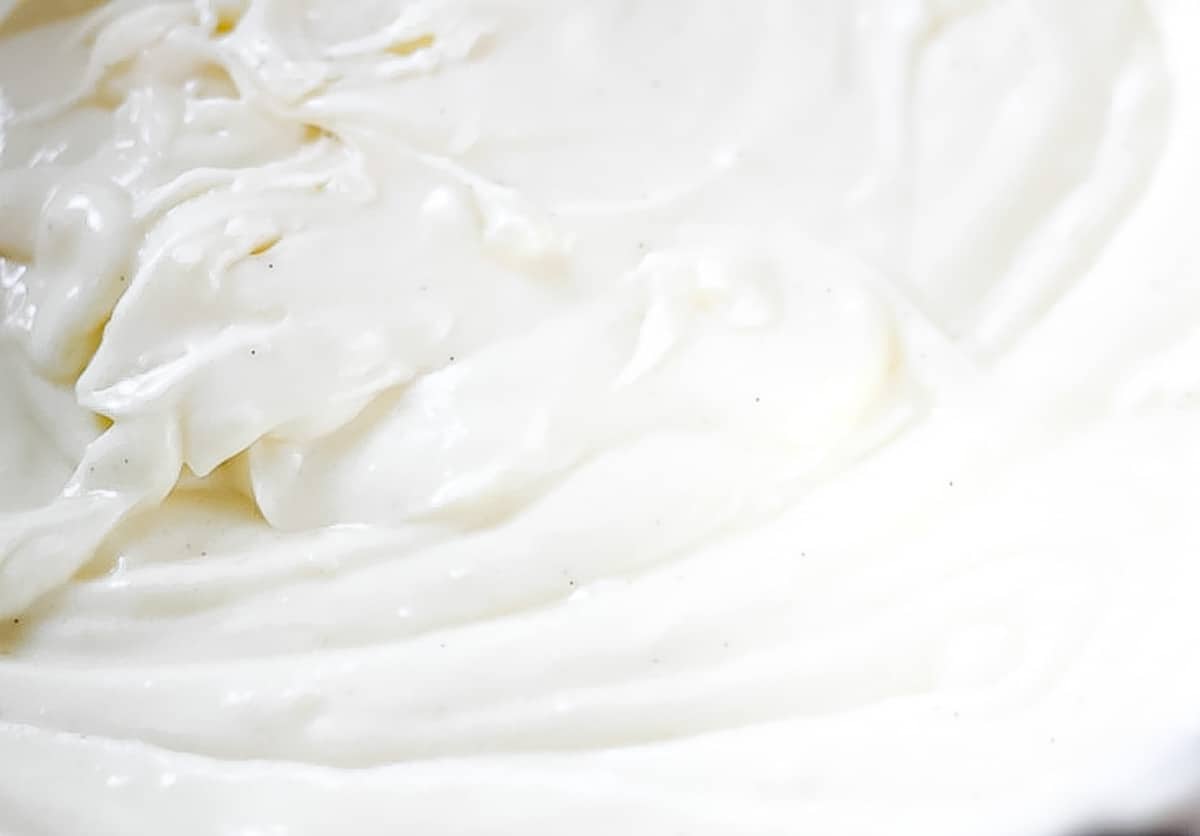
Now pour in about a third of the liquid mixture. Mix that in on low to medium until combined…about 30 seconds to one minute. (Some reverse creaming recipes call for mixing 1-2 minutes at this stage, but be careful about mixing longer than a minute as mixing for too long will cause a dense, rubbery cake.)
Pour the last of the liquid mixture and mix again until well combined. Don’t overmix the batter at this point. Stop mixing once everything is well incorporated.
Use a rubber spatula and scrape the sides of the bowl. Mix again for only about 10 to 15 seconds though.
Step 6:
Pour the cake batter into the prepared pans.
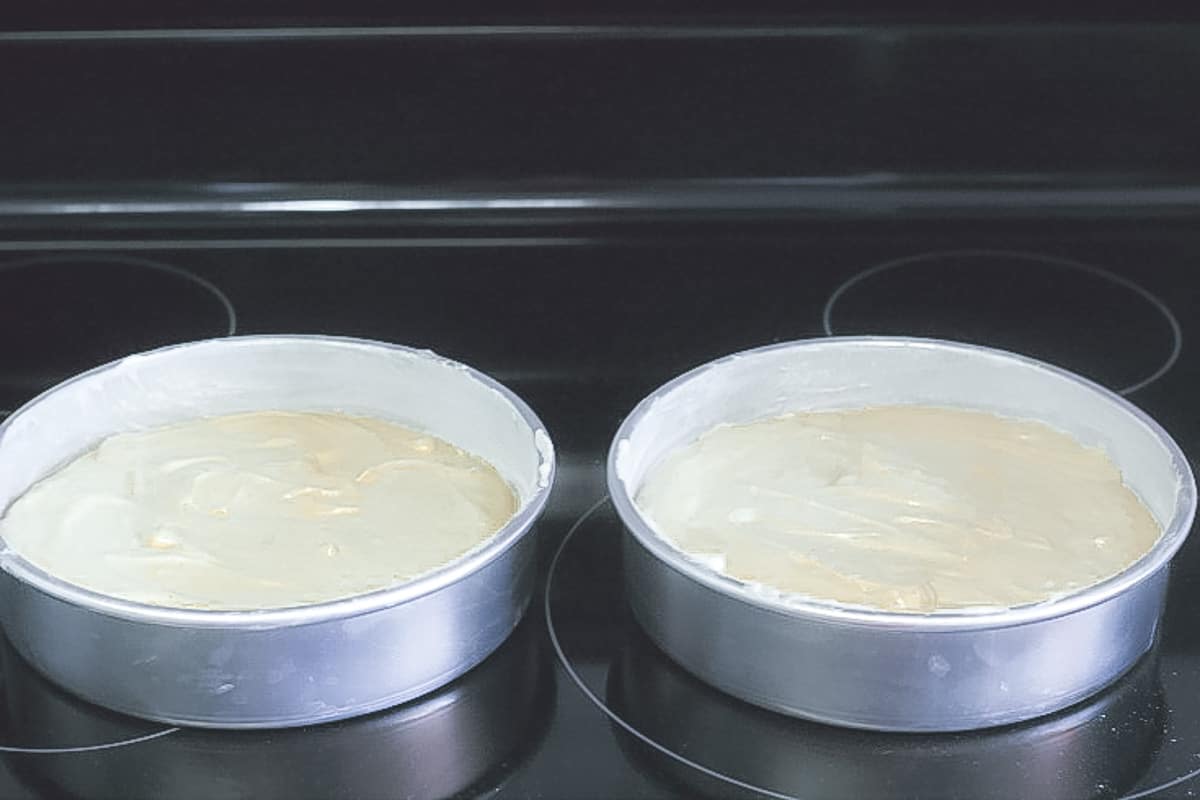
Slide the cakes into the oven and make sure to turn the temperature down to 325 degrees F (unless you’re making these as cupcakes, in which case you’ll want to read the notes below).
Bake the cake layers at 325 degrees F for approximately 40-45 minutes.
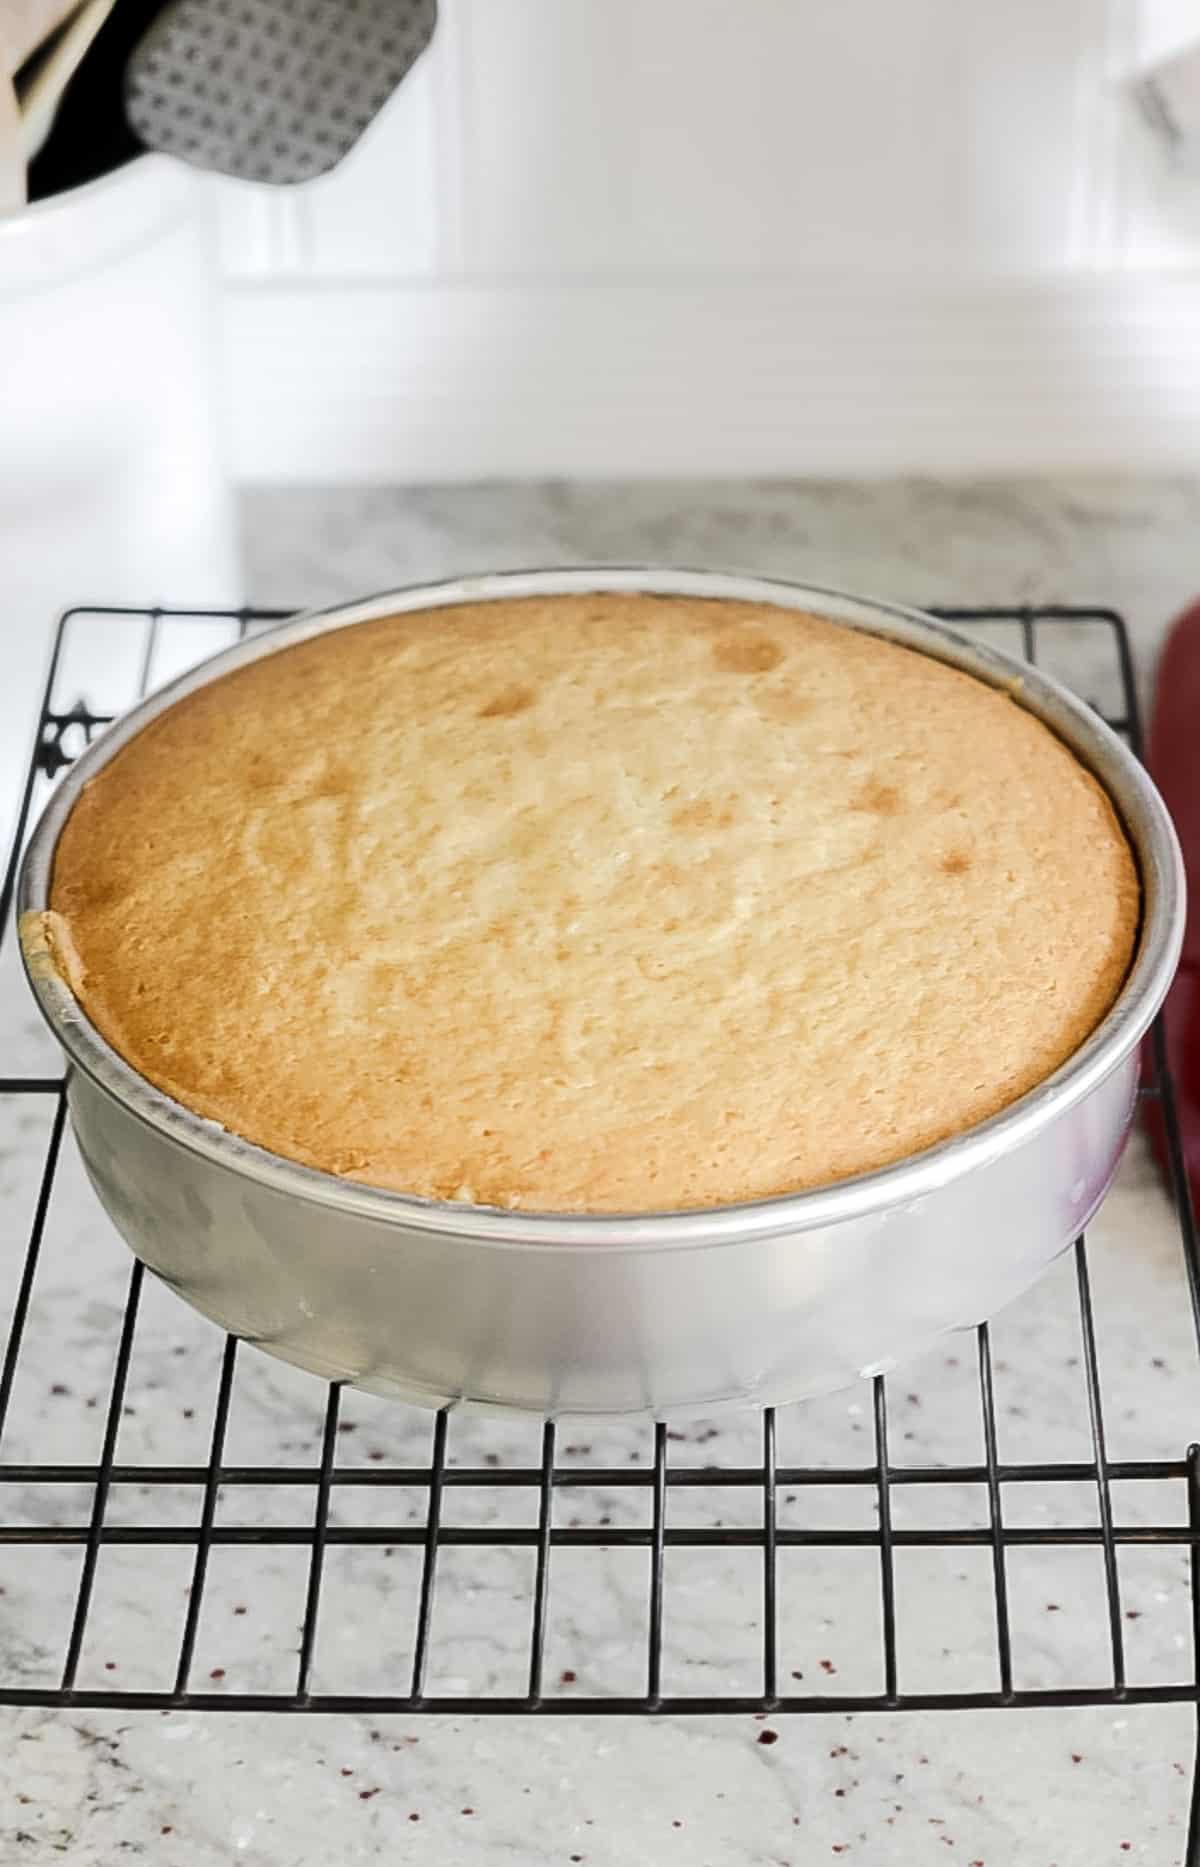
The cakes are done when a toothpick inserted into the center of each cake layer comes out with either a few moist crumbs on it or clean, but now raw batter.
You don’t have to wait until the toothpick comes out clean. Just make sure it doesn’t have raw batter on it.
Step 7:
Set the cake layers on wire racks and let them cool for about ten minutes. After they’ve settled for ten minutes, turn the cakes out of the pans and onto the racks.
Let them cool out of the pans completely before adding buttercream frosting or freezing the layers.
See my post on how to freeze cake layers and cupcakes here: How to Freeze Cake & Cupcakes
Step 8:
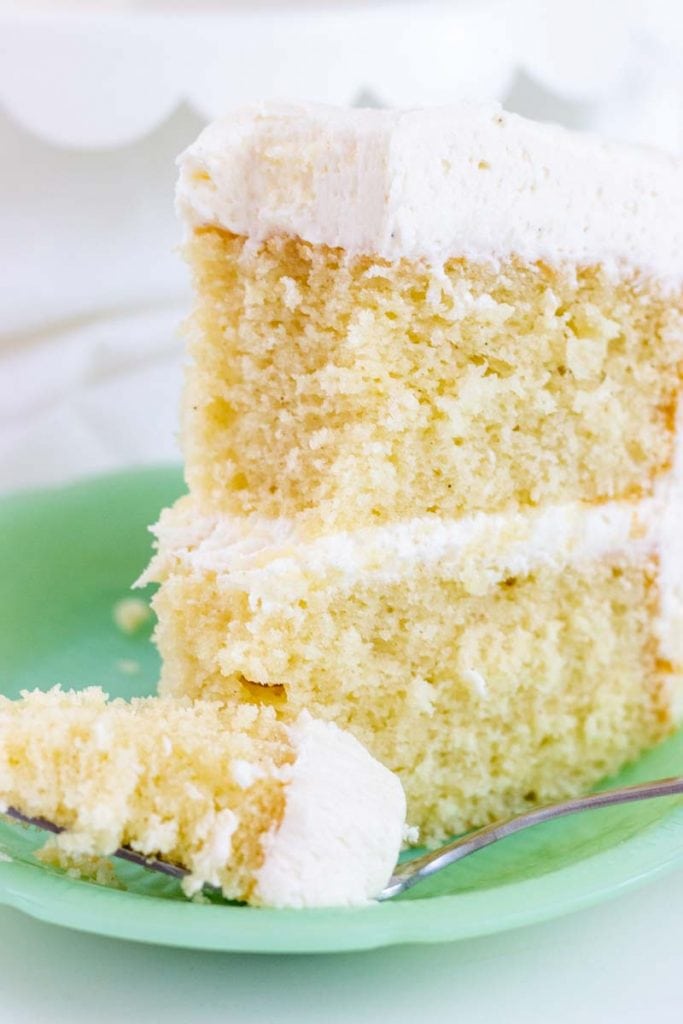
Once the layers are cooled, set one layer on a cake plate or cake platter and add buttercream to the top.
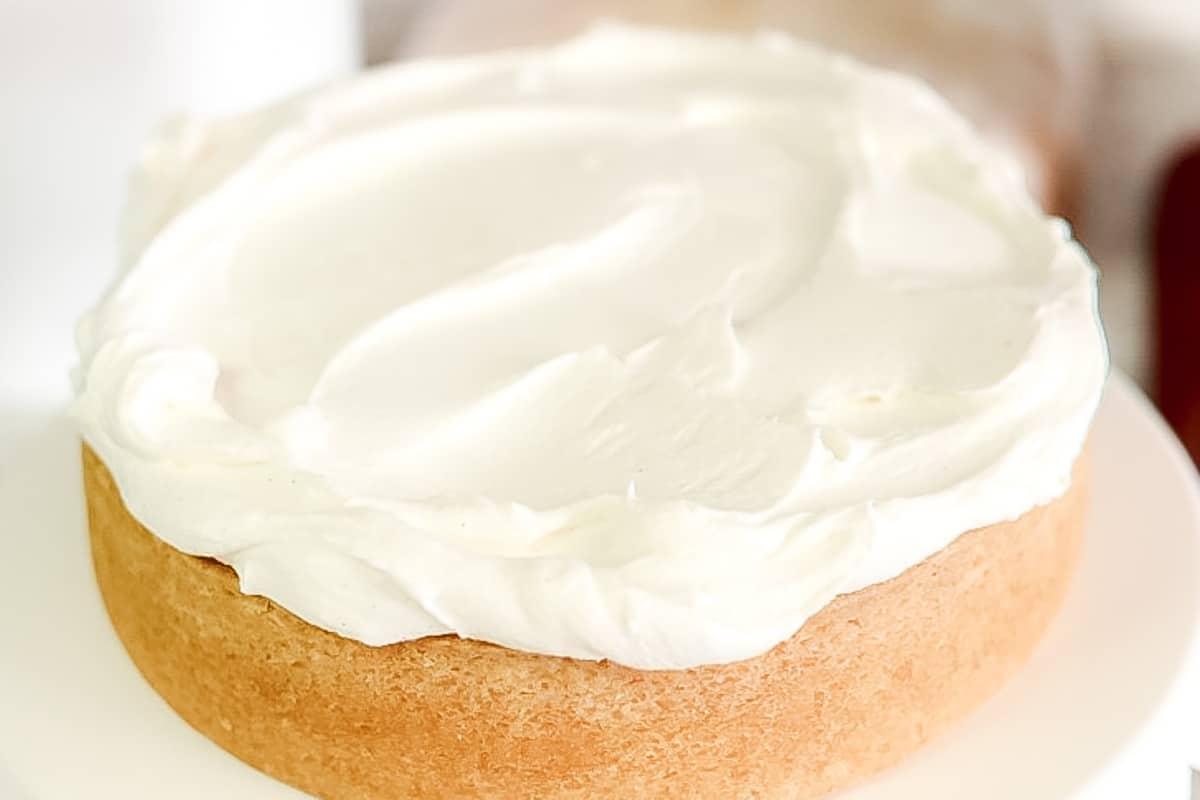
Next, add the second layer and cover the entire cake with buttercream.
You can find my buttercream recipe here: Vanilla Bean Buttercream

Tips & FAQs:
A white cake is usually whiter in color and could use vegetable shortening instead of butter to help get a lighter color cake. The vanilla is also isn’t usually as strong in a white cake as it would be in a vanilla cake.
A vanilla cake usually includes vanilla extract and a vanilla bean cake usually includes vanilla bean paste. Vanilla bean cake usually has a stronger vanilla flavor.
Vanilla bean paste is thicker and uses actual vanilla seeds. Using vanilla bean paste in cakes really pumps up the vanilla flavor.
Here’s a good article from Nielsen-Massey on when to use vanilla bean paste or vanilla extract: When to use Vanilla Bean Paste and Vanilla Extract
You can sometimes get it at craft stores that sell cake decorating supplies, but I generally order mine from Amazon.
Here are some options:
LorAnn Organic Madagascar Vanilla Bean Paste
Native Vanilla Bean Paste
Heilala Vanilla Bean Paste for Baking
Nielsen-Massey Pure Vanilla Bean Paste
Taylor & Colledge Organic Vanilla Bean Paste
Yes you sure can. I think using a good vanilla bean emulsion or paste really pumps up the flavor and can set your cake apart from the rest, but a real vanilla extract will work as well.
Cake flour is different than all-purpose flour and they can’t be substituted for each other in equal amounts. Cake flour will give your cake a more tender texture, so it’s best to use that in this recipe if you can get it.
If you can’t get cake flour, you’ll have to substitute it with all-purpose flour, but you’ll need to make these changes: For every cup of cake flour called for in the recipe, use one cup of all-purpose flour instead and remove two tablespoons of it, then replace that with two tablespoons of cornstarch.
Be careful not to pack the flour down into the measuring cup when you measure it out. That can add too much flour to the batter and cause the cake to be dense and dry. Just spoon the flour into the measuring cup and level it off.
Unsalted butter works best because you can estimate the proper amount of salt that will be added plus salted butter has a different water content than unsalted.
However, if you’re unable to get unsalted butter, you can use salted in the cake and the buttercream, but omit the additional salt that each recipe calls for.
Sour cream is best in this recipe as it helps make a very moist cake and gives a little flavor. If you don’t have access to it, you can use plain yogurt, but use the full-fat yogurt instead of the low-fat or fat-free type.
No, you don’t have to use it, but it’s really a very small amount and it just gives a hint of added flavor. Personally, I think it adds that extra secret ingredient that people just love and it doesn’t actually taste like almonds.
To see an even deeper discussion on why I really like a touch of it in this cake, check out the ingredient section closer to the top of this post.
The mixing method for this cake is called the reverse creaming method because instead of creaming the butter with the sugar, you’ll add the butter, in chunks, to the dry mixture which will coat it.
This method helps produce a softer cake and helps reduce the chance of over-mixing which can over-develop the gluten.
This cake is done baking when a toothpick inserted into the center of each layer comes out with a few moist crumbs on it or clean, but no raw batter.
This cake can be made ahead of time and frozen if desired. Let the baked cake cool completely, then wrap in plastic wrap and foil and place in the freezer for up to a month.
To thaw, place the wrapped cake on the counter at room temperature and let thaw completely, then remove the wrapping. Once defrosted, add the glaze.
This cake can be stored covered at room temperature for several days as long as it’s not covered or filled with a perishable frosting.
To prolong freshness, the cake can then be covered and stored in the refrigerator for a few additional days.
Most cakes are best served close to room temperature, especially when made with butter like this one. If the cake is cold, set it out to come closer to room temperature for about 20-30 minutes before serving.
You can also pop a slice in the microwave to warm up a bit.
Yes, but with a few changes. Fill 2 cupcake pans (24 cupcakes) with cupcake liners and fill with batter about ⅔ of the way full. Bake at 350 degrees F (do not turn the temperature down) and bake for about 15-25 minutes depending on the size of your oven. Start checking for doneness at around 12 minutes just to be sure.
You may have a bit of cake batter left over, but you can chill that batter and make the remaining cupcakes when the others have baked.
Yes, this cake works well for stacking as long as you use proper supports as you would stacking any cake.
As an Amazon Associate, I earn from qualifying purchases.
Supplies used for this recipe:
- Magic Line 8-inch round cake pans or Wilton 8-inch round cake pans
- Whisks
- Silicone spatula
- Mixing bowls
- Stand mixer or electric hand-mixer
- Cooling racks
- Vanilla bean paste options: LorAnn Organic Madagascar Vanilla Bean Paste, Native Vanilla Bean Paste, Heilala Vanilla Bean Paste for Baking, Nielsen-Massey Pure Vanilla Bean Paste, Taylor & Colledge Organic Vanilla Bean Paste, Almond emulsion
- Almond baking emulsion
Video:
Note About Recipe Measurements: I write recipes using volume (cups) measurements because here in the U.S., this is what people are more familiar with and I don’t want anyone to feel intimidated when baking. For metric/weight measurements, click the ‘metric’ button under the ingredients in the recipe card below. The weights are converted by a program, not me, and it’s just a best guess. I can’t guarantee that weighing the ingredients will produce the exact same results, since I test recipes using volume measurements.
Recipe
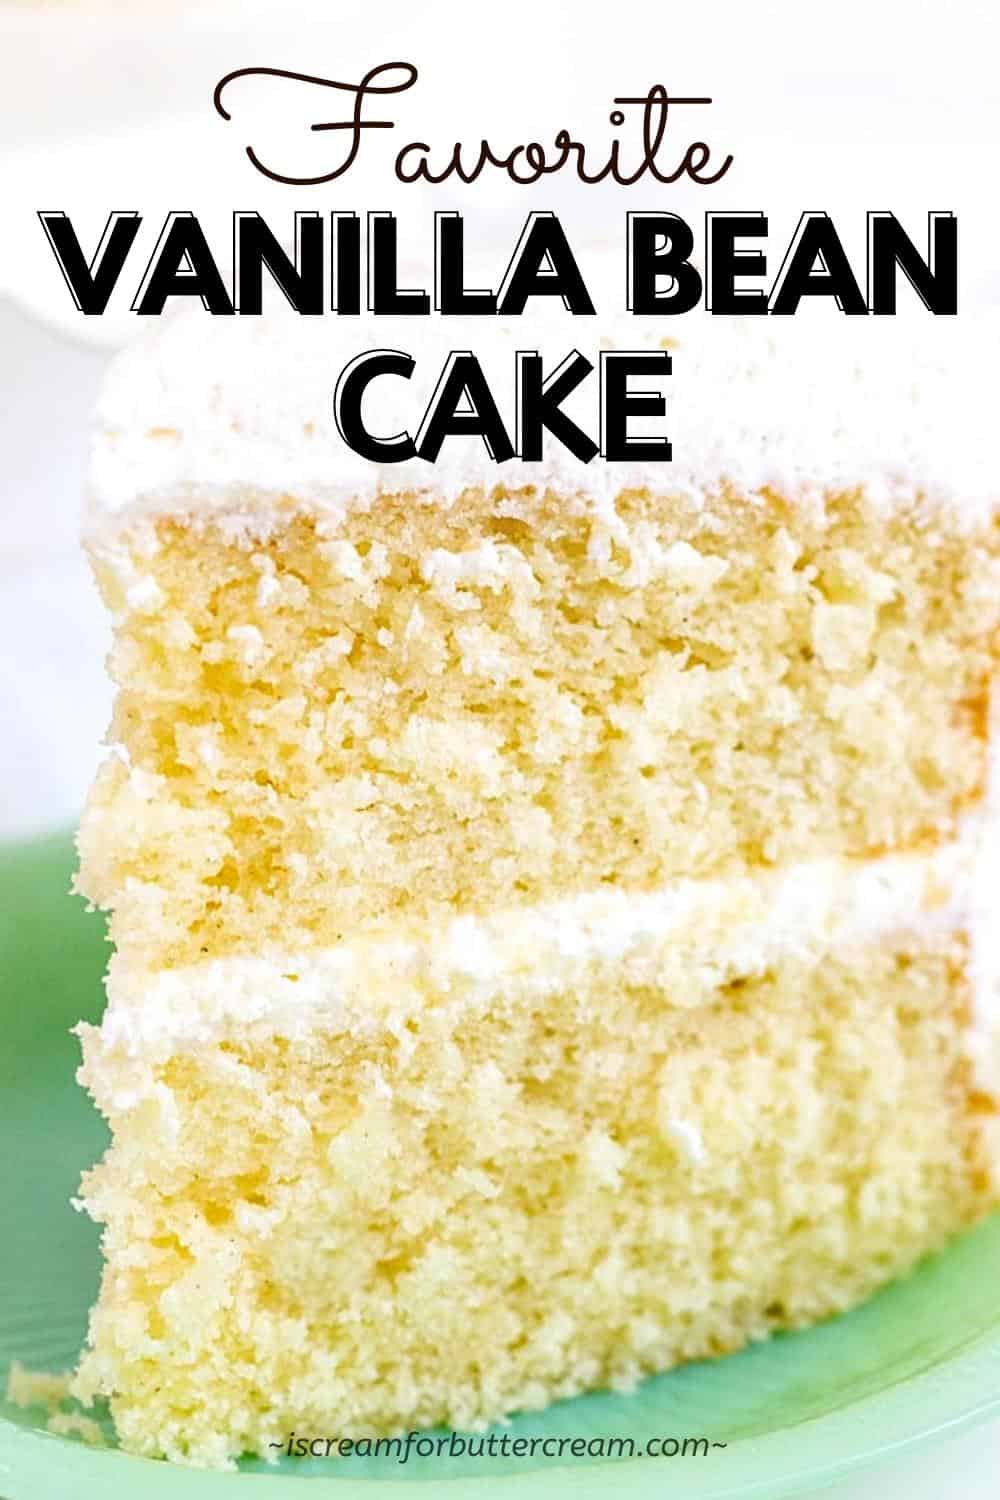
Favorite Vanilla Bean Cake
Ingredients
- 3 cups cake flour (not all-purpose flour, see FAQs in the post for substitutions)
- 2 cups granulated sugar
- 1 ½ teaspoon baking powder
- ½ teaspoon baking soda
- 1 teaspoon salt
- 1 cup unsalted butter, only slightly cooler than room temperature (2 sticks)
- 1 cup sour cream
- ½ cup whole milk
- 1 tablespoon vegetable oil
- 1 tablespoon vanilla bean paste (or vanilla extract)
- ½ teaspoon almond emulsion (optional)
- 3 large eggs
- Vanilla Bean Buttercream (recipe link in the notes section)
Instructions
- Preheat the oven to 350 degrees F. (You will turn the oven temperature down to 325 degrees F once you put the cakes in the oven.)
- Grease and flour two 8" round cake pans. (If making cupcakes, read notes below)
- Combine the flour, sugar, baking powder, baking soda and salt in a large mixing bowl and whisk well. Set aside.
- In another bowl, combine the sour cream, milk, oil, vanilla bean paste, almond extract and eggs. Mix well with a whisk and set aside.
- Cut the almost room-temperature butter into chunks. Turn the mixer on low and slowly add the butter, a bit at a time, to the dry ingredients. Once all the butter has been added, mix on medium to medium-high until all the flour is coated with the butter and the mixture is crumbly. It should have a sand-like texture. If the butter is too warm or if it's mixed for too long, it will form a paste and this will not produce a good cake texture.
- Pour about a third of the liquid mixture. into the dry mixture and mix on low to medium until well combined…about 30 seconds to one minute. (Some reverse creaming recipes call for mixing 1-2 minutes at this stage, but be careful about mixing longer than a minute as mixing for too long will cause a dense cake.)
- Pour the last of the liquid mixture into the dry mixture and mix again until well combined. Don't overmix the batter at this point. Stop mixing once everything is well incorporated, usually no more than about 20-30 seconds.
- Use a silicone spatula to scrape down the sides and bottom of the bowl. Mix again for only about 10 to 15 seconds.
- Pour the cake batter into the prepared pans.
- Slide the cake pans into the oven and turn the oven temp down to 325 degrees F (unless you're making these as cupcakes, in which case you'll want to read the notes below).
- Bake at 325 degrees F for approximately 40-45 minutes. The cakes are done when a toothpick inserted into the center of each layer comes out with a few moist crumbs on it or clean, but no raw batter.
- Set on wire racks to cool for ten minutes, then turn the cakes out onto the racks and let them cool out of the pans completely before adding buttercream frosting.
Notes
Nutrition
How to Share
I’d love for you to share this recipe link or tag it, but please do not share screenshots or copy/paste the recipe to social media as the content and photographs are copyright protected and we (bloggers) work really hard on our content. Sharing the link, tagging us on socials and pinning it is super appreciated though!
Marisa Ruggiano
Hi Kara,
My family loves this recipe! I made it for my daughter’s birthday. I am going to make it again for my son’s birthday, but I was going to use a rectangle pan. I read your suggestion about the baking core, but I have no clue what that is lol Would I still need it if I am using a convection oven?
Thanks!
Marisa
Kara Jane
Oh I’m so glad everyone likes it! As far as the heating core goes, if you’re just baking a 13×9″ cake, you don’t have to worry about that. I use a heating core if I’m baking a really large cake. If you are actually baking a super large cake, then Amazon has the heating cores and you can usually get them in craft stores as well (on the baking or cake decorating aisle). I usually just get the wilton brand, but you can use a flower nail as well if you have one of those. If you’re not familiar with those they are the little round things you use to pipe flowers on. I hope this helps!
Halle
Hi!
I just made this recipe for my son’s 1st Birthday. I did not use any substitutes and I think followed everything to a T. I did make them as cupcakes and used liners. I followed the cupcake variation.
The cupcakes are indeed light and moist on the inside, but the cupcake seems heavy and almost hard on the outside. I took them out after 20 min and removed from pan immediately.
Any tips for the future would be great!
Kara Jane
Hmmm…you baked it at 350, right? I haven’t had that problem with these yet, but it sounds like maybe they were baked at too high a temp, or maybe a bit too long. Might just test your oven temp and make sure that it’s accurate. If it is, you could possibly turn down the temp just a bit and see if that keeps the outsides from over-browning on you. Let me know if this happens again. When I tested this out for cupcakes, I didn’t notice that happening, but I’m happy to test it again if this is an ongoing issue.
Sahira Peguero
Hello, for some reason my cake tasted like corn. Do you have any idea why?, Anything I might have done wrong?
Kara Jane
Oh my goodness! I just don’t have any idea what that could be! Hmmm…did you maybe not add in all the sugar? Just guessing here. Maybe some of the ingredients didn’t get added. I’m just not sure.
Sahira Peguero
I added everything, but I’ll try again. Thanks.
Rayz
The pics look so stunning! I can’t wait to try this! We’re going to have a party and I’ll bake this one. Thank you for sharing!
Kara Jane
Thanks so much! Let me know how you like it. 🙂
Eileen Pusey
I substitute a gluten free flour mix in all my cake recipes, usually by weight (figuring weight of what the all-purpose flour would be and using that amount of weight of gluten-free flour). Seeing that gf floor has no gluten, would I need to make any adjustments?
Thanks. Can’t wait to try this recipe.
Kara Jane
Hi there, I’m so sorry, but I do not know the answer to that. I don’t bake with gf flour and have no experience in gf baking. If it’s worked in the past as a substitute, I’d just try it out and see if it works here. Let me know how it turns out!
Eileen Pusey
Your recipe says to add a third, and then the rest. Does that mean 1/3 + 2/3, or is that a mistake, meaning 1/2 + 1/2? When I saw third, I figured that meant 3 additions.
Kara Jane
Hi Eileen, it’s not a mistake. You’ll just add in about a third of the liquid mixture, mix and then you can just add in all the rest of the liquid mixture and mix. (Not three additions.) Hope this helps!
Eileen Pusey
Thanks! That thought came to me as I was writing the question.
Karen Braxley
This looks like a great recipe and I’m eager to try it–a couple of questions before I do.
First, I generally use the standard creaming method (starting by beating butter and sugar together) for cakes, and I’ve never had any problems with cakes turning out too dense or tough. Will the creaming method work just as well for this recipe or should I stick to the method you describe? Second, I use butter in all my cakes (except for carrot cake) because I prefer the flavor, but butter cakes can go rather hard in the refrigerator. My favorite kind of frosting is whipped cream (stabilized with powdered milk), but that means the cake has to be refrigerated if it is not going to be served immediately. Does the sour cream in this recipe help the cake to stay moist (and not too hard) when it is refrigerated? I really want to find a recipe for a cake that has a nice buttery flavor but does not out of the refrigerator hard! Thanks.
Kara Jane
Hi Karen. I would try the reverse creaming method for this one, since that’s really the way I tested it. It’s actually easier (in my opinion). You’ll use less bowls. 🙂 I just think it makes a softer cake, but that is up to you. As far as the cake getting hard in the fridge, it will probably firm up a bit because it does have butter in it. It does however stay moist. Maybe it could be set out for 15 -20 minutes before serving, so it can get closer to room temperature before eating it though.
CMK
Hello! Thanks for sharing this recipe. If doubling the recipe – would you suggest making two separate batches?
Kara Jane
No you can mix it up all in one batch as long as you have a big enough bowl and you’ll be baking it all shortly after you mix it up. You just don’t want to mix up a bunch of batter and then save it to bake later.
Kristen
Ok, I have to start by saying I do not comment on recipes. This cake, however, deserves to be showcased on the largest pedestal and honestly should be served to the Queen, the President, and Martha Stewart herself. It’s that good. Better than that good. The recipe is easy to follow and creates the most perfect crumb- delicate yet perfectly dense, light, but not too airy. I did not use the almond emulsion (allergy issues) and had just run out of vanilla bean paste, so I simply used pure vanilla extract and it was still absolutely delicious. I’m not even a huge cake fan- more of a cookie girl, but I would eat this entire 8-inch cake myself. I only bake from scratch, and this will be the ONLY recipe I use from this moment on. THANK YOU, Kara, for creating cake perfection. I will definitely try your other recipes as well!
Kara Jane
Oh my goodness Kristen, that is the best review ever! You are wonderful for saying such nice things and I’m SO glad you loved the cake. I’m dying over here with your comment about the Queen, the President and Martha Stewart. LOL! Do you know who I’d be most nervous about tasting my cake?….Martha. I think I’d just have an anxiety attack. Anyway thank you, thank you for that wonderful review and if you eat an entire 8″ all by yourself, I won’t judge…I may have done it myself a time or two. 😉
Crystal
Hi. I have made this cake several times. It is delicious, one of the best vanilla cakes I have eaten! I used a vanilla bean and homemade extract! . Last time I made it, I frosted with Swiss meringue buttercream! Shared it with friends, they loved it too! I love all things cake! Always from scratch!! Thank you!
Kara Jane
Oh that’s so good to hear! And the homemade extract sounds amazing. Thanks for the kind words and I’m so glad you like it! ?
Luisa
Hi Karen,
I just baked the cake followed the recipe to a tee and have just pulled them out of the oven I used two 6 inch pans and one long pan. The 6 inch cakes have sunk in the middle do you know what may have happened?
Kara Jane
Hmmm, I’m not exactly sure. At first I would have said that it might have been over-mixed, but since the other cake was fine, then that may not be it. Sometimes if you take a cake out too early, then it can sink in the middle. Or it could have also been baked a bit too long. How was the texture? Was it a little dense? If so, it may have been a bit over-mixed, or was taken out of the oven a bit too soon. If it was baked throughout just fine, then maybe try baking them for a little less time and see if that helps. That’s a mystery to me though. Let me know if you try it again and what happens!
Crystal
HI Kara
Can you carve with this cake, it is dense enough for layer/tiering ?
Many thanks
Kara Jane
Hi Crystal, yes you should be able to carve with it. I don’t do a lot of carved cakes, but this cake is on the dense side, so it should work. It’ll probably be easier to carve if you refrigerate it though.
Christina
Hi, Kara-
Am planning to try this cake for my daughter’s first birthday party next weekend. I normally bake my cakes using convection. Do you recommend this? Thanks!
Kara Jane
Hi Christina, I have no experience baking in a convection oven. I’ve heard they are amazing and bake things more evenly and quicker, but I have not tested this recipe out using convection. I’m so sorry I’m not much help in this area! If you do try it, just watch your time closely as I’m sure it will bake in a much shorter time than what I’ve got on the recipe.
Frankie Massey
Hey! Do you sift your cake flour?
I made this cake for the first time yesterday and it turned out great! The best flavor I’ve ever tasted with a vanilla cake! My husband loves it without icing! ?
Kara Jane
Hi Frankie. First, I’m so glad the cake was a hit! Yay! You might be shocked at this, but I usually don’t usually sift my flour. ? I know…we’re ‘supposed’ to sift aren’t we? Lol. Anyway, part of the reason I don’t normally sift is because frankly sometimes I’m in a hurry (maybe just lazy) but sometimes it’s for another reason all together…which I’ll explain. I don’t think most of the general population sifts and when I make and test out my recipes, I want to make sure it’ll still turn out well even if someone doesn’t put in that added effort…that way anyone cake make it…sifter, or no sifter. ? I will sift at times though when I notice that my cake flour is a little clumpy. You can certainly sift the flour if you want and it does help with the texture. I sift AFTER I’ve measured. So I’ll just add the flour to my measuring cup then pour over a large sifter (actually just a large metal sieve I got on Amazon), which is sitting on top of my bowl. I think just tap the sifter with my hand to sift. Ok, that really long answer was to basically say, you don’t have to sift, but if you want to, you certainly can and to sift after you measure. Hope this helps!
Frankie
Thank you! It certainly helps! I haven’t sifted yet but thinking I might because I made 2 more cakes this morning and they all have holes in them. Some are the size of a pencil. Lol the ones I made yesterday had holes as well. So I sure that my butter was the right temp and followed everything to a T!
Kara Jane
Yeah that might be a good idea to sift. Also make sure you don’t mix too long…that could also cause holes in your cake. I’m sure you did fine, but just putting it out there. 😉 Once all the ingredients get added in, only mix until just combined. Don’t mix for a couple minutes. Let me know how it goes!
Frankie
Just being curious, what would you charge for a two layer cake, three layer cake and a four layer cake? All 8 round 3” tall. I completely understand if you choose not to share. ?thanks
I have a mission trip coming up in July and was thinking about sell cakes to earn money for the trip.
Kara Jane
I have no problem sharing, but that is a loaded question. lol! I know people hate getting this answer, but the answer really is ‘it depends’. When I was selling cakes, I never really had a set price or even a price per serving, because it really depends on how it’s going to be decorated. If it’s just simple, non decorated cakes, then it probably depends on your area as well. If it’s just for fundraising and temporary, you could probably sell them for a bit less than if you were starting your own cake business. I wouldn’t try to purposely undercut local bakers though…especially if you ever plan on starting a cake business, but that’s just my opinion.
Honestly what I did when I first started out selling cakes here and there was I looked at grocery stores to see their base price, then looked at nice bakeries in my area and checked their prices, then I picked somewhere in the middle. That’s a really rough guide and I didn’t do that forever, but it’s at least something to go by when you’re just starting, or if you’re just doing this for a fundraiser temporarily. Does that make sense?
Oh, also check and make sure there aren’t rules about selling what you bake in your area. In my state, Texas, we have a cottage food law that allows us to sell baked goods out of our home as long as there are no perishable ingredients, but it also has rules on labeling stuff, so be sure to check out the rules for your area. I know this was long, but hopefully it helped!
Frankie
Hey Kara! Thank you for the advice! I have been reading over the Cottage food laws! I’m also in the process of getting a license!
Quick question, can this cake be made sugar free??
Kara Jane
Hey Frankie, I’ve never tried to make this one sugar free. You could perhaps try it with maybe splenda if you want. Cakes made with a sugar substitute never turn out exactly like a cake with sugar in it. Sugar not only helps with the flavor of a cake, but it also helps give moisture to the cake. It would take some experimenting to get a good sugar free cake recipe and I’m definitely not an expert on those.
Frankie
Kara, reguarding the cake
Prices. I figured all my ingredients prices to get my cost. Then I added a little to it. Lol
Kara Jane
Ok, good deal. If you don’t feel like the price is already too high, go ahead and add in a little bit for you time too. Time is money, right?!