Are you ready to try your hand at scratch cake baking? Don’t be intimidated. You can do it and you’ll be so proud of yourself when you do! This post is literally a step-by-step guide on how to bake a cake from scratch.
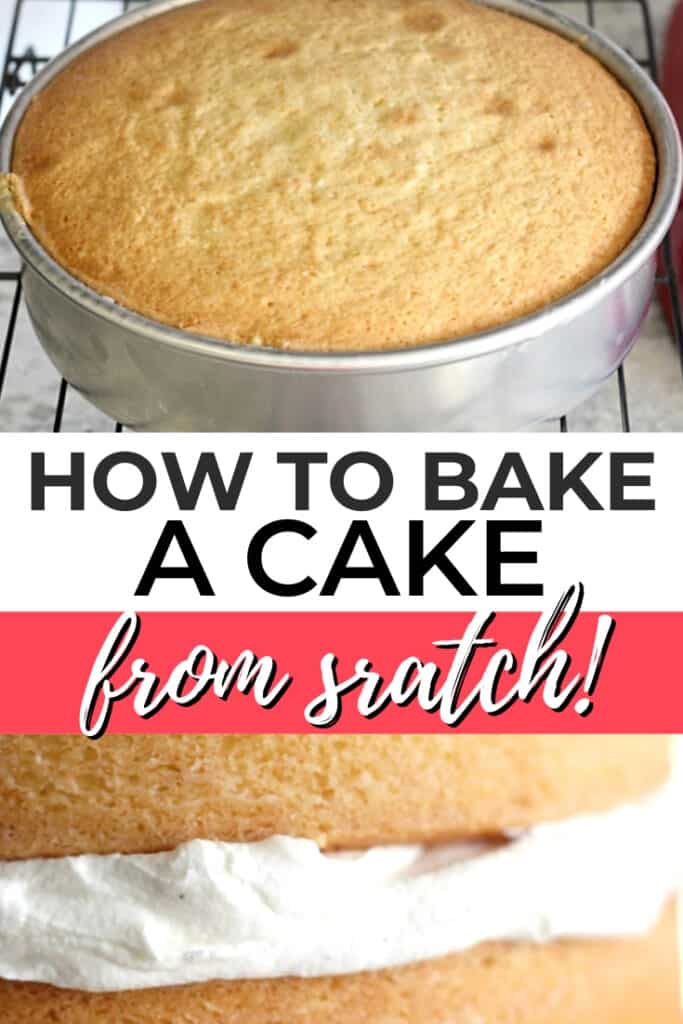
I wanted to put together a step-by-step guide to baking a scratch cake. I’ve got tons of tips and information in this post. It may seem overwhelming at first, but just break it down and look at each section at a time.
I’ve also included links to some of the supplies I use that work really well and I’ve included links to other blog articles where I go into greater detail about certain subjects.
At the end of this post, I’ve got some good classic scratch cake recipes for you to try out when you’re ready.
Ok, let’s get started!

As an Amazon Associate, I earn from qualifying purchases.
Now, I know you probably want to get right to the baking part, but it’s really important to do things correctly before you ever get to that point. Preparation is key.
I also want to state here that scratch cake baking is not like cooking where you can just sub ingredients in and out and add things and take things away etc.
The ratios of fat, liquid, dry ingredients etc, have to be in proportion, or your cake will fall, turn out dry, won’t rise, have a dense texture and a whole bucket full of problems. The mixing method makes a difference as well and it really is important to follow the mixing instructions and we’ll get into that later in this post.
PREPARE YOUR INGREDIENTS:

Make sure you have all the ingredients and that they’re at the right temperature. Go by what the recipe says. You don’t always have to have ingredients at room temp, but just make sure you’re following the recipe.
Why is this important? Well it’s because the ingredients will mix together better if you’re using them at the right temp. Using ingredients that are super cold, could sort of seize the cake batter and give it a weird texture.
Personally, I find that the two ingredients that are the most important to have close to room temperature are the butter and eggs.
Use the correct butter at the right temperature. Most recipes call for unsalted butter, so if in doubt, use that…unless it specifically says to use salted butter.
Now, do you need to set out the butter to come closer to room temp before mixing? Make sure to do that if the recipe says to do it. You can cut up your butter on a plate and it will warm up faster.
I usually cut up my butter and set it on a plate on my counter for about an hour before baking. It’s important not to microwave your butter to try and get it to room temp. It won’t heat it evenly and there will be hot spots.
Don’t use substitutions. Ok, sometimes you can, but if you’re just starting out baking from scratch, you don’t want to do that. Some ingredients just don’t substitute well.
When substituting ingredients like cocoa powder, baking powder, baking soda and different types of flour, it can make a big difference. You can’t substitute those things without making other changes, so you want to be mindful of that.
Here are a couple posts about substitutions:
- Which Cocoa Powder Do I Use? (What’s the Difference?)
- What’s the difference between baking soda and baking powder when baking cakes?
- Salted Butter vs Unsalted Butter…What’s the best butter for baking cakes?)
Make sure you get all your ingredients ready. Just make sure you actually have all the ingredients and just have them ready and out.
USE THE RIGHT SUPPLIES:

Of course you want to make sure you’re using the right supplies. You don’t need to get fancy equipment. Let’s talk about some of the important things though.
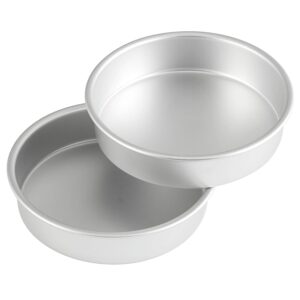
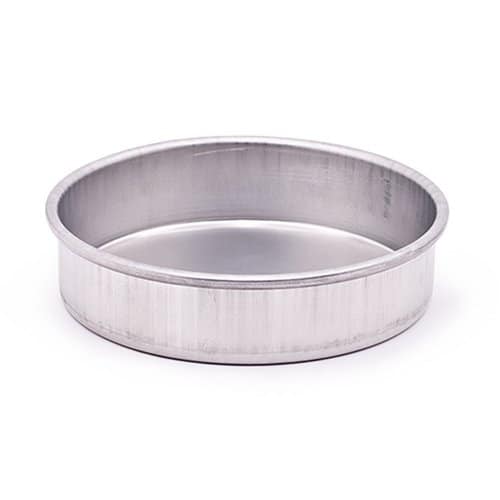
Pans: Of course you’ve got to have baking pans. You definitely want to use the right pans and good pans (not super dark and coated). You also want to use the right sized pan that the cake recipe calls for.
Personally, I like Wilton cake pans, or Magic Line Pans. Magic Line Pans are my absolute favorite because they really help the cake to bake up tall and even.
Here are some good pan options for you:
Other equipment and tools: You also want to make sure you have some other helpful supplies like mixers, rubber spatulas and bowls. You don’t have to get all fancy and get a stand mixer. I mean they’re awesome, but you don’t have to have one to bake a good scratch cake.
Here are some good options for other supplies:
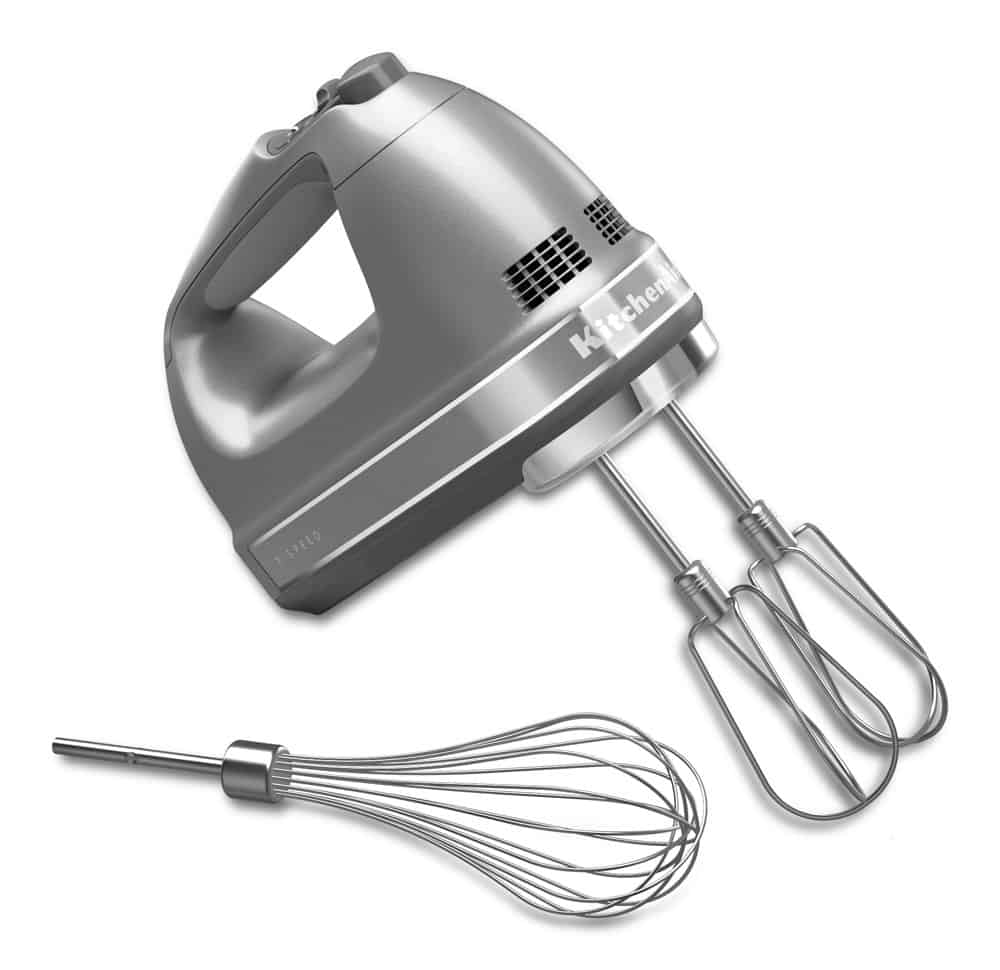
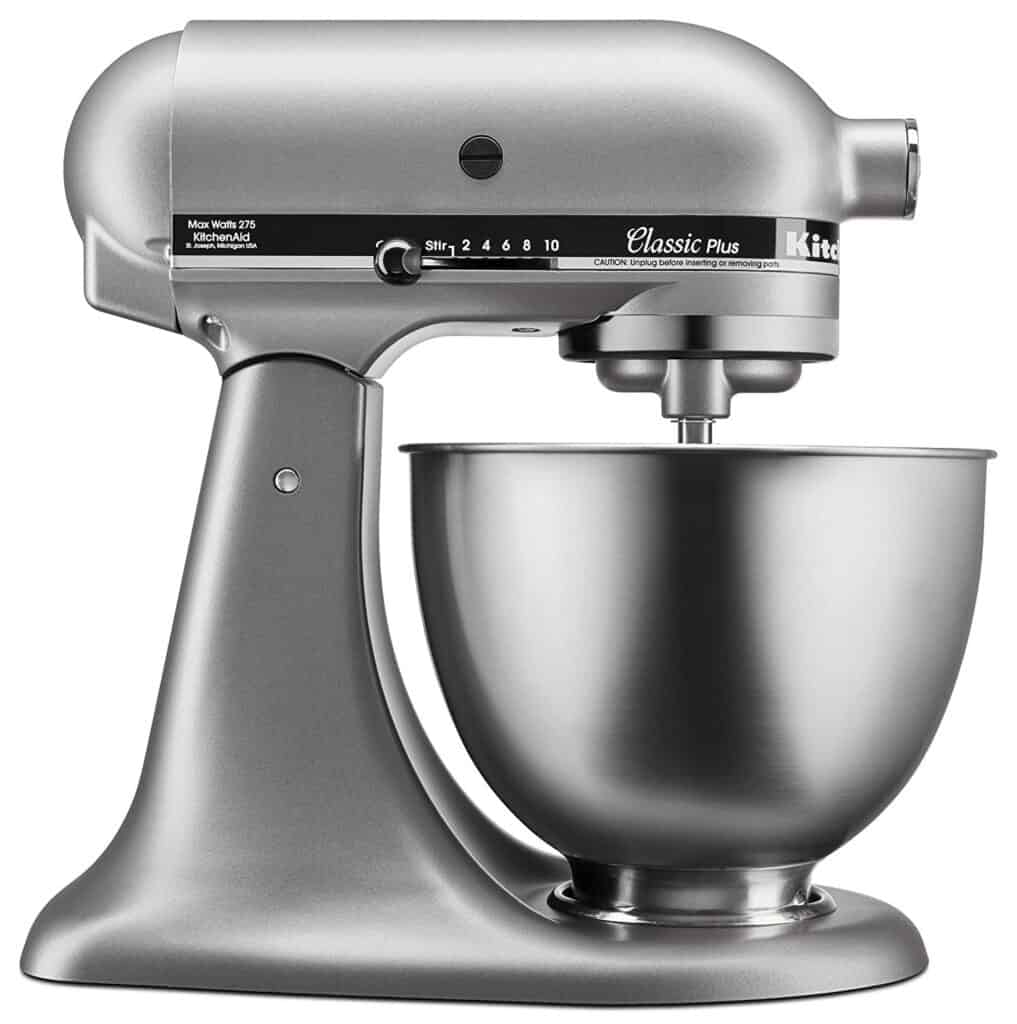
KitchenAid Stand Mixer – Classic
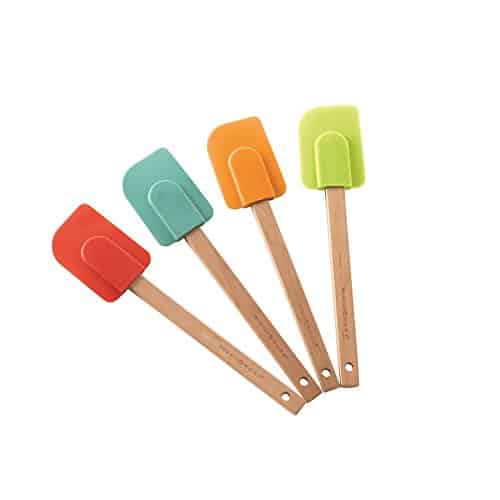
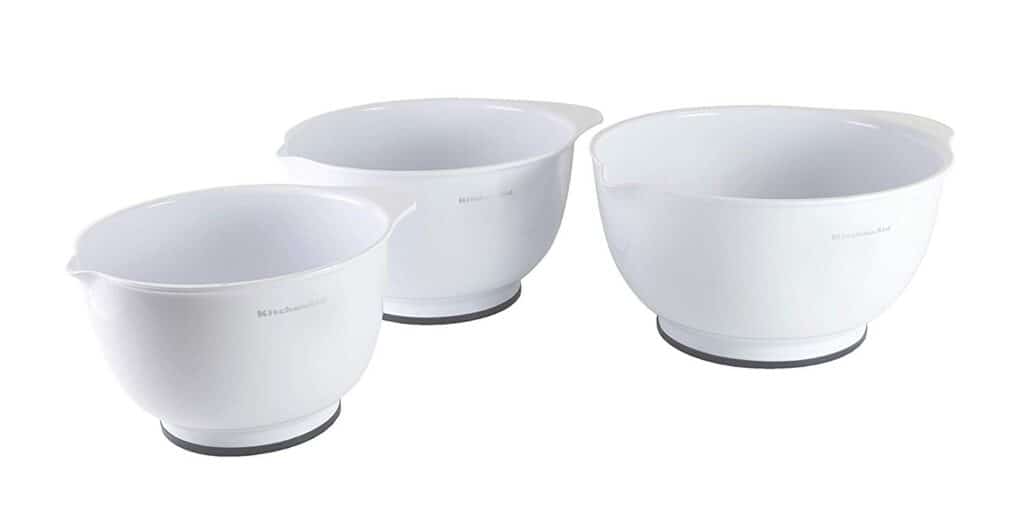
If you want even more ideas for good cake baking equipment, you can see those here: Must Have Tools for Baking Amazing Cakes
Get all your baking equipment and tools ready to use. Once you’ve got all the equipment you need, just set it all out, ready to use.
PREPARE YOUR PANS CORRECTLY:

Alright, this is a big one. You can do everything else right, but if you don’t prepare your pans, your cake can completely fall apart on you when you try to take it out of the pan.
There are lot’s of different methods you could use to prepare your pans: Grease them, spray them, grease and flour them, use the pan release recipe, use parchment paper…lot’s of options.
I find that I get the best results by greasing my pans with vegetable shortening and then flouring them, or I’ll just use the pan release recipe (which is equal parts vegetable shortening, vegetable oil and flour all mixed together, then it’s used to coat the pans).
I’ve also found that super moist cakes, really need their pans coated with flour as well.
I do know that there are many bakers who prefer to use parchment paper in their pans (not wax paper). The best thing to do is to experiment and find what works for you.
I’ve got an entire post all about how to prepare pans here: Tips for Getting Your Cakes to Release from Their Pans
MAKE SURE TO PREHEAT YOUR OVEN:

As a kid, I used to think this really wasn’t that important. I’d just mix up my cake, throw it in the oven, then turn the oven on. I just thought, what’s the big deal?
Oh my goodness, it’s a big deal! If you don’t preheat your oven, your cake will not rise like it should. It will be dense and possibly even dry. You’ll also have to bake it for longer, because you didn’t get the temperature up.
There really is a point to it, so make sure to preheat your oven. Just go ahead and turn it on when you walk into the kitchen before you ever start mixing up your cake batter.
One more thing, you can grab yourself an oven thermometer (they’re fairly inexpensive) and hang it in your oven. That way, you’ll know if your oven is correct and you can adjust it if needed.
MEASURE YOUR INGREDIENTS CORRECTLY:

You might be measuring your ingredients wrong and not even know it. Are you reaching into your flour container and scooping it out then adding it straight to the bowl? You definitely don’t want to do that.
If you do that, you’re packing down your flour into your measuring cup and it’ll add too much to the batter. Too much flour will make your cake much dryer than you anticipated.
Also, did you know there are dry ingredient measuring cups and liquid ingredient measuring cups? If you think you might be measuring ingredients the wrong way, I’ve got all my measuring tips in one post along with a video here: Measuring Ingredients For Baking Cakes

Grab these beautiful rose gold measuring spoons in the shop!
FOLLOW THE MIXING METHOD EXACTLY:

You want to make sure to follow the mixing method that’s laid out in the recipe. Whether it’s the creaming method, reverse creaming method, or something else, it really matters.
Why? Well it matters because depending on which mixing method, it will either help the ingredients emulsify better, incorporate more air to help with rise, or it may help the gluten to not be overdeveloped, which would then keep the cake from becoming tough. There are reasons why the recipe will say to mix it a certain way.
I go through several types of mixing methods, what they’re used for plus the different types of flour used for baking cakes here: Types of Flour for Baking Cakes Plus Mixing Methods
Make sure not to over-mix the batter. This is one of the most important things and the biggest mistake I see. Most people assume that you need to keep mixing until the batter is absolutely smooth and you see no specks in it at all.
They mix and mix because honestly it kind of makes sense that you’d want to mix it really well, rather than under-mixing, right? But that’s actually what you don’t want to do.
You want to mix it until the ingredients are combined well, but once they’re mixed well, stop mixing. If you over-mix your cake batter, your cake will be dense and tough, it may not rise properly and you could get all sorts of problems with your cake.
Why? Well the scientific explanation is that the gluten will be overdeveloped and that can cause the cake to be dense, or rubbery or have all sorts of problems. You won’t get a soft textured cake, that’s for sure.
Now, don’t go to the other extreme and not mix it enough either because that’s going to cause problems too. You need the ingredients to be mixed properly.
I’ve got a post that goes over how to properly mix cake batter and there’s even a video that will show you how to do it in real time using two different mixing methods: How to Mix Cake Batter Plus Real Time Video
Also, you don’t mix it up and then not bake it…bake it right away for best results and leave yourself enough time!
TIPS FOR WHEN THE CAKE IS BAKING:

Ok, now let’s talk about some tips for when you finally get your cake in the oven.
Bake on the appropriate rack and don’t crowd your cake layers. Generally you’ll bake cakes on the center rack, unless the recipes tells you otherwise. Try not to crowd your cake pans together. You want air to be able to flow around the pans.
Keep the oven closed until closer to the time the recipe says. Don’t keep opening the oven to check it, because you’ll be letting out heat each time. You want to make sure to leave your oven closed until your time is almost up.
When you do open the oven to check the cake, make sure not to slam the oven door. Shut it gently, or you’ll jolt the cake and pop all the little air bubbles that have helped the cake rise. This could cause your cake to fall and sink in the middle.
The classic toothpick test isn’t always the best test to check for doneness. There are a few things you could check for to see if your cake is done and personally I find that when I use the toothpick test, (you know, popping a toothpick into the middle of the cake and pulling it out) I like there to still be a few moist crumbs on the toothpick.
Waiting until there are absolutely no crumbs on the toothpick can sometimes make for a slightly over-baked cake. I mean obviously you don’t want the toothpick to have raw batter on it, but I find that if it comes out with a few moist crumbs on it, I take it out of the oven then.

You’ll definitely want to get one of these handy reusable cake testers in the shop!
Essentially, just know that the baking time is not set in stone. Know what to look for. If you pull it out too early, the cake could sink.
There are more things you can look for to see if a cake is done, or just about ready and I’m spilling the beans about my method in this post here: How to Tell When a Cake is Done
COOL THE CAKE CORRECTLY:

Cool the baked cake properly. Don’t try to take the cakes out of the pans immediately after you take them out of the oven. They’ll just fall apart on you.
I’ve also found that you don’t want to let them cool completely in the pans either. Sometimes they will stick that way.
Here’s what I like to do: Pull the cakes out of the oven and set the pans on the cooling racks. Cool for 10-15 minutes (for layer cakes), or about 20 minutes (for bundt cakes), then turn the cakes out onto cooling racks to cool completely.
You can see more of that process here.
You definitely want to make sure you cool the cake layers completely before adding any buttercream or icing. You don’t need them chilled, but they at least need to be room temp, so the cake doesn’t warm up your icing.
MAKE SURE TO USE GOOD RECIPES:

Use a good recipe…a true scratch cake recipe, not a doctored cake mix recipe because if you’re going to try baking from scratch, just jump in with both feet.
Now, I’m not ditching doctored cake mix recipes, those are good too and I like to use them on occasion as well, but they’re not the same as scratch cakes. There are additives in cake mixes that help the cake bake up even if you mess up somewhere… they’re just tough to mess up.
Baking scratch cakes just isn’t the same thing. You’ve gotta get the ratios correct and the mixing method correct. But I know you can do it and there is just nothing like that scratch cake taste…as long as you’ve got the right recipe. ?
Here are some classic scratch cake recipes to try from my site:
Ok, that was a lot. Please don’t feel overwhelmed. If you read it all, even if you think you’ve already forgotten most of it, I can assure you it’s still in your brain and you’ll remember a lot of it as you start baking.
I have confidence in you. Seriously…I know you can bake a scratch cake!
If you have any questions…you can always comment on this post, or send me an email here: Contact Me
I want to help because I believe everyone is capable of making scratch cakes!
Like this post? Don’t forget to pin it below!

Claire
Your instructions are clear. If I were to bake a cake from scratch I would follow these instructions. Thanks for putting together. That said, I am frustrated by all the ads on the screen. On the side is fine but when they are placed where the instructions are in the centre of the page, it is far too distracting. I will find another source and not return to your website.
Kara
Claire, thank you for letting me know. I didn’t realize it was so distracting. Sometimes I only see the desktop version and don’t think to look often enough at the mobile version. I will see what I can do lower the ad frequency. I appreciate your feedback.
Sarah
I have to agree with the ads. It kept taking me back to the top of the page and I would lose my place.
Kara
Oh no! I will definitely try and figure out what’s going on! I do try to have a balance between being able to afford to keep this going and also not wanting to annoy people with them. I’ve adjusted them down a bit, but will look into what else I can do. Thanks for letting me know!