When making your first fondant cake, there are a few things that will really help you. In this post, I share all my best tips for making your first fondant cake so everything will be a success.
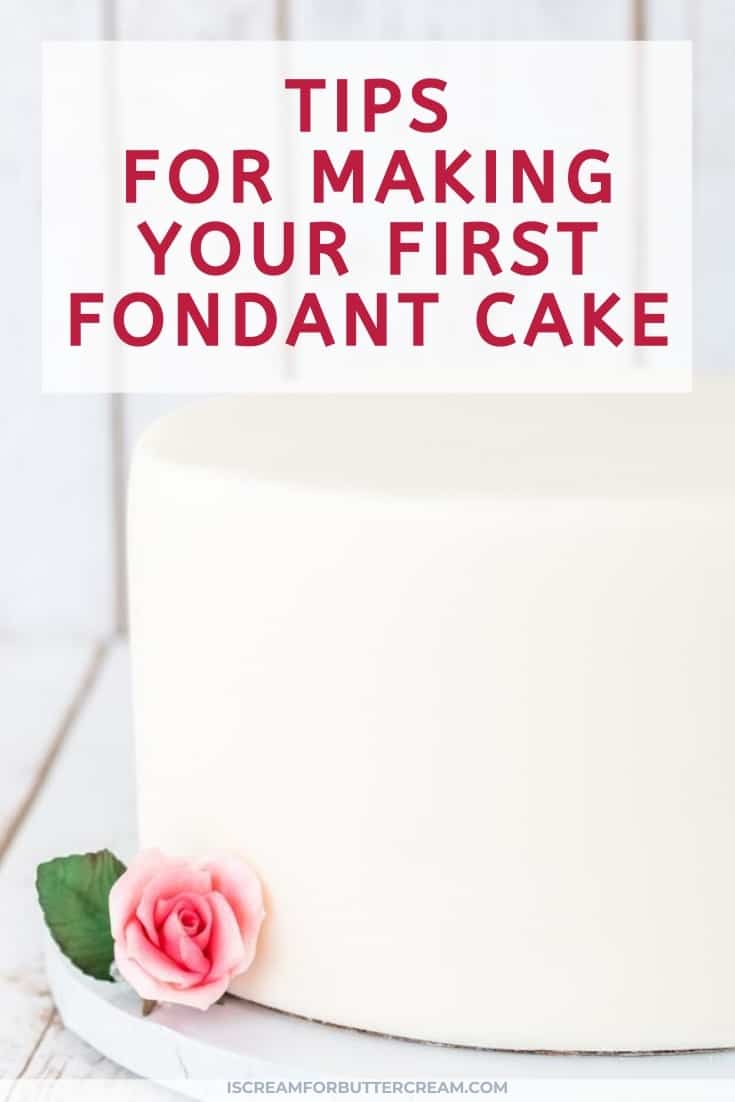
There are some things about making fondant cakes that you just won’t think about when it’s your first time. I want to talk about those things here, so you’ll know what to expect and give you a few tips to help you make a great cake and to cut down on your frustration.
As an Amazon Associate, I earn from qualifying purchases.
First, I wanted to share with you my very first fondant cake and give a little encouragement. Stick with me here, because this post isn’t about me bragging on my first fondant cake…I promise I have a point here and I think my tips will help.
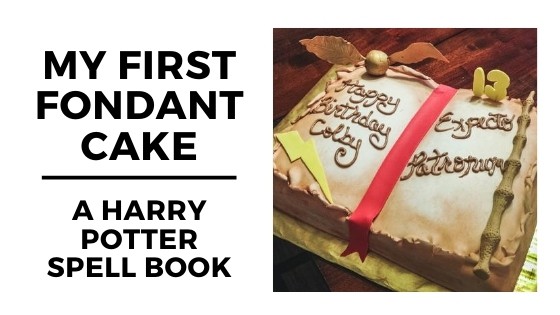
If your first fondant cake was worse, do NOT feel bad. What your first cake looked like means nothing…it’s simply where you started and you will only improve from there.
Now, if your first fondant cake was much better than this, then yay for you and I am super impressed.
But our first fondant cakes are just that…just the first, and if it doesn’t turn out the way you want it to, that does NOT mean you don’t have talent or that cake making just isn’t for you.
What your first cake looked like means nothing…it’s simply where you started and you will only improve from there.
Listen: Fondant is just a pain sometimes and it’s really tricky. It takes a lot of practice. I’m telling you that NO ONE comes out of the womb knowing how to deal with fondant. It’s not a natural talent and it just takes practice working with it.
Now, I know my first fondant cake could have been much worse, but there are a couple reasons why it wasn’t super awful and I think those reasons will help you as well if you’re having trouble with fondant, or you’ve been really nervous to try it.
I have all kinds of tricks up my sleeve when working with fondant and how to make it look good.
Do you know why I have a bunch of tricks? Because I find fondant to be just as tricky and two-faced as you probably do and I had to figure out all kinds of ways to get it to work for me.
If you’re not interested in working with fondant, that’s okay. My preferred method of cake decorating is with buttercream, but there are some designs that just require fondant, so if you’ve ever wanted to try your hand at it, I hope this helps.
Alright, so why did my first fondant cake, not end up a complete failure and look like total ?? Here’s what I figure happened: (And we’ll talk more about these things in a bit.)
- I planned it all out: I am a huge planner and I sketched out the design and thought of everything I could think of that could go wrong. (That’s probably not a good way to be in life, but that’s who I am.)
- I prepared: I had extra fondant on hand. I was confident in my cake baking skills, so I knew that would work out ok, but I didn’t know what I was doing with fondant. (I thought I knew a little because I had watched videos, but I really didn’t.)
- I used chocolate buttercream under the fondant: Yeah I know that sounds like a weird tip, but I used a thin layer of chocolate buttercream. My double chocolate buttercream actually has melted chocolate in it so it is a little more firm than regular buttercream. I think that helped. (Generally I prefer using ganache, but we’ll get to that in a minute.)
- The cake wasn’t a layer cake: I’ll get more into why that’s a plus in a bit.
Now I want to get into the details of those things and give you more tips, so you won’t be stressed out AND so you’ll increase your chances of things going right.
As an Amazon Associate, I earn from qualifying purchases.
Tips for Making your first fondant cake:
A quick note about these tips: I feel like I have to give a disclaimer here because I don’t want you to feel like you have to use ALL of these tips, or that there are written cake rules that you HAVE to go by.
These are just the tips that I live by and that have been useful for me. I want to share them with you in the hopes that they’ll help you too, but they are by no means, the end all, be all.
Other cakers have good ideas too, so it’s okay to gather all the information you can up front, but then you just have to go and do it…try out lots of methods and see what works best for you.
Ok, on to the tips:

Plan it out:
Like I mentioned above, I am a big planner. You want to think ahead and list out everything you’ll need and sketch your design etc. Think of anything that could happen.

Get prepared:
I prepared by using my list that I’d written down and making sure I had everything ready. I made extra fondant and laid out everything I’d need to start rolling out fondant.
You definitely want to make sure you’ve got everything at the read because once you start rolling out your fondant, you have to work fast. so getting everything set up and prepared upfront is a lot of help.
Use the right kind of fondant for the job:
I’ve found different brands of fondant to be better for different things. I prsonally love Sugar Geek Show’s fondant recipe and that is what I use to cover cakes with fondant.
I have tried many brands, but this one works the best for me. It’s sort of like a combination of premade fondant and marshmallow fondant.
I’ve found that Satin Ice fondant is good when making decor items because I find it dries out better, but I don’t like using it to cover my cakes with…it seems to really dry out quickly on me and causes elephant skin. (Which is just a weird texture that fondant gets that seems all lumpy and bumpy.)
So, basically just try out different fondant brands and recipes and figure out what you like best.
It can also depend on the weather as well. Sometimes dry climates will cause your fondant to be drier and sometimes humid climates might make it sticky and harder to deal with. Keep those things in mind.
Use ganache:
Use ganache (semi-sweet or white chocolate) (or at least a buttercream that has added melted chocolate in it…even white chocolate helps).
So, layer cakes and fondant were my nemesis for a long time until I started using ganache and letting the cake layers settle (we’ll get to that in a bit).
Ganache forms a firmer layer all around the outside of the cake and it’s WAY easier to cover a ganached cake with fondant than a buttercream cake.
I have never had good luck covering a buttercream cake with fondant. Some cake decorators are awesome at it and that’s great, but I hate frustration and it simply just frustrates me. The buttercream moves around on you and doesn’t get smooth or firm enough for my taste.
You also can’t even put a good thick layer of buttercream on the outside of your cake because frankly, the fondant will push it around if it’s too thick.
When using ganache, you can still add a good layer of buttercream in between the cake layers as a filling and then add the ganache on the outside of the cake.
Making ganache isn’t as hard as it probably sounds. I waited until forever to try it because it just sounded complicated, but really it’s easier than making buttercream in my opinion and it takes less time.
I’ve got an entire post and recipe on how to make ganache here and a post on how to cover a cake in ganache here.
Use an all butter buttercream:
If you don’t use ganache and really want to try using buttercream instead, then use an all butter buttercream so it can firm up a bit in the fridge.
A shortening based buttercream won’t firm up enough when cold and you really need your buttercream to be on the firm side when you cover it in fondant. Here’s my recipe for an all butter buttercream: Vanilla Bean Buttercream
Don’t start off with layer cakes:
Now, I say this because covering layer cakes with fondant is really tricky. Covering a single layer cake (like a 13×9 cake) isn’t as difficult because you’re not dealing with multiple cake layers. (Now I’m not talking about cake ‘tiers’, I’m referring to the cake layers).
Covering layered cakes with fondant opens up a whole other can of worms of things that could go wrong. The cake layers can settle after you’ve added the fondant and cause a big air bubble and sometimes an actual blowout, or you could get those ugly ridges around the cake.
If you really want to try a layer cake first, just make sure you allow your cake layers to settle after you fill them. That is a must. (I’ll get to that in the next tip).
Also, make sure you will be adding other fondant designs on the cake as well, so that you have a way to cover up any tears or holes or blow-outs or weird fondant textures that pop up.
When I started doing fondant cakes, I specifically only designed cakes where I could have an ‘out’ if the fondant messed up a little.
Maybe there was a big plaque that was going on the front or some other design like ruffles, but somehow it would give me a chance to cover up my mistake or any fondant mishaps or settling of the cake
Here are some examples of what I mean:



Let your cakes settle:
If you are going to be doing a layer cake, you must let your cakes settle.
By ‘settle’, I mean adding your cake layers with filling in between and then letting them sit like that (covered of course so your cake doesn’t dry out) until the layers have had time to settle down.
I don’t chill my cakes while they’re settling either because I don’t want the buttercream or filling to firm up…I actually want everything to settle down before adding the fondant. (Of course if you’re using perishable filling you’ll have to keep it chilled though.)
Settling helps prevent any ridges around your cake, or any air bubbles etc from popping up after you’ve added your fondant.
I go way more into this subject and why it helps in this post here: Should I Refrigerate My Cake Before Decorating?
It will give you my method of settling cakes and the timeline, so you can do it too. Settling your cakes will definitely help save your sanity. Trust me on that and go read that post.

Try the paneling method:
If you’re making a square cake, using the paneling method really helps. You essentially cut fondant squares the same size as your cake and attach them in sections to the cake instead of draping a huge piece of fondant over a cake and then having trouble with the corners tearing.
You can even do the paneling method on round cakes as well. You’ll just have to cut a long piece of fondant and wrap it around your cake, then cut a top piece.
That’s a pretty general idea of the paneling method. I don’t personally have a tutorial for it here as I don’t use that method much, but there is absolutely nothing wrong with it and it’ll be helpful to try it out and see if you like it better.
There are tons of tutorials on YouTube, just search fondant panel method.

Figure out your preferred fondant rolling method:
You definitely want to try out a few different fondant rolling methods. Some people roll out on a silicone mat (which is what I do). Some use a silicone mat to help them drape the fondant over the cake…some use their hands and arms and some use two silicone mats and roll the fondant between them.
I’ve tried a ton of different methods and I’ve got a few of the most popular methods plus my own method here along with a video on what works best for me: Tips for Covering a Cake in Fondant

Have needles handy:
Yeah I know that sounds a little medieval, but stick with me here. You’ll need these to pop any air bubbles when rolling out your fondant.
You want to have them at the ready though because you don’t want to be running around trying to find some to pop an air bubble with and your fondant dry out on you.

Use cornstarch and powdered sugar mixed together and an acetate smoother:
Even if you get elephant skin or small holes are small tears in your fondant…buffing it with a mixture of cornstarch and powdered sugar will help A LOT.
Get yourself one of those shakers like below and mix the cornstarch and powdered sugar together in it.
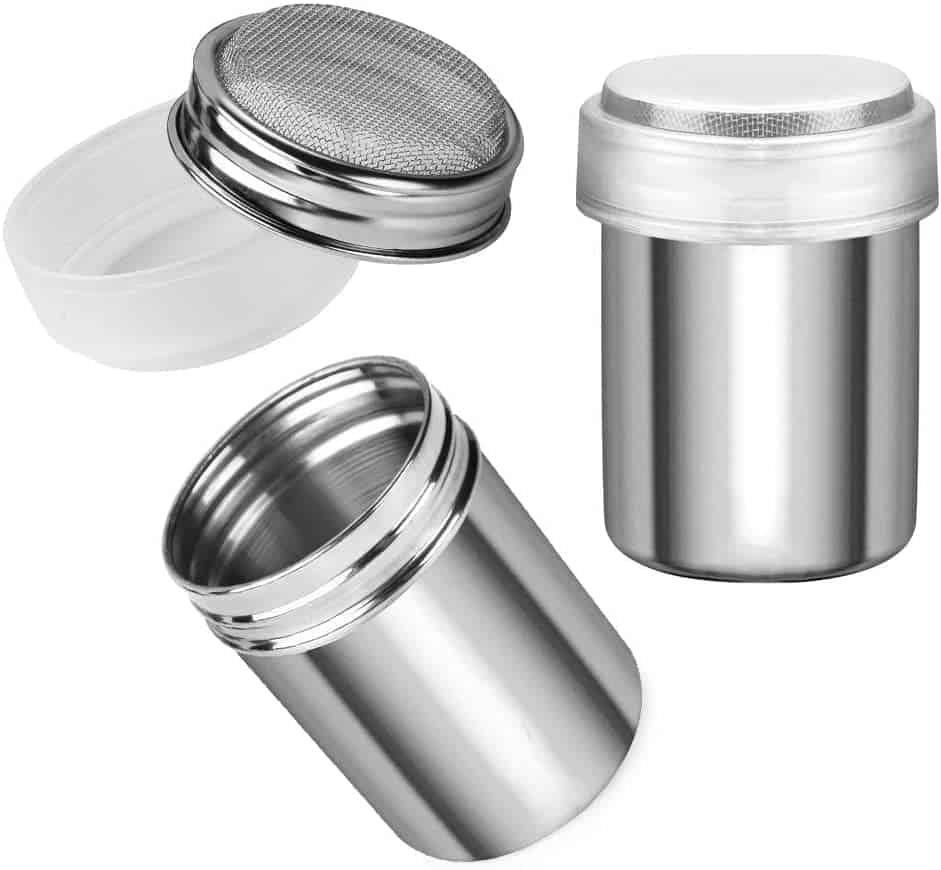
Also use an acetate smoother. (Of course you’ll need to use regular fondant smoothers, but you’ll also want to get an acetate one.)
You can buy one, like the one below, but you can also just make your own out of an acetate (plastic like) folder and cutting out a square piece of the folder. Just make sure to cut the corners off, so you don’t gouge into your fondant.
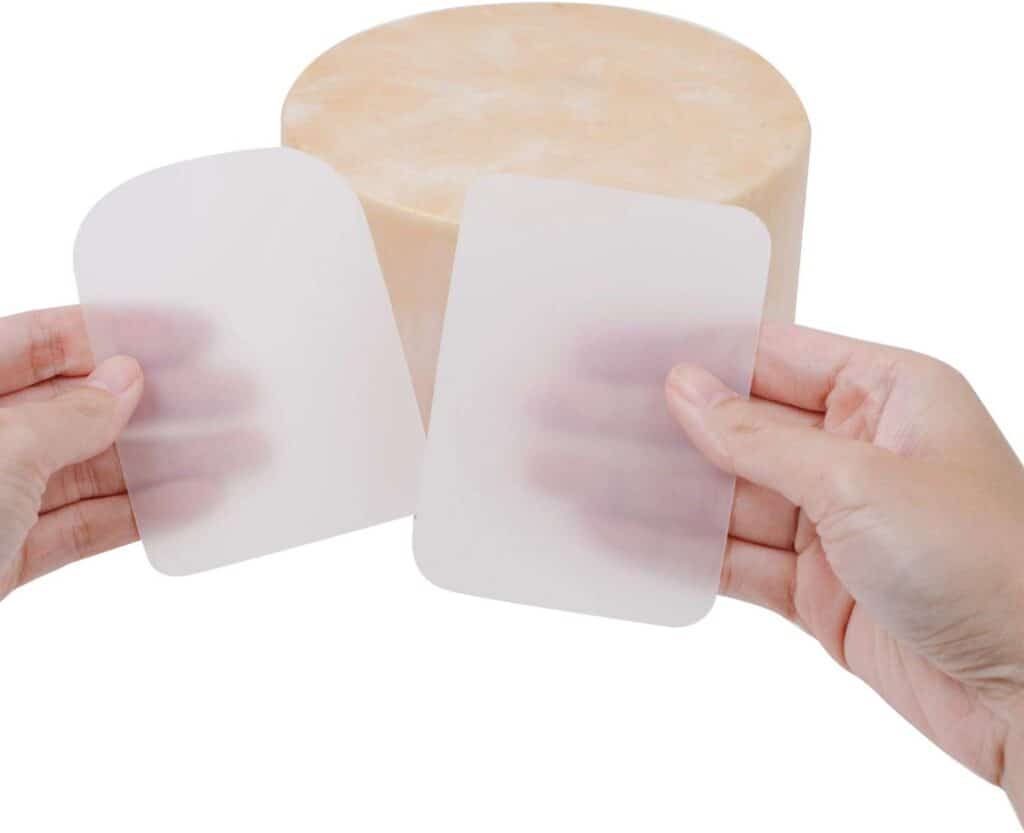
Grab the acetate smoother here
These things is in combination with a very good fondant, is THE way to go in my opinion. Using that an acetate smoother with the cornstarch and powdered sugar really helps to buff the fondant to a smooth surface.

Go and watch my video on how to actually cover a cake and the different methods to try:
I’ve got an entire post with video on how to cover a layer cake with fondant. It will show you every single thing I do and all my tips including how to use the acetate smoother and my method for rolling out fondant.
You can find that post and video here: Tips for Covering a Cake in Fondant
Well I hope this has been super helpful to you! Please don’t be discouraged or scared of trying out fondant. It may not be your favorite cake medium to work with, but you really can beat it at it’s own game!
Don’t forget to pin it below!

Gerville Robinson
Fantastic information. Thanks very much.
God'sfavour raymond obot
I will try, and thanks.It can still help.