
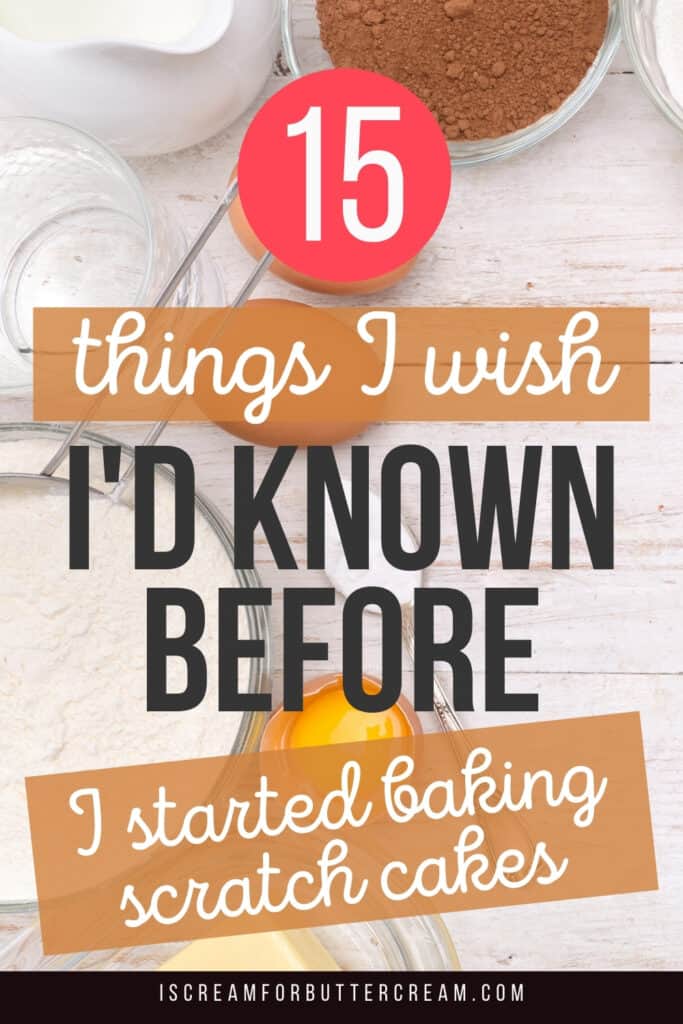
Knowing these things could have saved me so much trial and error when I started baking scratch cakes!
My love for baking cakes started when I was just a kid. Frankly, I just wanted to eat cake all the time and to do that, I knew I’d need to learn to bake them, because my mom wasn’t going to do it ALL the time.
I started out using cake mixes and then eventually tried my hand at baking from scratch.
There were obviously a lot of things I did wrong, assumptions I made that were wrong and I just didn’t know what I didn’t know.
I thought it would be fun to put together a list of the things that I truly wished I’d known before I started baking scratch cakes that would have saved me so much time and heartache.
Don’t get me wrong though, I’m glad to have had the experience and learned the way I did, but if this could possibly help someone avoid some of the issues that I ran into, then that’s my goal.
Let’s get started!
As an Amazon Associate, I earn from qualifying purchases.
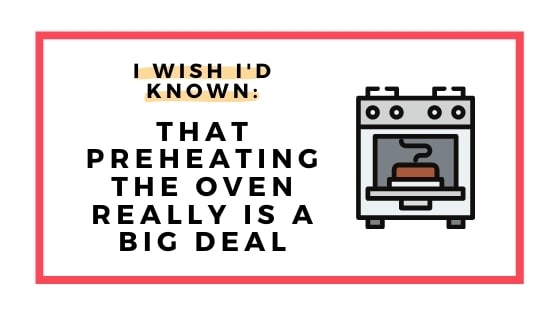
I wish I’d known that preheating the oven really is a big deal.
I was really impatient as a kid. (Ok, fine…I’m still impatient.) Anyway, I just didn’t get why it was really necessary to preheat the oven.
I would forget and then just turn on the oven and pop in the cake. Then I’d wonder why it didn’t rise properly, or took too long to bake, which made it dry.
It’s majorly important to preheat your oven though. You need to get the temp up before you put your cake in. In fact, it’s best to let it preheat for a bit longer even after your oven says it’s ready.
You don’t want heat fluctuations in the oven while baking your cake. You want your cake to rise properly, not to be super dense and not to dry out because you have to bake it longer.
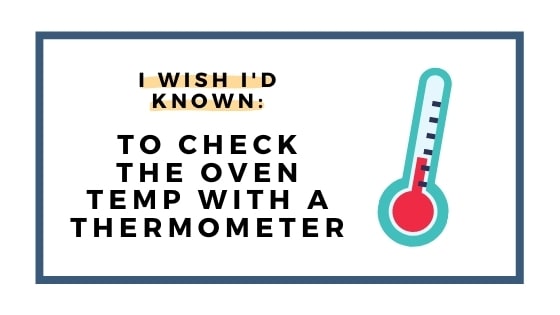
I wish I’d known to check the oven temp with a thermometer:
Ok, this one took me awhile to get. I don’t know why I was so averse to just going and getting an oven thermometer, but it took me forever to decide to finally do it.
It’s really helpful though in determining if your oven is even close to what you’re setting it at. If it’s off, at least you’ll know how much to off-set the temp.
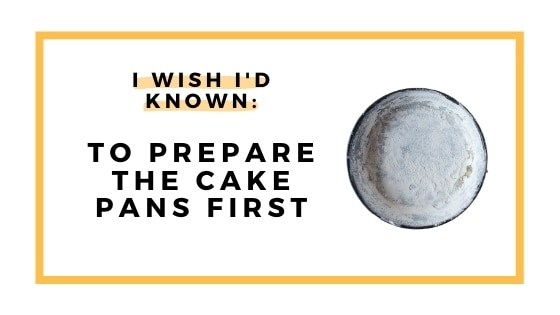
I wish I’d known to prepare the cake pans first.
Well you probably think I’m really dumb right about now, but really, there are a lot of people who don’t realize you need to prepare cake pans before adding in the batter.
It’s not dumb…we just don’t know things sometimes and when we learn, then we do better.
Different recipes will tell you to prepare your pans in different ways. That’s important to follow, because you definitely want your cakes to lift out of their pans for sure.
There are so many options for preparing pans like: Using parchment paper (not wax paper though), greasing with butter, greasing with shortening and then flouring, using the pan release recipe, or using non-stick spray.
I go into a lot of detail and show my favorite method in this post if you’d like to go deeper and get more tips: Tips for Getting Your Cakes to Release from Pans
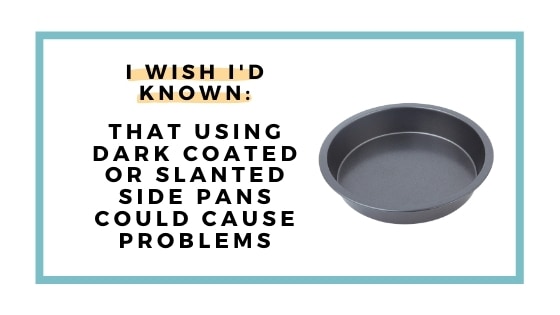
I wish I’d known that using dark coated or slanted side pans could cause problems.
This one is a biggie. Once I learned this, things really took a corner in better cake baking.
So, dark coated pans are good for non-stick purposes, but they’re not so good for baking cakes.
If you’re using a dark coated pan, then you really need to turn down the oven temp about 25 degrees and just bake the cake a little longer.
Dark coated pans just seem to bake everything quicker, so you have to really watch it.
As far as slant side pans go, if you want a nice looking cake, these aren’t the way to go. I baked with these angled pans for a long time not understanding why my cakes didn’t look right and why they were hard to decorate.
Well the slanted sides have to be trimmed to get the sides of the cake straight up and down, or things will just look weird.
It’s easier to just bake in good pans to begin with and then you don’t have to worry about changing the temp of the oven because the pan is dark or trimming the sides of the cake to get them straight up and down.
I LOVE magic line pans. I think they bake cake layers much more evenly than other cake pans. They aren’t dark coated, so you will have to prepare them (like I mentioned above), but I’ve always had good luck with them.
You can get Magic Line Pans here: 8″ round Magic Line Pans
I also use Wilton pans. They don’t bake as evenly as the Magic Line pans, but they are still good pans and are a bit less expensive. You can find those here: 8″ round Wilton Pans
For more tips on baking cakes, you’ll also want to check out this post: 12 Must Have Tools to Start Baking Amazing Cakes
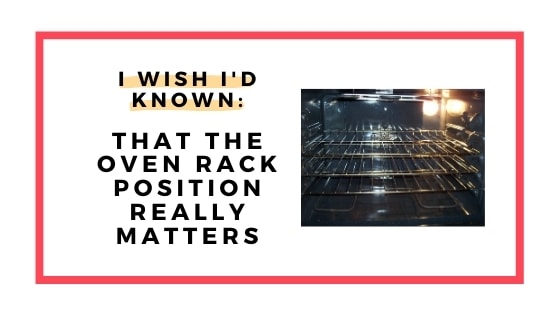
I wish I’d known that the oven rack position really matters.
Most cakes need to be baked in the middle of the oven. You definitely don’t want to bake them too high or too low, or you’ll have all kinds of issues.
Now, some cake recipes will tell you that you need to bake them on a certain rack. Just go by what the recipe says, but if it doesn’t state specifically, then it’s good to bake your cakes in the middle of the oven.
Air can circulate the best in the middle and you’ll get more even heat there.

I wish I’d known how to measure ingredients properly.
Oh my good gracious I was terrible at measuring ingredients. How important could it be, right?
Well I know I don’t have to tell you how important it is to measure baking ingredients properly. I mean cooking is okay to sort of eye-ball something, but not baking.
Baking is ALL about ratios and if you measure something wrong, the whole thing could collapse…literally.
So, it’s not just mis-measuring that’s a factor, but it’s how you measure. There are liquid measuring cups and dry measuring cups and they’re used differently.
One big example is measuring out flour. A lot of people just take a measuring cup and dip it into the flour bag to measure it. That’s a big no-no, because that’s packing the flour into the cup.
You’ll actually be adding more flour to your batter than you really need and that could cause a dense or dry cake.
I’ve got an entire post all about measuring. There’s also a video on how to properly measure liquid and dry ingredients. You can find that here: Measuring Ingredients for Baking Cakes
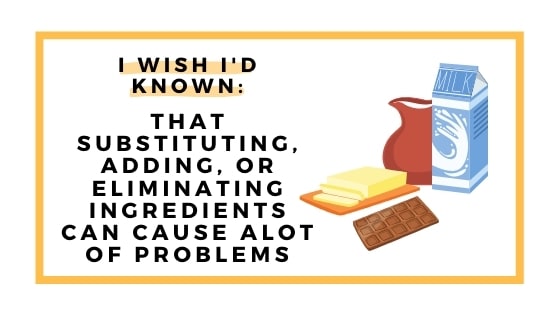
I wish I’d known that substituting, adding, or eliminating ingredients can cause a lot of problems.
Making substitutions and changing out ingredients or adding and taking out ingredients here and there is a bad idea.
I used to make ALL of those mistakes myself and then wonder why things didn’t turn out well. The thing is, we think something won’t make that much of a difference, but it actually does.
Take sugar for example: If you lower the amount of sugar that the recipe calls for, you could sacrifice moisture, since sugar not only makes a cake sweet, but it adds to the moistness of the cake.
Another example is subbing baking soda for baking powder, or vice versa. Those aren’t the same thing and using them interchangeably can cause some major issues. I’ve got a post here that goes into detail: What’s the Difference Between Baking Soda and Baking Powder?
There are a few substitutions that will work just fine, but you want to be super careful about it. If you want even more details about what you can sub out and a printable cheat sheet, you’ll want to check out this post: Cake Baking Substitutions & Cheat Sheet
I wish I’d known that just adding more liquid, won’t necessarily make the cake more moist.
Adding in more liquid to make a cake more moist just isn’t a good idea.
That changes the ratio, and besides, liquid isn’t the only thing that makes a cake moist. Fat (as in oils, eggs, cream etc) helps as well as sugar.
If you add too much liquid, you could get a really weirdly textured cake that can be kind of rubbery, kind of like if you over mix it. Trust me, I’ve done it myself.
I do have a post and video that goes into how to get moist cakes here that you might want to check out if you’re having trouble: How to Get Moist Cakes
I also have another post that goes into detail about dry cakes, why they happen and what you can do about it here: Why Are My Cakes Dry?
I wish I’d known not to microwave the butter.
Oh my goodness, I used to do this ALL the time! I’d always forget to set the butter out. (Let’s get real, I still do.)
Anyway, microwaving the butter just doesn’t heat it evenly. Parts of it melt and parts are still cold and well that just doesn’t mix well with the other ingreients.
So what I’ve found works now is to just cut the butter up and leave out on a plate. It’s usually down to room temperature in about an hour or so.
I wish I’d known that not paying attention to the mixing method could cause problems.
Oh this is a big one…and I was the world’s worst at following directions. I just thought, ‘Why the heck should I do all these steps and use all these bowls”?
It just didn’t make any sense to me…until I read more about baking and then actually started to follow the recipe instructions. I then released how much better my cakes were.
You sometimes just don’t know what you’re missing until you try a different way of doing things and that was me.
It really makes a difference how you mix ingredients. The recipes aren’t just saying all that stuff to give you more work. (That’s what I used to think.)
When ingredients are mixed a certain way, it ensures everything emulsifies properly and that it rises properly.
I go into a lot more detail about mixing methods in this post: Types of Flour and Mixing Methods for Cakes
I also have a post with lots of details about making scratch cakes here: How to Bake a Cake from Scratch
I wish I’d known not to over mix the cake batter.
In my opinion, over mixing the cake batter is the biggest mistake I see.
I’ll just say it right out…Don’t mix that cake batter to death to get all the tiny specks out. Actually that is a HUGE mistake.
It seems counterintuitive to not mix it super, super well until it’s completely smooth, but the gluten will become overdeveloped if you do that and the cake will be very dense and rubbery.
You just want to mix until everything is well combined. Get the large lumps out, but it doesn’t need to be perfectly smooth.
The first time I heard this, I read it somewhere online or in a cookbook, but it was referring to making pancakes. So, the next time I made them, I tried not mixing the batter to death and to my surprise, the pancakes were even fluffier!
Then I realized it was the same concept for any other baked good really. If you think about it, it’s kind of a relief to know you don’t have to work so hard. 😉
I do have a post on how long to mix cake batter and it even has a video that will show you ‘real time’ mixing…not fast forwarded so that you can get a good idea of how long I’m talking about. How to Mix Cake Batter
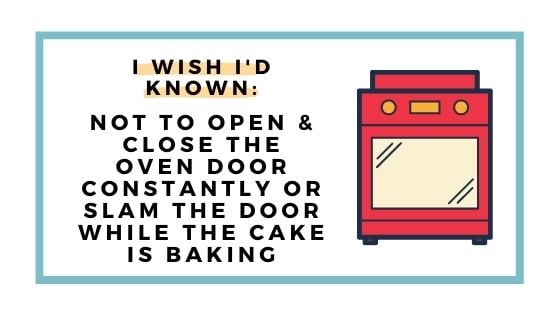
I wish I’d known not to open and close the oven door constantly or slam the door while the cake is baking.
I used to be so excited and impatient for my cakes to be done. I just wanted to eat them right away!
So, I’d check and keep checking and open the door a bunch of times, not even realizing that I was causing all kinds of issues.
Opening the oven loads of times while the cake is baking will cause the temp to fluctuate and that’s never good with baking.
Slamming the oven door could jostle the cake and then your cake could fall because all the little air bubbles that you worked so hard to get in there, by adding your leavening ingredients or creaming your butter and sugar, will have burst.
Moral of the story is to try and be patient…don’t do what I used to do and check it a thousand times.
I’ve got a post that lays out a bunch of mistakes that scratch bakers can make when baking cakes (and that includes me). You’ll want to check this out, since these things can be prevented! The Biggest Cake Mistakes You Don’t Want to Make
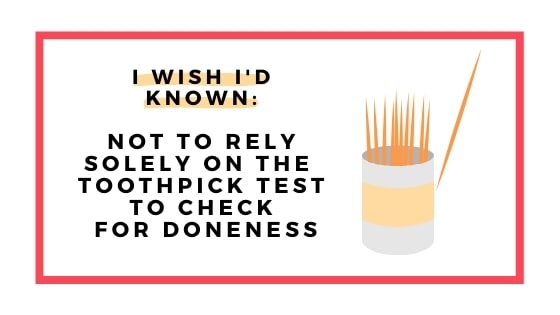
I used to think the toothpick test was the best method for testing if a cake was done baking.
You see it in so many recipes that ‘your cake is done when a toothpick inserted into the center comes out clean’. Well I’ve found that if you wait that long, sometimes your cake can be dry.
Furthermore, the toothpick isn’t the only test. There are lots of other ways to tell when a cake is done baking.
So, as far as the toothpick test goes, I still use it, but I mainly use it to tell me if the batter is still raw on the inside. If it’s got batter on the toothpick, then obviously it needs to bake longer.
But what I’m really looking for is when I pull the toothpick back out, I want to have a few moist crumbs on it. That tells me it’s perfect and will still be moist.
If you bake past that point and then test it until the toothpick comes out clean, then it could be slightly over-baked. (Of course nothing is set in stone, nor for all cake types, but that is what has worked for me.)
I go into my entire method of figuring out when a cake is done baking in a detailed post here if you want to see the other methods I use and my timeline: How to Tell When a Cake is Done Baking
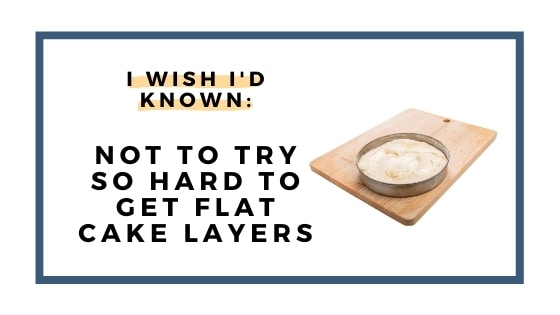
I wish I’d known not to try so hard to get flat cake layers.
Ok, I’m going to say something that I might get a little heat for saying. We all need to stop worrying so much about baking our cakes with flat tops on them.
Yes, I know they’re better to decorate, but you can just slice the dome or uneven areas off.
There are all kinds of tricks people have posted about getting flat tops like placing a plate or a book or something on a warm cake still in the pan to smash down the top.
Why are we doing this? Just cut off the unevenness…use a knife or a cake leveler. It just takes a minute and you won’t be smashing down your cake.
For me, I just don’t like those other methods because I don’t want to mess with the cake texture be pressing it down. I don’t want my cake to be more dense.
And it’s not like you’ll be cutting a ton off the top of each cake layer. I promise, you can find someone who will eat it!
Ok, I’ll get off my soap box now. Please understand that I’m not picking on anyone. Everyone has their own preferences and I get that, so if you like another method and it works for you, go for it. I’ll be your cheerleader.
But if you stress about getting flat tops, then I’m here to tell you that you can stop stressing. It’s okay. Just slice off those puppies and move on.
I do go further into detail about baking even cake layers in this post here: How to Bake Even Cake Layers
By the way, one of the things I talk about in the post link above is that a lot of the reverse creaming method cakes will come out with a mostly flat top, so that is something to try if you really want them baked with flat tops.
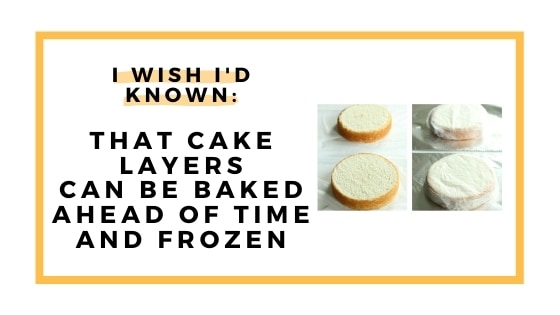
I wish I’d known that cake layers can be baked ahead of time and frozen.
Oh this would have saved me tons of time had I realized I could actually do this and that the cakes would still actually taste good.
But the thing is that you can freeze cake layers without them getting freezer burned and they’ll taste like they’ve never been frozen if you do it right.
I sort of go a little overboard with what I do, but I’ve never had a freezer burned cake with my method. You’ll want to check it out here: Tips for Freezing Cakes and Cupcakes
Wrapping it all up:
Wow that was a lot that I didn’t know and a lot that I got wrong ALL the time. But we live and learn, right? I hope maybe you got a tip or two out of this that will save you some time or some cakes turning out badly!
Other posts you might like:
- 25 Insanely Useful Tips for Baking Cakes
- Why Do Cakes Sink in the Middle?
- What Happened To My Cake? Common Cake Baking Problems
Don’t forget to pin it below!
Nicole
Learning I needed to use an oven thermometer transformed all my cooking! It taught me even a stove that has an accurate thermometer needs 10-15 minutes past when the timer beeps to actually get to that temperature. And most ovens really are 5-15 degrees off, which is not always consistent across temperatures. No wonder I used to end up with a first batch of cookies that was always undercooked (the stove was only 250° when the timer beeped!), the second just right (at 350°), and the third overcooked (at 365°). Pork chops, chicken, and salmon cooked at 400°-450° also come out perfectly now.
When I made my first and only layer cake, your advice about leveling the layers made a huge difference, as did your advice about cooking them the day before frosting. I also learned from watching videos from my (someday, after the pandemic…) wedding cake baker that a turntable helps with frosting. An expensive plastic one worked for my purposes and that one cake was perfect – thus, why I’m not making another (and it took about 12 hours over two days!).
Thanks for your great tips!
Kara Jane
Nicole, I so agree with your thoughts on an oven thermometer! I have no idea why I waited so long to get one because it was a game changer for me too. My oven that I have now is about five degrees hotter, so I adjust for that a bit and I let it preheat way past the oven beep…that’s the best way to do it.
And I’m so glad the baking advice helped! That makes me happy 🙂
I do feel your pain about wedding cakes. Whew…I felt like I lost 7 years of my life every time I did one. 😉