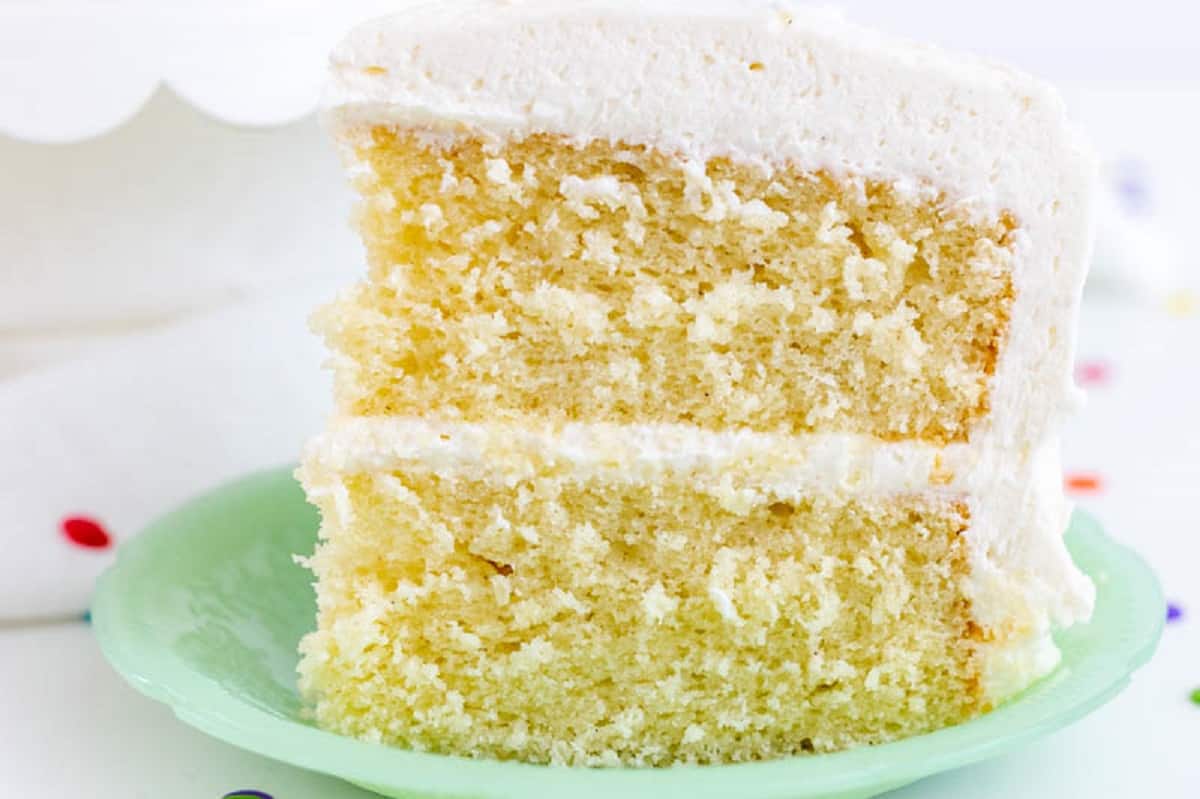
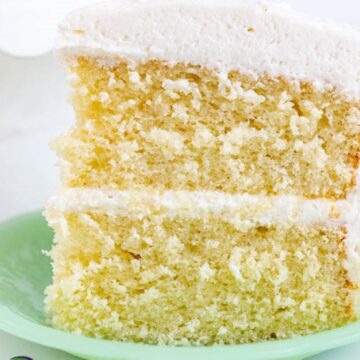
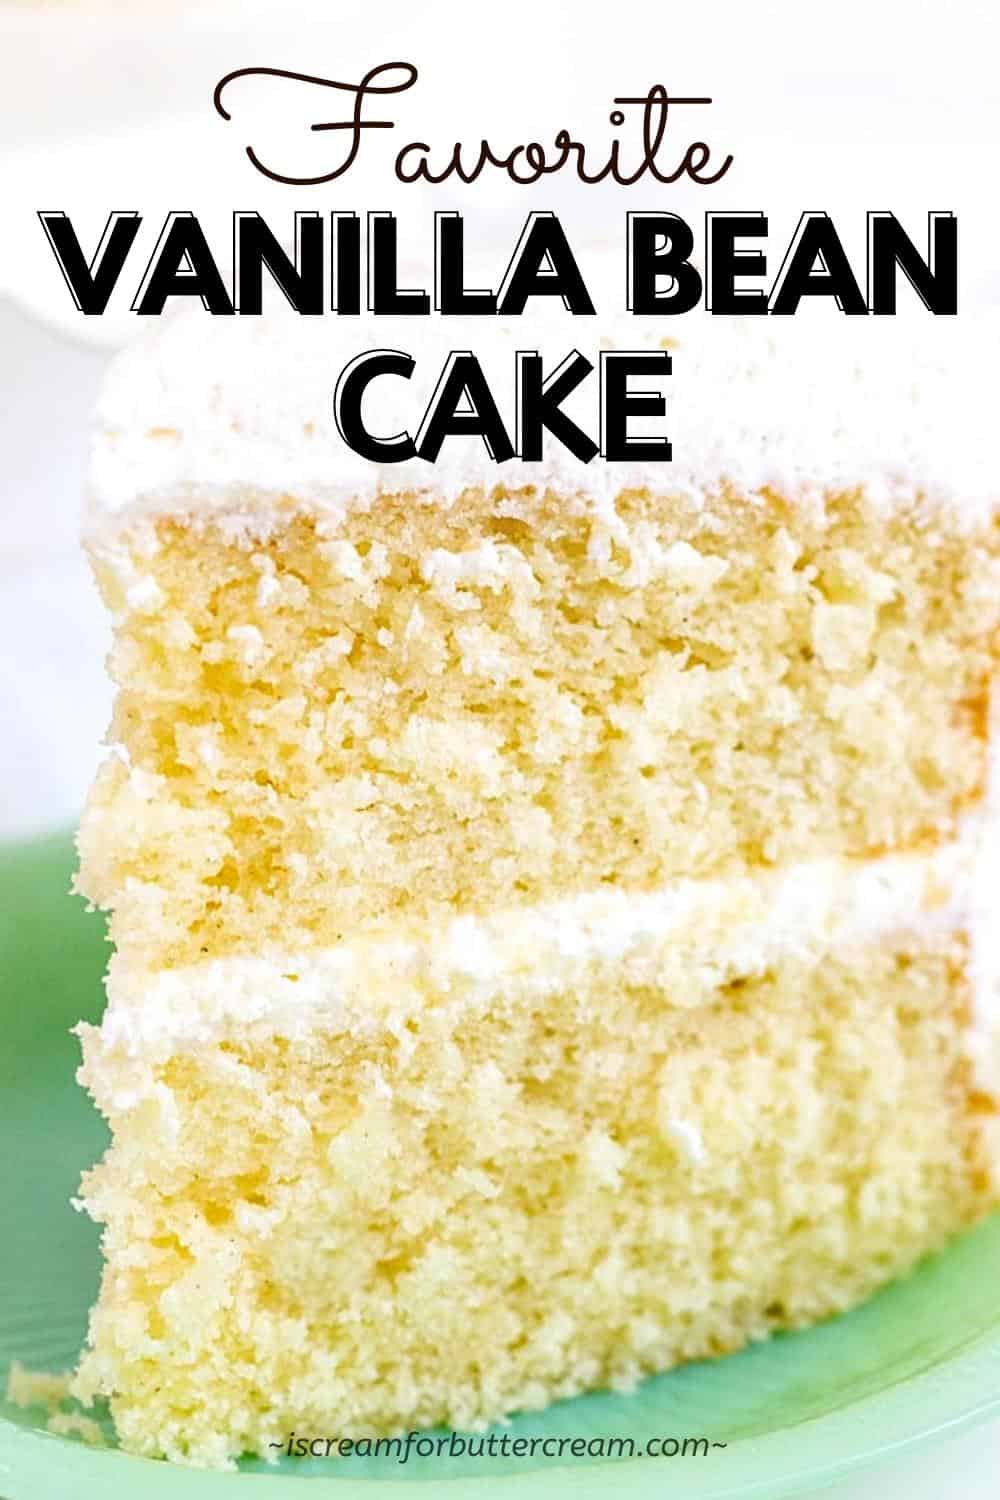
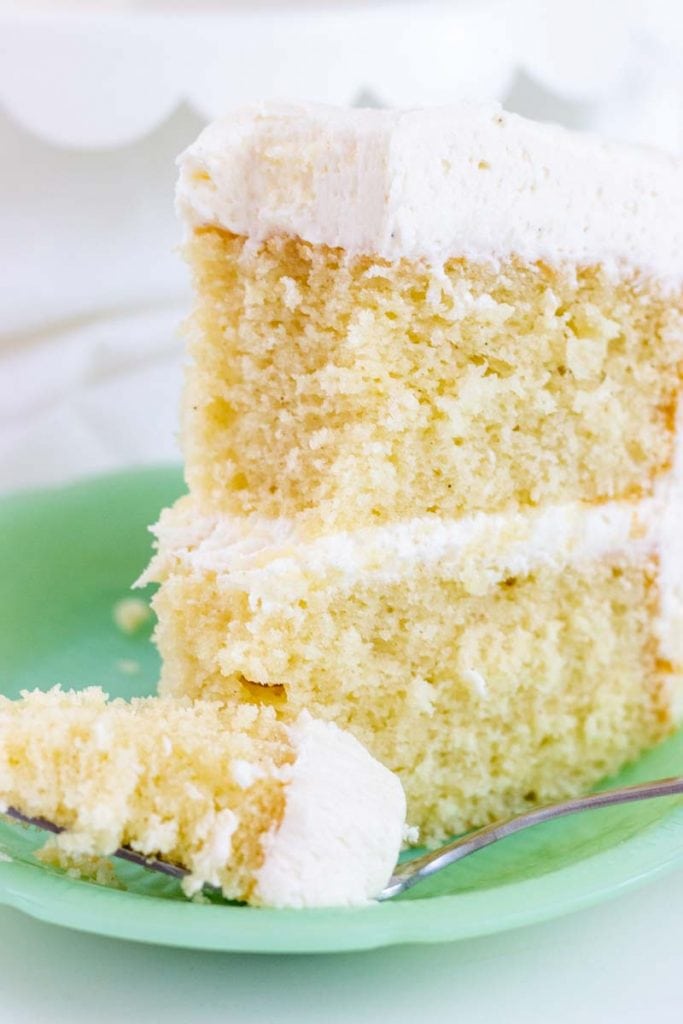
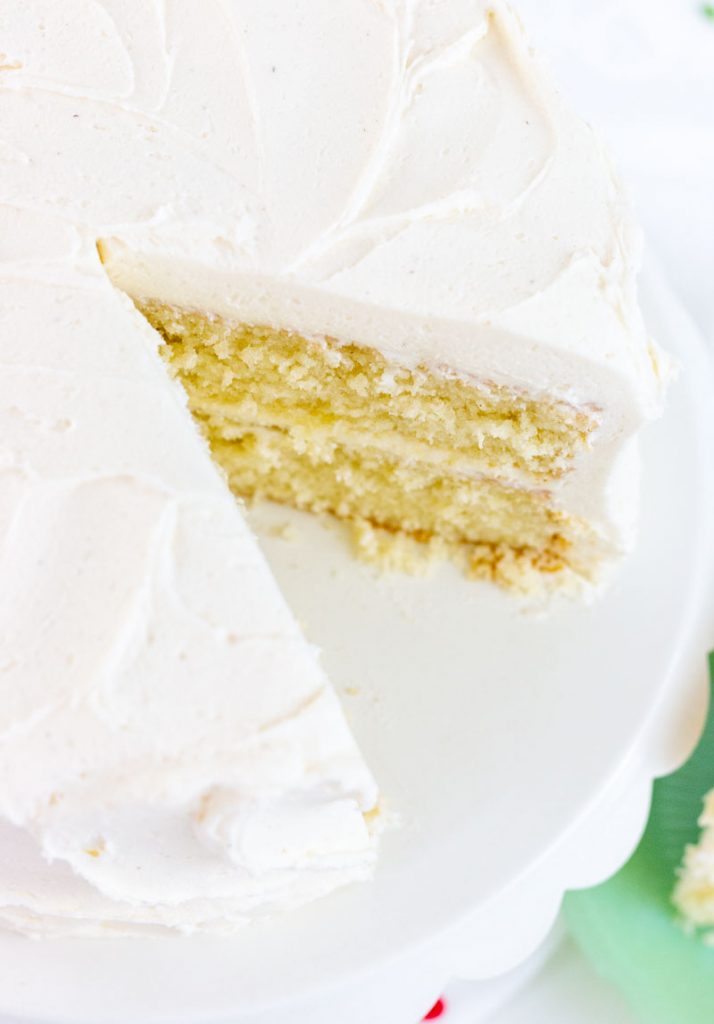
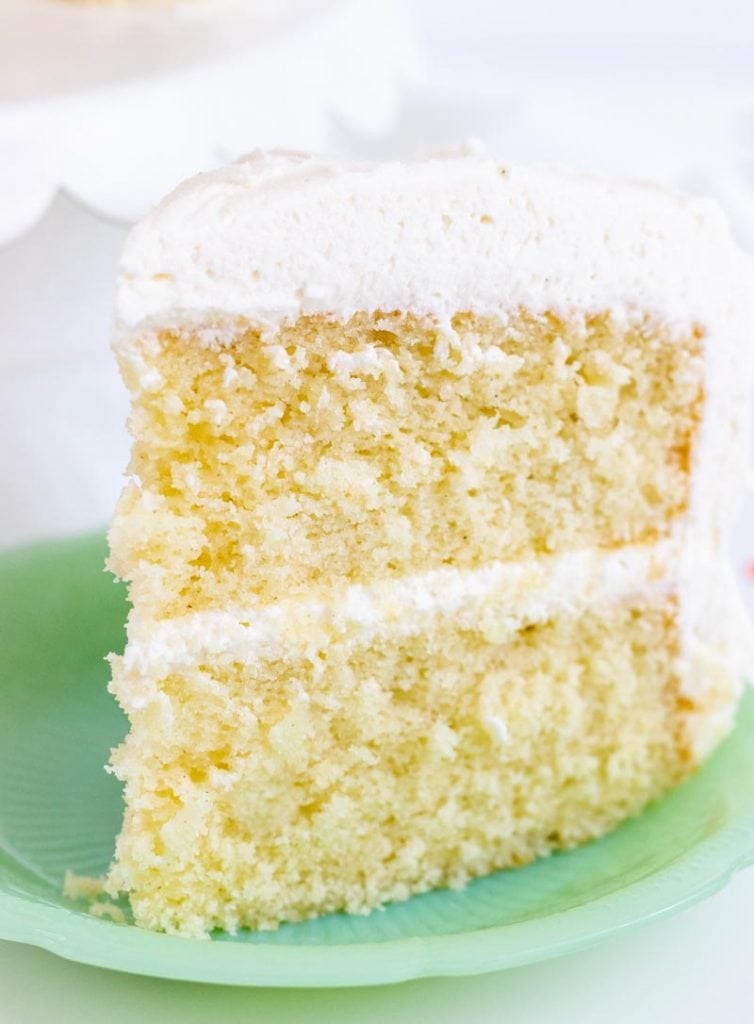
This vanilla bean cake is super moist, full of vanilla flavor, is rich and buttery, made from scratch and covered in buttercream. It’s the best vanilla cake I’ve ever had and I have a feeling it will quickly become your family’s favorite.
When it comes to cake, there is nothing more comforting than a vanilla cake. It’s a classic for a reason. It’s not overpowering in flavor and is perfect for weddings and birthdays.
Hey there! Before you scroll, there’s lot’s of important stuff in the post!…including the FAQ section, which may answer any questions you might have about this recipe. Enjoy!
The good news is that you don’t need a box mix to make a good vanilla cake. This cake is super moist, with just the right amount of sweetness without being too heavy or dense like some scratch cakes can be.
Plus it’s actually pretty easy to make. In my opinion, it’s the absolute best vanilla cake recipe and you won’t want to stop eating it.
I’ve also included a video lower in the post on how to make this layer cake from scratch so that you can follow along step-by-step.
Ingredient Notes:
Now let’s talk a little about just some of the ingredients that are in this vanilla bean cake. (The printable list of all ingredients are in the recipe card below.)
(Make sure to check out the FAQ section below in this post for substitution questions.)
Cake flour: This recipe calls for cake flour instead of all-purpose flour. Using cake flour will give your cake a softer texture. If you can’t get cake flour, make sure to check out the FAQ section lower in this post for a substitute.
Unsalted butter: Butter gives this cake a really nice flavor. It also gives a lot of moisture to the cake.
Sour cream: I love using sour cream in cakes. It really adds to the flavor and gives it a ton of moisture.
Vanilla bean paste: This is the real flavor star of this recipe. Although you can still use vanilla extract, using vanilla bean paste gives it even more flavor. It’s just so good and I urge you to just try it.
Here are a couple of vanilla bean pastes to try:
Sometimes, vanilla pean paste can get a little expensive though, so just know that you can use vanilla extract and it’ll still taste amazing.
Almond baking emulsion: This ingredient is optional, but I think it’s really the secret ingredient to this cake.
Now, just hear me out on the almond emulsion. The recipe only calls for a very small amount and it does NOT taste like ordinary almond extract, which I personally don’t even like.
No, this recipe calls for almond baking emulsion, not almond extract. To me, they taste WAY different.
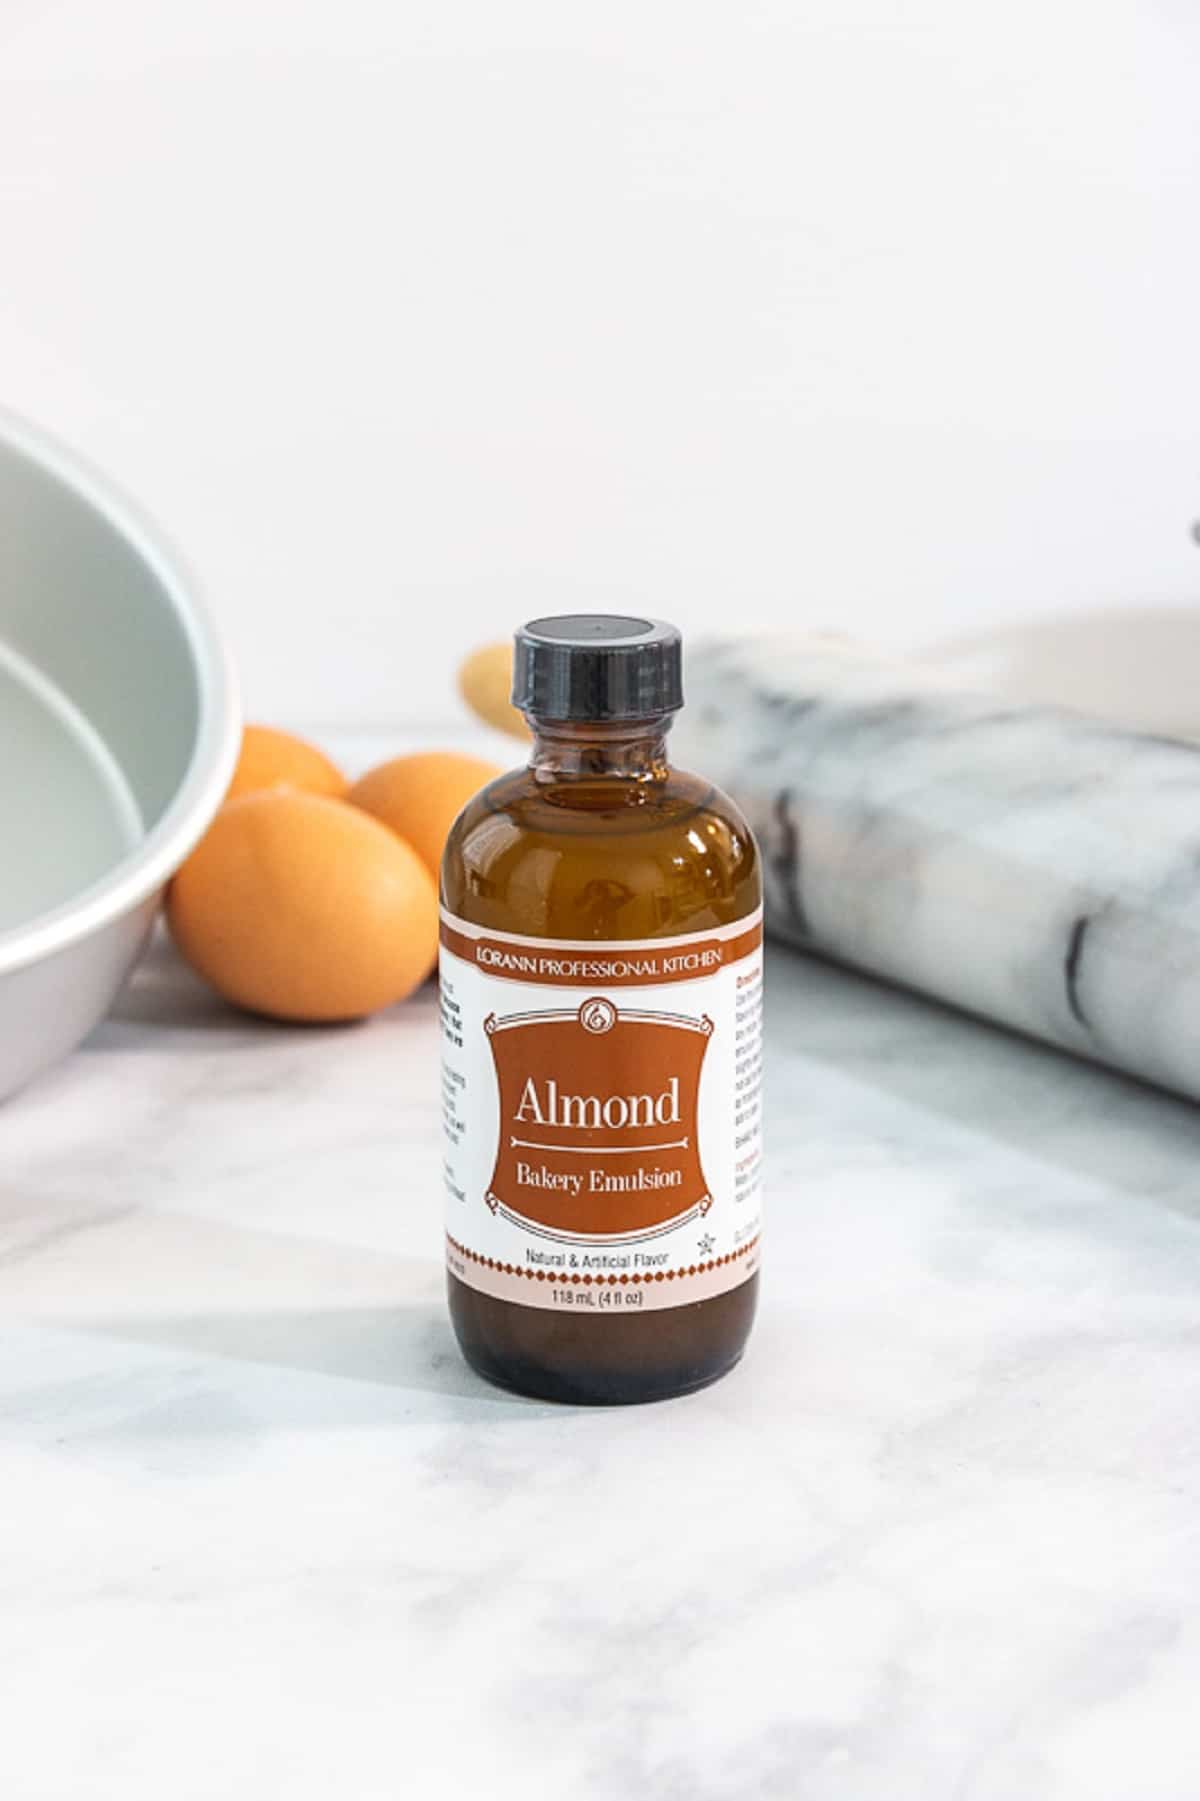
Even if you think you won’t like anything with almond extract in it…I have one question for you…have you tried it? Sometimes things taste totally different than you expect. I mean I don’t even like almonds, but I like this because to me…it doesn’t taste like almonds.
Here’s my point on the almond emulsion: This recipe only calls for half a teaspoon. That isn’t much and it’s not strong or overpowering at all. All it does is help bring out the flavor of the vanilla bean paste.
When you taste this cake, you don’t really taste an almond flavor. You just know it’s got this full vanilla bean flavor and something a little special that makes you never want to stop eating it.
I’ve personally been told loads of times by people that they don’t what’s in the cake, but they just couldn’t stop eating it.
As always though…if you are allergic to almonds, then don’t use it. If you’ve already tried it and you don’t like it…it’s ok! I won’t be mad at you and you can still make this cake with just vanilla bean paste or extract and it will STILL be awesome.
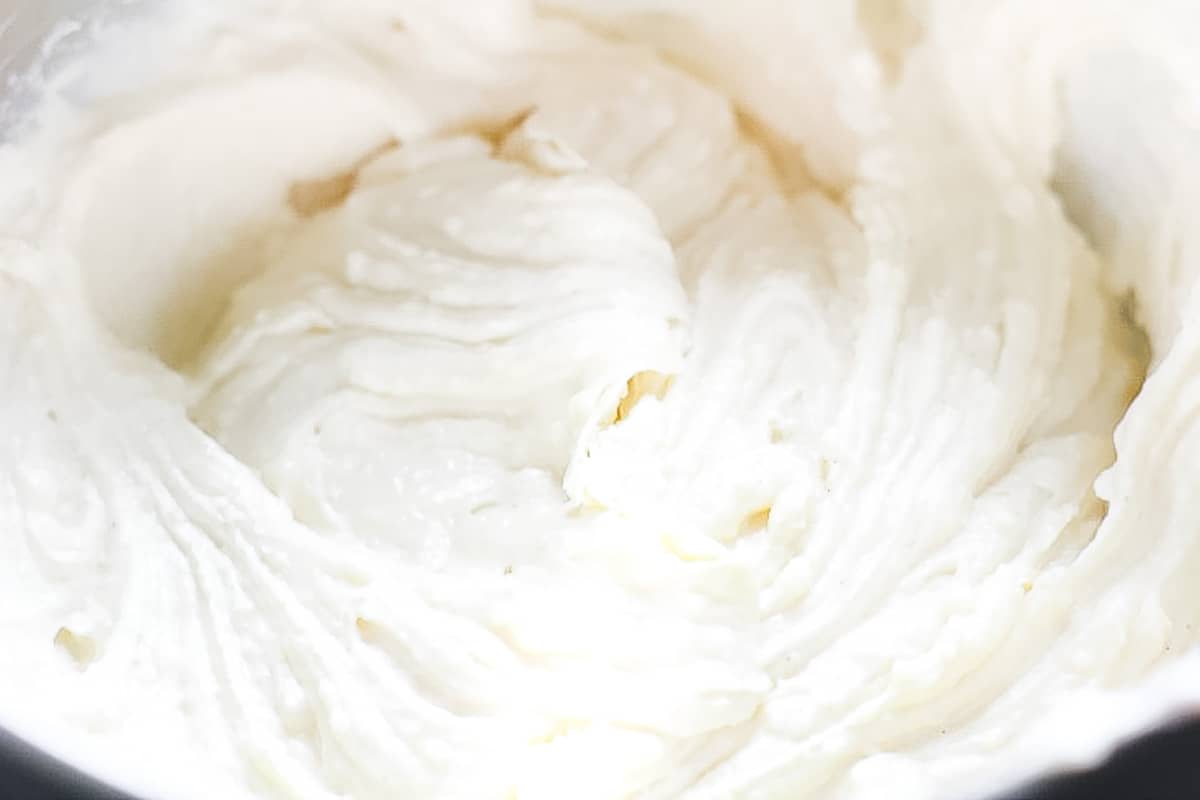
Vanilla bean buttercream: You’re gonna want to add buttercream to this cake and I have just the one for you. You can find that recipe here: Vanilla Bean Buttercream
How to Make this Cake:
Let’s talk a little about how to make this vanilla bean cake. (The printable instructions are in the recipe card below.)
Step 1:
First, you’ll need to preheat the oven to 350 degrees F. (Now, just know that you’re going to turn the oven temp down to 325 degrees F once you put the cakes in the oven.)
The thought process behind this is to give the cake a boost of heat to help it rise higher, but then to let the temp go lower so that it doesn’t over-brown the bottom and top.
You’ll also want to go ahead and grease and flour two 8-inch round cake pans that are about 2 inches high. (If making cupcakes, make sure and read the notes in the recipe post or the FAQ section lower in this post.)
Step 2:
Now combine the flour, sugar, baking powder, baking soda and salt in a mixing bowl and whisk.
Step 3:
In another bowl, combine the sour cream, milk, oil, vanilla, almond and eggs. Mix well with a whisk and set aside.
Step 4:
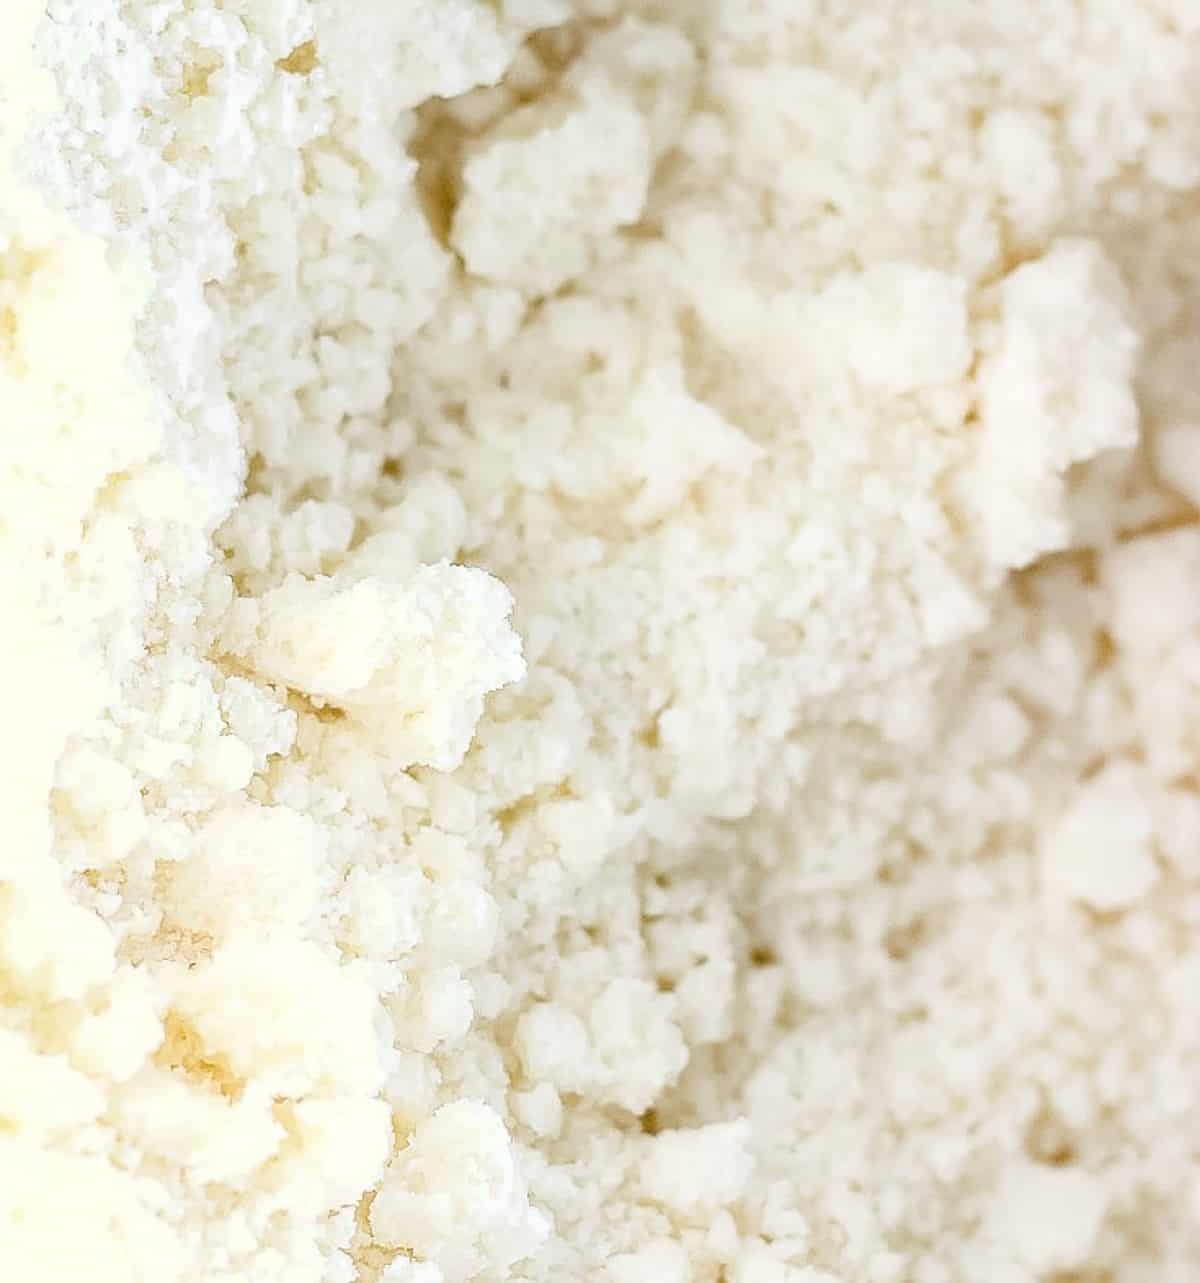
Now cut the butter into chunks. Then, turn the mixer on low and add the butter slowly to your dry ingredients. You’ll just mix on low to medium until all the butter is added, then switch to medium, medium-high and mix until all the flour is coated with the butter and the mixture is crumbly.
You want the mixture to resemble a sand-like texture.
Step 5:
Now pour in about a third of the liquid mixture. Mix that in on low to medium until combined…about 30 seconds to one minute. (Some reverse creaming recipes call for mixing 1-2 minutes at this stage, but be careful about mixing longer than a minute as mixing for too long will cause a dense, rubbery cake.)
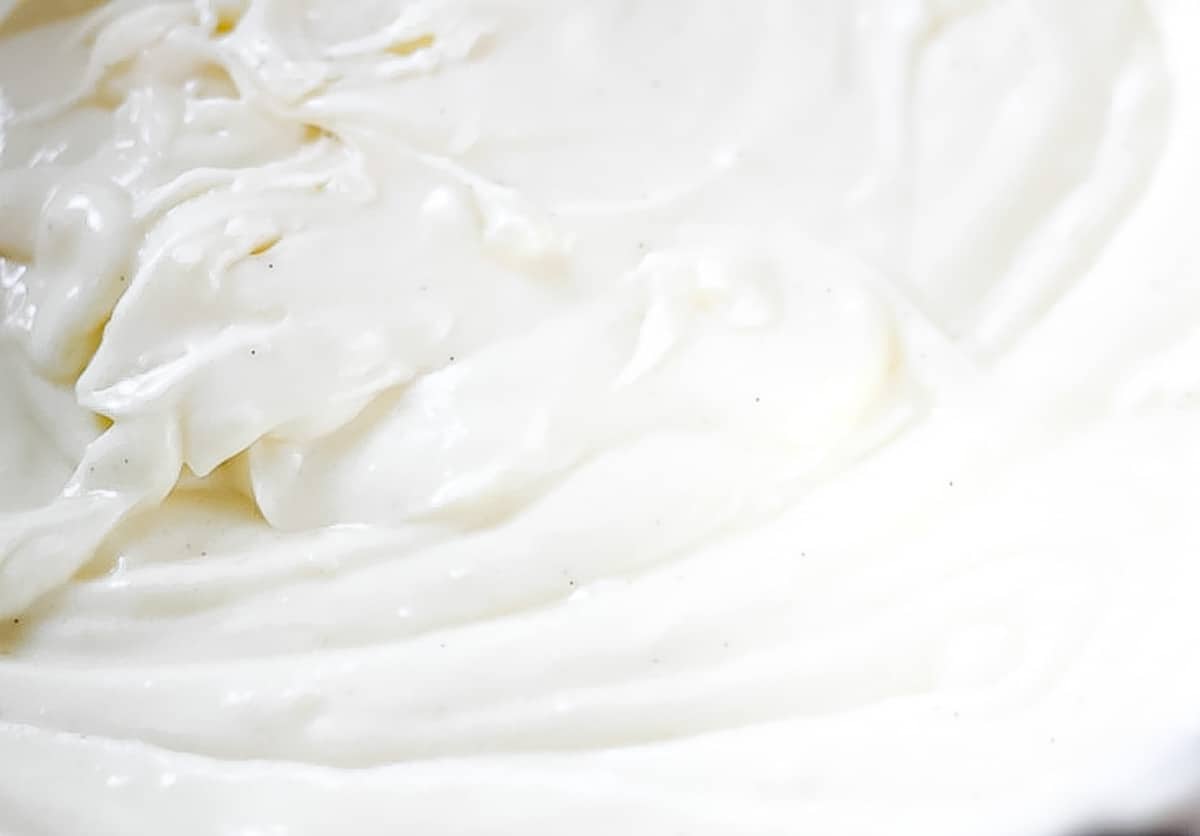
Pour the last of the liquid mixture and mix again until well combined. Don’t overmix the batter at this point. Stop mixing once everything is well incorporated.
Use a rubber spatula and scrape the sides of the bowl. Mix again for only about 10 to 15 seconds though.
Step 6:
Pour the cake batter into the prepared pans.
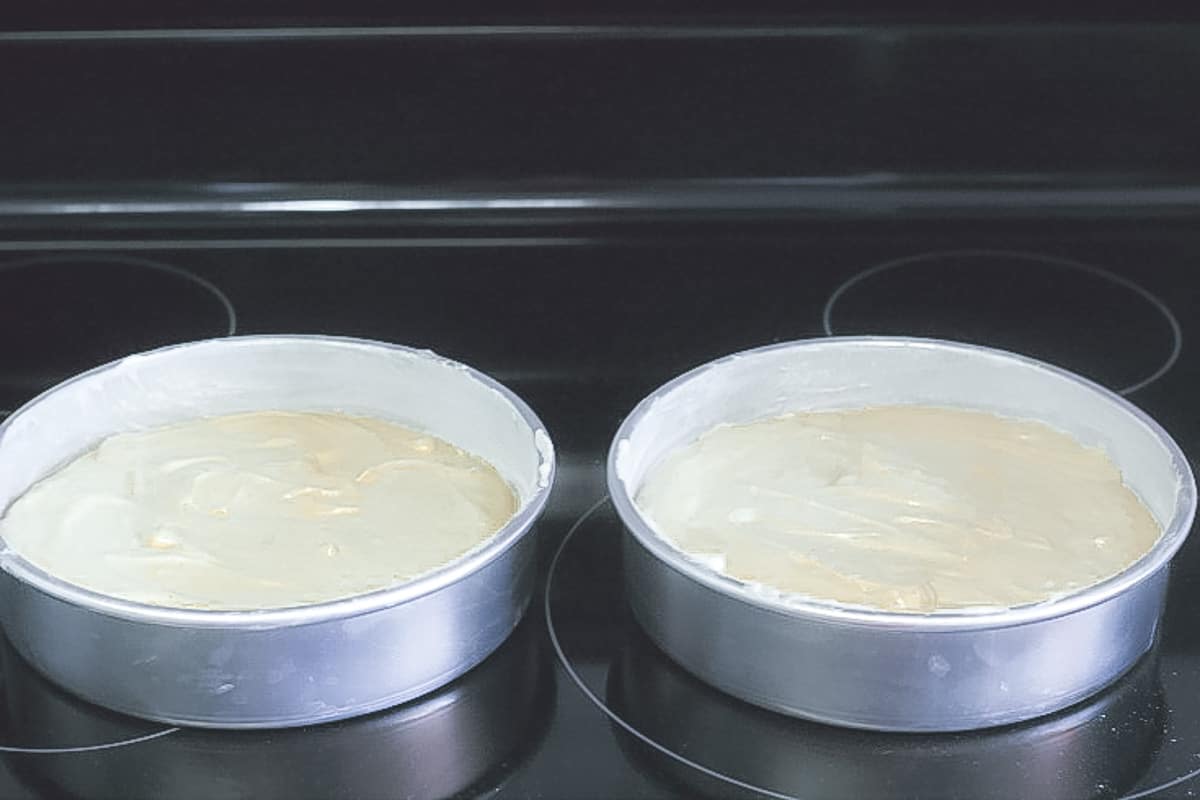
Slide the cakes into the oven and make sure to turn the temperature down to 325 degrees F (unless you’re making these as cupcakes, in which case you’ll want to read the notes below).
Bake the cake layers at 325 degrees F for approximately 40-45 minutes.
The cakes are done when a toothpick inserted into the center of each cake layer comes out with either a few moist crumbs on it or clean, but now raw batter.
You don’t have to wait until the toothpick comes out clean. Just make sure it doesn’t have raw batter on it.
Step 7:
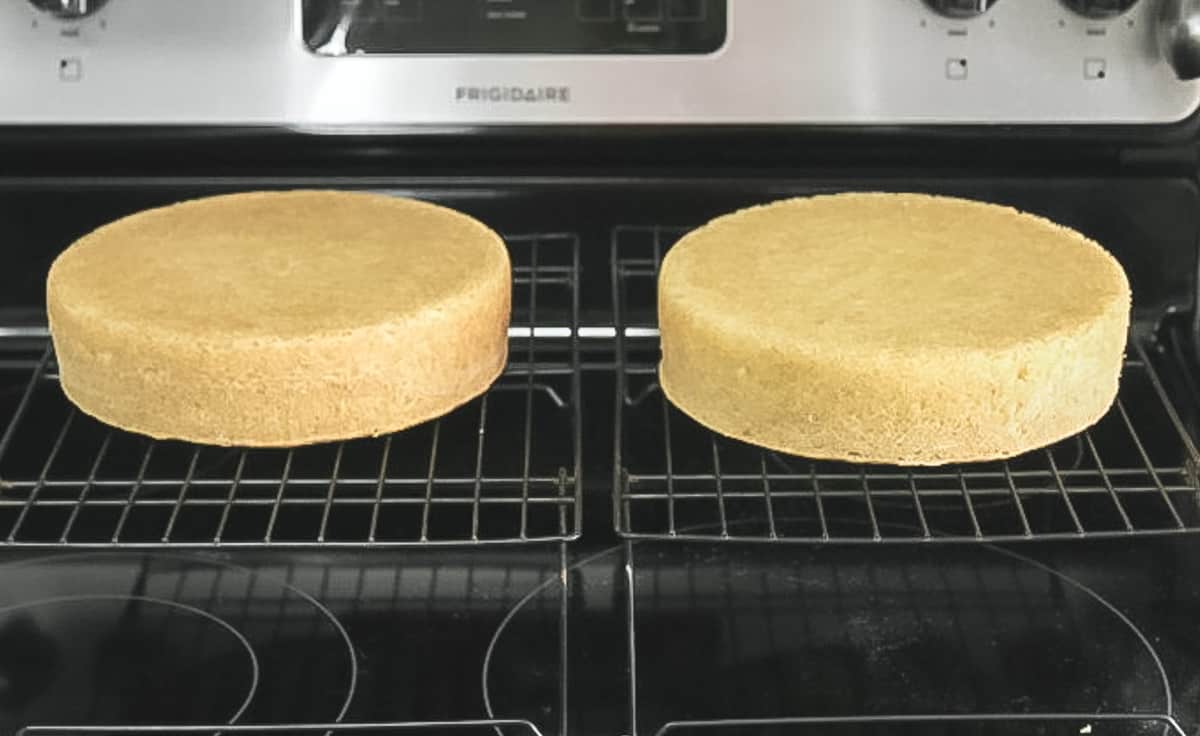
Set the cake layers on wire racks and let them cool for about ten minutes. After they’ve settled for ten minutes, turn the cakes out of the pans and onto the racks.
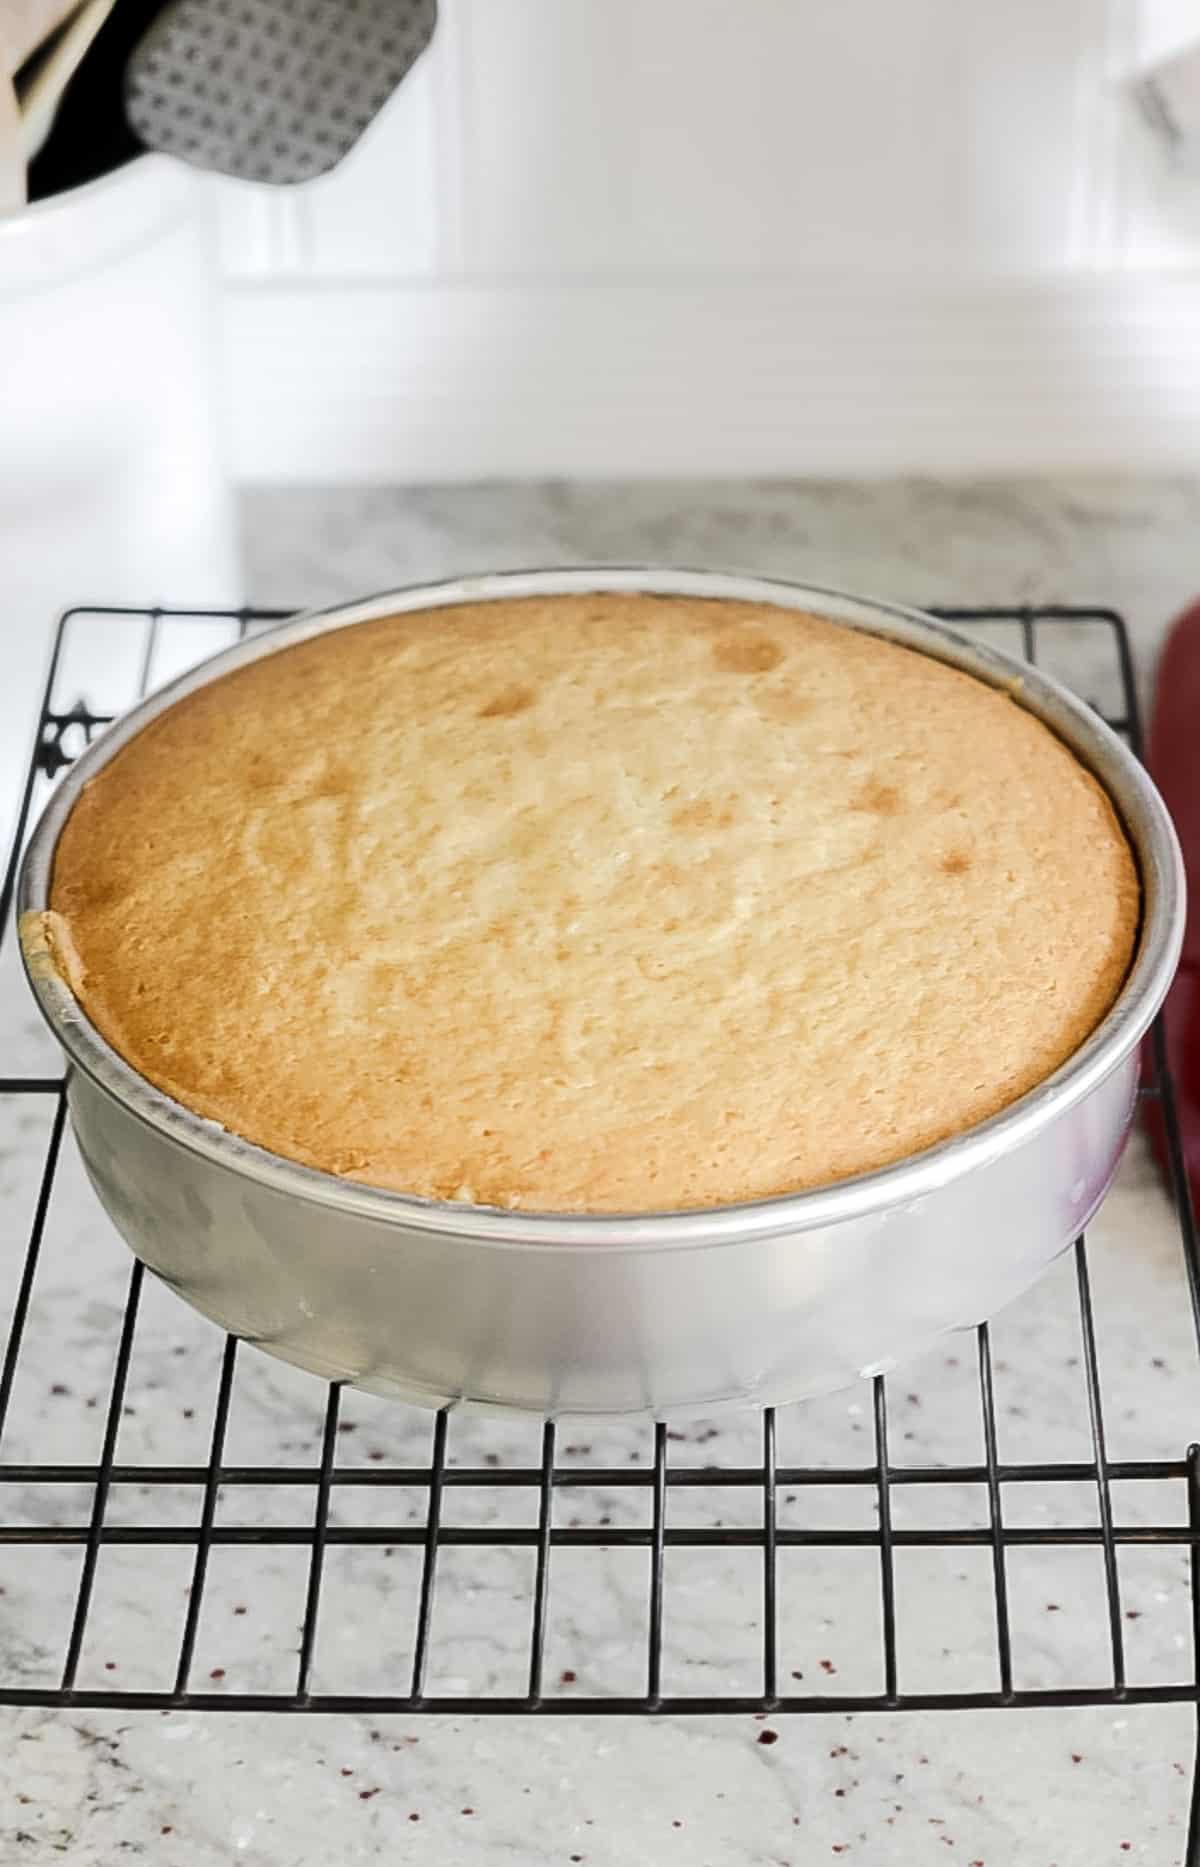
Let them cool out of the pans completely before adding buttercream frosting or freezing the layers.
See my post on how to freeze cake layers and cupcakes here: How to Freeze Cake & Cupcakes
Step 8:
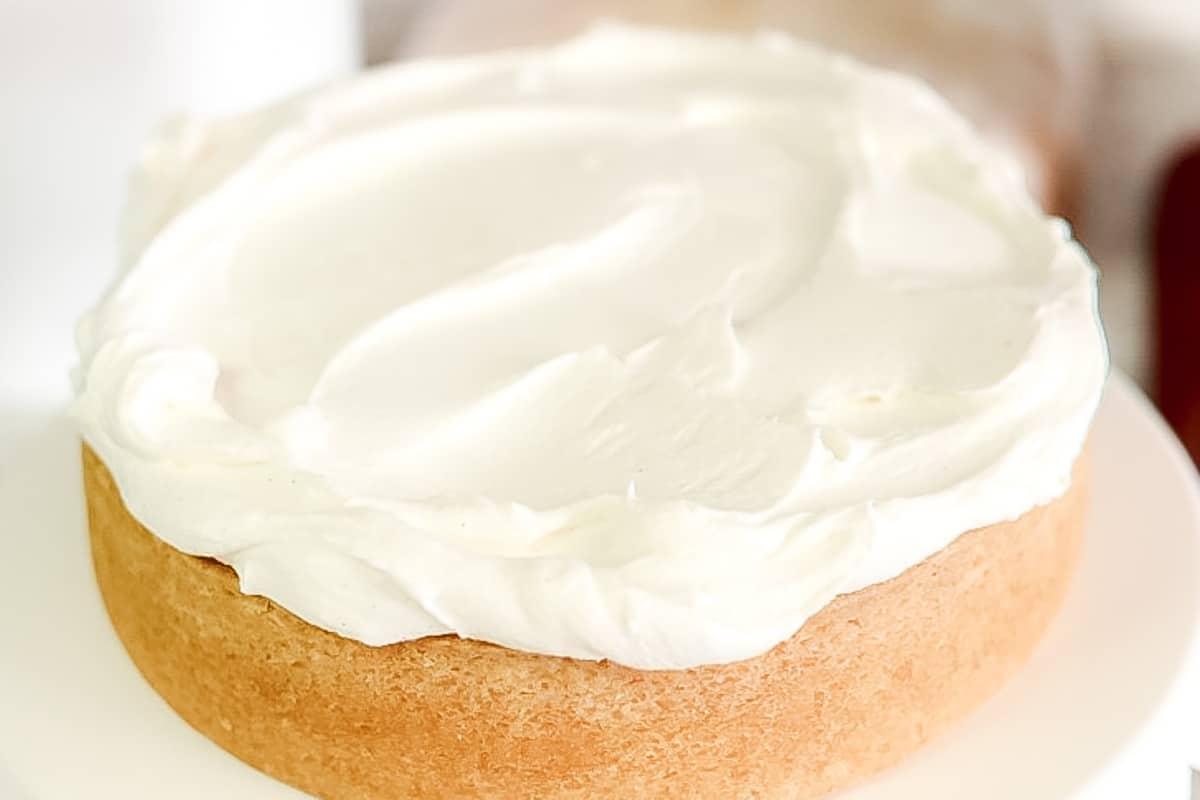
Once the layers are cooled, set one layer on a cake plate or cake platter and add buttercream to the top.
Next, add the second layer and cover the entire cake with buttercream.
You can find my buttercream recipe here: Vanilla Bean Buttercream
Tips & FAQs:
A white cake is usually whiter in color and could use vegetable shortening instead of butter to help get a lighter color cake. The vanilla is also isn’t usually as strong in a white cake as it would be in a vanilla cake.
A vanilla cake usually includes vanilla extract and a vanilla bean cake usually includes vanilla bean paste. Vanilla bean cake usually has a stronger vanilla flavor.
Vanilla bean paste is thicker and uses actual vanilla seeds. Using vanilla bean paste in cakes really pumps up the vanilla flavor.
Here’s a good article from Nielsen-Massey on when to use vanilla bean paste or vanilla extract: When to use Vanilla Bean Paste and Vanilla Extract
You can sometimes get it at craft stores that sell cake decorating supplies, but I generally order mine from Amazon.
Here are some options:
LorAnn Organic Madagascar Vanilla Bean Paste
Native Vanilla Bean Paste
Heilala Vanilla Bean Paste for Baking
Nielsen-Massey Pure Vanilla Bean Paste
Taylor & Colledge Organic Vanilla Bean Paste
Yes you sure can. I think using a good vanilla bean emulsion or paste really pumps up the flavor and can set your cake apart from the rest, but a real vanilla extract will work as well.
Cake flour is different than all-purpose flour and they can’t be substituted for each other in equal amounts. Cake flour will give your cake a more tender texture, so it’s best to use that in this recipe if you can get it.
If you can’t get cake flour, you’ll have to substitute it with all-purpose flour, but you’ll need to make these changes: For every cup of cake flour called for in the recipe, use one cup of all-purpose flour instead and remove two tablespoons of it, then replace that with two tablespoons of cornstarch.
Be careful not to pack the flour down into the measuring cup when you measure it out. That can add too much flour to the batter and cause the cake to be dense and dry. Just spoon the flour into the measuring cup and level it off.
Unsalted butter works best because you can estimate the proper amount of salt that will be added plus salted butter has a different water content than unsalted.
However, if you’re unable to get unsalted butter, you can use salted in the cake and the buttercream, but omit the additional salt that each recipe calls for.
Sour cream is best in this recipe as it helps make a very moist cake and gives a little flavor. If you don’t have access to it, you can use plain yogurt, but use the full-fat yogurt instead of the low-fat or fat-free type.
No, you don’t have to use it, but it’s really a very small amount and it just gives a hint of added flavor. Personally, I think it adds that extra secret ingredient that people just love and it doesn’t actually taste like almonds.
To see an even deeper discussion on why I really like a touch of it in this cake, check out the ingredient section closer to the top of this post.
The mixing method for this cake is called the reverse creaming method because instead of creaming the butter with the sugar, you’ll add the butter, in chunks, to the dry mixture which will coat it.
This method helps produce a softer cake and helps reduce the chance of over-mixing which can over-develop the gluten.
This cake is done baking when a toothpick inserted into the center of each layer comes out with a few moist crumbs on it or clean, but no raw batter.
This cake can be made ahead of time and frozen if desired. Let the baked cake cool completely, then wrap in plastic wrap and foil and place in the freezer for up to a month.
To thaw, place the wrapped cake on the counter at room temperature and let thaw completely, then remove the wrapping. Once defrosted, add the glaze.
This cake can be stored covered at room temperature for several days as long as it’s not covered or filled with a perishable frosting.
To prolong freshness, the cake can then be covered and stored in the refrigerator for a few additional days.
Most cakes are best served close to room temperature, especially when made with butter like this one. If the cake is cold, set it out to come closer to room temperature for about 20-30 minutes before serving.
You can also pop a slice in the microwave to warm up a bit.
Yes, but with a few changes. Fill 2 cupcake pans (24 cupcakes) with cupcake liners and fill with batter about ⅔ of the way full. Bake at 350 degrees F (do not turn the temperature down) and bake for about 15-25 minutes depending on the size of your oven. Start checking for doneness at around 12 minutes just to be sure.
You may have a bit of cake batter left over, but you can chill that batter and make the remaining cupcakes when the others have baked.
Yes, this cake works well for stacking as long as you use proper supports as you would stacking any cake.
As an Amazon Associate, I earn from qualifying purchases.
Supplies used for this recipe:
- Magic Line 8-inch round cake pans or Wilton 8-inch round cake pans
- Whisks
- Silicone spatula
- Mixing bowls
- Stand mixer or electric hand-mixer
- Cooling racks
- Vanilla bean paste options: LorAnn Organic Madagascar Vanilla Bean Paste, Native Vanilla Bean Paste, Heilala Vanilla Bean Paste for Baking, Nielsen-Massey Pure Vanilla Bean Paste, Taylor & Colledge Organic Vanilla Bean Paste, Almond emulsion
- Almond baking emulsion
Video:
Note About Recipe Measurements: I write recipes using volume (cups) measurements because here in the U.S., this is what people are more familiar with and I don’t want anyone to feel intimidated when baking. For metric/weight measurements, click the ‘metric’ button under the ingredients in the recipe card below. The weights are converted by a program, not me, and it’s just a best guess. I can’t guarantee that weighing the ingredients will produce the exact same results, since I test recipes using volume measurements.
Recipe
Favorite Vanilla Bean Cake
Ingredients
- 3 cups cake flour (not all-purpose flour, see FAQs in the post for substitutions)
- 2 cups granulated sugar
- 1 ½ teaspoon baking powder
- ½ teaspoon baking soda
- 1 teaspoon salt
- 1 cup unsalted butter, only slightly cooler than room temperature (2 sticks)
- 1 cup sour cream
- ½ cup whole milk
- 1 tablespoon vegetable oil
- 1 tablespoon vanilla bean paste (or vanilla extract)
- ½ teaspoon almond emulsion (optional)
- 3 large eggs
- Vanilla Bean Buttercream (recipe link in the notes section)
Instructions
- Preheat the oven to 350 degrees F. (You will turn the oven temperature down to 325 degrees F once you put the cakes in the oven.)
- Grease and flour two 8" round cake pans. (If making cupcakes, read notes below)
- Combine the flour, sugar, baking powder, baking soda and salt in a large mixing bowl and whisk well. Set aside.
- In another bowl, combine the sour cream, milk, oil, vanilla bean paste, almond extract and eggs. Mix well with a whisk and set aside.
- Cut the almost room-temperature butter into chunks. Turn the mixer on low and slowly add the butter, a bit at a time, to the dry ingredients. Once all the butter has been added, mix on medium to medium-high until all the flour is coated with the butter and the mixture is crumbly. It should have a sand-like texture. If the butter is too warm or if it's mixed for too long, it will form a paste and this will not produce a good cake texture.
- Pour about a third of the liquid mixture. into the dry mixture and mix on low to medium until well combined…about 30 seconds to one minute. (Some reverse creaming recipes call for mixing 1-2 minutes at this stage, but be careful about mixing longer than a minute as mixing for too long will cause a dense cake.)
- Pour the last of the liquid mixture into the dry mixture and mix again until well combined. Don't overmix the batter at this point. Stop mixing once everything is well incorporated, usually no more than about 20-30 seconds.
- Use a silicone spatula to scrape down the sides and bottom of the bowl. Mix again for only about 10 to 15 seconds.
- Pour the cake batter into the prepared pans.
- Slide the cake pans into the oven and turn the oven temp down to 325 degrees F (unless you're making these as cupcakes, in which case you'll want to read the notes below).
- Bake at 325 degrees F for approximately 40-45 minutes. The cakes are done when a toothpick inserted into the center of each layer comes out with a few moist crumbs on it or clean, but no raw batter.
- Set on wire racks to cool for ten minutes, then turn the cakes out onto the racks and let them cool out of the pans completely before adding buttercream frosting.
Notes
Nutrition
How to Share
I’d love for you to share this recipe link or tag it, but please do not share screenshots or copy/paste the recipe to social media as the content and photographs are copyright protected and we (bloggers) work really hard on our content. Sharing the link, tagging us on socials and pinning it is super appreciated though!


Shawna
I’m having issues with the cakes over flowing and sinking in the middle. What am I doing wrong. I’ve made 4 batches and only 1 came out right. I have no idea what is going on, please help!
Kara Jane
Hey Shawna, I’m not sure why they would overflow like that. I haven’t had that issue. What size pans are you using? I’m wondering if maybe they are smaller or maybe thinner and that’s what happened. I’m using two, 8″ round cake pans that are 2 inches deep. Also be very careful that you aren’t over mixing. You just want to mix until its just combined. Over mixing can make a cake sink in the middle. Now, these cakes will bake up pretty flat on top because of the mixing method that’s used, but they shouldn’t sink. I do have a video on real time mixing if you want to check it out: https://iscreamforbuttercream.com/how-to-mix-cake-batter/
I’m so sorry you’re having these issues though! Four batches is a lot and I know that took time and money. You might also check your oven with an oven thermometer. It could be overheating and that would cause it to rise very quickly and then fall.
So, check the pan sizes, be really careful when mixing and check the oven temp. If anything else occurs to me, I will holler back. Please let me know if you have any questions!
Shawna
I used the same size pans, but I also used bake even strips. One batch did come out dense and the rest just a mess. I followed steps exactly and I am just at a lose haha. Also I do have an oven thermometer and have checked, it is fine. I’m so annoyed cause I’m usually a very good baker haha.
Kara Jane
Oh my goodness…I’m so sorry it’s caused you trouble! I can’t think of anything else it could be. I’ve made this a ton of times fine, but I just can’t figure out what is happening for you although I know something is causing it. Ugh I know that’s frustrating.
Shawna
It is frustrating cause it should not be hard to make a simple vanilla cake haha.
Kara Jane
Shawna, you’re right, it shouldn’t and I so wish I knew what was happening so I could help! ?
Shawna
So last night I tried again. The first batch spilled a little but was saveable, but I was watching them bake to see where it goes wrong and it seemed like to much batter. My pans are 8in round 2in tall. So I decided to split it to 3 pans instead of 2 and it worked great! So I’m not sure why it works for you and not me but I finally found a solution lol
Kara Jane
Hey Shawna I’m so glad you found a solution! That is so interesting…I haven’t had the problem of it being too much batter, but so glad you were able to figure out what was happening!
Nelly
Maybe you are at different altitude. I bake at 8500 ft and I have to make adjustments in almost every recipe
Ashley
Can this be made into a marble cake?
Kara Jane
Hi Ashley, to make this a marble cake, you could add maybe about a 1/3 cup of cocoa powder to 1/3 – half the batter, then swirl that into the vanilla cake batter. I haven’t tested that out, but it should work. ?
Ashley
Thank you! I will let you know how it turns out!
Morgan
I’m wanting to try to make this recipe in a Bundt pan. Do you have an idea on cooking time?
Kara Jane
I’m thinking about 55-60 minutes, but honestly I’d start checking at about 50 minutes, just in case. This cake has a delicate texture so be sure to grease and flour the bundt pan really well, or it’ll stick.
Sminu Joseph
Hi Kara, thank you so much for this amazing cake recipe. I’m baking a cake for my daughter’s first birthday next week and I’m super happy that I’ve found your blog. This is gona be my first try on fondant as well. I really liked the idea that uses almond emulsion to bring that vanilla flavour up, but the question here I have is, here in UK we dont get the almond emulsion. well, I can get one from amazon but that comes from US and its gona take few weeks pro’ly to arrive. So, can I replace that with almond extract? Would it still taste the same? or atleast close to that?
Kara Jane
Hi there! A first birthday party is so exciting! Yes, you can just use a bit of the almond extract. It won’t taste exactly the same, but it will still lend a little extra flavoring. The thing I’ve found with the regular extract though is that it’s really easy to add too much and the flavor is just not as good, so I might only add maybe a 1/4 teaspoon or maybe somewhere between a 1/4 and a 1/2 teaspoon. That should be good. Also, if you want to skip it completely, you can do that too. I’ve heard from many people who skip it and just add the vanilla and they love it that way. I hope everything goes perfectly for your daughter’s first birthday party!
Anna
Turned out great! I didn’t have almond emulsion so I used 1/4 teaspoon almond extract. Couldn’t taste the almond, but the vanilla was definitely heightened. I filled it with canolli filling and topped with whipped ganache. People commented it would make a perfect wedding cake. Thanks for a great recipe!
Kara Jane
Oh I’m so happy it all worked out! Yay! And the cannoli filling with whipped ganache sounds amazing…I will definitely have to try that with this cake. ?
J
Hi Kara,
Thank you so much for the recipe! I was tasked by a friend to make a carved cake for the first time — and quite a challenging shape!
The second and third pans came out perfect and the first was passable too. I’m very pleased with the result and found it was perfect for carving. I did re-chill it once or twice during the process, but a sharp serrated knife did the trick and it was so fun to do!
Kara Jane
Oh good! I’m so glad it worked out!
Jaimie
Question. I’m use to Korean bakery items. They are extra light and extra fluffy some with fully packs flavor and some with a mild, light, flavor to complement the lightness of all of the baked goods. Most of the technique is in meringuing the egg whites seperatly and incorporate into last. I was wondering if it would make the cake lighter without taking any of the moisture from the cake or if I would have to compensate for that beforehand?
Kara Jane
Hi Jaimie, thanks for your question. This cake is not a super light cake. It’s more on the dense side. It’s definitely moist, but it’s a denser cake. Using all egg whites and no egg yolks can make the cake dry, but I’m not sure adding in any extra liquid would be beneficial, since that could throw off the ingredients. You could try separating the egg whites and yolks, then adding in the yolks with the other liquid ingredients and then whipping up the egg whites then folding them into the batter once it’s mixed. I have no idea how that turn out though as I’ve never tried it that way. It may not make that much of a difference. If you wanted to go with all egg whites, then you might want to add six egg whites (since you’d need to use double the amount of eggs). I’m not sure how that would turn out either, but it might be worth experimenting though!
Mary
I made this cake for my daughters christening and it was beautiful. I used it to make four 7inch round cakes (I had a little bit of batter left over with the two batters that I made, as I didn’t want each layer to be too thick). I made it in advance, froze the cakes and then defrosted them in fridge the night before putting the cake together. It was so easy to work with. The cakes held their shape really well and stacked on top of one another beautifully. The flavor and texture were just beautiful and the cake was nice and moist (I have to admit that I omitted the almond flavor as all I had was essence and don’t particularly like it). Everyone loved it- I had rave reviews. I will definitely be using this recipe from now on!! Thank you so much xo
Kara Jane
Mary, I’m so happy it worked out and that everyone liked it! Thanks so much for commenting and reviewing it…this has made my day. ?
Stefani
Hi there, I was wondering if it would affect the cake consistency if i added food coloring to the batter, being that you would have to mix the batter a bit more than normal? I was thinking of doing either a marbled look or each layer a different color. Thanks!
Kara Jane
If you add gel food coloring it should be fine. It will affect the cake texture though if you over mix the batter. If you’re just going to do a swirl with another color, then it might be fine because you’ll only be adding the gel coloring to a small amount of the batter.
Rose
Hi Kara, I’m going to bake this cake for my baby’s first birthday. Can you please tell me if I can use nonpareils in the batter? If yes, how much should I use? If not, what sprinkles can I use and how much? There are other funfetti cake recipes online but my heart only yearns to make this one for my baby, so I hope you’ll reply as soon as you can. Thank you so much.
Kara Jane
I wouldn’t use nonpareils. To make a funfetti cake, I like to use rainbow jimmies. I find that those tiny round sprinkles tend to bleed color, but the rainbow jimmies seem to work better. I will give you a quick heads-up though that this cake isn’t a white cake. It will have a yellow/cream tint to it because there are whole eggs and butter in the ingredients. Some people want a really white cake when they’re making a funfetti cake, so if that’s what you’re going for, you might try my Moist White Cake recipe here: https://iscreamforbuttercream.com/moist-white-cake/
And 2/3 – 3/4 cup should be plenty of jimmies.
Rose
Thank you so much for your quick reply Kara! I’m definitely going to try out the white cake recipe but for now, for my baby’s birthday this vanilla cake recipe is what I want my baby to smash and enjoy. I was looking for a yellow cake so this is perfect. Thank you so so muchhhhh, i know she will love it! I love your blog!!
Rose
Also, Kara, I have 3 6 inch pans, how long should I bake for? Thanks so much again! Hope you reply.
Kara Jane
For 6 inch pans, I’d start checking at about 25-30 minutes. You’ll probably need to bake longer than that, but start checking then to be sure.
felicia lamanna
Hi!! i wan to try this with three 6 inch pans! Do i need to alter the recipe? 🙂 complete beginner here lol
Kara Jane
You can use one recipe for 3, 6″ pans. The layers will be a little thinner than if you’d made it in 2, 8″ pans, but it will be fine. You don’t need to alter the recipe. You’ll just need to bake them for a shorter amount of time. You need to start checking for doneness at around 25-30 minutes. It may take a little longer, but you can start checking then. Here’s a post on how to tell when a cake is done that may help as well: https://iscreamforbuttercream.com/how-to-tell-when-a-cake-is-done-baking/
Rose
Thank you Kara! I baked it today and it turned out great! I will be tasting it tomorrow. I also put some cake strips on so it took a little longer to bake. Next time I won’t reduce the temperature to 325 F if I put cake strips but that’s the only mistake I made. I’m a newbie baker so I’m bound to make a few mistakes but I learnt so much! And your blog makes me want to try out everything!! Thank you so much!!!
Kara Jane
That’s awesome! I’m so glad it turned out for you!! ?
Rachel G
I made this cake for my brothers birthday, using a bavarian cream filling and vanilla bean buttercream, and a white chocolate ganache to decorate as a glaze on top- I bake for him all the time, but this was his favorite cake flavor recipe so far! It was such a soft and delicate cake that I made the batter again and made some petite cakes with it. The petite cakes were so moist and flavorful, I just topped them with a vanilla bean glaze and they were perfect. Thanks so much for the recipe, it’s my new go-to for yellow cake!
Kara Jane
Rachel, this is so great to hear! Thanks for the wonderful review. The bavarian cream filling and white chocolate glaze sound amazing! ?
Rebecca Wignall
Hello! Thanks for this recipe, it’s delicious and light, I am going to use it with white chocolate ganache for my niece’s 4th birthday. I just tried it as cupcakes and although they tasted great and were super fluffy, I found the cake stuck to the casing, and broke up as I tried the take it out of the case? I wouldn’t usually grease my cupcake cases, so you think that would help? ? ? ?
Kara Jane
Hi Rebecca, thanks so much for the wonderful review of the recipe. If the cupcakes are sticking, you might try spraying the cupcake liners with a light spray of Pam or some other cooking spray, but just spray a light amount. I do find that some cupcake liners are worse than others at sticking. You might also try a different brand of liners and see what happens. I hope this helps!
Rebecca Wignall
Thank you for the advice!!! That makes sense, I don’t make cupcakes often, so didn’t think it could be the cases ?
Kara Jane
You’re welcome! I hope they work out next time!
Tanya
Hi! Would love to try this recipe! Could I use this with 4inch pans? If so, what temp and how long would you recommend I bake the pans for?
I’m interested in making a 4inch cake which is quite tall (with 6 layers). Would love any tips 🙂
Kara Jane
Hi Tanya, I’m more experienced baking 2 inch tall layers. I would try still baking at 325 degrees. If it’s 8 inch round pans, I’d bake for the same amount of time to start off with and at that point, just start checking for doneness. You may have to bake longer, since the cakes will be thicker, so make sure to test with a toothpick and it’ll be ready when the toothpick comes out with a few crumbs. I’ve not tested 4 inch deep pans, but I’d suspect you’d need to bake them for a bit longer because they’re thicker. I would not raise them temperature though because then the outside might brown too much before the middle is done. Let me know how it goes!
Tanya
I’m So sorry! I should have been more specific. I meant 4 inch round pans!! So I’m planning on creating a small cake with stack them so it is tall!
Kara Jane
Oh!! Lol…Ok gotcha…Let me change my advice then. 😉 So, if they are 2 inch tall pans, but 4 inches around, you could bake at 350 or 325 degrees. Either would be fine. I’d start checking at about 20 minutes or so. If they are thicker pans (thicker than 2 inches), I’d probably bake at 325 degrees, so they’ll bake through. I hope that helps!
Sarita
Hi Kara! I’m loving your blog – I first read your post on getting moist cakes which was really useful, and last week I tried your chocolate cake for my birthday. I’m a chocolate lover and it was delicious 🙂 I’m going to try this one next. Only, I have 9 in cake pans, not 8, which has often resulted in drier non-chocolate cakes even though I am very careful with baking times and so on. Would you suggest lowering the temperature if the cake size is bigger?
Kara Jane
Hi Sarita, you don’t need to lower the temperature. It’s about as low as you want it to get when baking cakes. You may just want to take it out of the oven sooner. The cake layers will be a little thinner, since you’re using larger pans, but just one inch larger shouldn’t make a huge difference. You do want to watch the baking time though because you don’t want to bake them as long…that’s when they dry out. Try the toothpick method to test your cake for doneness, but pull the cake out when there are still some moist crumbs on it (not raw batter, but moist crumbs). If you wait until the toothpick comes out completely clean, then it’ll be over-baked. Let me know how it goes!
Sarita
Ok, I took them out at about 37 minutes- the edges were a bit browner than I would have liked but I guess because the pan was wider, the center needed time to firm up. But the cake itself was just luscious, even the edges were not overly dry. I think I’ve just been using recipes that are not moist enough up to this point 🙂 Thanks so much!!
Kara Jane
I’m so glad it worked out!