Learn cake decorating piping techniques with these 12 simple and easy buttercream cake borders. Piping cake borders can actually be easy with these simple icing designs.
Learn how to pipe a cake using twelve unique buttercream borders with this step-by-step, easy to follow tutorial. Plus there’s even a free printable cheat sheet for reference.
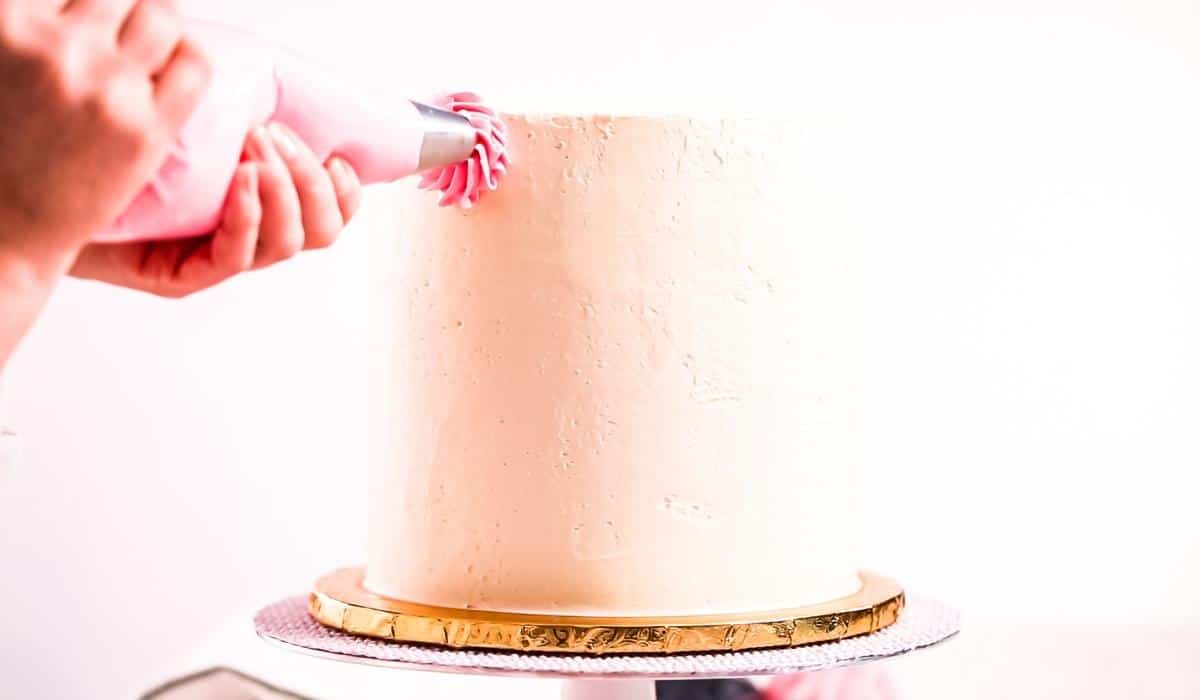
Today I want to go through twelve really simple buttercream border designs. Most of these are classic border designs, but they can easily be done by a beginner.
So if that’s you, you’re in luck. You can get a classic cake design without needing a ton of experience.
As an Amazon Associate, I earn from qualifying purchases.
Jump to:
- Supplies for piping borders:
- Small shell border:
- Large shell border:
- Round pearl border:
- Shell pearl (Scallop) border:
- Star border (big or small):
- Swirl border:
- Rosette border:
- Dollop border:
- Leaf border:
- Fleur de lis border:
- Ruffle border:
- Reverse shell border:
- Helpful tips for Piping Borders:
- FAQs for Piping Borders:
- Printable Cheat Sheet:
- Video:
- Other posts you might like:
Supplies for piping borders:
- Buttercream (You can use either all butter or a shortening-based buttercream.) Here are my recipes: Vanilla Buttercream & Shortening Based Buttercream
- Piping bags
- Icing couplers (not mandatory, but really nice to have)
- Wilton tip #21 or Wilton tip #32 (for shell borders)
- Wilton tip 1M or 4B (for the large shells)
- Wilton tip #12 (for the round pearls and shell pear (scallop))
- Wilton tip #21 or 1M (for the star borders and reverse shell borders)
- Wilton 1M, 4B or 21 (for the swirl borders)
- Wilton 1M, 2D, or 21 (for the small rosette borders)
- Wilton 6B or Wilton No. 8B
- Wilton 352 leaf tip (for leaf borders)
- Wilton tip 21 (fleur de lis border, reverse shell border, star borders, regular shell borders)
- Wilton tip 104 or 103 (for ruffle border)
- Cheat Sheet for Piping Borders
You don’t have to get these exact tips. You can use different sizes or different brands if you want.
These are just tips that I usually have on hand and that I use most often. Change things up and experiment to see what size you like your borders.
Everything is also in a step-by-step, easy-to-follow tutorial video below, but for now, let’s go through each of the twelve borders, so you’ll know what they’re called and a bit of general information about each one.
Before we get too far along, I want to let you know that I’ve also got a downloadable printable cheat sheet for all these borders and the icing tips you’ll need…it’s close to the bottom of the post.
Small shell border:
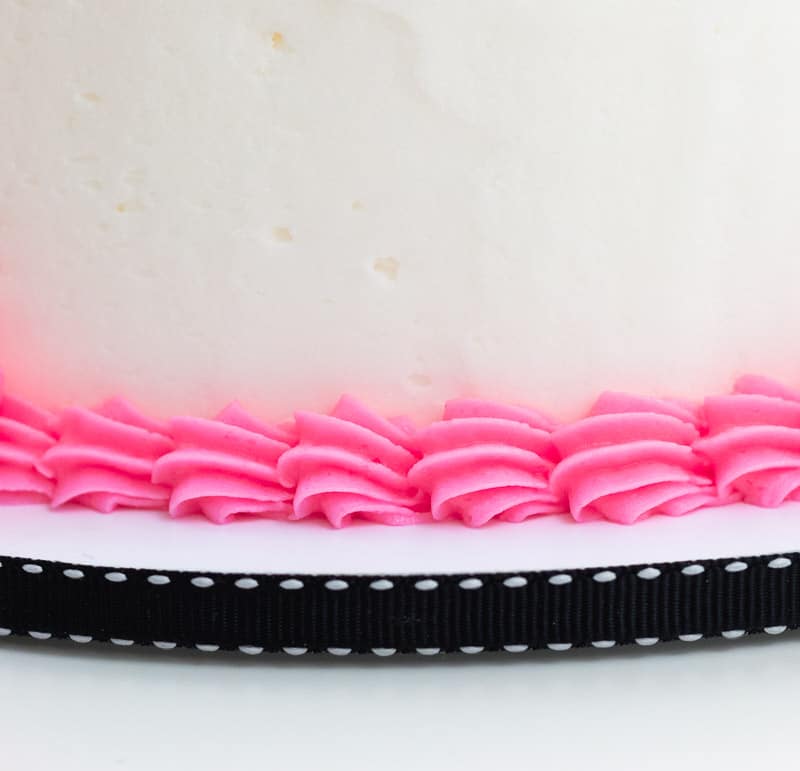
This one you’ve probably seen a gazillion times, but there is a reason for that. It’s just classic and works well with almost everything.
You can make large shells or small shells, depending on your cake design.
For this type of border, you can use a Wilton tip 21 (used in the video) or Wilton tip 32 which also works, or you can just get a set of both.
To pipe the small shell border:
- Hold the piping bag at an angle, squeeze & let the icing mound up a bit, then stop squeezing as hard and just pull the piping bag toward you.
- Pipe another shell starting right after the mounded area on the shell that was just piped.
- You can spread the shells further apart if you like.
Large shell border:
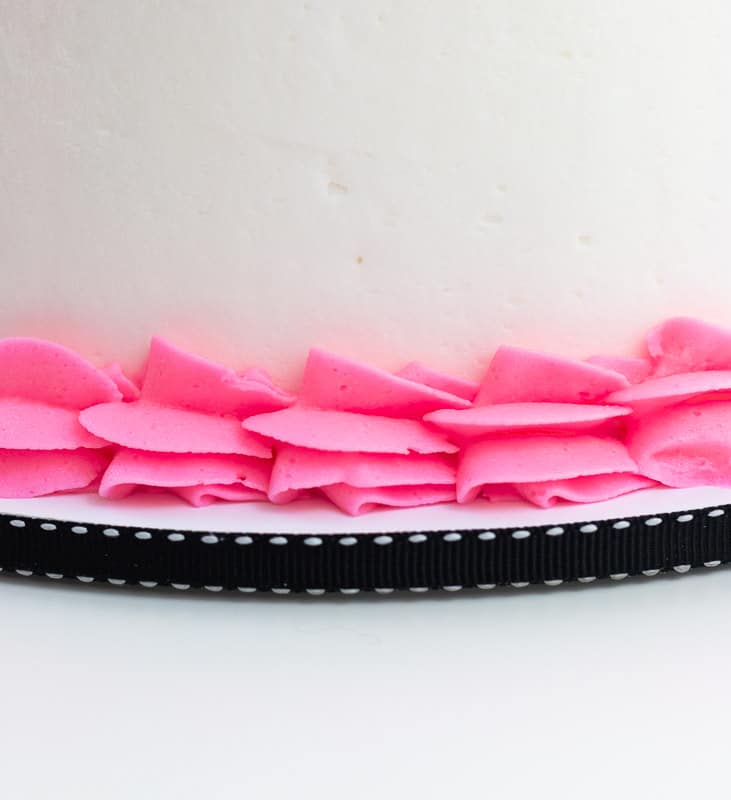
This one is just a larger take on the average shell border. This would normally be done on the bottom of the cake since it’s quite large.
This could work for the top of the cake, but you’d want to make sure the bottom border is at least as big as the top, otherwise, the cake will look top-heavy.
For this type of border, you can use a Wilton tip 1M or 4B.
To pipe the large shell border:
- You’ll pipe this one the same way you pipe the small shell border, only the shells will be bigger since you’re using a larger piping tip.
Round pearl border:
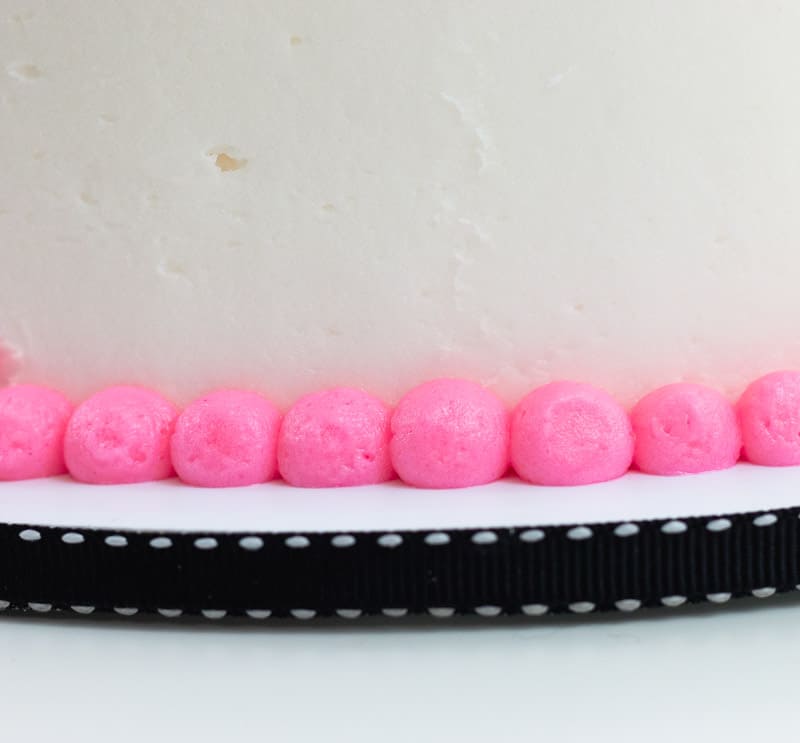
This one is pretty classic as well and really easy to do.
For this type of border, you can use a Wilton 12 round tip, or a #5 round tip for a smaller pearl.
To pipe the round pearl border:
- Hold the piping page at a direct 90-degree angle and squeeze a small amount of icing out. Release the pressure and pull your piping bag away from the cake.
- Once you pipe the pearls, you almost always have icing sticking up into a point on each pearl. The trick for that is to add a bit of water to your finger and gently tap down that icing point.
- You’ll need to add a bit more water to your finger about every third pearl, but it works like a charm.
Shell pearl (Scallop) border:
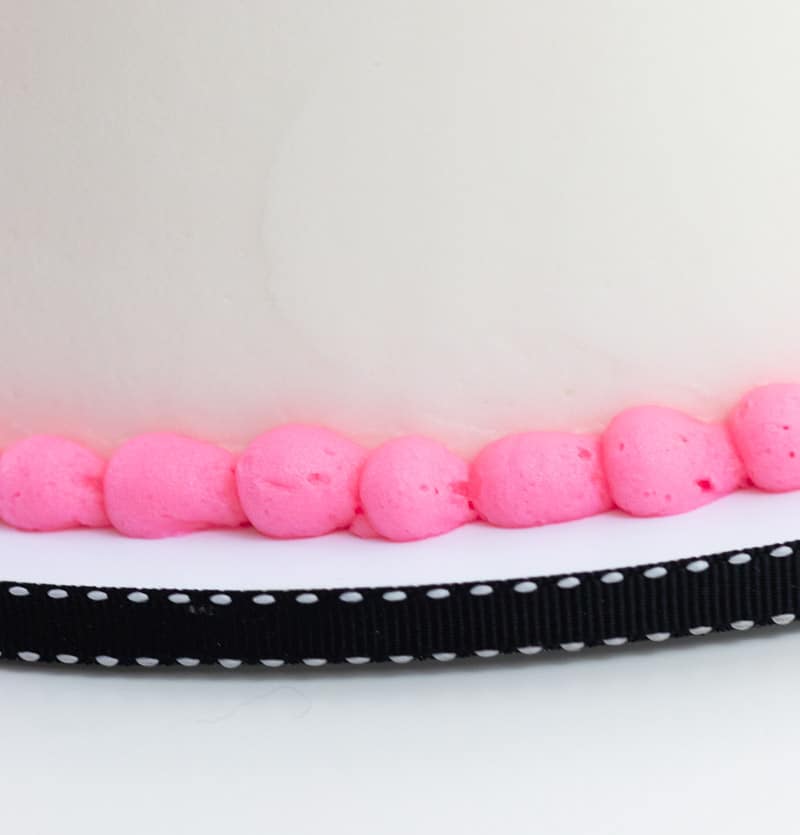
I’ve always called this one the shell pearl, but it’s really not a shell, since you don’t use the star tip. I think the correct term is the scallop border.
It’s essentially the same concept as the shell border, but you use a round tip instead of using a star tip.
For this type of border, you can use a Wilton 12 round tip or a #5 for a smaller border.
To pipe the scallop border:
- You’ll do the same technique as the small shell border above, but you’ll be using a round tip instead of a star tip.
Star border (big or small):
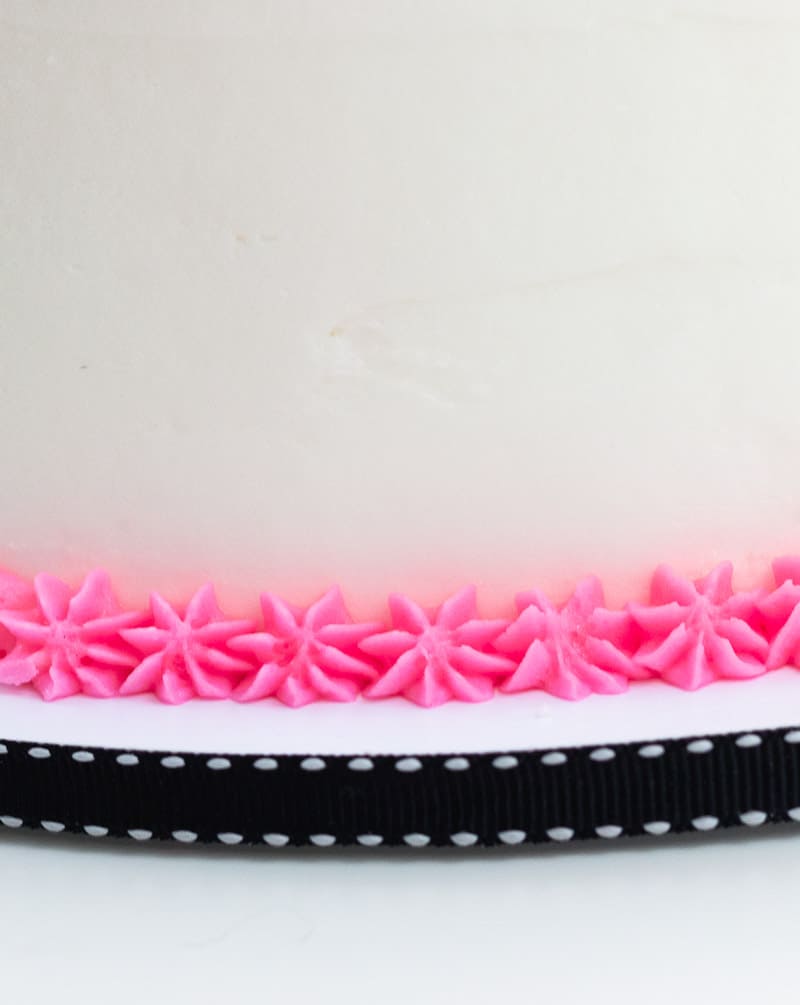
These are really simple as well and for some reason, they just scream ‘party cake’ to me. They just seem fun.
You can even mix and match the sizes of stars if you want to get fancy.
For this type of border, you can use a Wilton 21 tip or 1M
To pipe the star border:
- Hold the piping bag at a direct 90-degree angle and squeeze. Release pressure and pull the piping bag away from the cake.
Swirl border:
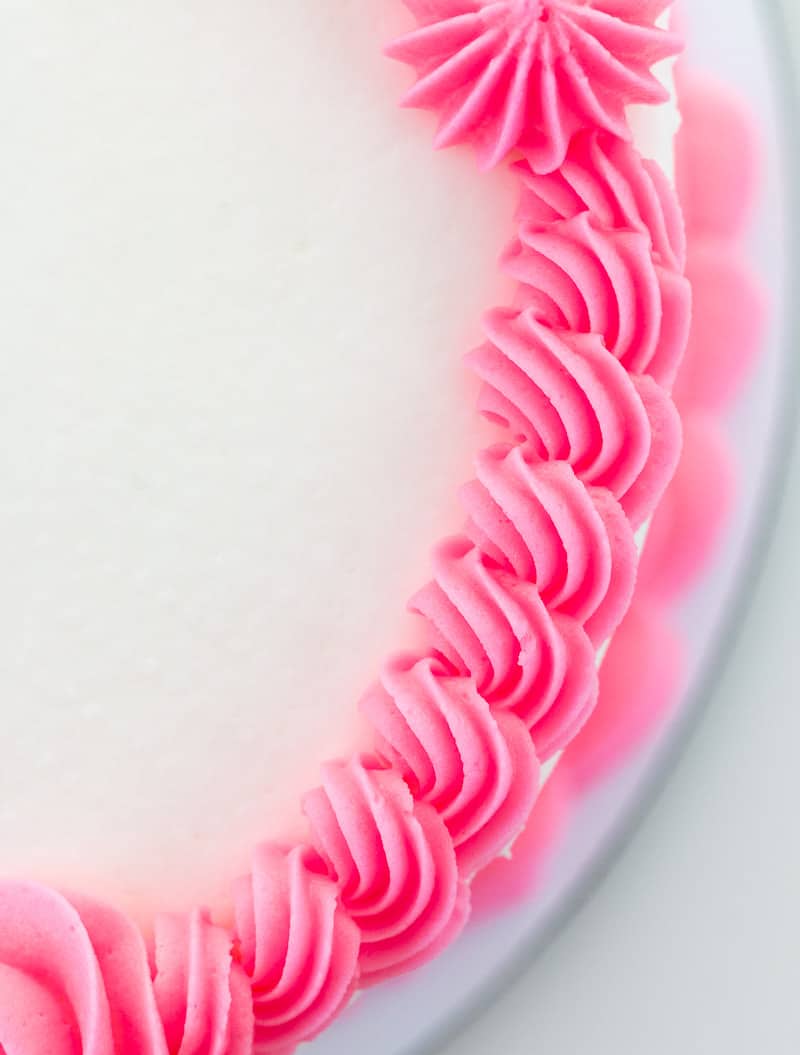
I love this one. It really looks pretty on a cake. You can even take it up a notch by swirling different buttercream colors together and then piping it onto the cake.
You can do small or large swirled borders as well and this border looks good as a top or bottom cake border.
For this type of border, you can use a Wilton 1M, 4B, or 21 tip, or really any star tip would work as well.
To pipe the swirl border:
- Hold the piping bag at a bit of an angle and squeeze with constant pressure as you move your piping bag in a swirling fashion.
Rosette border:
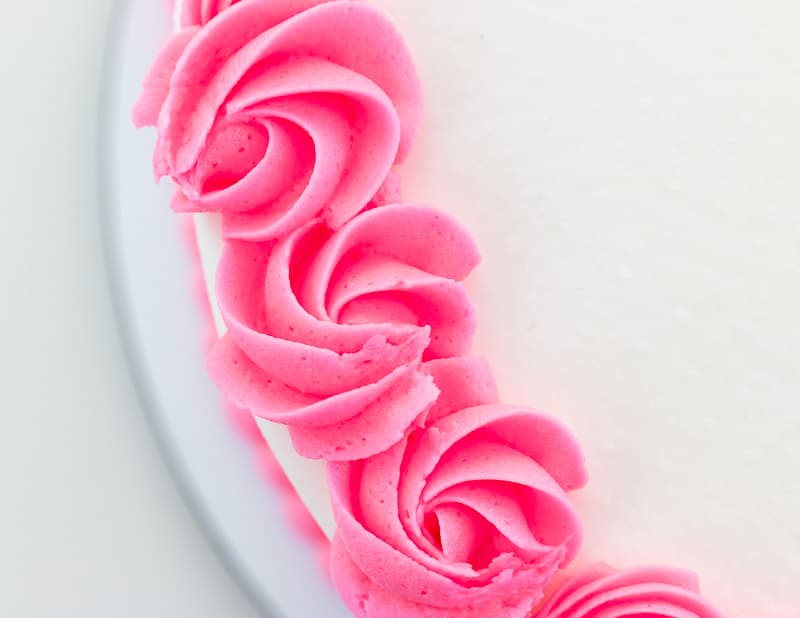
This one is up there with the swirl border as one of my favorites. It just makes for such a pretty cake and it’s so simple to do.
You can change the sizes up or tip on this one as well to get a different look.
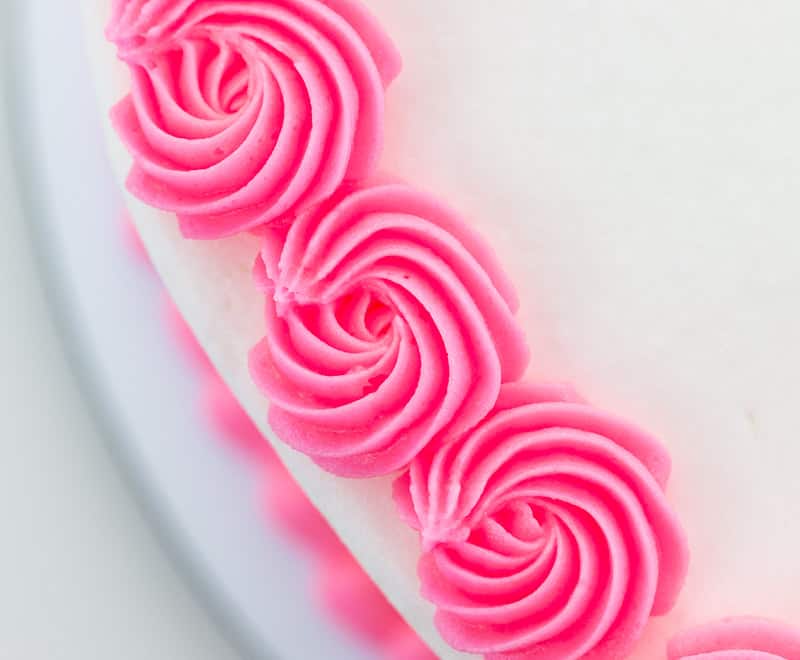
For this border, you can use a Wilton 1M or 2D or 21 tip.
To pipe the rosette border:
- You can do this a couple of different ways.
- You can pipe a rosette by starting on the outside of the rosette and swirling toward the inside… which gives you the classic rosette look.
- You can also pipe rosettes by starting in the middle and swirling outward… which gives you the look of a rose.
- Using different tips will give you a different look as well.
- This one is fun to experiment with and it looks good as a top and bottom cake border.
If you want more in-depth instruction for piping rosettes, you can see this post here: Better Buttercream Rosettes
Dollop border:
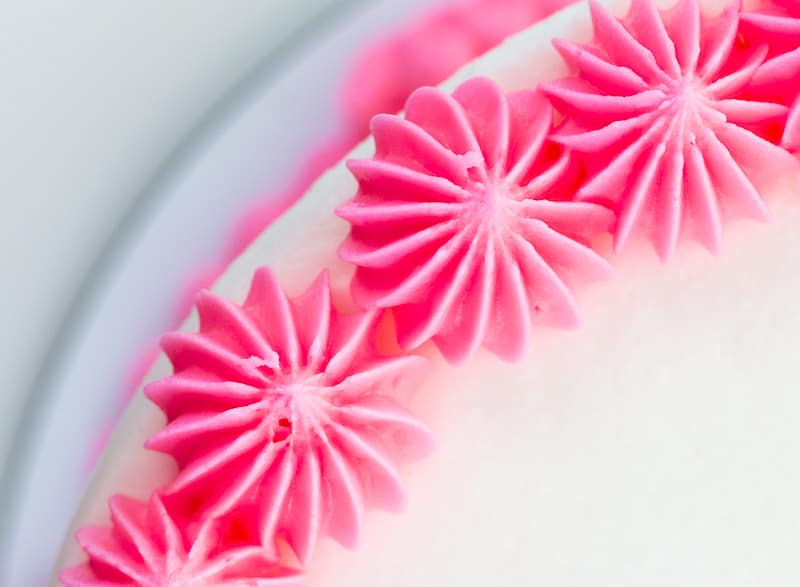
I have no idea whether the word ‘dollop’ is even an actual word, but that’s what I call these things.
They’re just basically fluffy puffs of buttercream. They’re simple and really give the cake a finished look.
For this border, you can use a Wilton 6B or 8B. You can also use a very large round tip. This technique works best with a very large open piping tip and with softer icing.
To pipe the dollop border:
- This border looks best on top of the cake.
- Hold the piping bag at a direct 90-degree angle from the cake. Squeeze and let the icing mound up a bit, then release the pressure and pull the piping bag straight up. It should form a nice point at the top.
- This technique works best with a very large open piping tip and with softer, fluffier icing.
Leaf border:
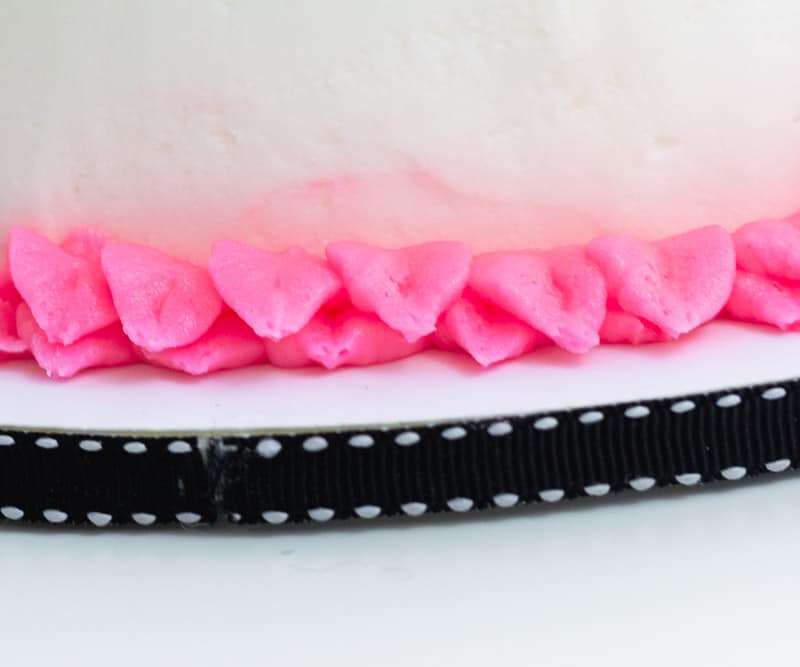
This one is fun and a little bit different. You can build up the leaves on the bottom of the cake by piping more rows.
For this border, you can use a Wilton 352 leaf tip.
To pipe the leaf border:
- You’ll need to hold the piping bag at almost a 90-degree angle from the cake, but tilt the tip up and your hand down just a bit.
- Make sure the points of the icing tip are on the top and bottom, not the sides.
- Squeeze and let the icing mound up just a bit. Release pressure and pull away from the cake and down a bit.
- You can pipe one row around the bottom of the cake and then go and pipe on another one above it to give it a layered look.
- You can also use larger leaf tips to get larger leaves.
Fleur de lis border:
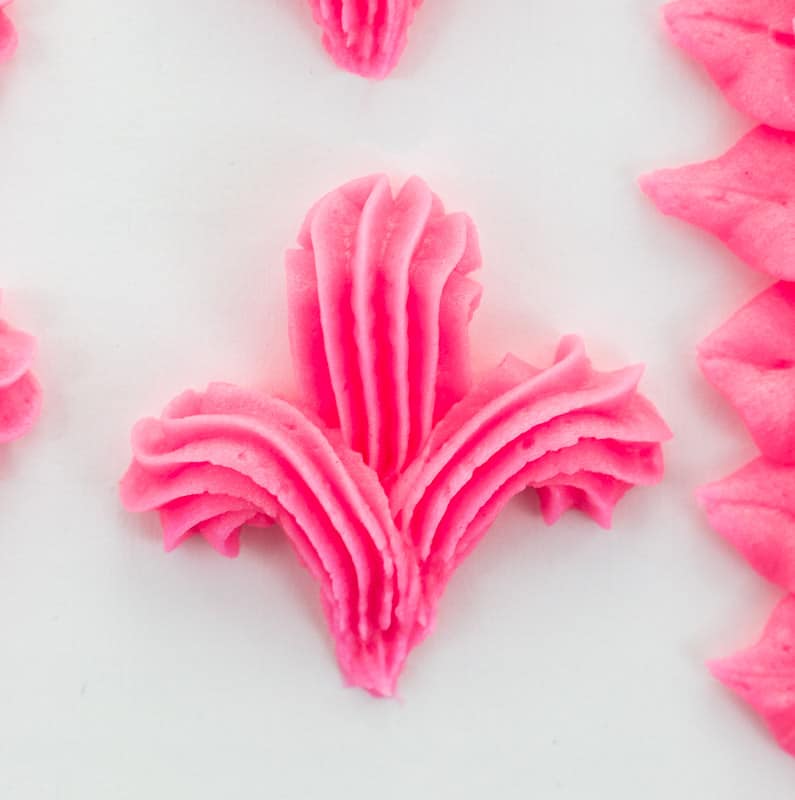
These are more of a border that goes around the top side of the cake and they’re an old-fashioned, yet classic cake piping design that I think still looks really elegant.
This one is a little more challenging, but it’s a similar technique to making shells. You’ll just be making them into a patterned shape.
With just a small amount of practice, you’ll have these down in no time.
For this border, you can use a Wilton 21 tip, or any star tip you feel comfortable with (but not a very large one).
To pipe the fleur de lis border:
- This border is piped around the top outside edge of the cake.
- Make a large shell in the middle and two smaller shells, one on each side, that connect to the larger middle shell.
- Hold the piping bag at a 90-degree angle from the top, side of the cake. Squeeze and let the icing mound up into a large shell then release the pressure and pull the icing bag down.
- Next, make a smaller shell to the left and to the right, but curve them in and connect them along the bottom of the larger shell.
- Make these all around the outside of the cake. It’s a good idea to mark where you’ll pipe these first, so they are evenly spaced.
Ruffle border:
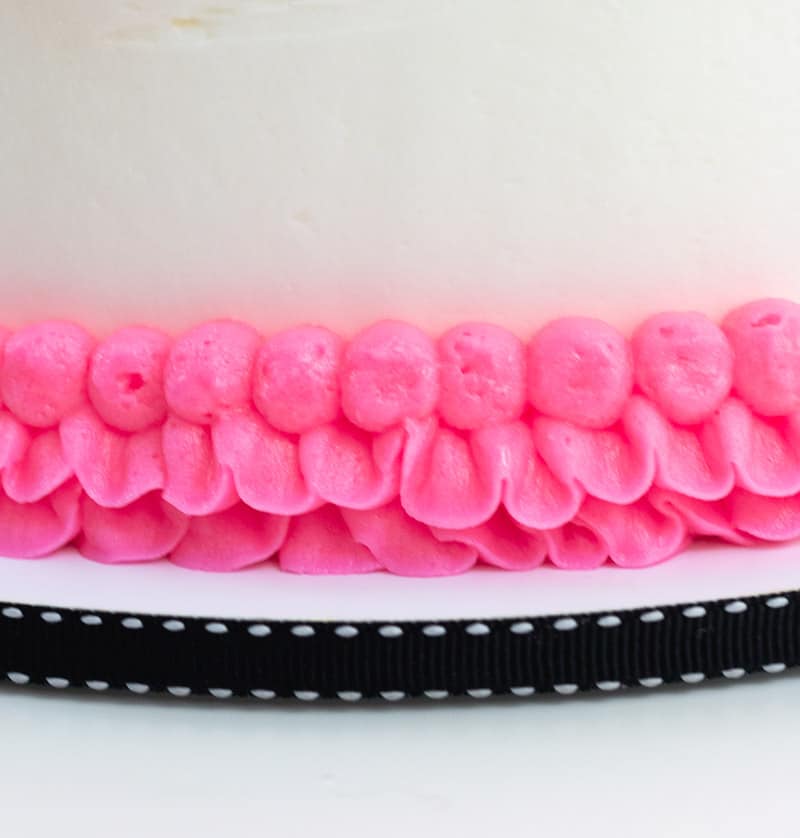
This one is so fun. If you want to go super crazy, you could actually do this all over the cake.
A tip to remember for this one is that you want the skinny end of the petal tip to be the outside of the ruffle..that way you get the ruffle effect.
For this border, you can use a Wilton 104 or 103 petal tip and 12 round tip (or even smaller tip) for the pearl border that goes over it.
To pipe the ruffle border:
- For this border, use a petal tip to get the ruffles and a round tip to pipe a pearl border over the top edge.
- Hold the piping bag sideways against the cake and make sure that the skinny edge of the petal tip is facing down. (The skinny edge is what will give it the ruffled look.)
- You can either pipe each ruffle individually by making a closed ‘u’ piping motion, or you can just pipe lines of ruffles by doing a continuous ‘w’ motion across the bottom of the cake.
- Use a larger petal tip for even bigger ruffles.
- Pipe a pearl or scallop border over the top edge to give it a finished look.
Reverse shell border:
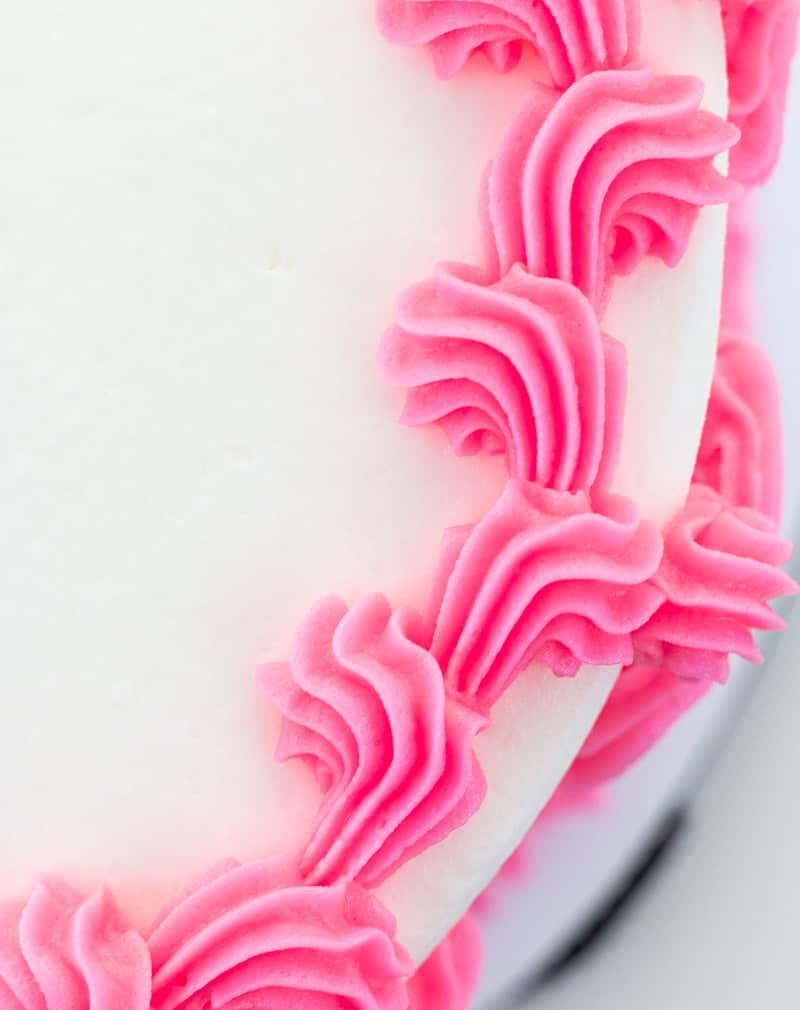
This one is probably the most challenging one on the list, but once you do it a couple of times, you’ll have it down.
This one is also my favorite. I LOVE how it looks on a cake. It looks complicated and people will be impressed, but it’s really not that complicated at all.
It’s essentially just piping a shell border, but in two different directions (or angles). Don’t worry, the video will show you how it’s done.
For this border, you can use a Wilton 21 tip, or an even smaller start tip if you want.
To pipe the reverse shell border:
- Pipe this one the same as a regular shell border, but don’t do it in a straight line.
- Each shell will either come from the right, or the left and then stop in the middle.
- Hold the piping bag at a slight angle over the top of the cake, squeeze to mound up a bit of icing, then release the pressure a bit and curve to either the left or right and come down with the tail of the shell.
- Now do the same thing, but come from the opposite side and then meet in the middle where your previous shell’s tail was piped.
Helpful tips for Piping Borders:
- Typically, the bottom border of a cake is larger than the top border (if you have a top border at all). You definitely don’t want the top border to be huge and bulky because it’ll just make the cake look top-heavy.
- Personally, I don’t like putting my cake on a turntable while I’m piping borders. It just turns on me. I find it helpful to just set the cake on a table to pipe the borders. Just make sure to keep turning the cake as you go, or your borders will end up misshapen.
- You don’t have to make a different type of buttercream just to pipe the borders. Most of the time you can use the same type of buttercream you used to ice the cake. Unless you’re piping flowers etc., there’s really no need to make a thicker or shortening-based icing just for the borders.
- If you find that your buttercream is a little too soft though, you can always just add in a little more confectioner’s sugar to thicken it up (if it’s American Buttercream). If it’s Swiss meringue buttercream, you could always just pop it in the fridge to firm up a bit more.
- Make sure if you’re using a shortening-based buttercream, that you keep it covered in the bowl. Shortening-based buttercream will form a crust over it and you don’t want that to mess with your piping.
- When you start piping, start at the back because you’ll likely never get a perfect seam where you started and ended.
FAQs for Piping Borders:
Your buttercream is likely too thick. Just add it back to the bowl and add in a very small amount of milk or cream to thin it just a bit. Be careful here, or you can very quickly add too much liquid and make it too thin.
Oh yes…welcome to my world. I have shaky hands too and I don’t even drink caffeine. What helps me is that I use my other hand to stabilize my piping hand. You can see a bit of this in the video. It really does help.
Also, try not to fill the piping bag super full. It makes it harder to pipe and gives you less control. Plus if your icing is too thick, it’ll make your hands shake even worse. Just know that you’re not alone.
You can do three things:
-You can make that part of the cake the back of the cake. (I’m serious…that’s a legit way to fix it.)
-You can just scrape off that small area of the border and re-pipe it.
-You can scrape off the entire border and re-pipe the whole thing.
Which method you use will depend on how bad the goof is and the other design elements on the cake. If you’ve got a super smooth iced cake, it might not be worth taking the risk of messing that up, just to fix a small area of the border.
Also, if you’re using crusting buttercream (buttercream made with shortening), it’ll form this really thin shell over the icing, which works to hold it together if you have to scrape a small area of the border off.
So if you end up needing to do that, just wait about 15 minutes and let the icing crust over a little before you scrape that off, and then try scraping just that area off with a toothpick for more precision.
This method will also work for an all-butter buttercream. Just pop it in the fridge and let it firm up and it’s generally easier to remove small goofs that way when they’re cold.
If you have any more questions that I missed, just let me know in the comment section below this post. I’m happy to help!
Printable Cheat Sheet:
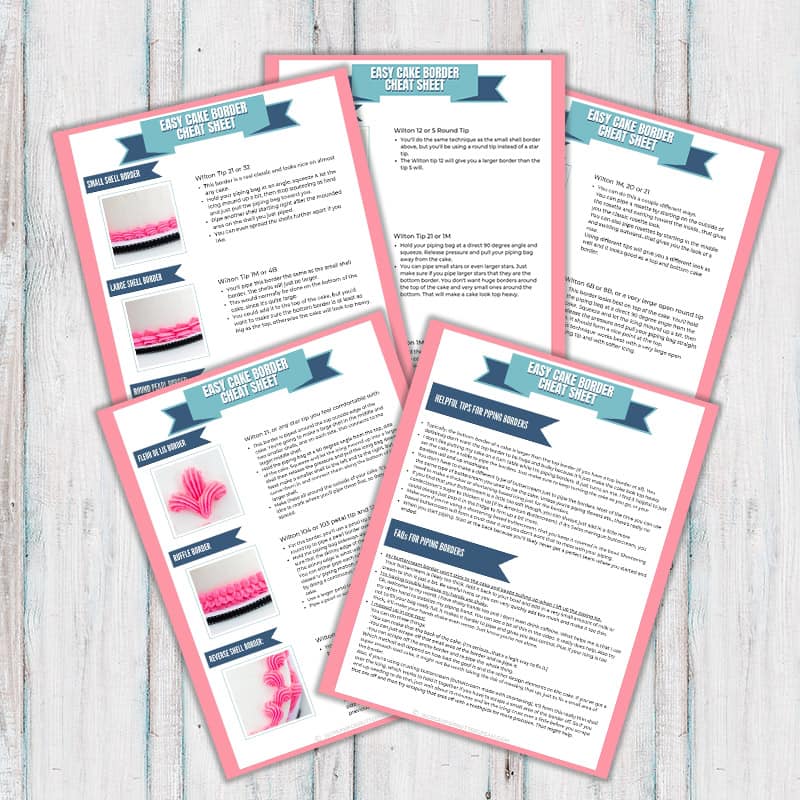
Don’t forget to download the printable cheat sheet so you can reference it as you’re piping your cakes!
Just click the button below this graphic to automatically download it.
Video:
Don’t forget to pin it below!


Joan-MyCookieClinic
Kara Jane, these tutorials are outstanding! It is obvious you put lots if time into this post. These tips will very helpful as I hope to improve my cake decorating skills. Your blog is great and thank you for sharing your techniques.
Kara Jane
Hi Joan, Thanks so much for the compliments! I do put a lot of work into the tutorials and it’s so good to know others appreciate it. And I’m so glad it’s been helpful to you! You have just made my day. 🙂
Emeri
Thank you for sharing! ❤️
Leibah
Kara, i find this information very helpful. Can”t wait to try them even though i’ve never tried before. Thank you.
Kara
I’m so glad it was helpful. I’m excited for you to try some of these out. Let me know how it goes!
Anna Speichinger
Hi Kara Jane! I’m new to your site and I am so impressed with your knowledge and ease of sharing! Thank you so much!
I’m learning about piping borders and was hoping to find the video you alluded to above. But I’m having trouble finding it in the library. Would you point me in the right direction? Thanks ever so much!!! Excited to get started!
Kara Jane
Hi Anna, thanks so much for your kind words! I see what you mean about the video not showing up in the post. It’s supposed to pop up automatically, but maybe that’s not working correctly. I’ve gone ahead and added in the youtube video at the end of the post (where it says here’s the video). It should show up and allow you to play it now. Thanks for letting me know that it was showing up! And as far as the library goes, the videos aren’t there, it’s just the printables. But there is a printable for this post there…it looks like its about number 15 down in the library. It’s sort of a cheat sheet for the borders. I hope this helps!