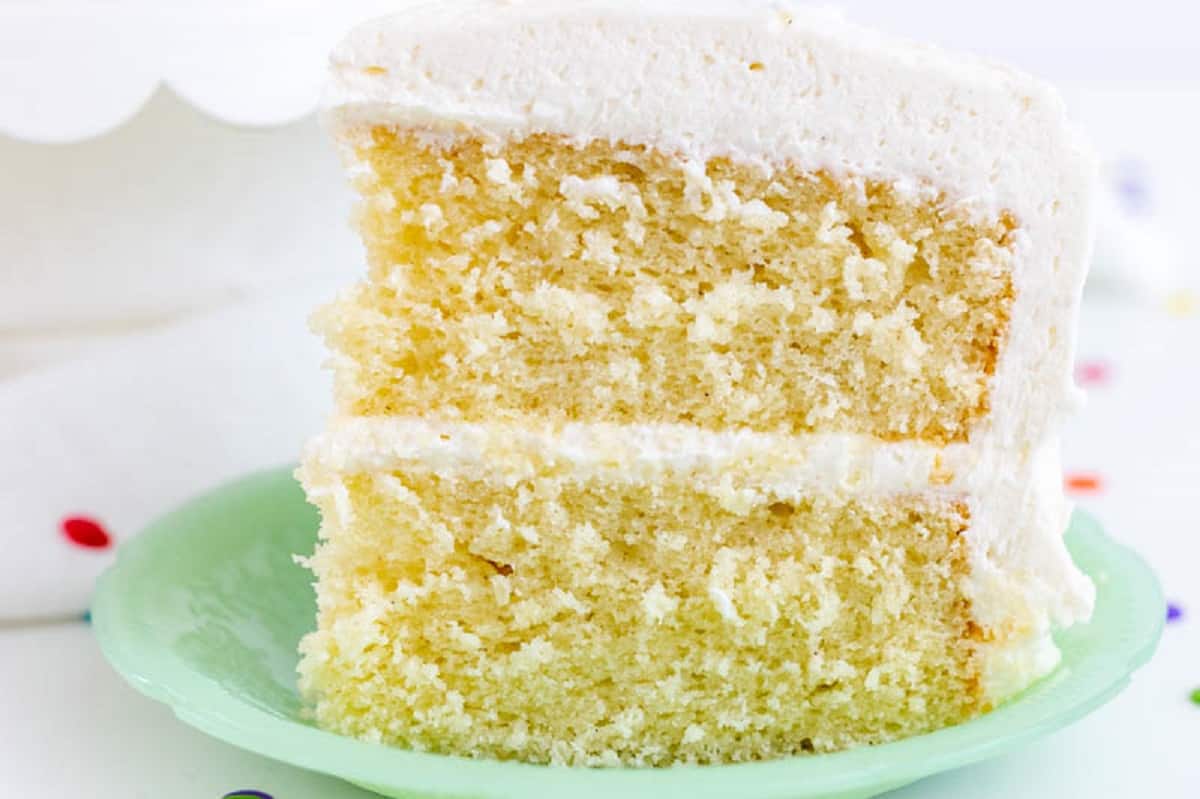
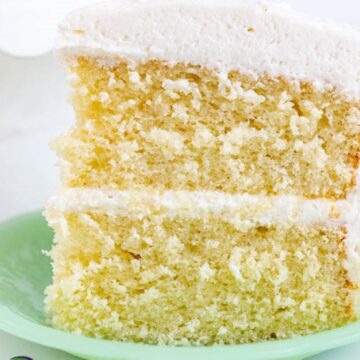
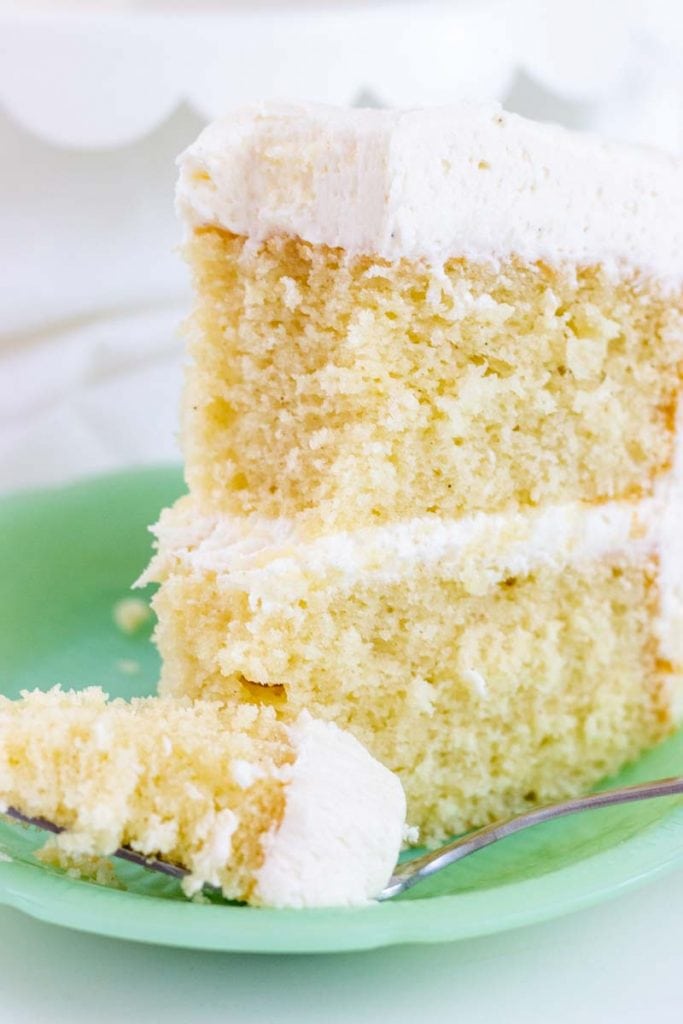
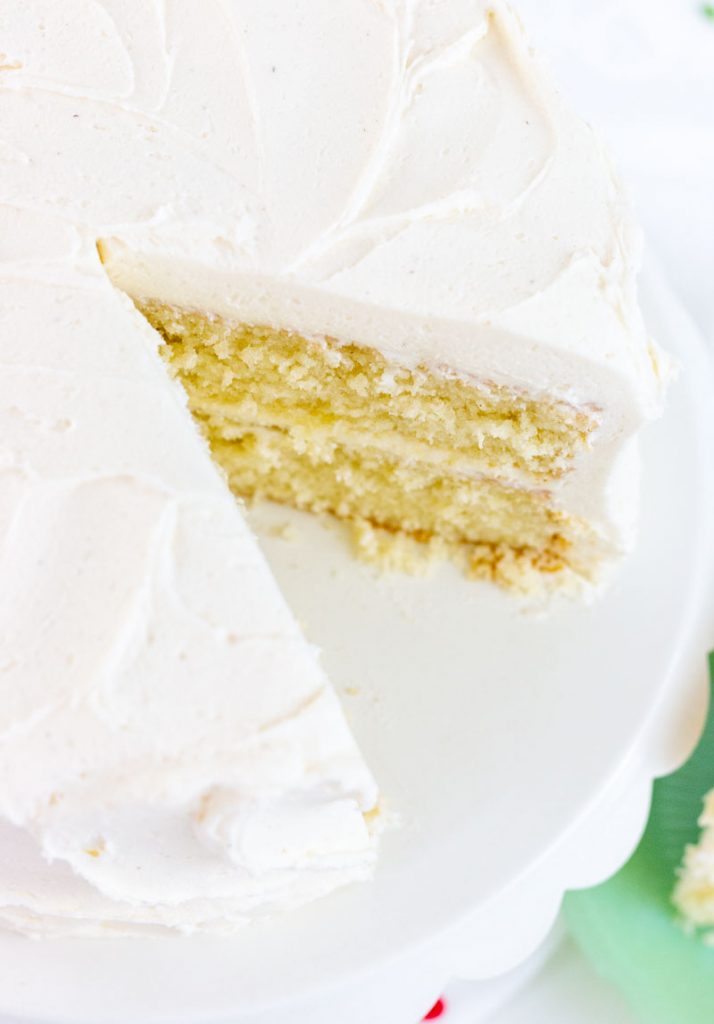
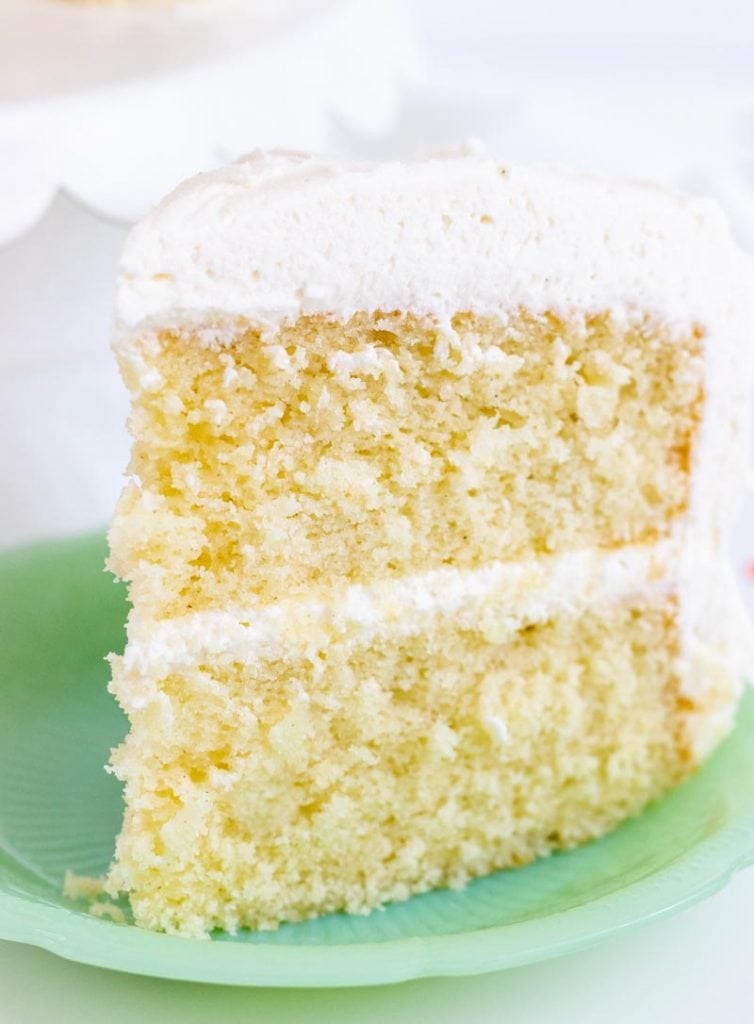
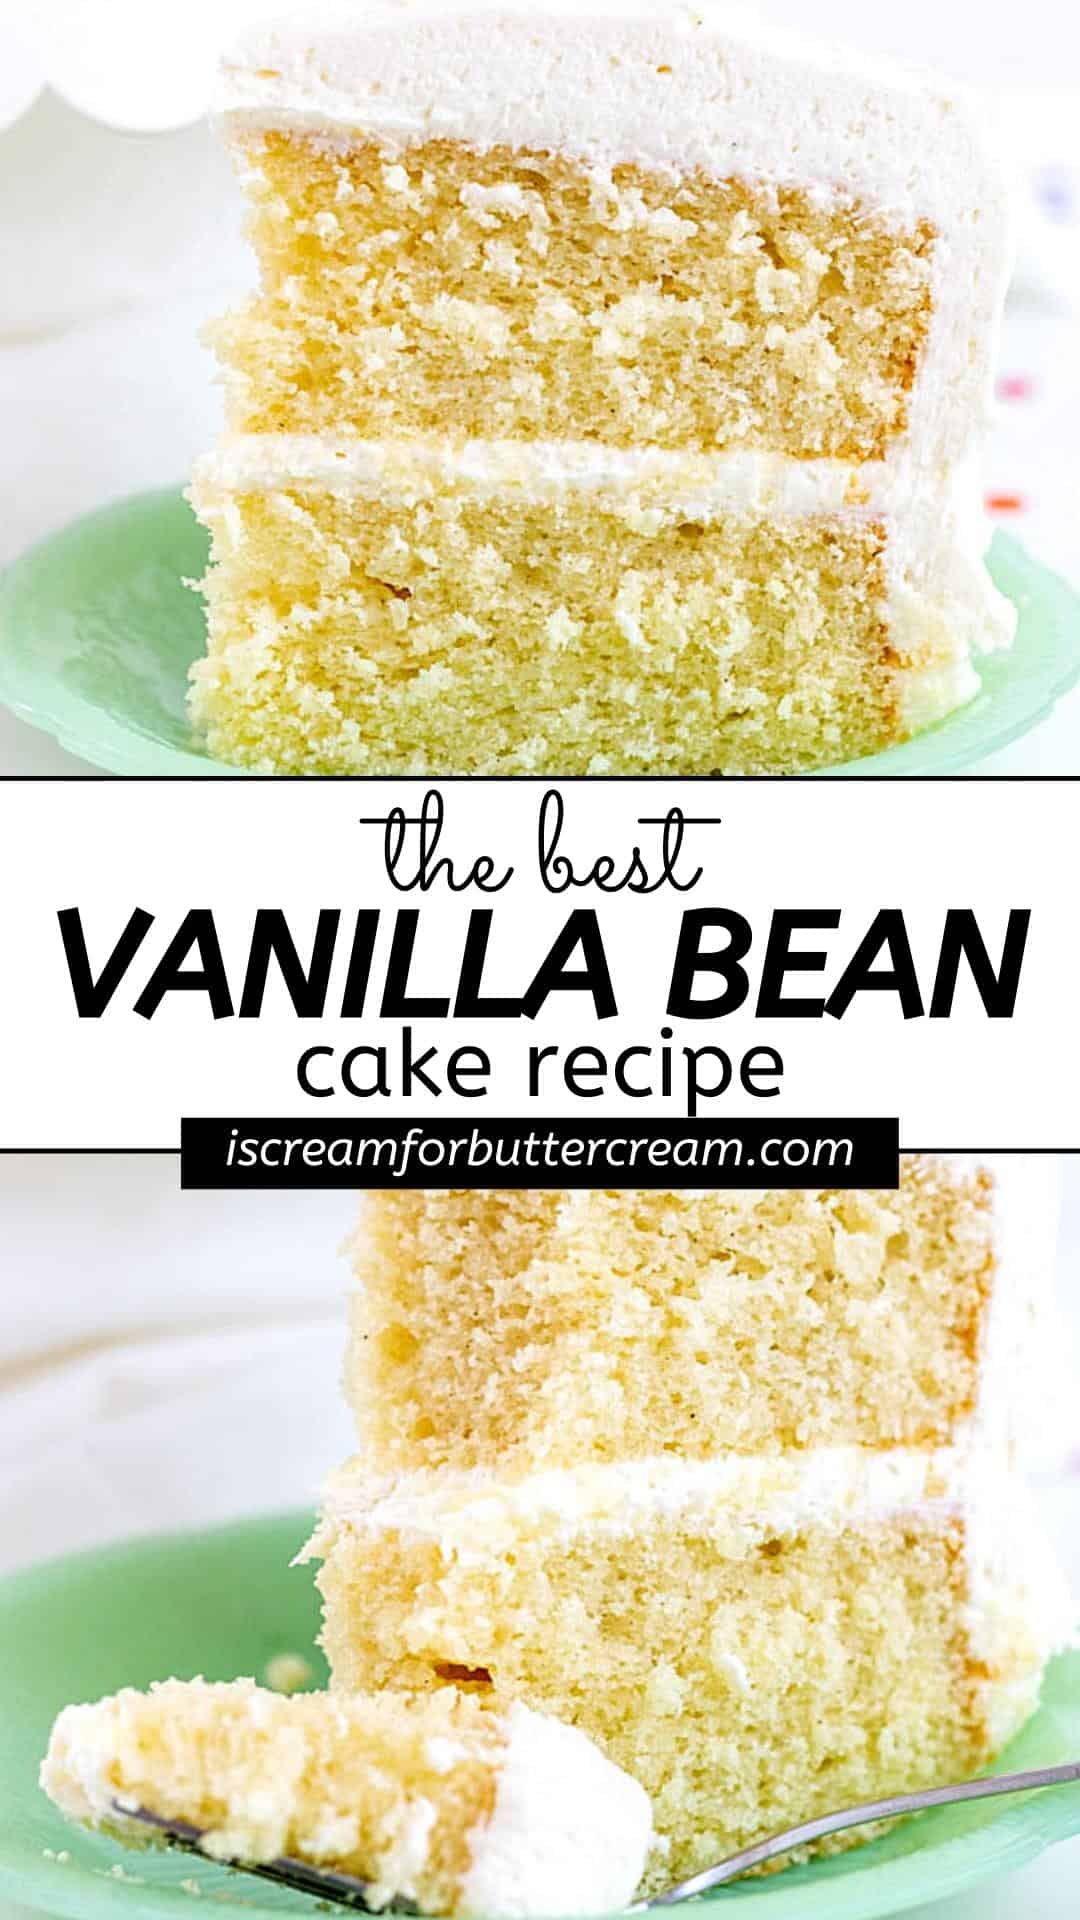
This vanilla bean cake is super moist, full of vanilla flavor, is rich and buttery, made from scratch and covered in buttercream. It’s the best vanilla cake I’ve ever had and I have a feeling it will quickly become your family’s favorite.
When it comes to cake, there is nothing more comforting than a vanilla cake. It’s a classic for a reason. It’s not overpowering in flavor and is perfect for weddings and birthdays.
Hey there! Before you scroll, there’s lot’s of important stuff in the post!…including the FAQ section, which may answer any questions you might have about this recipe. Enjoy!
The good news is that you don’t need a box mix to make a good vanilla cake. This cake is super moist, with just the right amount of sweetness without being too heavy or dense like some scratch cakes can be.
Plus it’s actually pretty easy to make. In my opinion, it’s the absolute best vanilla cake recipe and you won’t want to stop eating it.
I’ve also included a video lower in the post on how to make this layer cake from scratch so that you can follow along step-by-step.
Ingredient Notes:
Now let’s talk a little about just some of the ingredients that are in this vanilla bean cake. (The printable list of all ingredients are in the recipe card below.)
(Make sure to check out the FAQ section below in this post for substitution questions.)
Cake flour: This recipe calls for cake flour instead of all-purpose flour. Using cake flour will give your cake a softer texture. If you can’t get cake flour, make sure to check out the FAQ section lower in this post for a substitute.
Unsalted butter: Butter gives this cake a really nice flavor. It also gives a lot of moisture to the cake.
Sour cream: I love using sour cream in cakes. It really adds to the flavor and gives it a ton of moisture.
Vanilla bean paste: This is the real flavor star of this recipe. Although you can still use vanilla extract, using vanilla bean paste gives it even more flavor. It’s just so good and I urge you to just try it.
Here are a couple of vanilla bean pastes to try:
Sometimes, vanilla pean paste can get a little expensive though, so just know that you can use vanilla extract and it’ll still taste amazing.
Almond baking emulsion: This ingredient is optional, but I think it’s really the secret ingredient to this cake.
Now, just hear me out on the almond emulsion. The recipe only calls for a very small amount and it does NOT taste like ordinary almond extract, which I personally don’t even like.
No, this recipe calls for almond baking emulsion, not almond extract. To me, they taste WAY different.
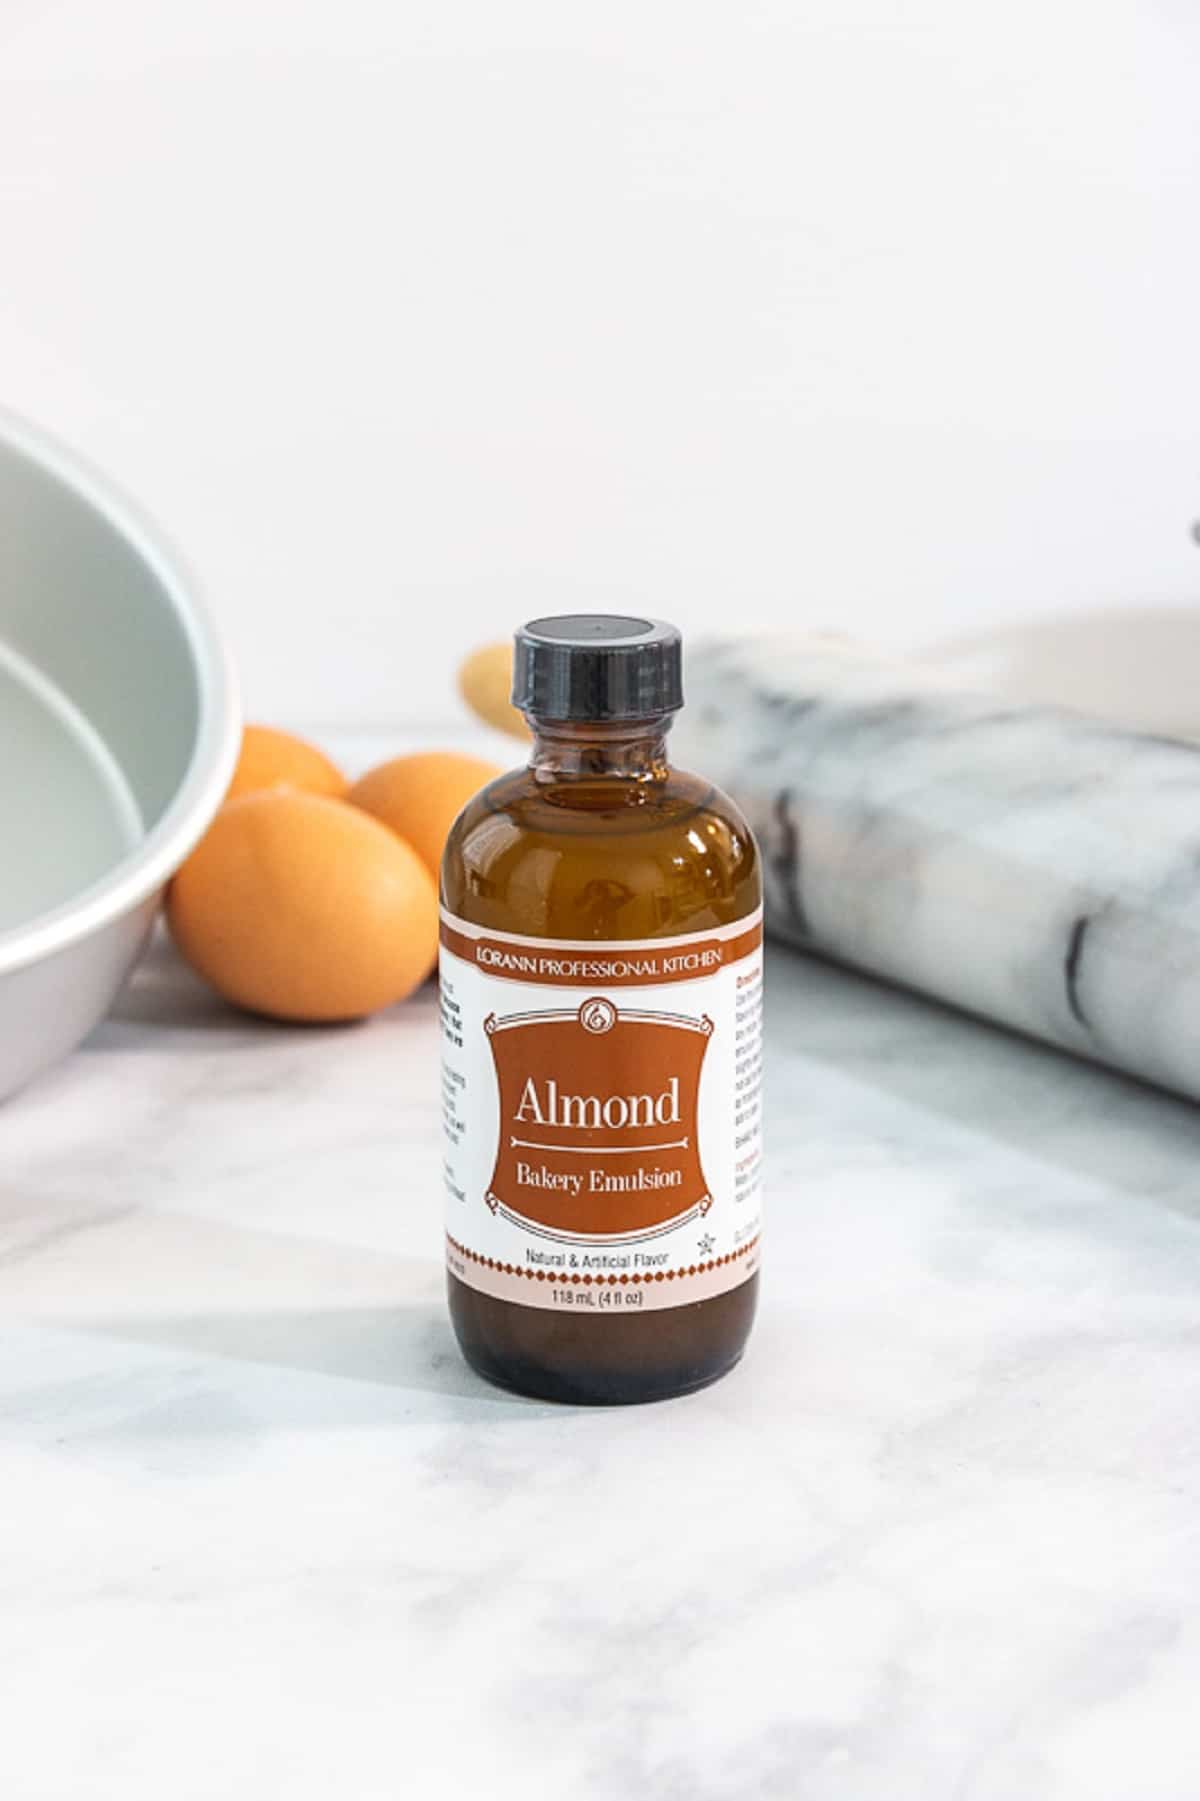
Even if you think you won’t like anything with almond extract in it…I have one question for you…have you tried it? Sometimes things taste totally different than you expect. I mean I don’t even like almonds, but I like this because to me…it doesn’t taste like almonds.
Here’s my point on the almond emulsion: This recipe only calls for half a teaspoon. That isn’t much and it’s not strong or overpowering at all. All it does is help bring out the flavor of the vanilla bean paste.
When you taste this cake, you don’t really taste an almond flavor. You just know it’s got this full vanilla bean flavor and something a little special that makes you never want to stop eating it.
I’ve personally been told loads of times by people that they don’t what’s in the cake, but they just couldn’t stop eating it.
As always though…if you are allergic to almonds, then don’t use it. If you’ve already tried it and you don’t like it…it’s ok! I won’t be mad at you and you can still make this cake with just vanilla bean paste or extract and it will STILL be awesome.
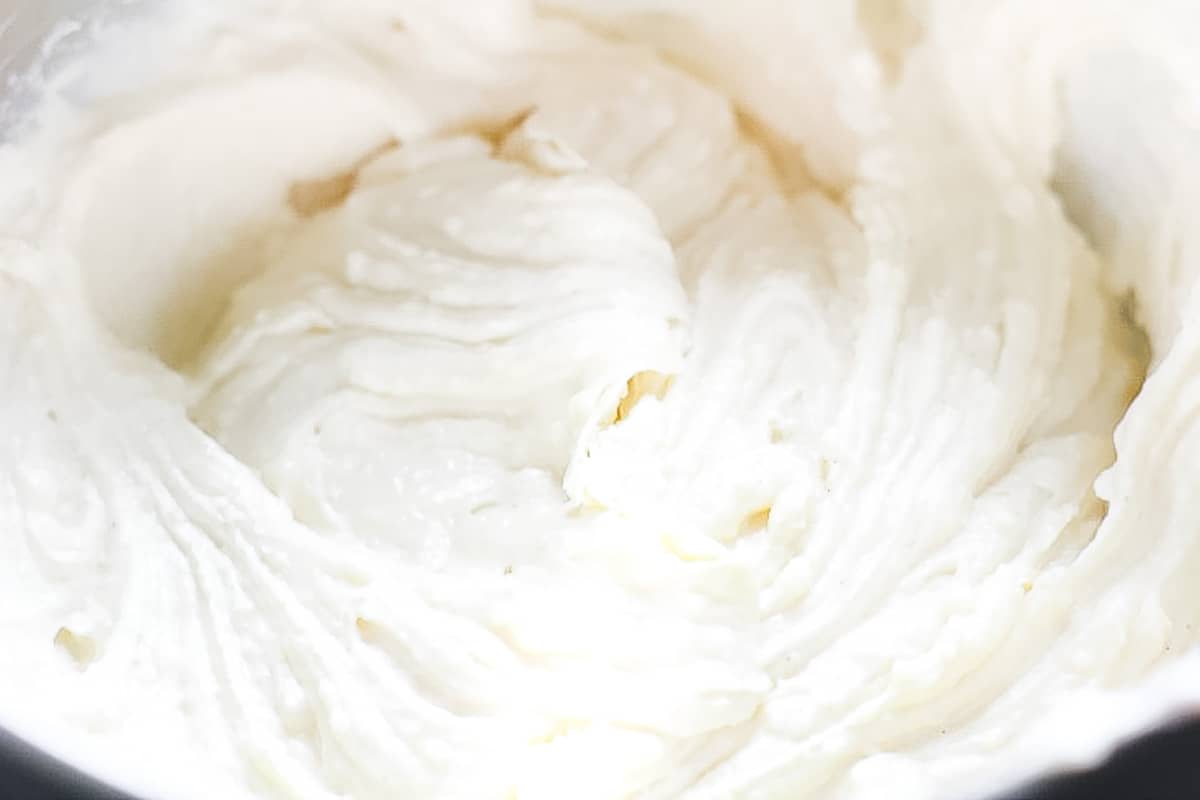
Vanilla bean buttercream: You’re gonna want to add buttercream to this cake and I have just the one for you. You can find that recipe here: Vanilla Bean Buttercream
How to Make this Cake:
Let’s talk a little about how to make this vanilla bean cake. (The printable instructions are in the recipe card below.)
Step 1:
First, you’ll need to preheat the oven to 350 degrees F. (Now, just know that you’re going to turn the oven temp down to 325 degrees F once you put the cakes in the oven.)
The thought process behind this is to give the cake a boost of heat to help it rise higher, but then to let the temp go lower so that it doesn’t over-brown the bottom and top.
You’ll also want to go ahead and grease and flour two 8-inch round cake pans that are about 2 inches high. (If making cupcakes, make sure and read the notes in the recipe post or the FAQ section lower in this post.)
Step 2:
Now combine the flour, sugar, baking powder, baking soda and salt in a mixing bowl and whisk.
Step 3:
In another bowl, combine the sour cream, milk, oil, vanilla, almond and eggs. Mix well with a whisk and set aside.
Step 4:
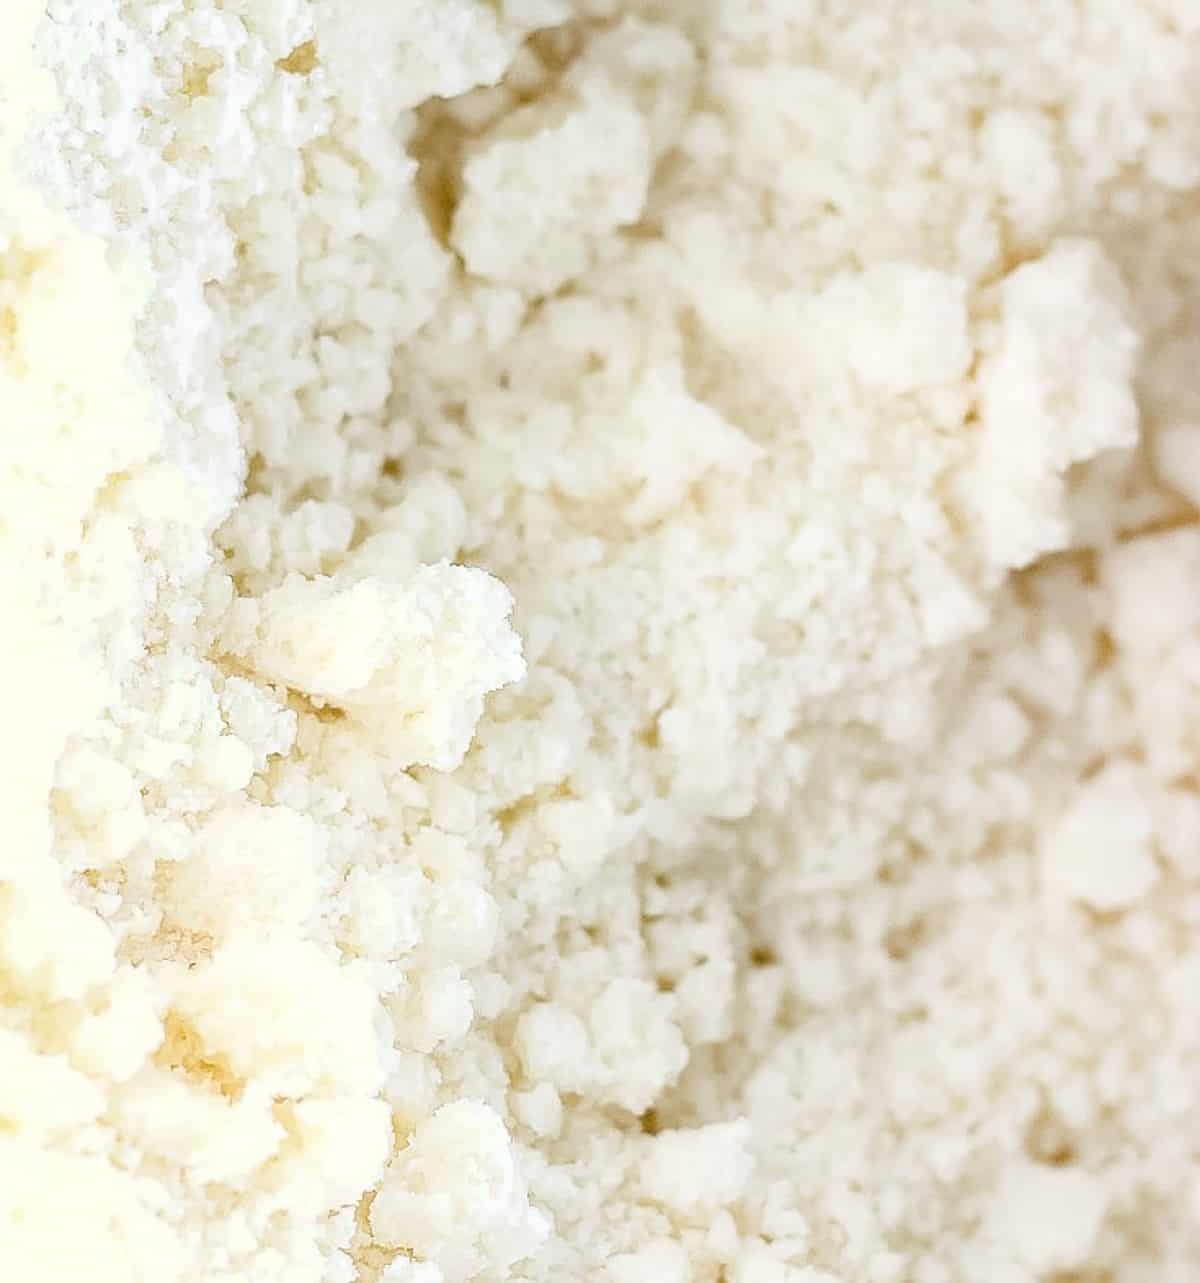
Now cut the butter into chunks. Then, turn the mixer on low and add the butter slowly to your dry ingredients. You’ll just mix on low to medium until all the butter is added, then switch to medium, medium-high and mix until all the flour is coated with the butter and the mixture is crumbly.
You want the mixture to resemble a sand-like texture.
Step 5:
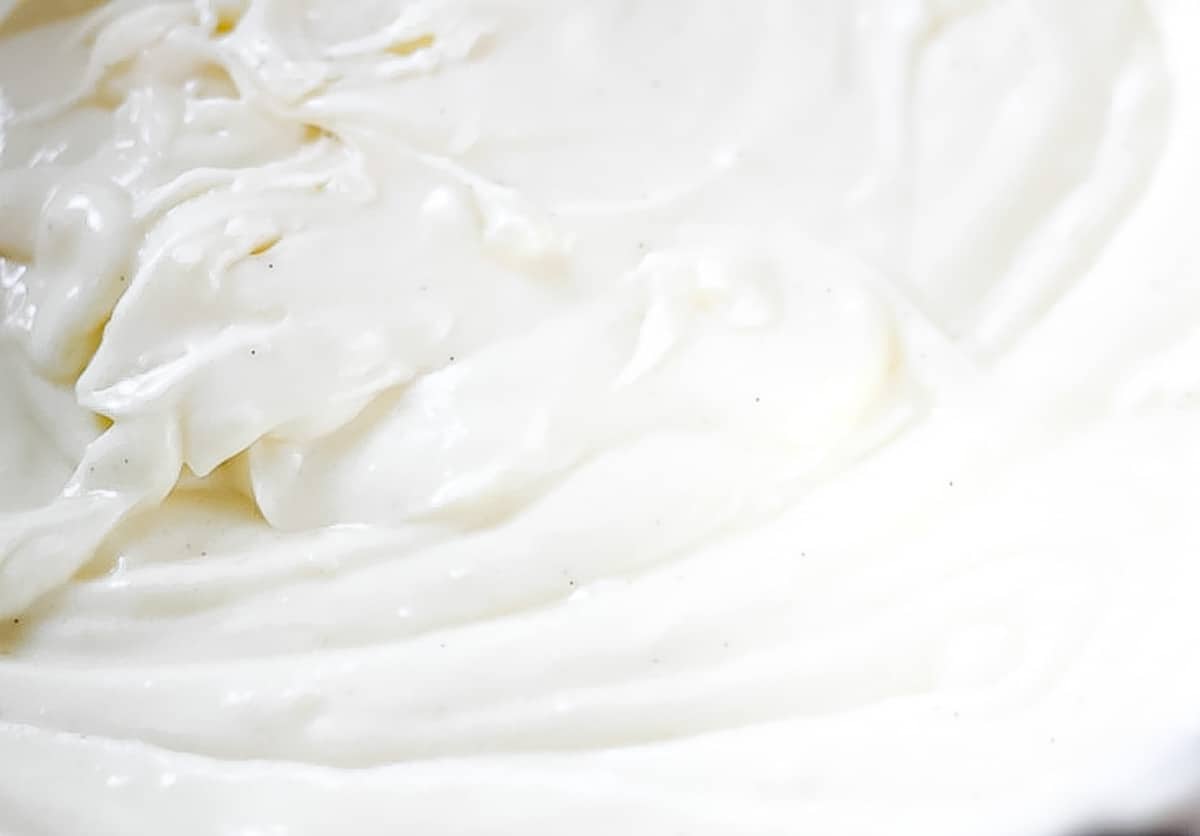
Now pour in about a third of the liquid mixture. Mix that in on low to medium until combined…about 30 seconds to one minute. (Some reverse creaming recipes call for mixing 1-2 minutes at this stage, but be careful about mixing longer than a minute as mixing for too long will cause a dense, rubbery cake.)
Pour the last of the liquid mixture and mix again until well combined. Don’t overmix the batter at this point. Stop mixing once everything is well incorporated.
Use a rubber spatula and scrape the sides of the bowl. Mix again for only about 10 to 15 seconds though.
Step 6:
Pour the cake batter into the prepared pans.
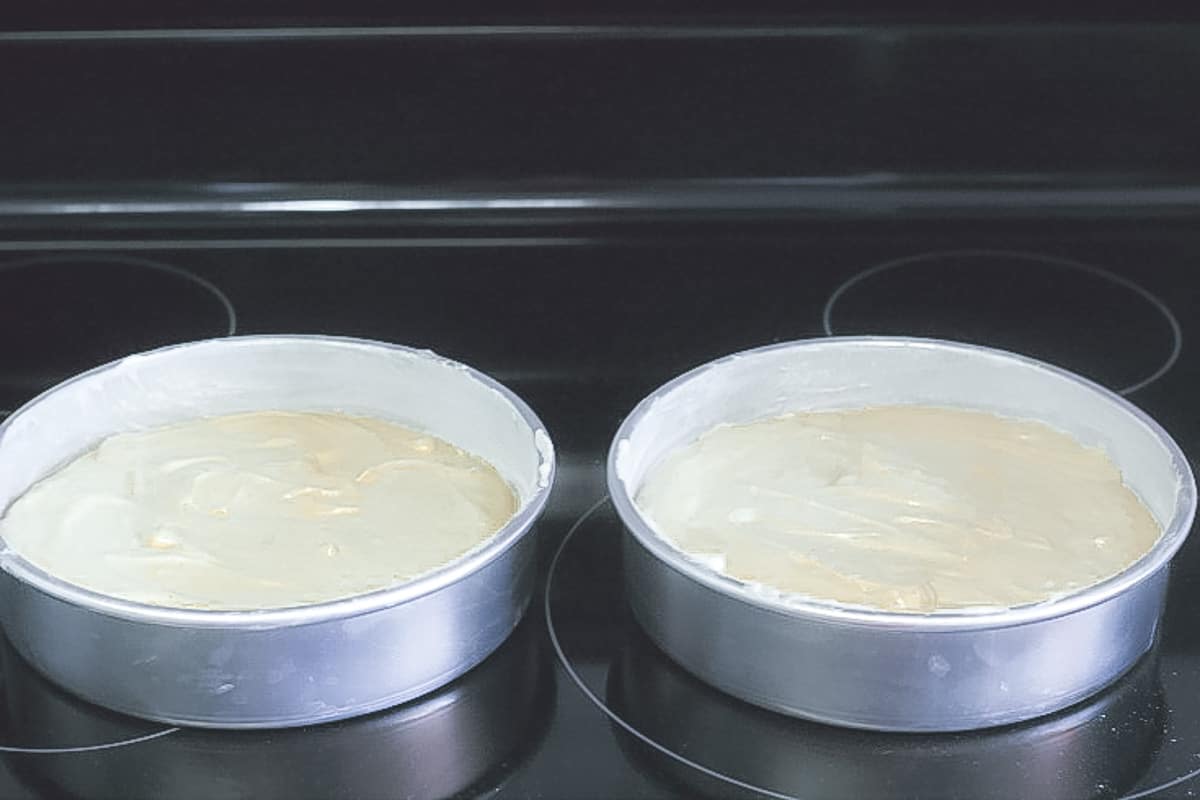
Slide the cakes into the oven and make sure to turn the temperature down to 325 degrees F (unless you’re making these as cupcakes, in which case you’ll want to read the notes below).
Bake the cake layers at 325 degrees F for approximately 40-45 minutes.
The cakes are done when a toothpick inserted into the center of each cake layer comes out with either a few moist crumbs on it or clean, but now raw batter.
You don’t have to wait until the toothpick comes out clean. Just make sure it doesn’t have raw batter on it.
Step 7:
Set the cake layers on wire racks and let them cool for about ten minutes. After they’ve settled for ten minutes, turn the cakes out of the pans and onto the racks.
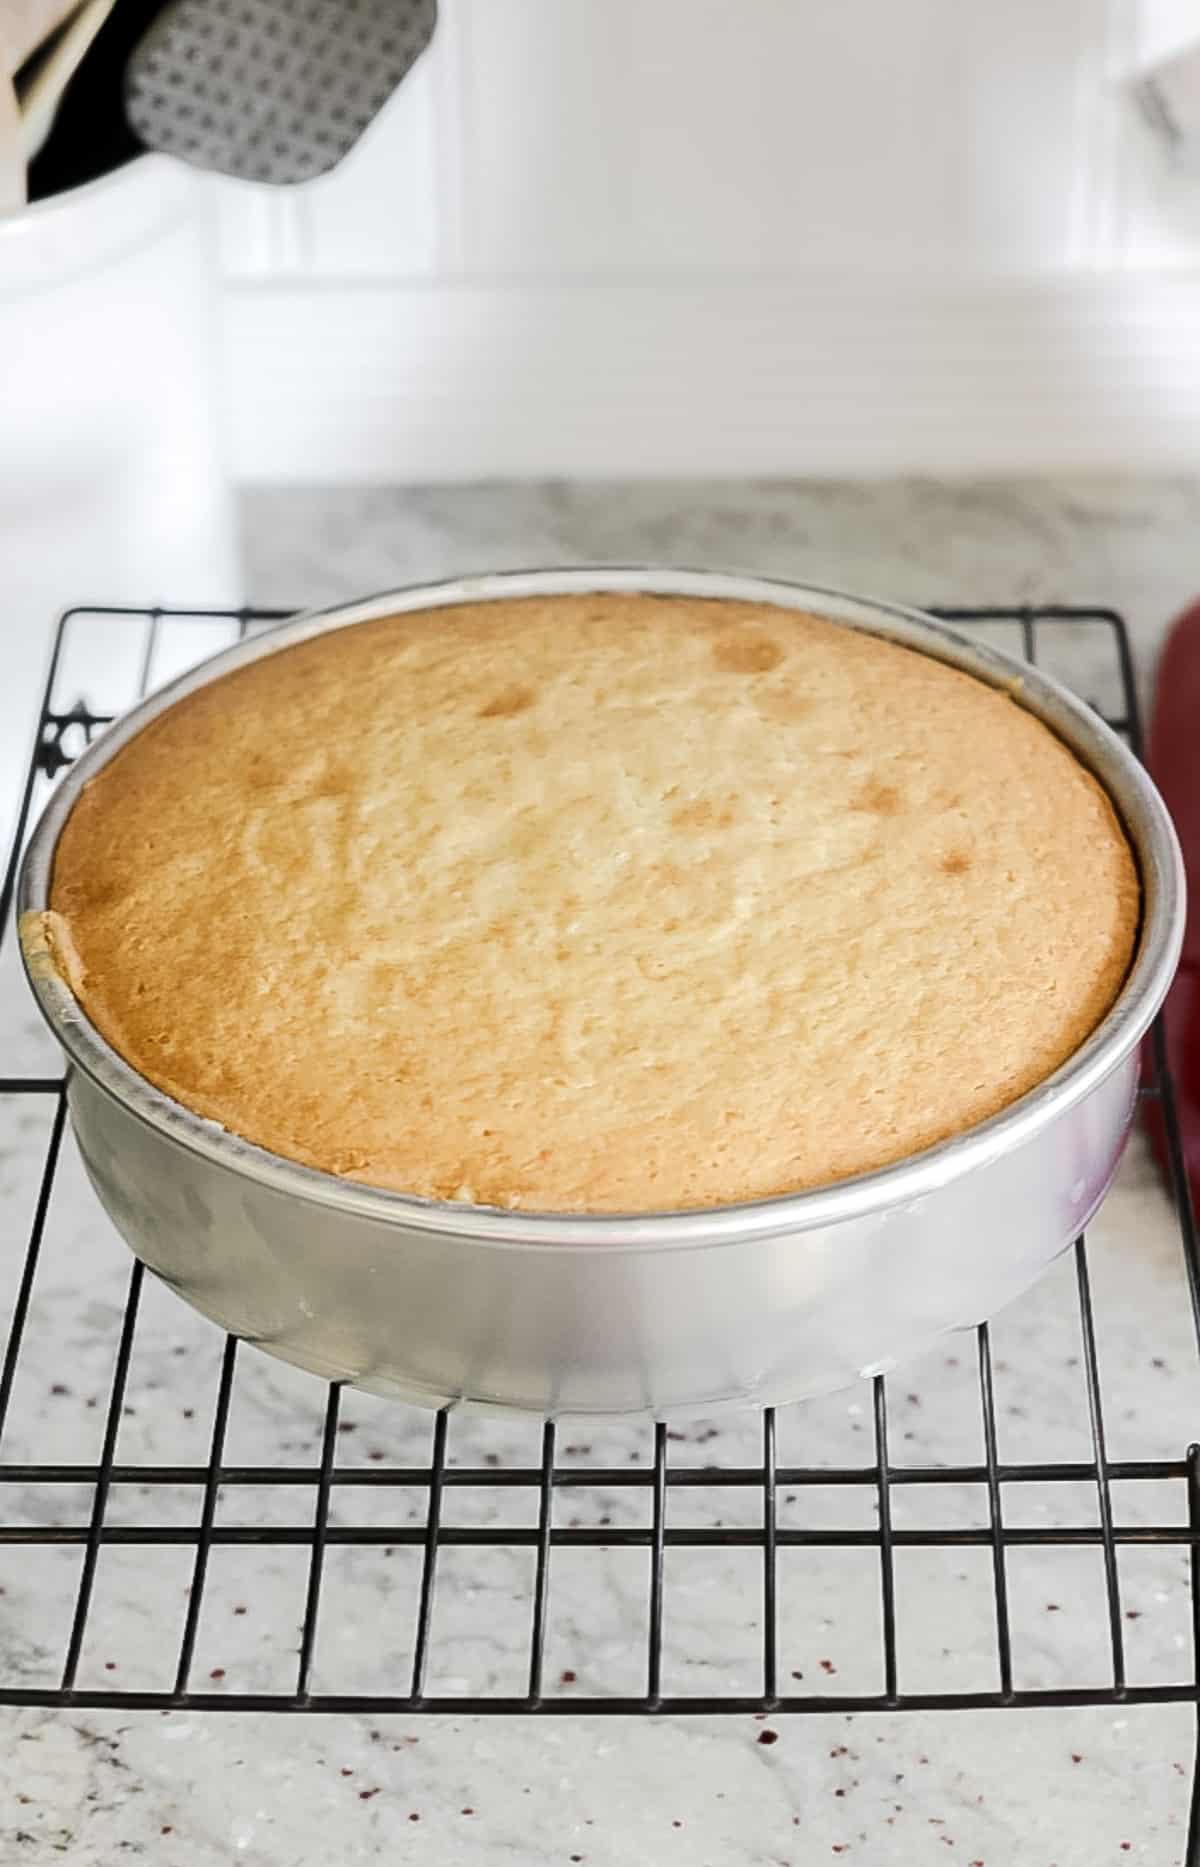
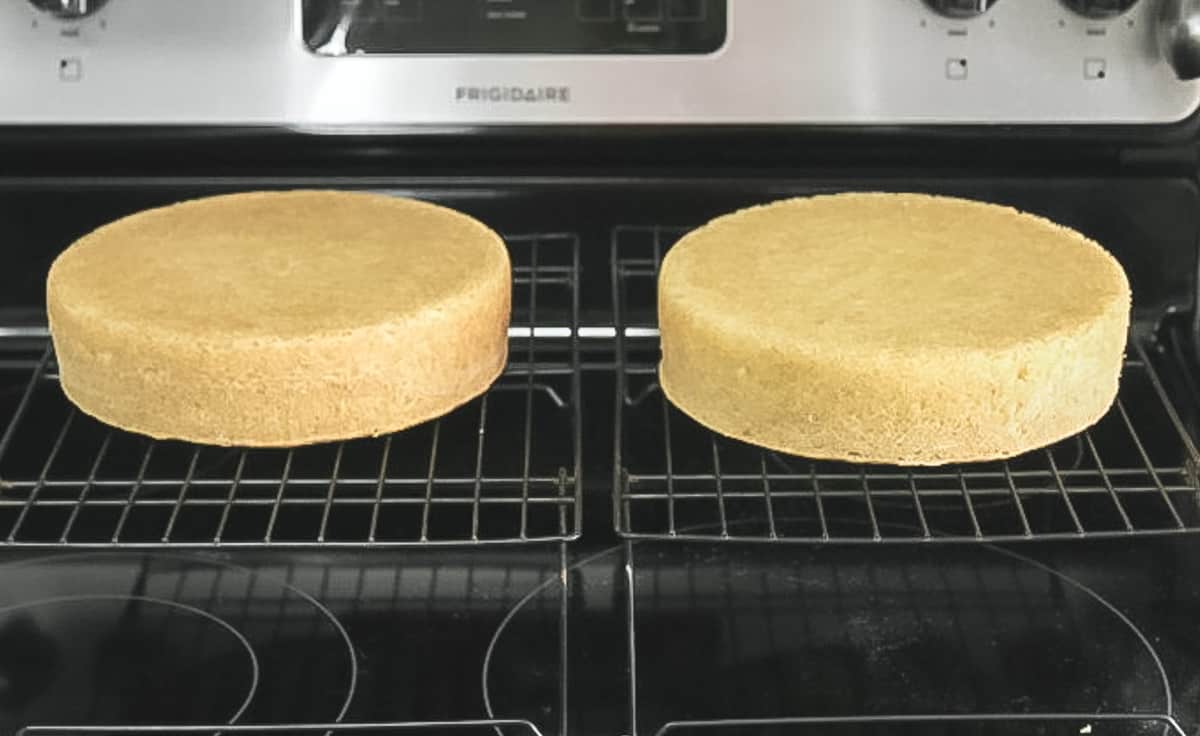
Let them cool out of the pans completely before adding buttercream frosting or freezing the layers.
See my post on how to freeze cake layers and cupcakes here: How to Freeze Cake & Cupcakes
Step 8:
Once the layers are cooled, set one layer on a cake plate or cake platter and add buttercream to the top.
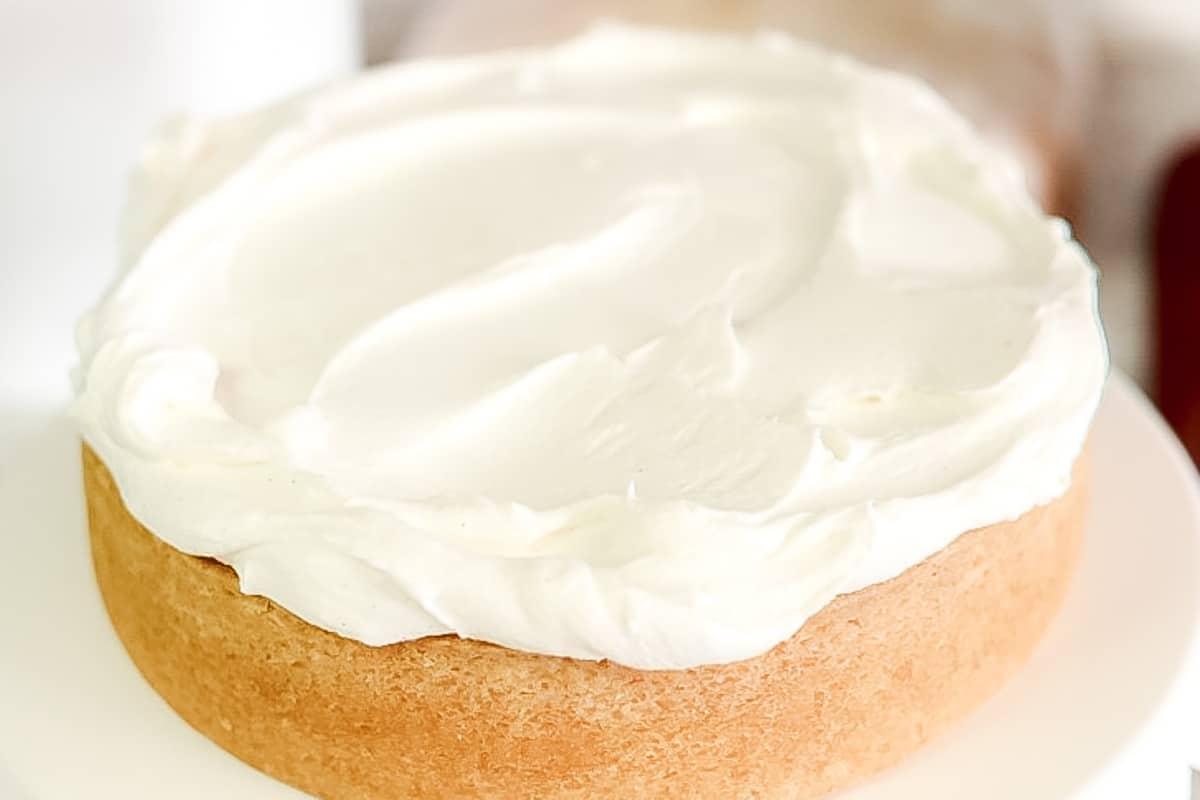
Next, add the second layer and cover the entire cake with buttercream.
You can find my buttercream recipe here: Vanilla Bean Buttercream
Tips & FAQs:
A white cake is usually whiter in color and could use vegetable shortening instead of butter to help get a lighter color cake. The vanilla is also isn’t usually as strong in a white cake as it would be in a vanilla cake.
A vanilla cake usually includes vanilla extract and a vanilla bean cake usually includes vanilla bean paste. Vanilla bean cake usually has a stronger vanilla flavor.
Vanilla bean paste is thicker and uses actual vanilla seeds. Using vanilla bean paste in cakes really pumps up the vanilla flavor.
Here’s a good article from Nielsen-Massey on when to use vanilla bean paste or vanilla extract: When to use Vanilla Bean Paste and Vanilla Extract
You can sometimes get it at craft stores that sell cake decorating supplies, but I generally order mine from Amazon.
Here are some options:
LorAnn Organic Madagascar Vanilla Bean Paste
Native Vanilla Bean Paste
Heilala Vanilla Bean Paste for Baking
Nielsen-Massey Pure Vanilla Bean Paste
Taylor & Colledge Organic Vanilla Bean Paste
Yes you sure can. I think using a good vanilla bean emulsion or paste really pumps up the flavor and can set your cake apart from the rest, but a real vanilla extract will work as well.
Cake flour is different than all-purpose flour and they can’t be substituted for each other in equal amounts. Cake flour will give your cake a more tender texture, so it’s best to use that in this recipe if you can get it.
If you can’t get cake flour, you’ll have to substitute it with all-purpose flour, but you’ll need to make these changes: For every cup of cake flour called for in the recipe, use one cup of all-purpose flour instead and remove two tablespoons of it, then replace that with two tablespoons of cornstarch.
Be careful not to pack the flour down into the measuring cup when you measure it out. That can add too much flour to the batter and cause the cake to be dense and dry. Just spoon the flour into the measuring cup and level it off.
Unsalted butter works best because you can estimate the proper amount of salt that will be added plus salted butter has a different water content than unsalted.
However, if you’re unable to get unsalted butter, you can use salted in the cake and the buttercream, but omit the additional salt that each recipe calls for.
Sour cream is best in this recipe as it helps make a very moist cake and gives a little flavor. If you don’t have access to it, you can use plain yogurt, but use the full-fat yogurt instead of the low-fat or fat-free type.
No, you don’t have to use it, but it’s really a very small amount and it just gives a hint of added flavor. Personally, I think it adds that extra secret ingredient that people just love and it doesn’t actually taste like almonds.
To see an even deeper discussion on why I really like a touch of it in this cake, check out the ingredient section closer to the top of this post.
The mixing method for this cake is called the reverse creaming method because instead of creaming the butter with the sugar, you’ll add the butter, in chunks, to the dry mixture which will coat it.
This method helps produce a softer cake and helps reduce the chance of over-mixing which can over-develop the gluten.
This cake is done baking when a toothpick inserted into the center of each layer comes out with a few moist crumbs on it or clean, but no raw batter.
This cake can be made ahead of time and frozen if desired. Let the baked cake cool completely, then wrap in plastic wrap and foil and place in the freezer for up to a month.
To thaw, place the wrapped cake on the counter at room temperature and let thaw completely, then remove the wrapping. Once defrosted, add the glaze.
This cake can be stored covered at room temperature for several days as long as it’s not covered or filled with a perishable frosting.
To prolong freshness, the cake can then be covered and stored in the refrigerator for a few additional days.
Most cakes are best served close to room temperature, especially when made with butter like this one. If the cake is cold, set it out to come closer to room temperature for about 20-30 minutes before serving.
You can also pop a slice in the microwave to warm up a bit.
Yes, but with a few changes. Fill 2 cupcake pans (24 cupcakes) with cupcake liners and fill with batter about ⅔ of the way full. Bake at 350 degrees F (do not turn the temperature down) and bake for about 15-25 minutes depending on the size of your oven. Start checking for doneness at around 12 minutes just to be sure.
You may have a bit of cake batter left over, but you can chill that batter and make the remaining cupcakes when the others have baked.
Yes, this cake works well for stacking as long as you use proper supports as you would stacking any cake.
As an Amazon Associate, I earn from qualifying purchases.
Supplies used for this recipe:
- Magic Line 8-inch round cake pans or Wilton 8-inch round cake pans
- Whisks
- Silicone spatula
- Mixing bowls
- Stand mixer or electric hand-mixer
- Cooling racks
- Vanilla bean paste options: LorAnn Organic Madagascar Vanilla Bean Paste, Native Vanilla Bean Paste, Heilala Vanilla Bean Paste for Baking, Nielsen-Massey Pure Vanilla Bean Paste, Taylor & Colledge Organic Vanilla Bean Paste, Almond emulsion
- Almond baking emulsion
Video:
Note About Recipe Measurements: I write recipes using volume (cups) measurements because here in the U.S., this is what people are more familiar with and I don’t want anyone to feel intimidated when baking. For metric/weight measurements, click the ‘metric’ button under the ingredients in the recipe card below. The weights are converted by a program, not me, and it’s just a best guess. I can’t guarantee that weighing the ingredients will produce the exact same results, since I test recipes using volume measurements.
Recipe
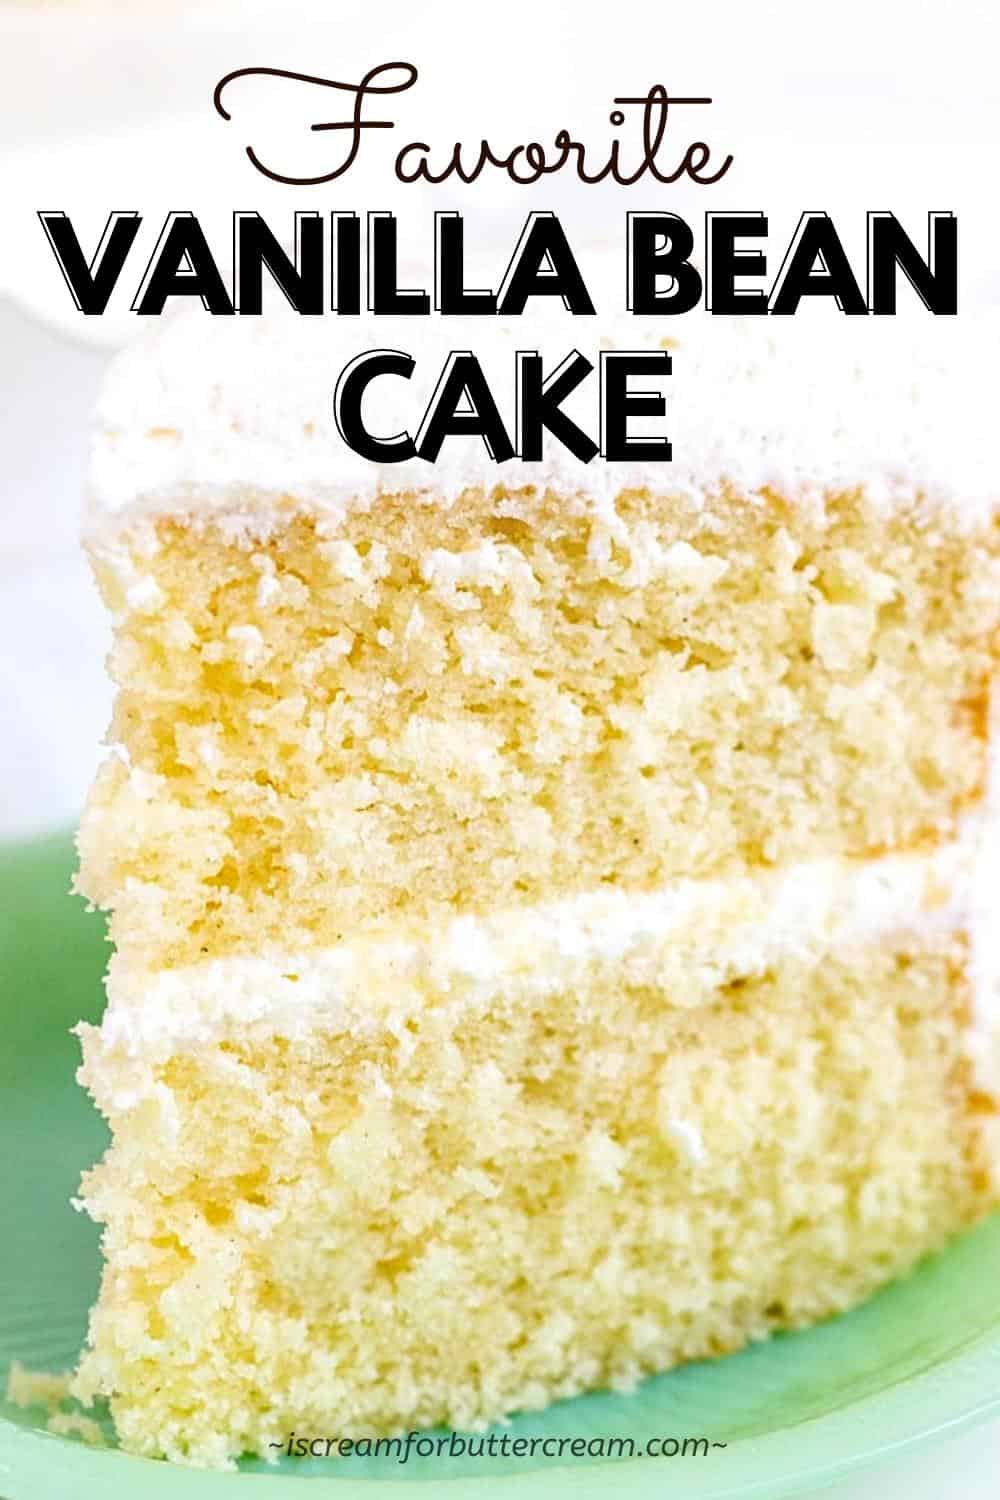
Favorite Vanilla Bean Cake
Ingredients
- 3 cups cake flour (not all-purpose flour, see FAQs in the post for substitutions)
- 2 cups granulated sugar
- 1 ½ teaspoon baking powder
- ½ teaspoon baking soda
- 1 teaspoon salt
- 1 cup unsalted butter, only slightly cooler than room temperature (2 sticks)
- 1 cup sour cream
- ½ cup whole milk
- 1 tablespoon vegetable oil
- 1 tablespoon vanilla bean paste (or vanilla extract)
- ½ teaspoon almond emulsion (optional)
- 3 large eggs
- Vanilla Bean Buttercream (recipe link in the notes section)
Instructions
- Preheat the oven to 350 degrees F. (You will turn the oven temperature down to 325 degrees F once you put the cakes in the oven.)
- Grease and flour two 8" round cake pans. (If making cupcakes, read notes below)
- Combine the flour, sugar, baking powder, baking soda and salt in a large mixing bowl and whisk well. Set aside.
- In another bowl, combine the sour cream, milk, oil, vanilla bean paste, almond extract and eggs. Mix well with a whisk and set aside.
- Cut the almost room-temperature butter into chunks. Turn the mixer on low and slowly add the butter, a bit at a time, to the dry ingredients. Once all the butter has been added, mix on medium to medium-high until all the flour is coated with the butter and the mixture is crumbly. It should have a sand-like texture. If the butter is too warm or if it's mixed for too long, it will form a paste and this will not produce a good cake texture.
- Pour about a third of the liquid mixture. into the dry mixture and mix on low to medium until well combined…about 30 seconds to one minute. (Some reverse creaming recipes call for mixing 1-2 minutes at this stage, but be careful about mixing longer than a minute as mixing for too long will cause a dense cake.)
- Pour the last of the liquid mixture into the dry mixture and mix again until well combined. Don't overmix the batter at this point. Stop mixing once everything is well incorporated, usually no more than about 20-30 seconds.
- Use a silicone spatula to scrape down the sides and bottom of the bowl. Mix again for only about 10 to 15 seconds.
- Pour the cake batter into the prepared pans.
- Slide the cake pans into the oven and turn the oven temp down to 325 degrees F (unless you're making these as cupcakes, in which case you'll want to read the notes below).
- Bake at 325 degrees F for approximately 40-45 minutes. The cakes are done when a toothpick inserted into the center of each layer comes out with a few moist crumbs on it or clean, but no raw batter.
- Set on wire racks to cool for ten minutes, then turn the cakes out onto the racks and let them cool out of the pans completely before adding buttercream frosting.
Notes
Nutrition
How to Share
I’d love for you to share this recipe link or tag it, but please do not share screenshots or copy/paste the recipe to social media as the content and photographs are copyright protected and we (bloggers) work really hard on our content. Sharing the link, tagging us on socials and pinning it is super appreciated though!


Kim Kerr
Kara this might be dumb question but I see it alot and I live in Canada so things are a bit different. When it comes to “whole milk” what exactly is that? I know it has a higher fat content. Our mil here is skim, 1%, and 2% then you get into your creams. I do also shop in the states as I live on the border of Michigan. Is it called “whole milk” in the states?
Thanks for the help,
Kim
Kara Jane
Hi Kim, There are no dumb questions! 😉 In the states, we also have skim, 1%, 2% and then whole…after that it goes into half and half cream and then heavy whipping cream. It should be fine for you to just use the 2% milk. I’ve done that on occasion and it’s worked just fine for me. You might even test out using the next level up from your 2% (maybe the least heavy cream…if that makes sense) and see how that goes. It might actually make a really moist and rich cake. Let me know how it goes!
Kim Kerr
Ok I have made this recipe several times now and even the cupcake version! I am so glad I came across your site and your blog post about trying an homemade version 1 more time ( i had many failed attempts). I am glad I listened and tried it. IT’S THE BEST!!!! I am never using any other recipe or box version again. Your recipe is so easy to follow also. I have gotten so many compliments on how it tastes. LOVE the Almond Emulsion tip. I think that is a hidden gem in it! Thanks soooooooo much Kara for sharing what you love with us. Keep it coming….lol….
What about a Spice Cake? Would love your version on that as we come into fall.
Thanks Again, and God Bless you and your family 🙂
Kara Jane
Yes! So, glad you tried one more scratch cake recipe! It really is possible to get a moist and great tasting scratch vanilla cake. And I agree with you…that small touch of almond emulsion makes all the difference. So glad you liked it and so glad you let me know!
Oh, and I’ve got some really tasty scratch cakes coming up for that fall season 😉
Miranda Khzym
Hi. I’m also Canadian and whole milk is our homogenized milk which is 3.25 % fat. I have made this recipe a couple of times already and used homogenized milk and the cake was amazing . Hope that helps.
Kara Jane
Oh awesome! That’s good to know. Thanks for chiming in! 🙂
Heidi
Hi Kara, does this recipe hold up well with fondant? If I was to freeze, do you leave it to fully defrost before starting icing? Thank you.
Kara Jane
Hi Heidi, Yes this cake will work under fondant.
I know that some people like to start decorating their cakes when they’re partly frozen, but I find when I do that, I have issues with condensation and icing blow outs because of the moisture. I always let mine defrost fully in their wrappings and on the counter before I even start decorating. Different people have their preferences and I’m just in the ‘decorate room temperature cake’ camp. 😉
Kim Kerr
Ok let me just say ” TOO DIE FOR!!!! I made this recipe this weekend and i have tried many recipes with zero sucess and having to resort to box mixes. Now I am not sure what to do with the 20 cakes mixes I just bought…lol… This recipe is AMAZING!! it worked out perfectly. It was so moist and melt in your mouth goodness. Funny thing my son says “Mommy there is dirt in this cake”, I said OMG really…. it was the Vanilla bean paste…lol……
Ok maybe this is just to good to be true so I put it through test#2 ” my fussy eater kids, and daughter who doesn’t like cake or icing”, well guess what? She LOVED it!!
So needless to say “out with old, in with the new”- this is my go to recipe now.
I made cake and cupcakes and both were awesome.
Thank-you so much for you post about trying ” a from scratch recipe” glad I didn’t give up.
Kara Jane
Well you just made my day! ? I’m so glad you liked it! I was dying laughing about the ‘dirt in the cake’ comment. Vanilla beans do kind of look like dirt specks don’t they. ?? And it doesn’t get any better than cake that’s kid approved…that’s great. Thanks for the wonderful comment!
Victoria A. Miller
Hi Kara,
Love the Recipe! Delish, my family was in awe of the flavor! I just started baking scratch cakes and bought Fat Daddios Cake Pan Set of 3, Round 3 Inches (4″, 6″, 8″) 3 inch deep. I am having a problem with the middle of my cakes sinking. I checked my baking powder and it expires 11/2017 and I was very conscience not to over mix. Any advice would be much appreciated! Oh and do you use the paddle or whisk attachments for your recipe?
Kara Jane
Hi Victoria, I sent you an email with a picture attached, but just in case it doesn’t come through, I’ll answer here as well.
I’m so glad you like the flavor of this cake. It’s my favorite…as the name implies 😉
I have several suggestions for you.
The first thing that came to mind was overmixing, but you mentioned that you were very careful not to do that. You mentioned checking the baking powder, but I’d also check the baking soda as well.
The next thing would be underbaking. If you pull a cake out too early, the middle will sink. It may still taste done, but the very middle will be slightly less done than the outside. Try leaving it in another five minutes and then taking out to see if that helps.
Also, make sure you’re reducing the temperature from 350 degrees when you preheated the oven, down to 325 degrees when you pop in the cake.
And to answer your question, I use the paddle attachment (I think KitchenAid calls it the flat beater attachment). I use that on pretty much everything…unless it’s dirty and I have to use the whisk attachment 😉
Another thing to note is that cakes with sour cream, don’t usually come out with a higher dome on them. They are, by nature, a little flatter on top. Also, the method for this cake is the reverse creaming method, so that also creates a flatter top on a cake. They shouldn’t sink though. Make sure you’re not opening the oven until the minimum baking time is reached.
One more thing, you mentioned you are using 3 inch tall pans. I normally us 2 inch tall pans. So if you baked in 2, 8 inch round pans that were 3 inches deep, the cake probably won’t rise all the way to the top of the pan, since the recipe was written for 2 inch pans. You could certainly double the batter and fill the pans up a bit more if you wanted.
Also when my cakes are cooling in the pan, I only cool them for ten minutes in the pan, then turn them upside down and out of the pan to cool fully on a rack.
Hope all this helps! Let me know how it goes 🙂
Victoria A. Miller
Thank you so much for your advice, I was so thankful you and were! LOL
Ok here I go again… Iwill let you know how it turns out! Love your recipes!!!
Carol
Do you use the whole egg? Usually on a “white” cake it only calls for the whites? Am so anxious to try your recipe but I’ll have to shop for the vanilla bean paste first. Also, tell more about the “heating core?” Sounds like that would certainly be a help with the bigger and/or deeper pans.
Thanks so much for your ideas (and the recipe)!
Kara Jane
Yes for this vanilla bean cake, I use whole eggs. The cake is not going to be white, but more of an off-white. I prefer using whole eggs because of the flavor and moisture it gives to the cake. It’s sort of a trade off as far as color goes, but when I was doing cakes for clients, no one ever had an issue with the cake not being bright white. They just wanted a good vanilla flavor. If you try out the recipe, I’d love to hear how it goes!
As far as the heating core…you can usually pick up one of these at any craft store. I use them on large cakes that are larger than 10 inches. They help the cake to bake more evenly. Also be sure if you use one, to grease that the same way as you grease your pan.
Hope this helps!
Alyssa
Hello! I wanted to make this cake in the morning, but only have pure vanilla extract instead of the bean paste. Do I use the same exact measurements for the extract as you put for the bean paste?
Thanks!
Kara Jane
Alyssa, Yes…vanilla extract will work just fine. Use the same measurement as the vanilla bean paste. In fact I made this cake this weekend and had run out of vanilla bean paste, so I used regular extract myself 😉
Alyssa
Thank you so much for your reply! The customer postponed the cake until next week so I ordered paste!! Can’t wait to try this!
Kara Jane
Oh wonderful! Let me know how it goes!
Yen
Hi Kara! Can I cut down on the sugar without affecting the texture of the cake? My family prefers less sweet cake and so I’m thinking of using only 1 cup of sugar or maybe less. Thanks!
Kara Jane
Hi! Cutting the sugar way down will affect the texture. Sugar brings moisture to the cake and tenderizes it, so while you could probably get away with slightly reducing it, using less than half of the recipe I’m afraid would cause a big difference in the texture and moistness of the cake. You could always try it out though…it may surprise us both!
Giselle
Hi Kara
I tried your Vanilla Bean cake recipe and the results were awesome. I gave it to my friend for her wedding anniversary and they loved it. I also tried the vanilla buttercream. It tasted great however I had some difficulty due to the temperature in my country. Its usually about 30 degrees celcius most days. How can I keep the icing from melting so quickly? I noticed that the butter was separating from the sugar in small clumps.
All in all I really enjoyed doing this cake project. Thank you very much. Giselle
Kara Jane
Hi Giselle, I’m so glad you liked the vanilla bean cake! It’s one of my absolute favorites. I live in Texas, so it’s usually hot here as well, so I feel your pain about keeping buttercream from melting. I’ve got a couple suggestions. You can add another cup of powdered sugar to thicken it up a bit, or just add a bit less milk. This will make the buttercream a bit more firm, so it won’t melt quite as quickly. Another thing you might have to do if you’ll have the cake outside for any length of time, is to use vegetable shortening (Crisco, Trex etc.). Replace half the amount of butter with the vegetable shortening. This makes a more heat-stable buttercream. I’d replace the salted butter with the shortening and then add in a pinch of salt. Salted butter seems to melt quicker to me…I don’t have any real scientific explanation for that other than I think it has a bit more water content, but anyway it’s just something I’ve noticed. So, basically, use half unsalted butter and half shortening and that’ll make it firmer. You could use all shortening, but then you won’t get that delicious buttery flavor. Hope this helps!
Giselle
Thank you so much for the suggestions. I will try them and let you know how things work out.
Giselle
Eleanor
Dear Kara
I’m writing from a tiny island in the Mediterranean…Malta. Your recipe looks fantastic. My daughter will be turning 2 and I want to make a cake for her to take to school. I’ve already tried 3 different recipes but I’m not too happy with any of them.
Can you kindly suggest a substitute for the sour cream? It’s not an ingredient we normally use and it’s quite hard to find it in stores.
Thank you
Kara Jane
Hi Eleanor, You can try to use full fat buttermilk for the sour cream. If you don’t have buttermilk, you can pour one cup of whole milk into a bowl or glass, then take out one tablespoon of it. Add back in a tablespoon of either vinegar or lemon juice, stir it and then let it set like that for about five minutes. Stir again and then add to the batter when called for in the recipe. I haven’t tried this substitution with this cake recipe, so I can’t promise it’s going to come out perfect, but that’s my best guess for substituting. I’m just a huge fan of sour cream in cakes, because it really makes them moist, but I understand some ingredients are hard to get in different areas. Anyway, with the substitution, it may not come out quite as moist, so just be careful not to over bake it because that can dry it out even further. Let me know how it goes!
Eleanor
Dear Kara
I managed to find the soured cream when I had lost hope completely, but not the cake flour 🙂 I made my own with all-purpose flour and cornstarch. I also added rainbow sprinkles. The result was fantastic. Your recipe lived up to its promise. Will surely re-use…next time will be lemon flavour followed by chocolate-chip. Thank you.
Kara Jane
Yay!! I’m so glad you found the sour cream and it all worked out! And I think adding chocolate chips to it would be amazing as well. I do have a lemon cake recipe. It’s a little different than the vanilla one, but it still uses sour cream. If you want to check it out, you can find it here: https://iscreamforbuttercream.com/lemon-sour-cream-cupcakes-lemon-buttercream/
Glad you liked the vanilla cake! 🙂
Amanda
Hi. I am new to all of this but I want to make this cake for my children’s birthday. However, I wanted to make it in the rainbow layers. Will the food coloring mes up the batter? Any suggestions on the best way to achieve this goal? Will the layers hold up or is the cake to delicate? I plan to use your icing recipe as well. Any advise is greatly appreciated.
Kara Jane
Hi Amanda, This cake does have a soft crumb, but it’s on the more dense side, rather than delicate. It’s not a heavy cake by any means, but it’s not so delicate that you can’t stack it. I’ve stacked it many times and even put fondant over it. It holds up well and stays moist.
A
s far as adding food coloring to it, it’s better to use the gel food coloring. You can get that at any craft store like Michael’s or Hobby Lobby, if you’re in the US. It’s much thicker and more concentrated, so you don’t have to add as much and it won’t add too much liquid to the cake batter like the liquid food coloring does. Do you live by a Wal-Mart? They sometimes carry the gel food coloring in the craft section of the store, over by the cake and wedding DIY aisle. (It’s actually not in the baking aisle where the liquid food coloring is…kinda weird it’s not though.)
The only thing I would be really mindful of is when you’re adding the color to your cake batter, be very careful to stop mixing once the color is incorporated. Scratch cakes can bake unevenly or straight up fall in the middle if you over-mix the batter, so just be mindful of that. I’m a big fan of doing test cakes. I know sometimes people think that’s a pain to do, but you’ll at least know if it’ll work out and about how long you can mix it…plus you’ll get to eat the entire test cake 😉
I’d be sure and use the gel colors when coloring the buttercream as well. It’ll give a much brighter color without watering down the icing like the liquid color does. Hope this helps!
Taylor Turner
Will this recipe work on a fondant covered tiered cake?
Kara Jane
Yes, I have used this recipe for a fondant covered tiered cake and it worked for me. I’ve also heard from someone else who sent me a comment that it worked for them as well. My only tip is just to make sure you dowel it properly, but I’m sure you know that already 😉
Cheryl
I’ve never made buttercream frosting and I’m rather apprehensive. Would you recommend something other than buttercream, etc. cream cheese frosting?
Kara Jane
Hi Cheryl, You can surely make cream cheese frosting, but that’s very similar to buttercream actually. Essentially it’s just using cream cheese in place of some of the butter. I’ve got a cream cheese frosting on my blog here: https://iscreamforbuttercream.com/cream-cheese-buttercream/ I think the vanilla buttercream would be better on a vanilla cake though…that’s just my opinion. Don’t be apprehensive about making buttercream. It really is easy to make and so delicious. If you try it out, let me know what you think!
Kathleen
Hello! I’m planning to make your cake for my daughters 4th birthday. She wants a vanilla cake, and I’ve never found a white cake I love, so I’m hoping this cake will change my view. 😉 I am using a white flour milled from heritage wheat bc I have a wheat intolerance, but can easily tolerate older versions of the grain. I’ve made other cakes that call for All pourpose flour with the heritage flour and they’ve turned out just as delicious and moist. I’m wondering if you have any tips since I’m not using cake flour. I’m guessing I should sift before measuring but any other tips would be much appreciated. Thanks!
Kara Jane
Hi Kathleen, I have two suggestions you could try. You can make your own cake flour from the regular flour you have by adding in some cornstarch. Here’s how to do it: Take one cup of the white flour, take out two tablespoons of it and then add two tablespoons of cornstarch back in. Then sift it well.
If you’re unable to use cornstarch or don’t have any, then I would just use the white flour you have and lesson the amount by two tablespoons per cup of flour called for in the recipe. So for each cup of flour you add, take out two tablespoons and then just follow the same mixing method in the recipe. Hope that all made sense and I hope it helps. Let me know how it goes!
Kathleen
The cake was a hit!! So many complements about the texture and flavor. I frosted it with a Swiss Buttercream recipe I have used several times before, and added some vanilla paste to it. It was a two tier cake decorated for my daughter’s requested “swan ballet” party. I used fondant, gum paste and gold paint to add decorations (my first time using either of those). Is there anywhere I can send you a photo?
I purchased the gum paste and fondant pre-made and rolled it out, but I’m wondering if you have a recipe for both or either that you like.
Kathleen
Also- I had left a previous comment but it never posted. I didn’t have any corn starch on hand, so I removed 2 TBS of flour per cup as you suggested. It worked great! Glad to have that trick under my belt now. Also, I made three batches (both because of the size of cake I wanted and because we just moved and our new oven is old and uneven so one of my cakes sunk- yay for upcoming kitchen remodel!) I loved the extra flavor of the almond emulsion, but since the cake was for my vanilla loving 4 year old, I decided to double the vanilla and cut the almond in 1/2 for 2nd and 3rd batch. It turned out tasting more vanilla-ie and slightly less almond-ie in my opinion….but for my adult friends, I’d stick with the original version of this cake.
Kara Jane
Hi, I did see the previous comment…I have to approve them manually and it takes me a bit to do it, which is probably why it didn’t show up there for a minute. I’m so glad everyone liked the cake! And thanks for letting me know the trick worked. That’s really good to know. Oh, and I feel your pain about old ovens. Awhile back, we did a partial remodel of our kitchen, so now I’ve got a new oven, but our old one always over-browned on one side and the entire thing was unlevel, so it made for really interesting looking cakes!
Kara Jane
Oh I’m so glad it it worked out and I’d love a photo! You can email me at kara@iscreamforbuttercream, or you can tag me on Instagram at #iscreamforbuttercream and I’ll see it there.
As far as fondant and gumpaste go…I usually just purchase my gumpaste. It’s just easier for me. As for fondant, I make a hybrid of purchased fondant and marshmallow fondant. I use Liz Marek’s recipe from Sugar Geek Show. I’ve tried tons of different recipes and brands of fondant and this has worked the best for me. The work-ability is very good and it’s easy to get it smooth. Fondant reacts to different environments, so depending on where you live, this may or may not be a good fit for you, but for me it works great. Here’s the link if you’d like to try it out: https://sugargeekshow.com/recipe/lmf-fondant-recipe/
Lisa
I baked a double recipe in a 14″ round (3″ deep) pan, and it came out very dark. Did I bake it too long? It seems moist, but is not very pretty.
Kara Jane
Hi Lisa, it may have been over-baked, but I have a few questions and a couple tips. Does it seem overcooked on the edges? What’s the middle like? Does it seem done in the middle? Make sure for a larger cake, that the temp is set to 325 degrees. For the larger cakes, it needs to bake low and slow. Also, for that size you’ll need to use a heat core in the middle. That’ll help it bake more evenly. Larger cakes are notorious for baking unevenly. In general, a larger cake like that might come out a little more browned than a smaller size, just because sometimes you end up having to bake it a little longer than the smaller ones. Let me know if I can help further!
Lisa
Thank you Kara. I suspect I over did it. The center is cooked, but it is much darker than when I used your recipe before for a smaller cake. By the way, this is a wonderful cake! It came out so well before, that I decided to use it as the base layer for my daughters wedding cake. I did use a flower nail in the center, as I do not have a heat core. But I did not lower the temperature, so I suspect that may be part of the problem. I will try it again tomorrow. This one is not pretty enough to serve for the wedding I am afraid.
Lisa
Kara Jane
Yeah I think that’s probably it. Baking at 350 would bake it but would over-brown the top. I think switching to 325 will be perfect. So glad you like the recipe! Oh and hey…now you get to snack on a 14 inch trial run cake! 😉
Leah
Hi Kara, I’ve learned a lot from your tutorials/baking blogs and videos and I also I like to try your Vanilla Bean Cake with your Vanilla Bean Buttercream for my daugther’s 1st Birthday in two weeks time. I will make a 6inch cake with 3 stacks. I will put my homemade marshmallow fondant icing on top of the vanilla bean buttercream to decorate for the Minnie Mouse theme. I will watch your free course on how to do fondant ruffles for the design of the cake like a tutu. And I will also make 2 dozens of cupcakes using the same recipe. think I am running out of time, I don’t want to rush and stress myself. I don’t know which one I can do in advance or which one to do first. Would you mind helping me on what to do first and the timeline? It is my first time to bake a cake. And I am wondering how many grams of butter is a (2 sticks of butter). I am from Australia and our one stick of butter here is 250g. Thank you in advance.
Kara Jane
Hi Leah, I’ll start with the butter question before I forget to answer it. 2 sticks of butter here in the US is a cup of butter. I looked it up and google says a cup of butter is equal to 340g.
Ok, onto the the timeline question. If this were a project I was doing, here’s what I would do: I’d go ahead and bake the cakes now and freeze them. Make sure to freeze them properly, so they don’t get freezer burn (there’s a blog post about that as well). Several days before the party, I’d make the buttercream and just keep it in the fridge. Early, the day before the party, or even the day before that, take out your frozen cakes and let them thaw on the counter in their wrappings. Once thawed, take the wrappings off, then stack the layers and ice them. At that point, you’ll want to let the cake layers settle. Cover the cake in saran wrap for at least several hours before putting on the fondant. If you don’t let your cake layers settle at least several hours before adding fondant, it could cause a blow out of the fondant later on or bulges or ridges in your cake when it finally does settle. Once the cake is settled (either for several hours or overnight), cover with fondant later that day and then you can work on adding the ruffles. The ruffles are going to take you some time. They are very time intensive, so leave yourself a lot of time for that. I wouldn’t do that the morning of the party. I’d do it the day before. You can either bake the cupcakes the morning of the party, or the day before, while you’re waiting for your cake layers to settle.
So, basically you don’t need to do everything the day of the party…that’s too much and would stress anyone out. Either start early the day before, or even the day before that. The cake will still be good and you don’t even need to refrigerate it unless the filling or buttercream is perishable and American Buttercream isn’t. Once the cake is covered in buttercream and fondant, it’s sealed and it will still taste fresh the next day, and even for a couple days after that. Hope all this helps!
Leah
Thank you so much Kara. I will do all those tips and will update you after that big day! Cheers! 🙂
Leah
Hello Kara, I’ve made the cake yesterday and it was a disaster. I followed the procedures on how to bake them and I even made sure that the measurements for the ingredients are correct. The oven temp is 190C then turned down to 180C. Most of the outside of the cake were burnt and the top cracked. But when I removed all the burnt crust and the dome, there were only half an inch left on the three cakes however the inside are moist and tasty…sadly I couldn’t use them to make the bday cake. I don’t know what I did wrong. I used a 6×3 “ anodized round pan. My oven rack was in the middle. I don’t have an oven thermometer so I am not sure if the heat are even or correct.
And then I did another batch of the cake today. I lowered the temp to just 175C and lowered down the oven rack (just below the middle). Thinking that maybe the oven was too hot when I did my first batch yesterday. I watched, I even sat down infront of the oven just to make sure that it will not burn. At first everything looks good, but after passing the 25mins time, the top was starting to cracked. So I checked if it is already done but the inside was still raw…then the cracked became bigger and the cake getting brown and brown and brown. And when it was done (35mins), I have a dark brown cake with a big crack in the middle. Not that bad like on my first batch but still it doesn’t look right.
I will try to make another batch again tomorrow…and the big day is getting near and I haven’t done anything yet. Sorry for this long story. I just don’t know what I am doing wrong…
Kara Jane
Oh no Leah! Ok, it looks like the Fahrenheit to Celsius conversion is wrong. I went to a conversion chart online and it says for 350 Fahrenheit, it should be about 175 Celsius and then once you get the cake in the oven, turn it down to 160 Celsius. Everything that’s happening just points directly to the oven being too hot. I think this should fix the issue. I’ve only baked this in a 2 inch high pan and I haven’t tried a 3 inch, but I don’t think that would make too much difference. You can even try baking it start to finish at 160 – 165. I’m crossing my fingers, but I think this will fix the problem. Let me know how it goes!
Leah
Hello Kara, thank you so much for your prompt reply. I really appreciate it. I did it! I have baked two batches of 3 6 inch cakes. They look good and not brown. I did two batches coz I just want to make sure that everything will be okay and I will have extra cake in case one of the cake will have a problem. I am not a perfectionist but I like this cake to be perfect 🙂
I did what you told me. I lowered the oven temp to 160C for 30-35mins and put the oven rack in the middle. Will it work for my cupcakes this oven temp and time?
I will do the buttercream icing tonight and will ice the cake so it can settle for tomorrow for the fondant and decorating. And hopefully I can bake the cupcakes and put the frosting also. Time will fly fast tomorrow. Then Sunday is the BIG day! Yay!
Thanks again Kara. You’re a life saver! ?
Kara Jane
Yay! I’m so glad it worked!! I hope I’m not responding too late about the cupcakes…we’ve got a time difference going on. Anyway, for the cupcakes, I’d fill them a bit over half full and then bake them at 175 C for about 25-30 minutes.
Let me know how it goes Sunday!
Leah
Hi Kara, finally I have finished decorating the cake and the cupcakes. Putting on the fondant on the cake is not an easy thing to do. I’ve messed up my homemade marshmallow fondant (cracking so much) and need to buy a ready to rolled fondant outside in a rushed. I tried to do the ruffles but I have had a hard time doing it so I just improvised a design for the bottom of the cake. Everything looked okay but after an hour or two…I have noticed a hair line cracked from the bottom going up…the crack is getting a bit bigger and going up and up. The bad thing is, it is infront of the cake where it is visible. I hope that when I wake up tomorrow morning the crack will not getting more bigger and longer. Is there anything I can do to fix it? My cupcakes are pretty good. My hubby and my eldest son couldn’t wait and ate a cupcake. They really liked it. Thank you Kara for helping me all through out these new baking experience.
Kara Jane
Hi Leah, there’s not much you can do to fix a crack in the fondant, short of recovering the cake. Fondant is just really tricky to work with and just takes a lot of practice. Don’t feel discouraged though…it happens to all of us. Hopefully the crack didn’t get worse. The main thing is to allow the cake to settle before adding the fondant and not to have too much buttercream under it. Fondant is just tricky. I bet she will love it though regardless of the crack in the fondant!
Leah
Hi Kara, glad the birthday party went well. They loved the cake and the cupcakes (I’ve made 36 good size cupcakes from your Vanilla Bean Cake recipe). I’ve got a lot of compliments when they saw the cake. I will surely keep your cake and buttercream recipe on my favorite recipe collection…your recipe is a keeper! By the way, I think that’s why the fondant cracked is because I put too much buttercream on the cake. I don’t have a smoother that’s why my buttercream was bumpy. Anyway, all is done and went well and tasted good. Hope I can attached some photo of the cake and cupcakes so you can see it. Thanks again Kara for the big help during this stressful but fun days of baking the cake for my daughter’s 1st birthday. God bless you always.
Kara Jane
Oh I’m so glad it went well and I’m glad they liked it! You can always send me a pic at kara@iscreamforbuttercream.com I’d love to see your cake! 🙂