
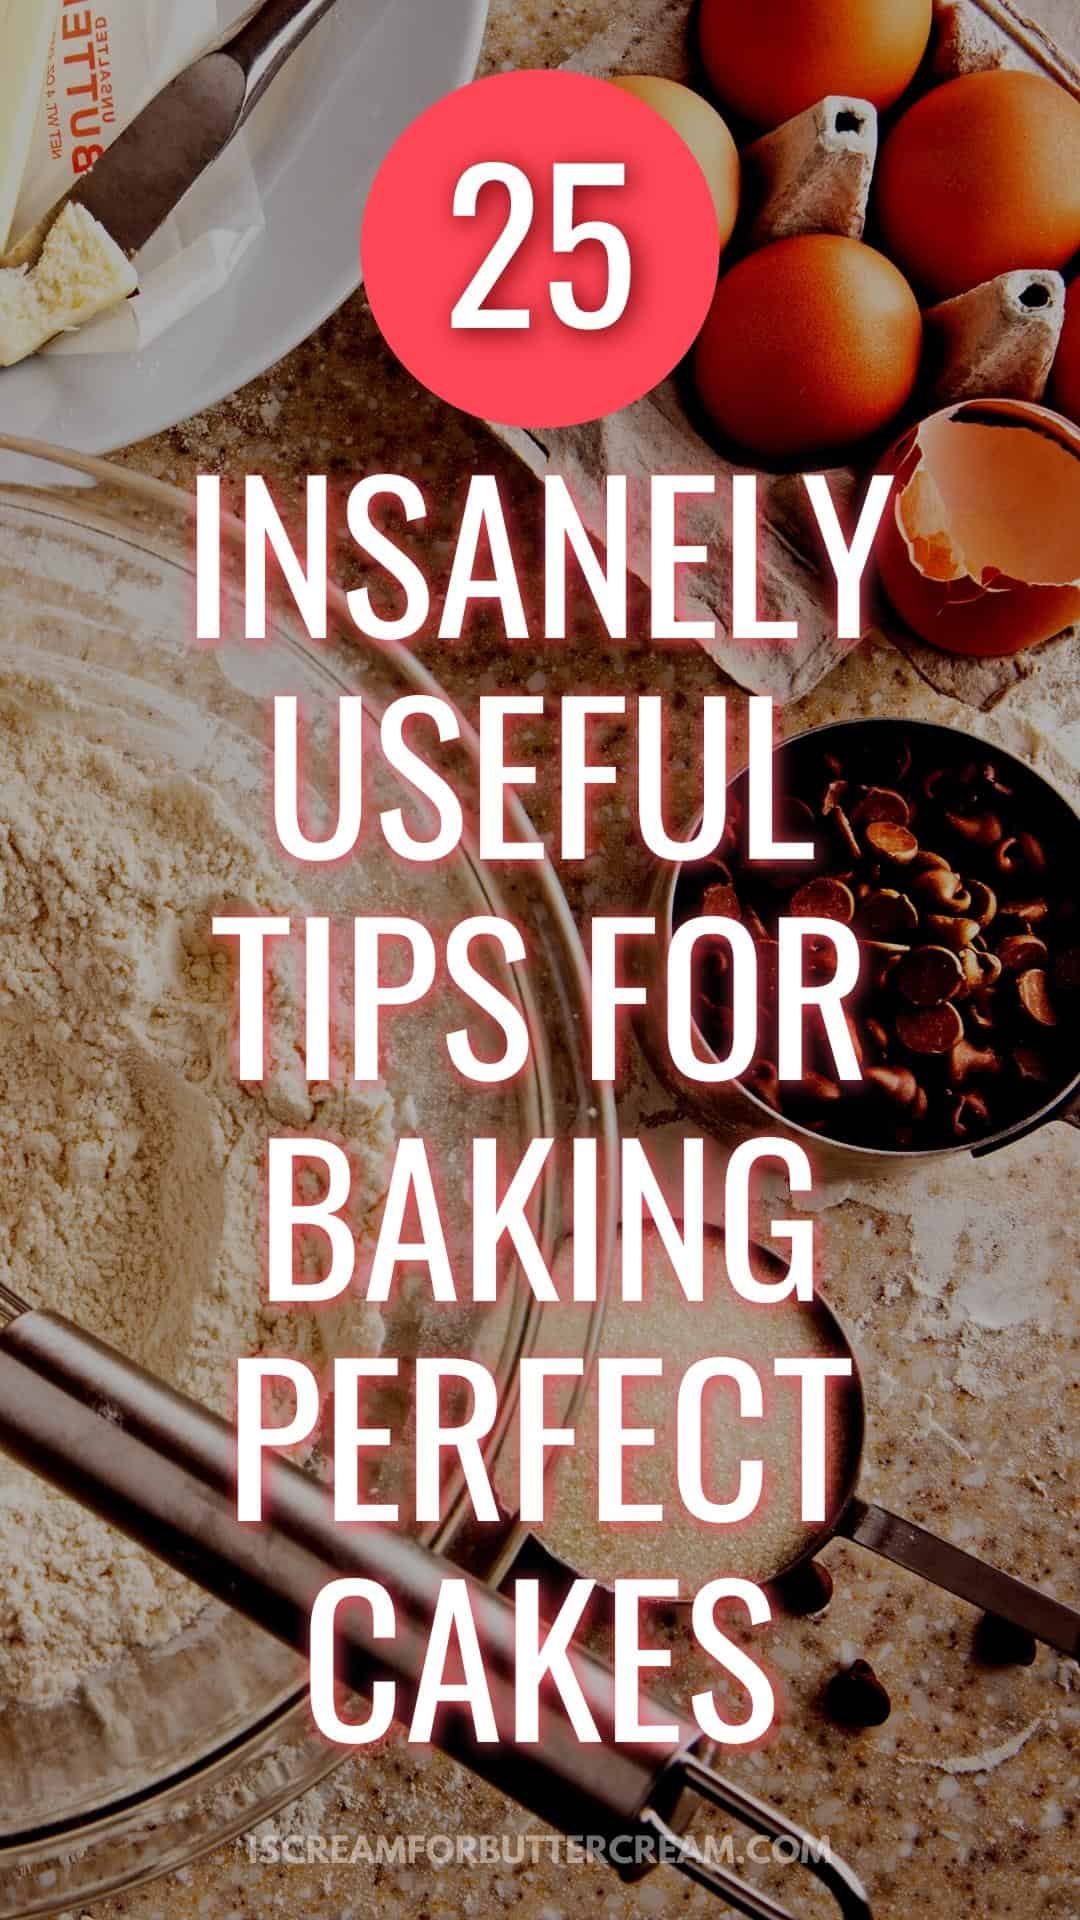
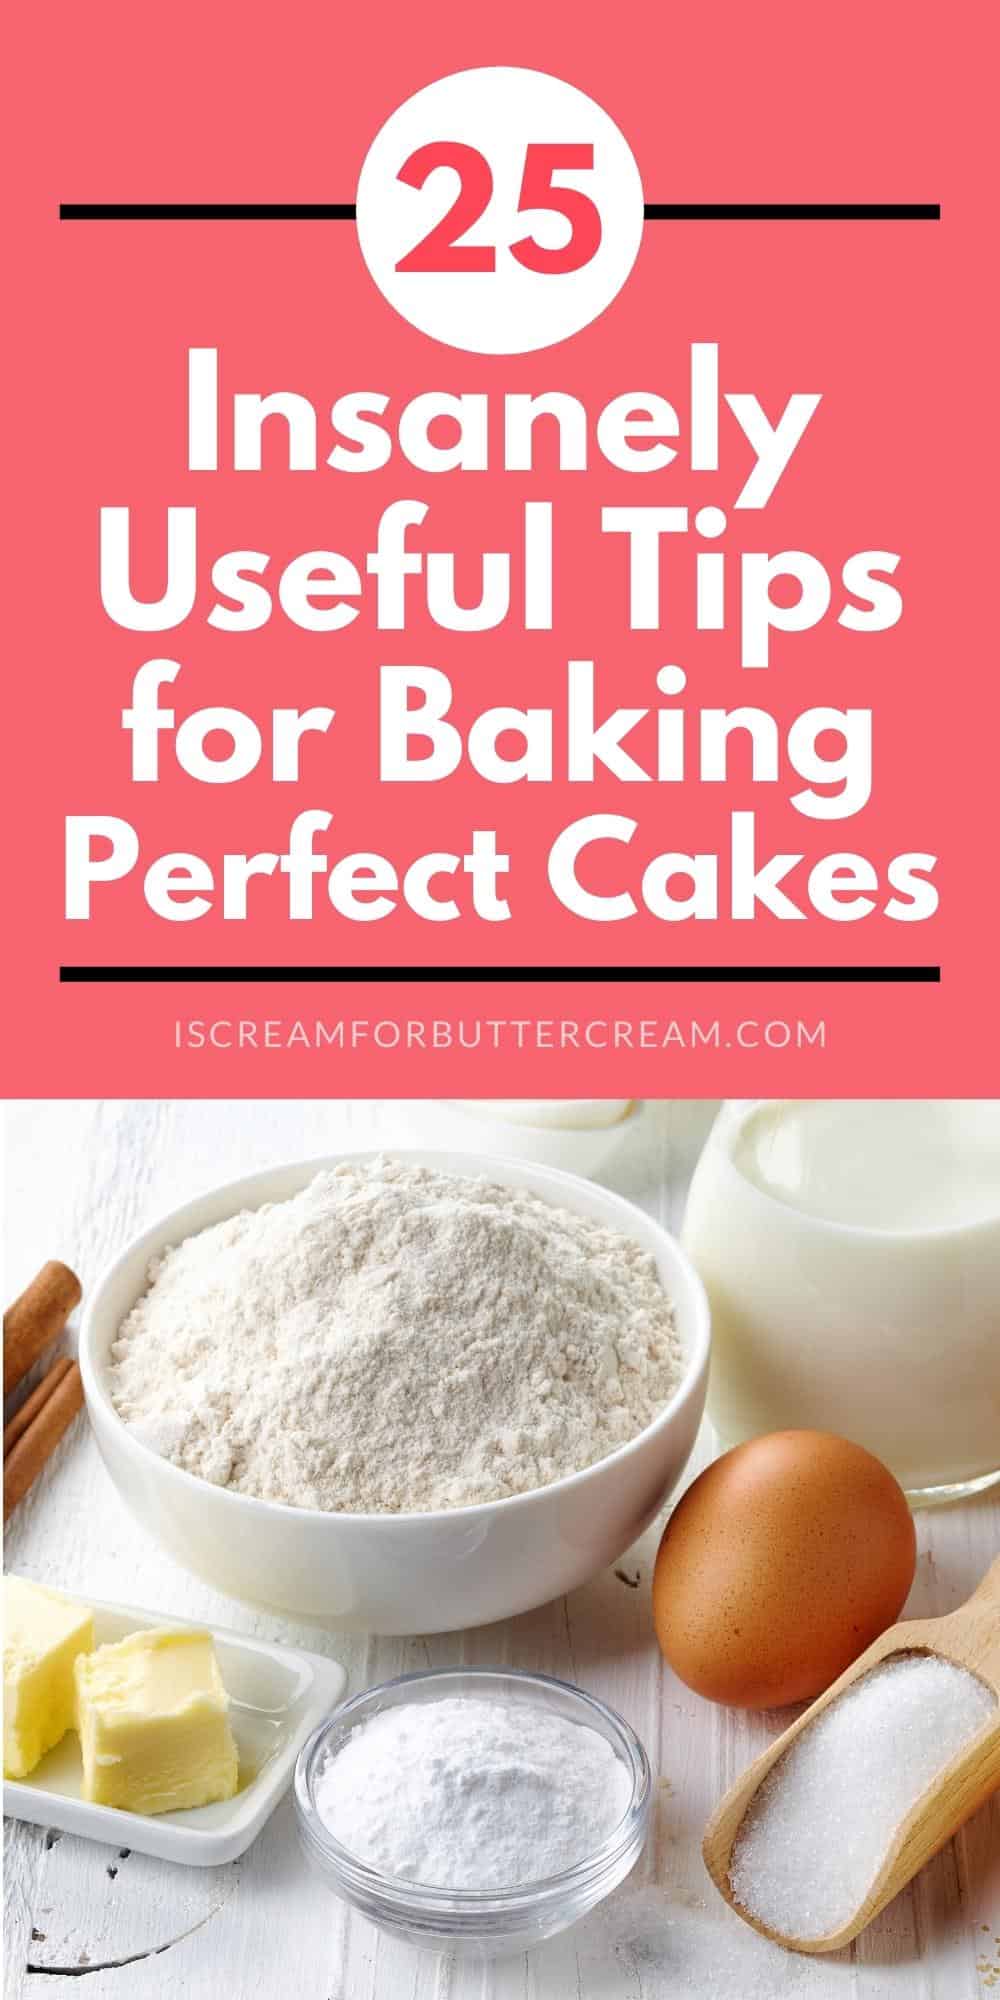
These 25 insanely useful cake baking tips will have you baking scratch cakes that turn out moist and perfect every single time, just like a professional baker.
Here I’ve listed a ton of cake baking tips and tricks.
I’ve tried to fill this post with my absolute best tips for baking cakes. I’ve included lots of cake baking tips for beginners and those new to baking. Not only will we go over some basics of baking, but I’ll also cover some baking tips that maybe you haven’t thought about or heard about before.
If you’re an experienced baker, then you may have come across a few of these, but you might also find a few tips that you’ll find helpful. I like to think I have a few little baking secrets up my sleeve that might be a bit of a surprise.
My hope is that you’ll find these tips useful and that they’ll help solve any cake baking issues you’ve been having.
These tips are in no particular order because I think they’re all important in their own way. Now, let’s get started.
Jump to:
- Tip #1 Use slightly cooler butter:
- Tip #2 Use real buttermilk if you can, but you can also substitute:
- Tip #3 Try almond extract:
- Tip #4 Using the right mixer attachment:
- Tip #5 Don’t substitute baking soda and baking powder:
- Tip #6 Substituting for cake flour:
- Tip #7 Force yourself to follow the recipe without adjusting it:
- Tip #8 A trick to getting your butter room temperature faster:
- Tip #9 Using ingredients that are as close to room temperatue as you can get them:
- Tip #10 Make sure you’re measuring the right way:
- Tip #11 Preparing Pans:
- Tip #12 Make sure the oven temperature is accurate:
- Tip #13 Watch that oven light:
- Tip #14 No slamming the door:
- Tip #15 Over-beating is bad:
- Tip #16 Coat or chop chocolate chips and fruit:
- Tip #17 Cool cakes the right way:
- Tip #18 Freezing Cakes is a big help:
- Tip #19 Make sure you use the right type of can pan:
- Tip #20 Don’t worry about trying to get cake layers to bake up flat on top:
- Tip #21 Don’t forget to check the days on your baking powder and baking soda:
- Tip #22 Never forget to preheat:
- Tip #23 Scraping the bowl is important:
- Tip #24 Be careful when and how many times you open the oven:
- Tip #25 Certain cakes need to rest:
- Bonus Tip: Use good cake recipes
- Other helpful posts:
As an Amazon Associate, I earn from qualifying purchases.
Tip #1 Use slightly cooler butter:

If a cake recipe calls for room temperature butter, set your butter out of the refrigerator to come to room temperature but try to use it when it’s just slightly cooler than room temperature. The reason is that it'll warm up a little when mixed.
I find this is especially helpful when using the reverse creaming method, where you mix the butter into the flour mixture to coat it before adding in the liquid.
If you want even more information on different mixing methods and using different types of flour, you’ll want to check out this post: Types of Flour & Mixing Methods for Cakes
By the way, if you want more information on baking with butter, check out this post: Salted vs Unsalted Butter
Tip #2 Use real buttermilk if you can, but you can also substitute:
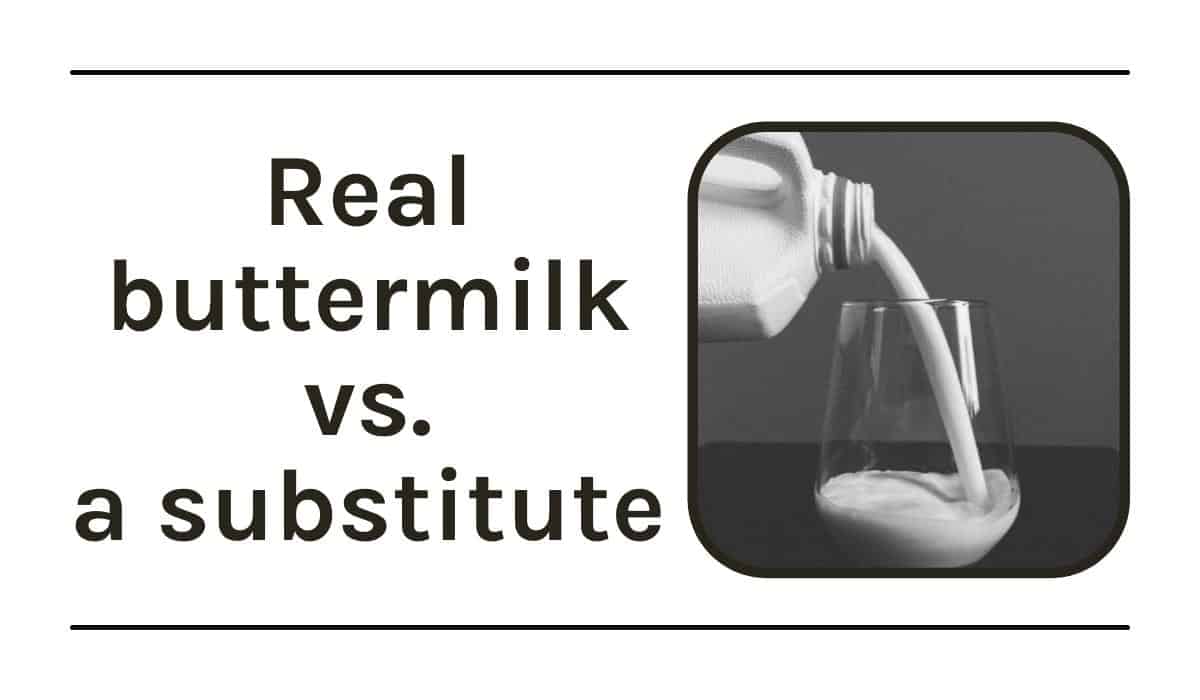
It’s always best if you can use real buttermilk. It really does make a difference in the taste and texture.
But, if you don’t have buttermilk, or can’t get it, you can substitute it by using 1 cup of regular milk, minus a tablespoon, then adding back in one tablespoon of lemon juice (or vinegar). Next, let it sit for five minutes before adding it to the cake batter.
Now, if you need more than one cup of buttermilk, you’ll need to adjust the ratios as needed.
Tip #3 Try almond extract:
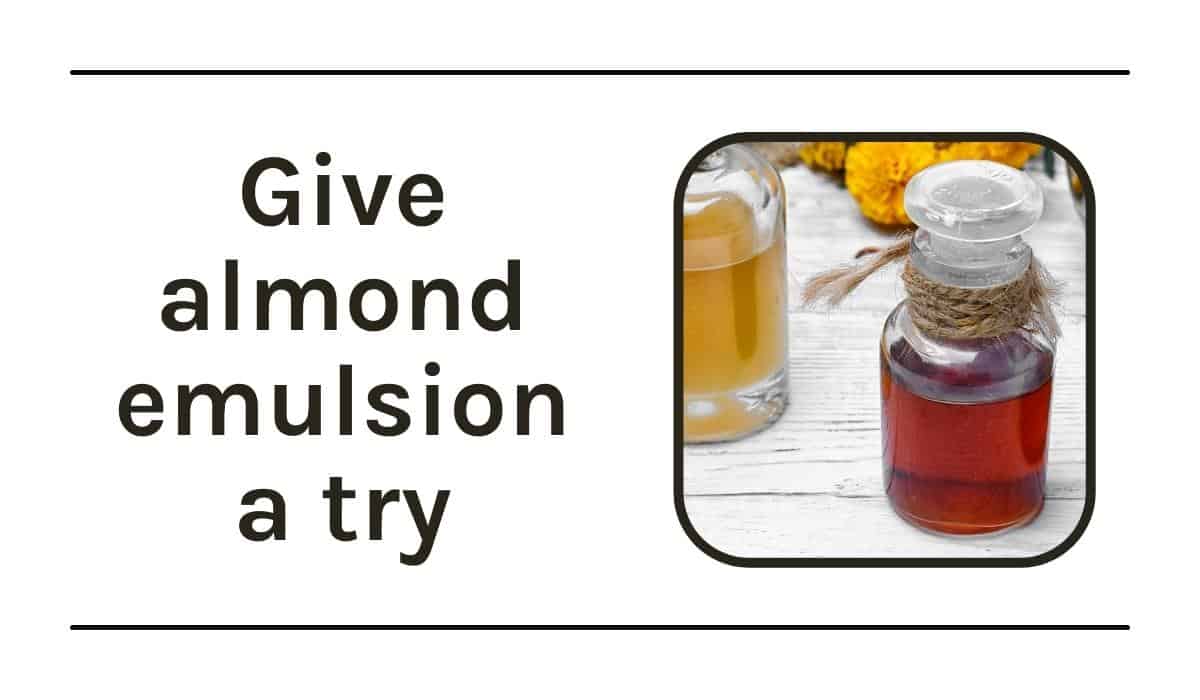
This is one of my favorite ways to add amazing flavor to vanilla or white cake. By adding just a tiny amount of almond emulsion, you’ll get just a hint of flavor, but not enough to make the cake taste almond flavored.
I always urge people to try it, even if you don’t normally like almond. The thing is, you’re not adding enough to give the cake an almond flavor. It’s just enough that makes people say, “Wow, there’s a slight hint of something that makes this cake addicting!”
Here’s the trick: Add just a touch (¼ – ½ tsp.) of almond emulsion to a vanilla cake. You want a good almond emulsion. I normally use LorAnn oils, but there are other options. I would advise against using the almond extract you can find at the grocery stores…it’s just not that good.
Try it and let me know what you think. To me, it really brings out the vanilla flavor and you don't actually taste the almond flavoring.
Oh and here’s my vanilla cake recipe to try it in: Favorite Vanilla Cake Recipe
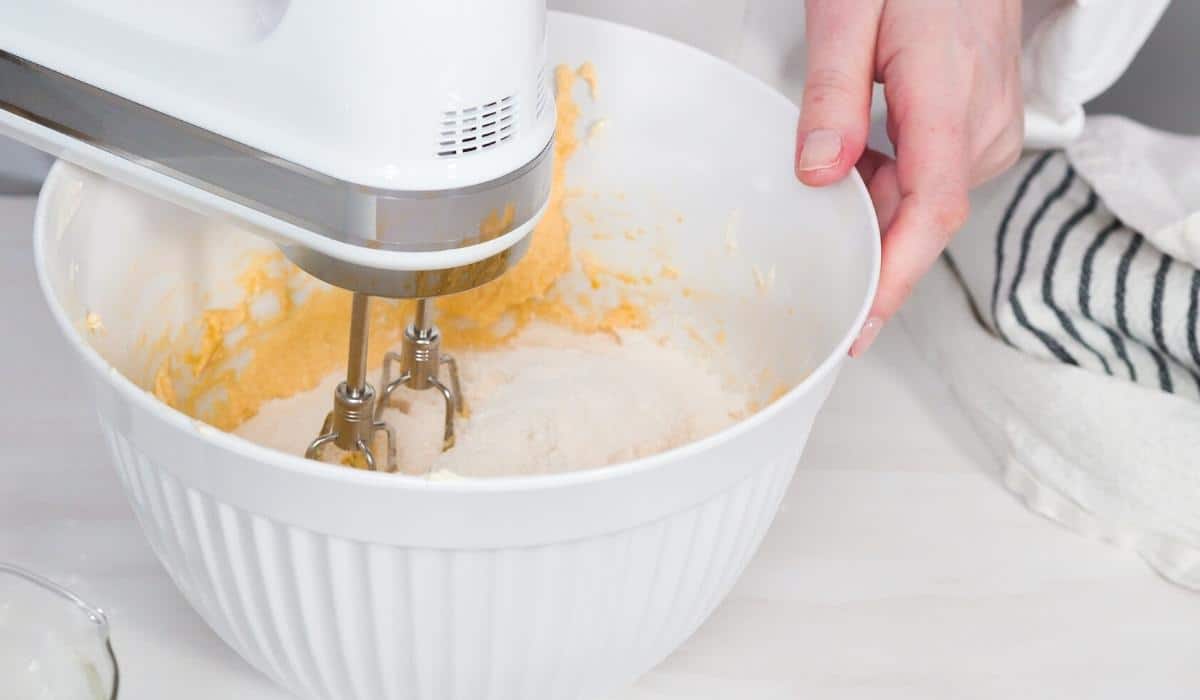
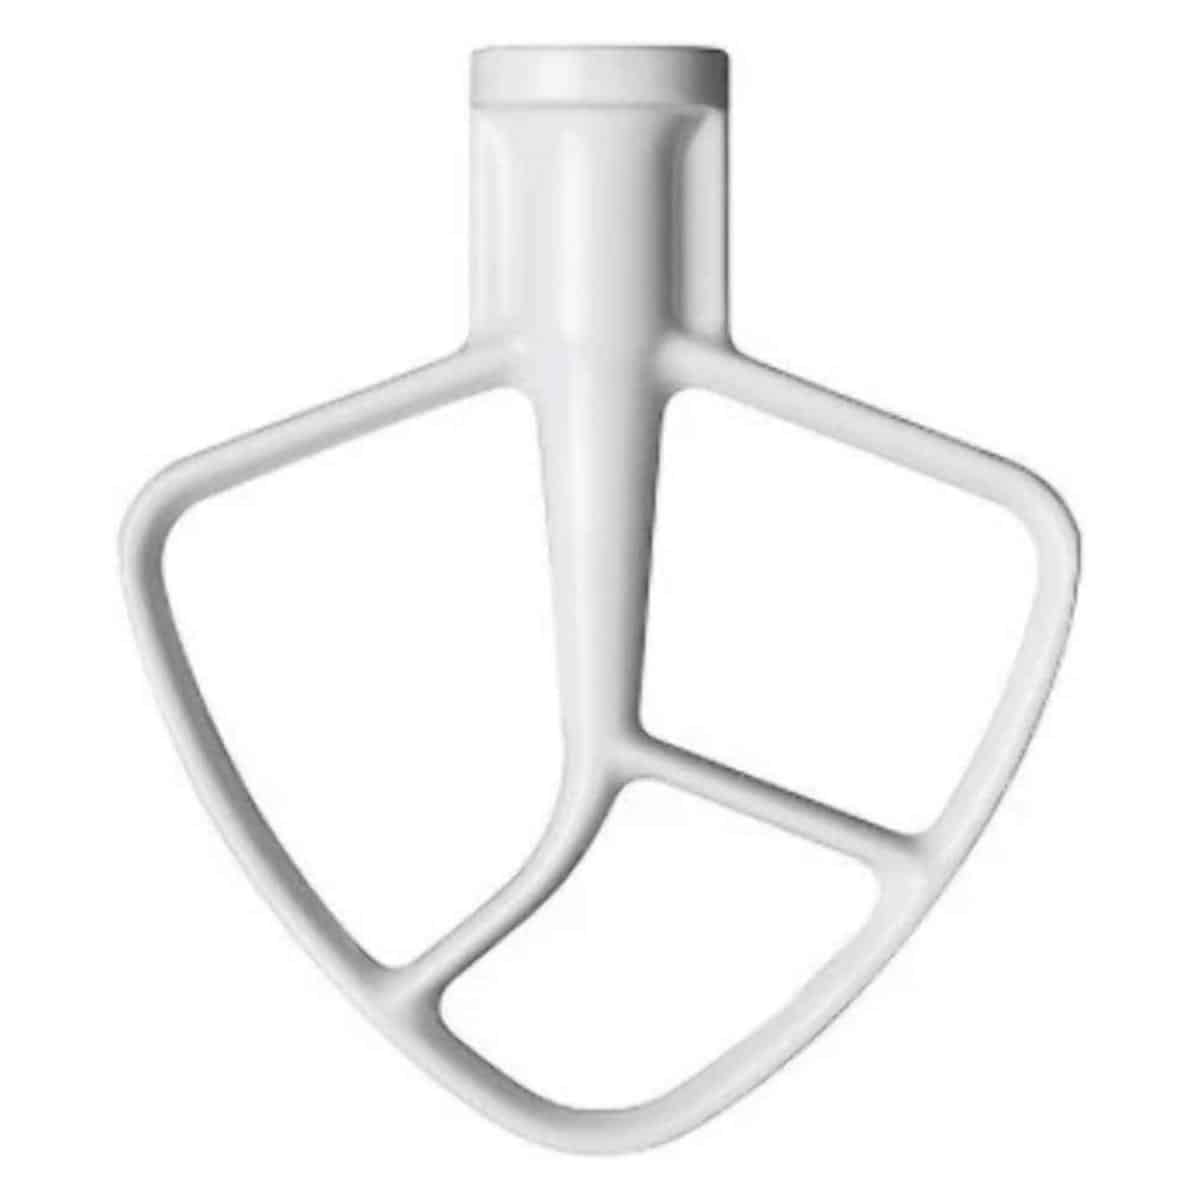
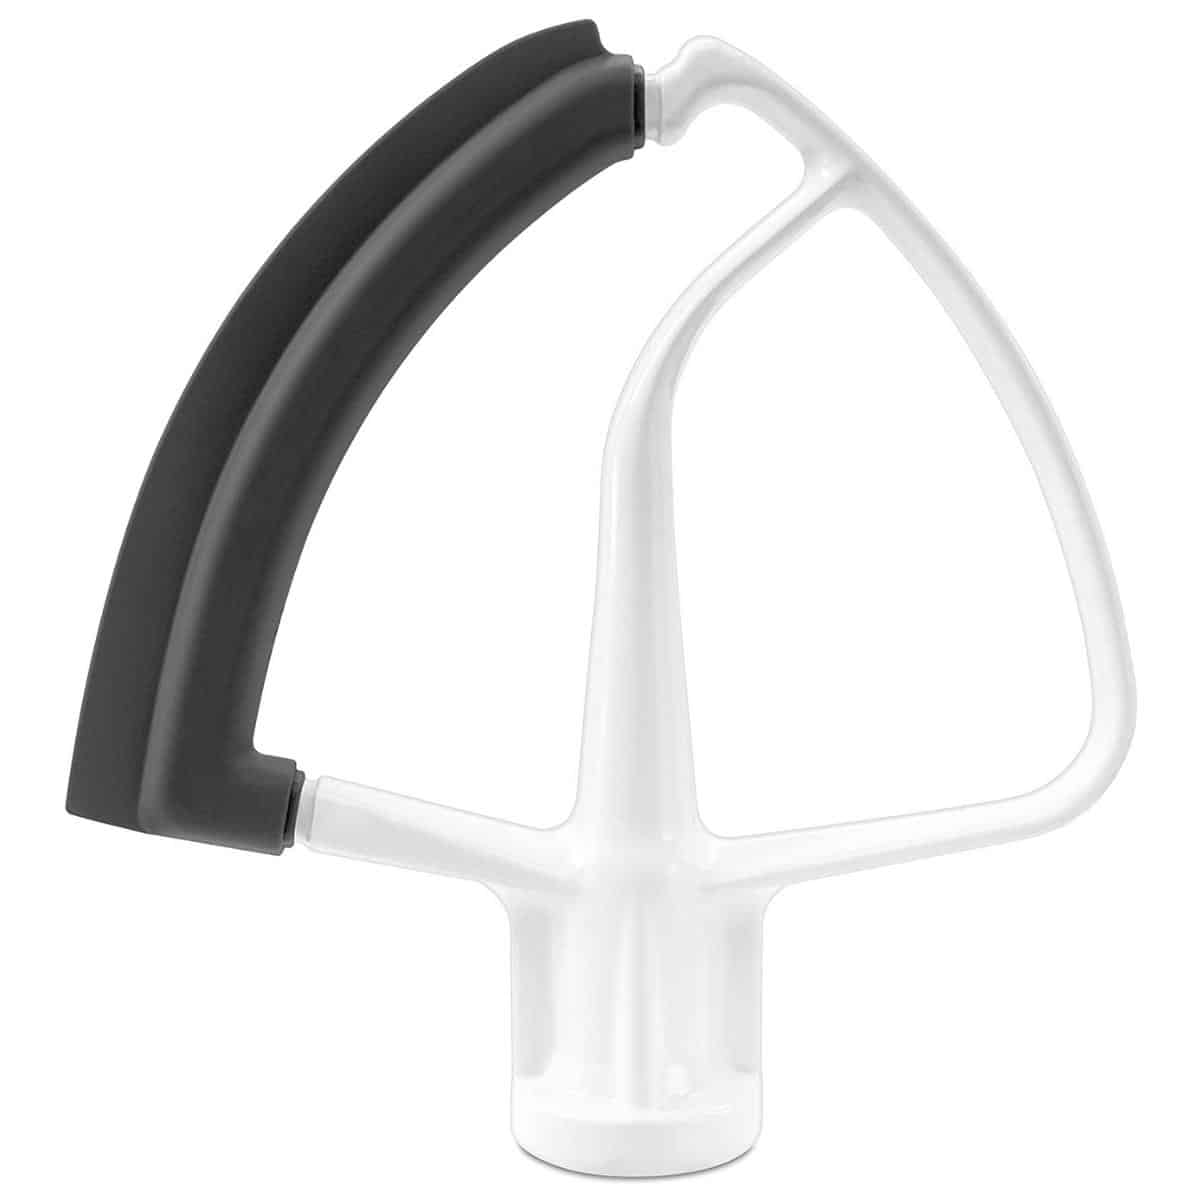
Tip #4 Using the right mixer attachment:

If you use a stand mixer, try using the beater (aka paddle) attachment to mix your cake batter. It's not as harsh on the batter as the whisk attachment. You can get them plain, or with a silicone scraper attached to them (flex edge beater).
Tip #5 Don’t substitute baking soda and baking powder:
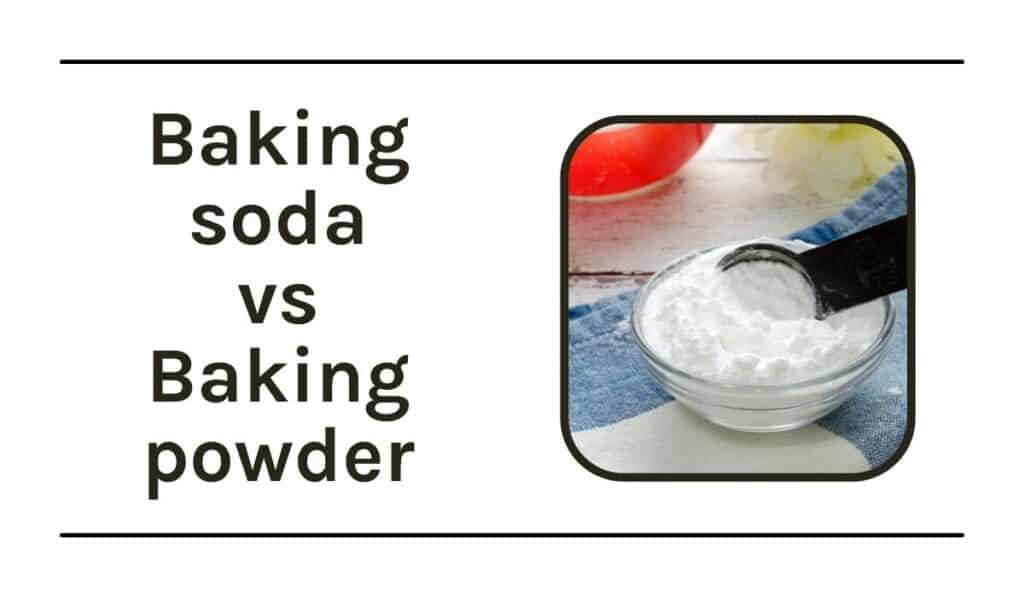
Substituting baking soda and baking powder could be a huge mistake. They aren't exactly interchangeable.
Without going into too much scientific detail here, you'll use baking soda when an acid is added to the batter like lemon, buttermilk etc.
Baking soda is much stronger than baking powder, so it wouldn’t sub out equally for baking powder, in addition to the fact that it works a little differently.
If you used baking soda instead of baking powder and there’s no acid in the recipe, your cake could turn out tasting very weird.
The other thing to note is that baking soda is single-acting. It reacts with liquid. Baking powder is double-acting. It reacts with liquid and heat. So, it really will make a difference what you use and how much.
If you want even more information about the differences between baking powder and baking soda when baking cakes, you’ll want to check out this post: What's the Difference Between Baking Soda and Baking Powder When Baking Cakes?
Tip #6 Substituting for cake flour:
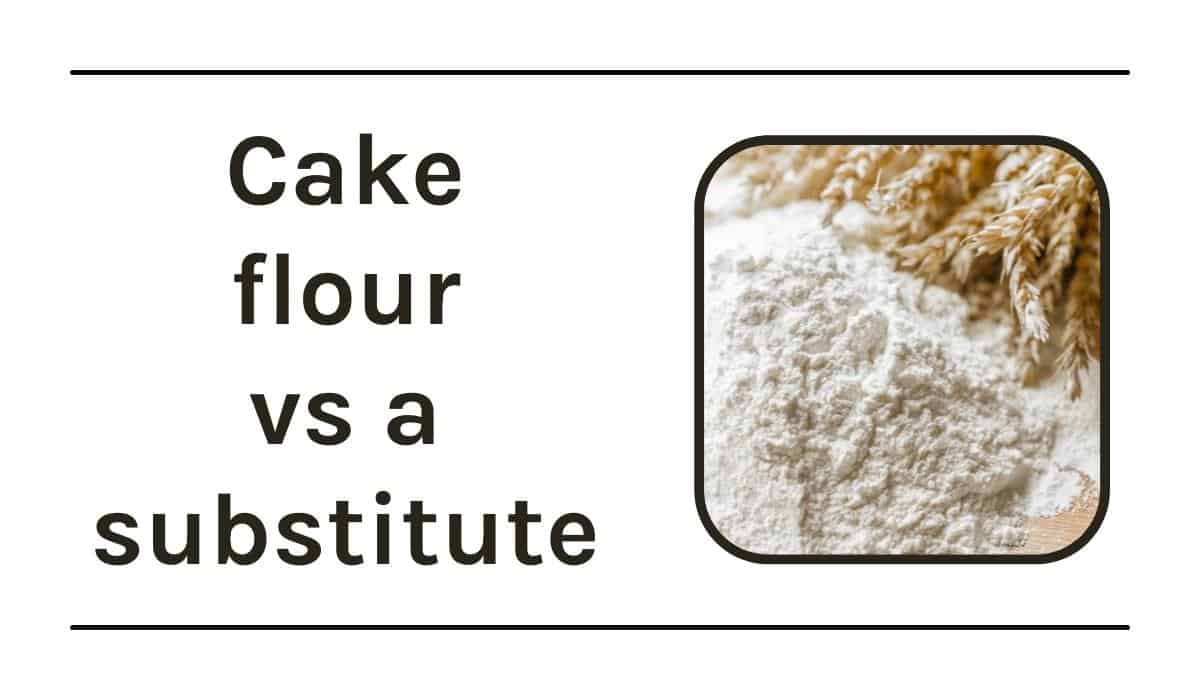
If the recipe calls for cake flour, it’s best to use it if you can. It makes a cake really light and soft.
If you just can’t get it, or you just don't have any (we’ve all been there), then you can make your own in a pinch.
Here’s how to make your own cake flour: For each cup of cake flour the recipe calls for, measure out one cup of all-purpose flour. Next, take out two tablespoons of the all-purpose flour and replace those with two tablespoons of cornstarch. Mix well.
If you’d like even more tips on how different types of flour work when baking cakes, you’ll want to see this post here: Types of Flour for Baking Cakes Plus Mixing Methods
I’ve also included a ton of ingredient substitutions in this post here: Cake Baking Substitutions
Tip #7 Force yourself to follow the recipe without adjusting it:
Unless you’re a very experienced baker, or just feeling super lucky, you really don't want to adjust the cake recipe.
Baking is super specific and making adjustments to the ingredients or substituting ingredients could throw off the ratios. When that happens, you could get a dry cake, a cake that falls, a cake that rises and then sinks, a cake that has a rubbery texture and all sorts of issues.
Also, make sure to follow the mixing method as that matters too. If you change that too much, you could get a totally different texture than you expected.
Tip #8 A trick to getting your butter room temperature faster:
When trying to get cold butter to come to room temperature, cut it into smaller chunks so it will warm up quicker.
Usually, you can slice up the butter on a plate, then leave it out to warm to room temperature for about an hour or so and you’ll be good to go.
Tip #9 Using ingredients that are as close to room temperatue as you can get them:
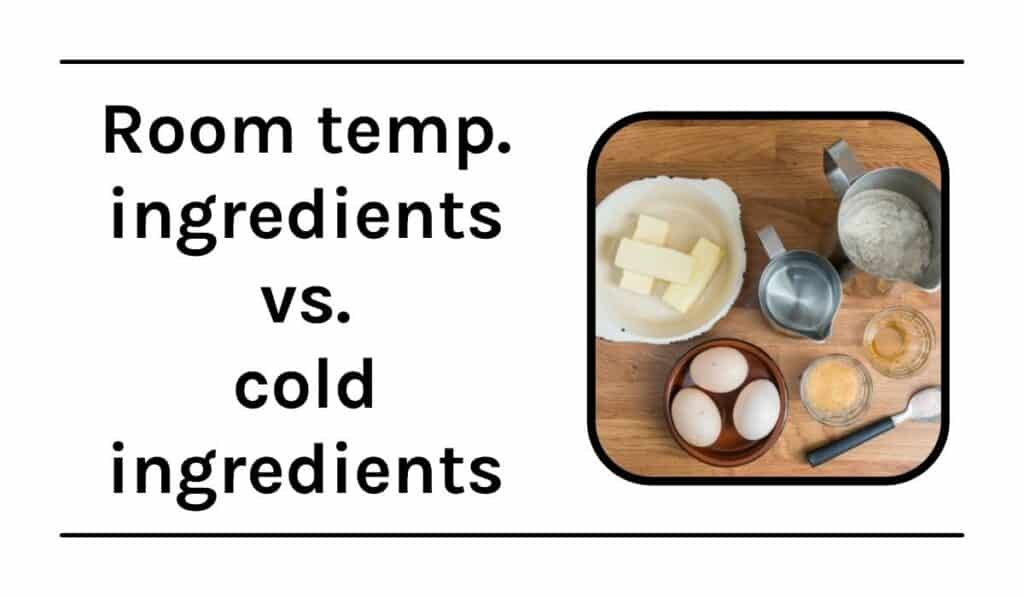
Alright, so you don’t have to be perfect about this and sometimes it’s just not doable, but if you can remember to set out your ingredients a little ahead of time, it really does help because room temperature ingredients just mix together better than cold ingredients.
Don’t stress yourself out about this, but just make an effort to get your cold ingredients as close to room temperature as you can before mixing your cake batter.
Cold eggs are the worst and they can really seize up a batter, so if all else fails, just set the eggs out ahead of time.
Tip #10 Make sure you’re measuring the right way:
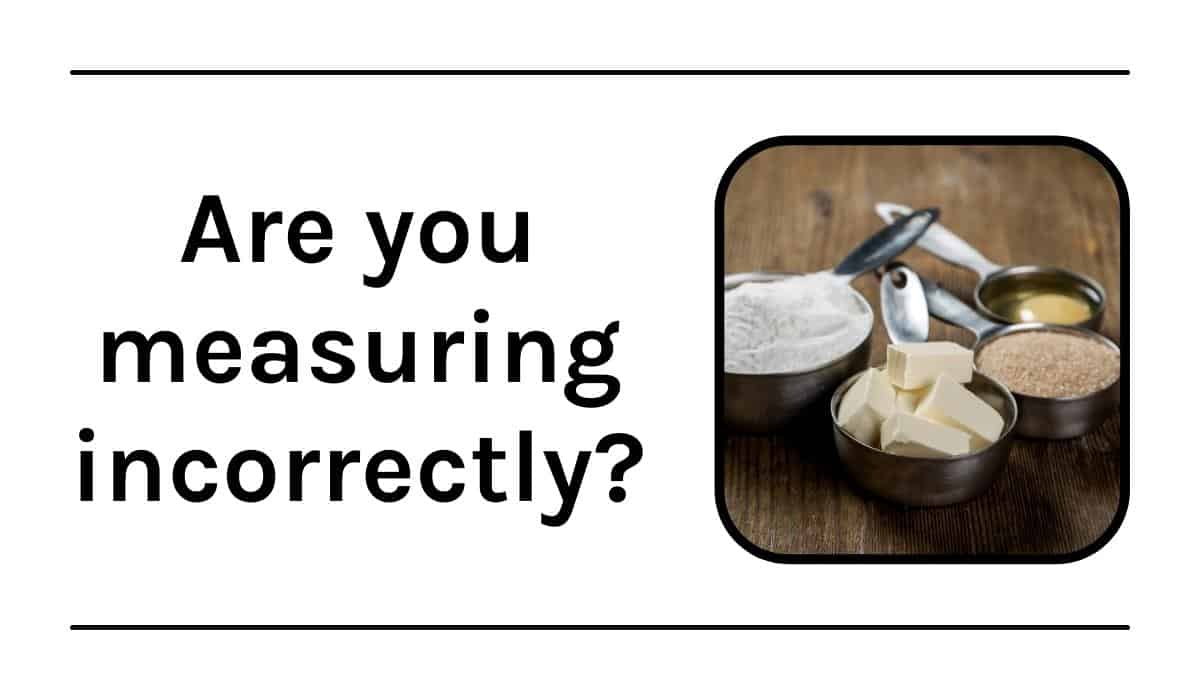
Sometimes we don’t even realize when we’re doing something wrong and it’s easy to measure the wrong way.
My first tip is to use the proper measuring utensils. For dry ingredients, use the measuring cups. For liquids, use a liquid measuring cup.
Second, and super important, when measuring flour, don't use your measuring cup to scoop it out, that will pack it down into the measuring cup and cause you to add too much flour to the batter.
You want to spoon it out of the flour bag or container and into a measuring cup. Then you’ll want to level off the top of the measuring cup before adding it to the batter.
If you want more tips plus a video on how to measure cake ingredients properly, see this post: Measuring Ingredients For Baking Cakes
For a measurement cheat sheet, you’ll want to see this post here: Printable Baking Measurement & Substitution Cheat Sheet
Tip #11 Preparing Pans:
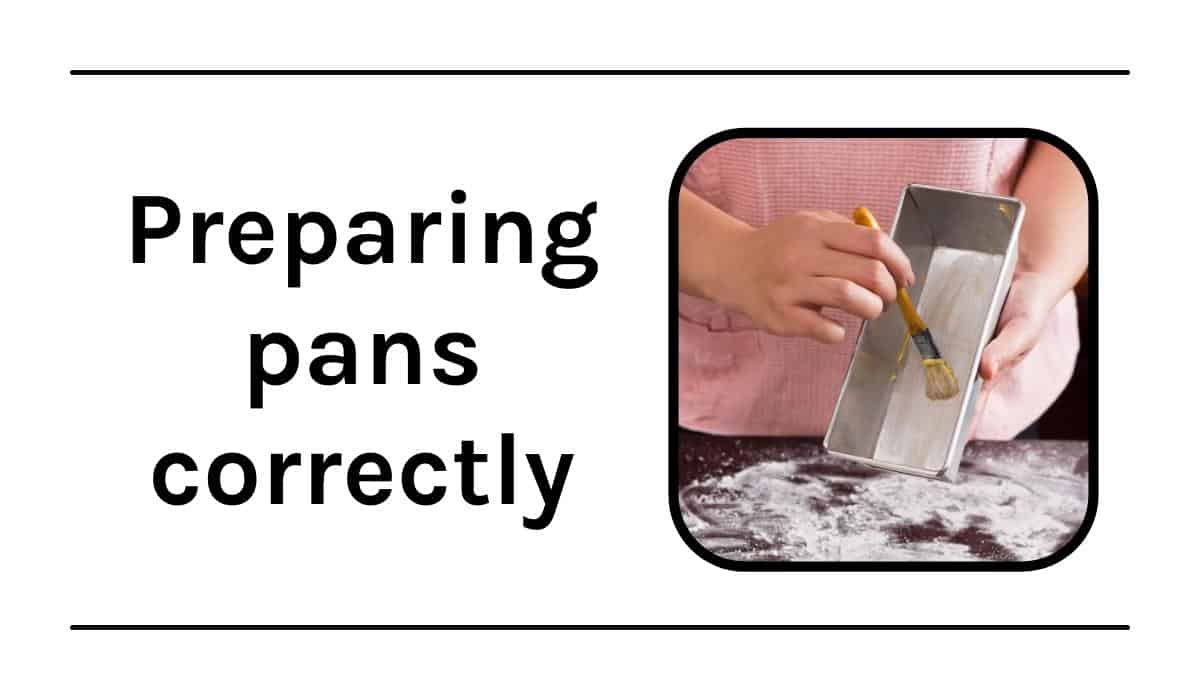
Prepare your pans well, so you don't waste time making the perfect cake, only to have it stuck in the pan. Wasting time and ingredients is just the worst feeling.
There are many ways to prepare pans:
- Parchment paper
- Buttering pans
- Spraying with non stick spray
- Greasing pans
- Greasing, then flouring pans
- Using the pan coating recipe (recipe at the link below)
I’ve got a ton of tips for preparing pans (along with a video) here: Getting Your Cakes to Release From Their Pans
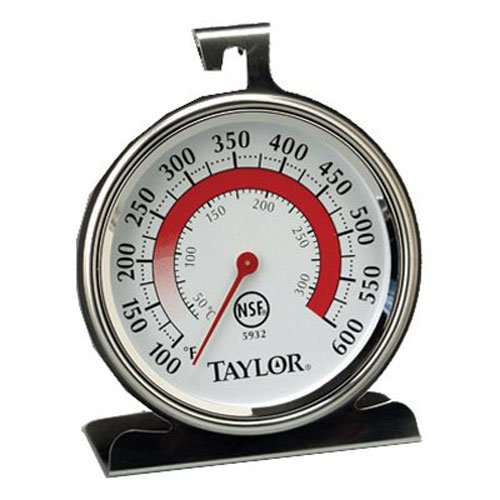
Tip #12 Make sure the oven temperature is accurate:
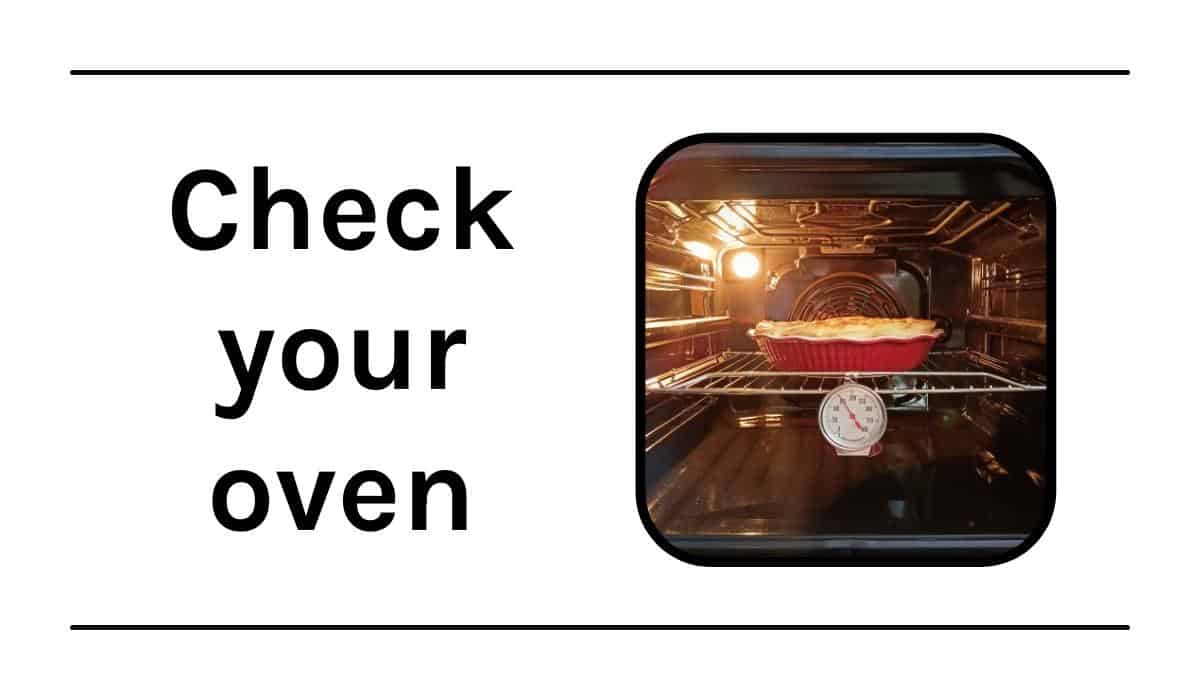
Check your oven temperature. Even though you’ve set it to the correct temperature, it could still be off. Get yourself an oven thermometer. They're generally inexpensive, but worth the trouble to get one.
Pop it into your oven and make sure the temperature you've set your oven to, is what's showing up on your thermometer, then adjust as needed. I have one like the one below:
Tip #13 Watch that oven light:

You might want to think twice about leaving the oven light on the entire baking time.
This may not make a difference in some ovens, but I've noticed in mine that if I leave the light on, it seems to brown cake layers more on that side of the oven.
It seems weird because you wouldn’t think it would make that much of a difference, but I don’t want to take any chances. So, just turn the light on when you need to check it, then turn it back off.
Tip #14 No slamming the door:
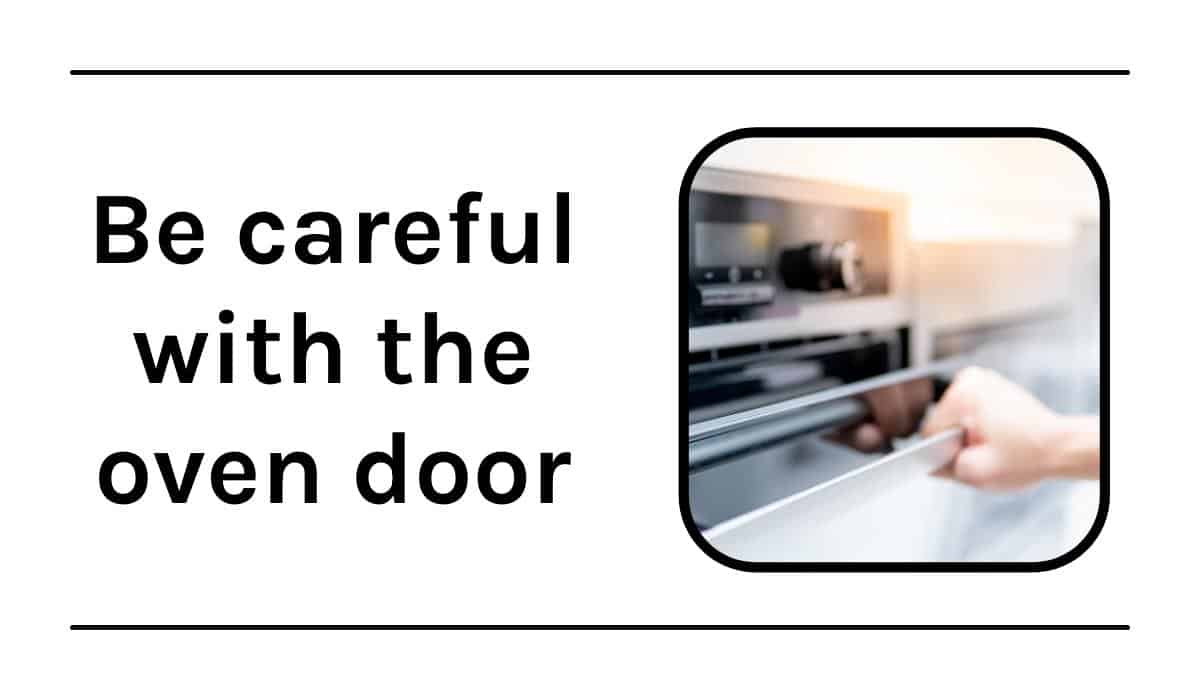
You may already know this tip, but it’s so important that I can’t leave it out. Make sure not to slam the oven door when opening it to check on the cake. You definitely don’t want to jostle the cake inside. That’ll make your cake sink in the middle.
Now, this is the truest at the beginning and middle of the baking cycle. At the end, it’s not super vital, but you still want to be careful.
If you want to see a list of other mistakes you definitely don’t want to make when baking cakes, you can see that post here: The Biggest Cake Mistakes You Don't Want to Make
Tip #15 Over-beating is bad:
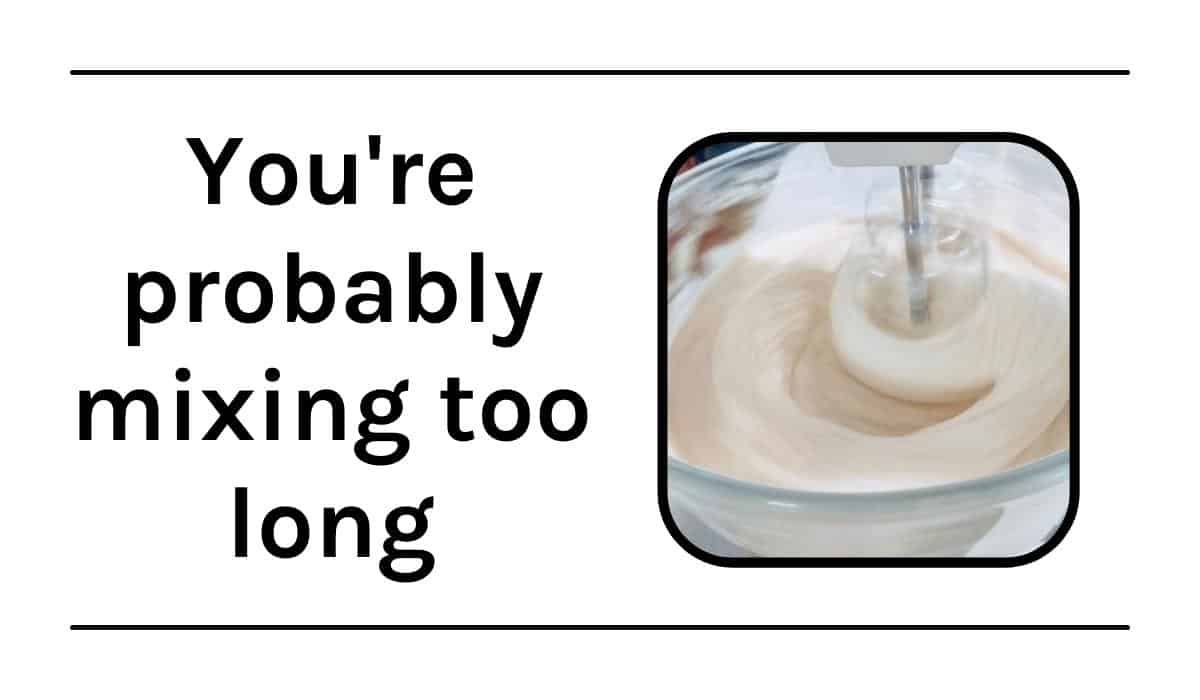
Most people, or mainly those just starting to bake scratch cakes, over-beat or just mix their cakes too long. You don't want to over-beat a scratch cake batter.
If you mix the cake batter too long, the texture of your cake will come out all wrong. It can be super dense, it could fall, it could have gluey streaks and even tunnels in it.
Basically, you can beat a cake box mix batter much longer, but you don’t want to mix a scratch cake the same way. Always follow the mixing instructions on the recipe and be careful not to mix a scratch cake too long.
I go into even greater detail on exactly how long to beat cake batter in this tutorial and video here: How to Mix Cake Batter
That post even includes a real-time video of mixing two different types of cakes, so you can see exactly how long to mix.
Tip #16 Coat or chop chocolate chips and fruit:
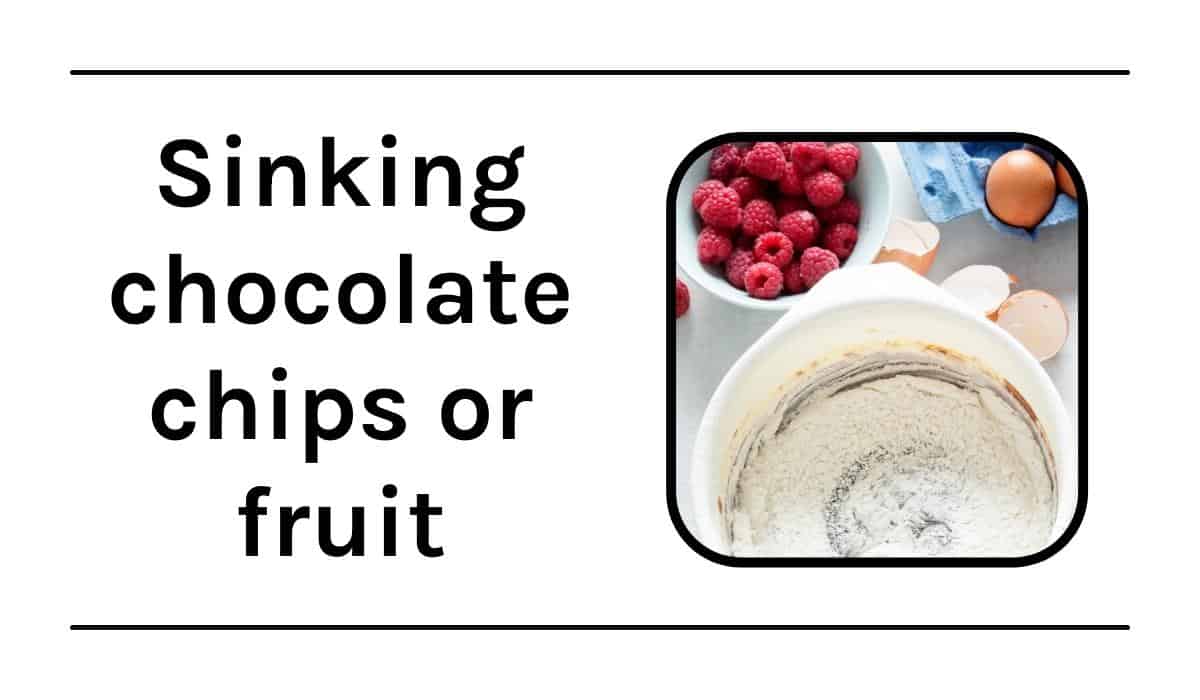
A good way to help keep chocolate and fruit from sinking to the bottom of the pan while it bakes is to coat them with a bit of flour.
You can also add chocolate chips to a food processor and pulse them a couple of times to break them up. This will also help keep them from sinking.
If you’re super worried about chocolate chips sinking, you can use mini chocolate chips…that’s my favorite trick.
Another trick to keep fruit from sinking is to not mix the fruit in with the batter, but add the fruit after you’ve added the batter to the pans and then just barely swirl them in. This way the fruit starts out near the top.
Tip #17 Cool cakes the right way:
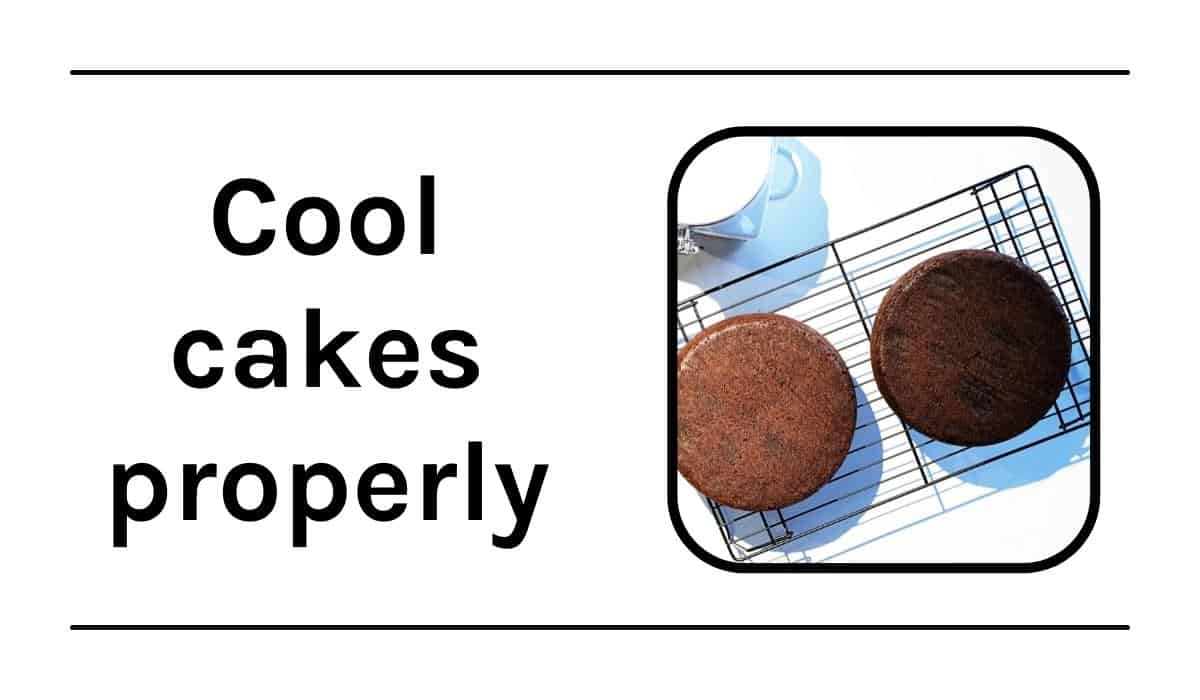
Once your cake is baked, cool them inside the pan and on a rack for only about ten minutes (longer for large or bundt cakes-about 20-30 minutes). After that, turn them out of their pans to cool on the rack completely.
If you let them layer cakes sit too long in their pans, you could have trouble getting them out later.
For super moist bundt cakes, you can let them sit longer, sometimes 30 minutes or even more if the recipe calls for it. Bundt cakes can be really tricky to get out of pans, even if you’ve prepared the pan well.
It helps for the cake to have cooled a bit more. It’s easier to get it out without the entire top sticking to the pan if you wait a little longer.
You can check out my post all about releasing cakes here: Preparing Pans and Releasing Cakes
Tip #18 Freezing Cakes is a big help:
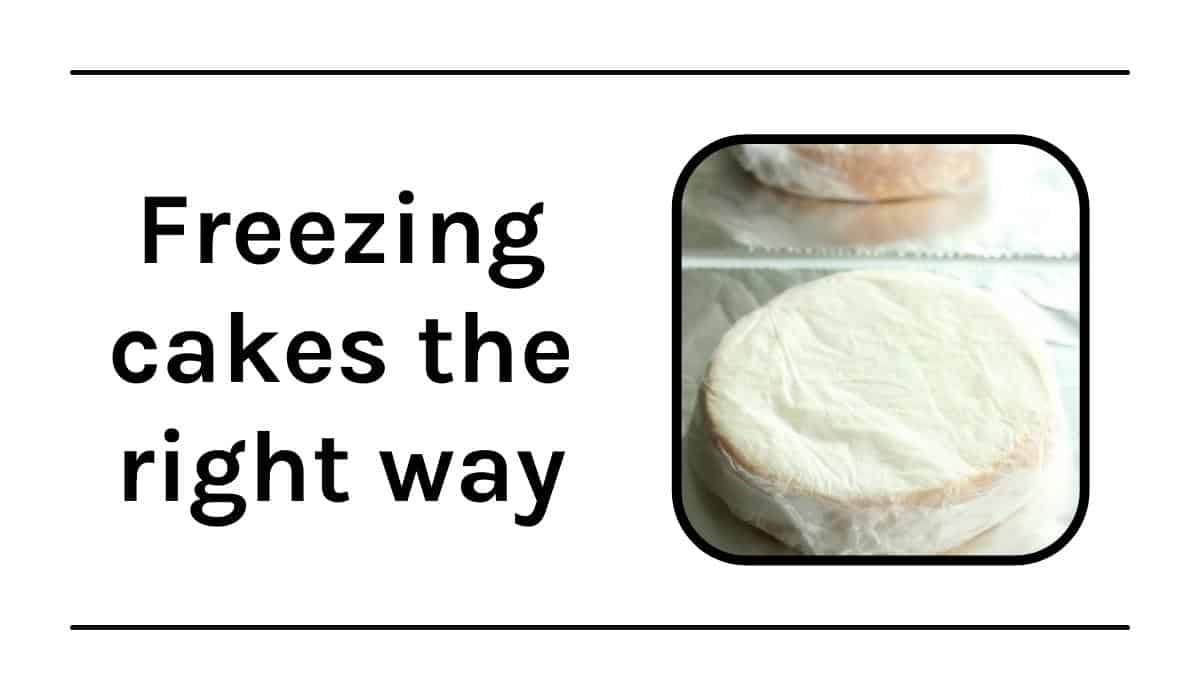
Do freeze your baked cake layers. If you do it the right way, you won't get freezer burn and no one will ever know they've been frozen.
I’ve done this for years and it will save you lots of time. You can bake everything ahead of time and not stress out days before the event.
The main thing is that you just need to wrap them properly. I wrap mine with two layers of plastic wrap, then foil.
The second thing is that you don’t want to freeze them longer than a few weeks. Yes, they’ll still be okay to eat, but they’re at their freshest when used within a few weeks.
When you go to defrost them, just set them on the counter, with the wrappings still on, and let them defrost fully like that, then take the wrappings off.
You can see my full tips and video on how to freeze cakes and cupcakes here: Tips for Freezing Cakes and Cupcakes
Tip #19 Make sure you use the right type of can pan:
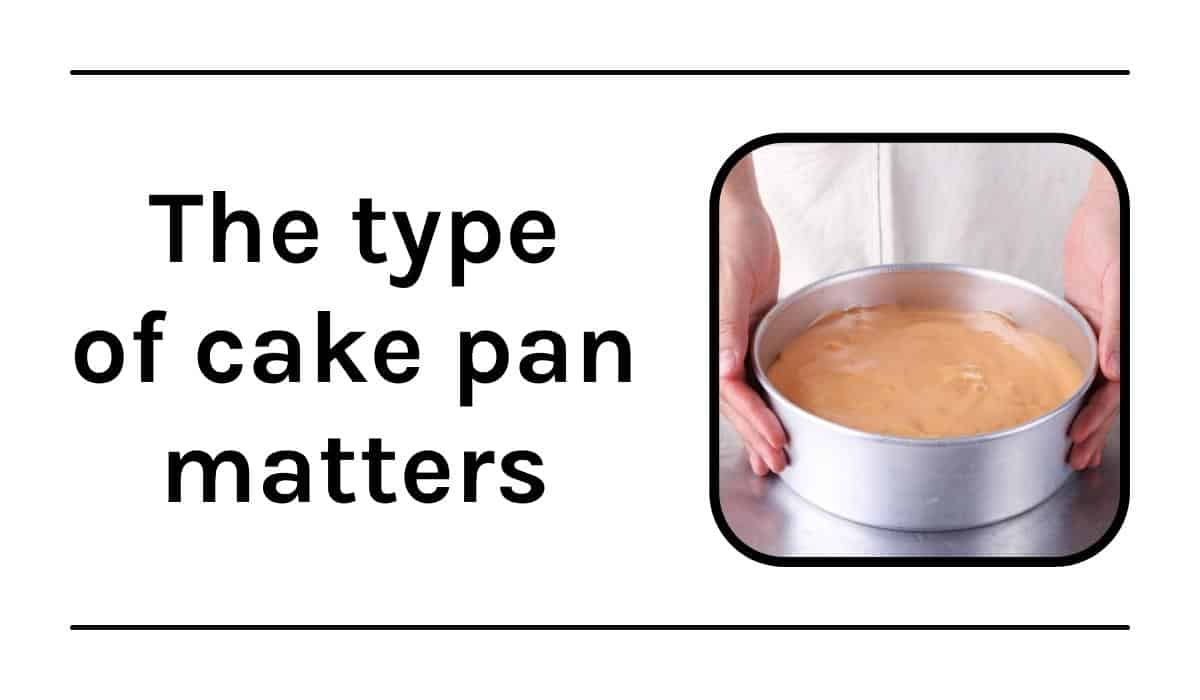
First off, you want to use the size of pan the recipe calls for. Yes, there are times when you can adjust that, but if you’re unsure or are a beginner baker, it’s good to just go with what’s called for when first trying a recipe.
As far as round cake pans go, I really suggest using the lighter pans and not the dark, coated non-stick pans. Those dark pans just over-brown the outsides of cakes too much…even when you turn the temp down (which you have to remember to do when baking in them.)
I love to use magic line pans. Seriously don't put off buying some. Once you do, you'll kick yourself for not getting them sooner. Your cake will come out evenly baked every time. You can find magic line pans at the link below:
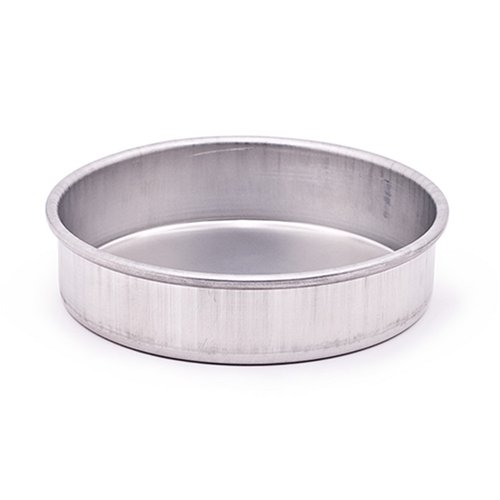
Wilton pans are also good as well, but I do think that magic line pans still bake more evenly.
Tip #20 Don’t worry about trying to get cake layers to bake up flat on top:
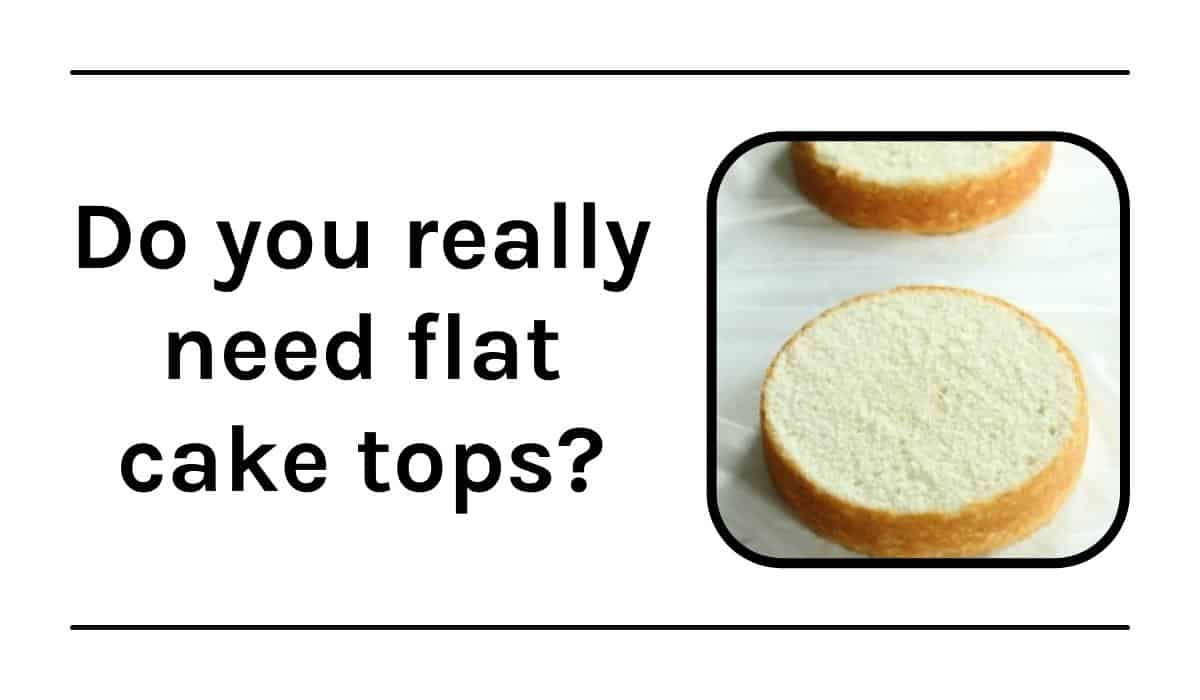
Ok, first things first. When decorating cakes, it’s good to level the cake layers (cut the domes off), in order for your cakes to stack evenly.
Here’s the thing, there are some in the cake baking world who really worry about their cakes actually baking with flat tops. I’m here to say you can stop worrying about getting flat tops on your baked cakes.
Just let them bake normally. I know there are those who put things on top of their cakes to flatten them out once they pull them out of the oven, but I personally don’t want to compress any part of my cake.
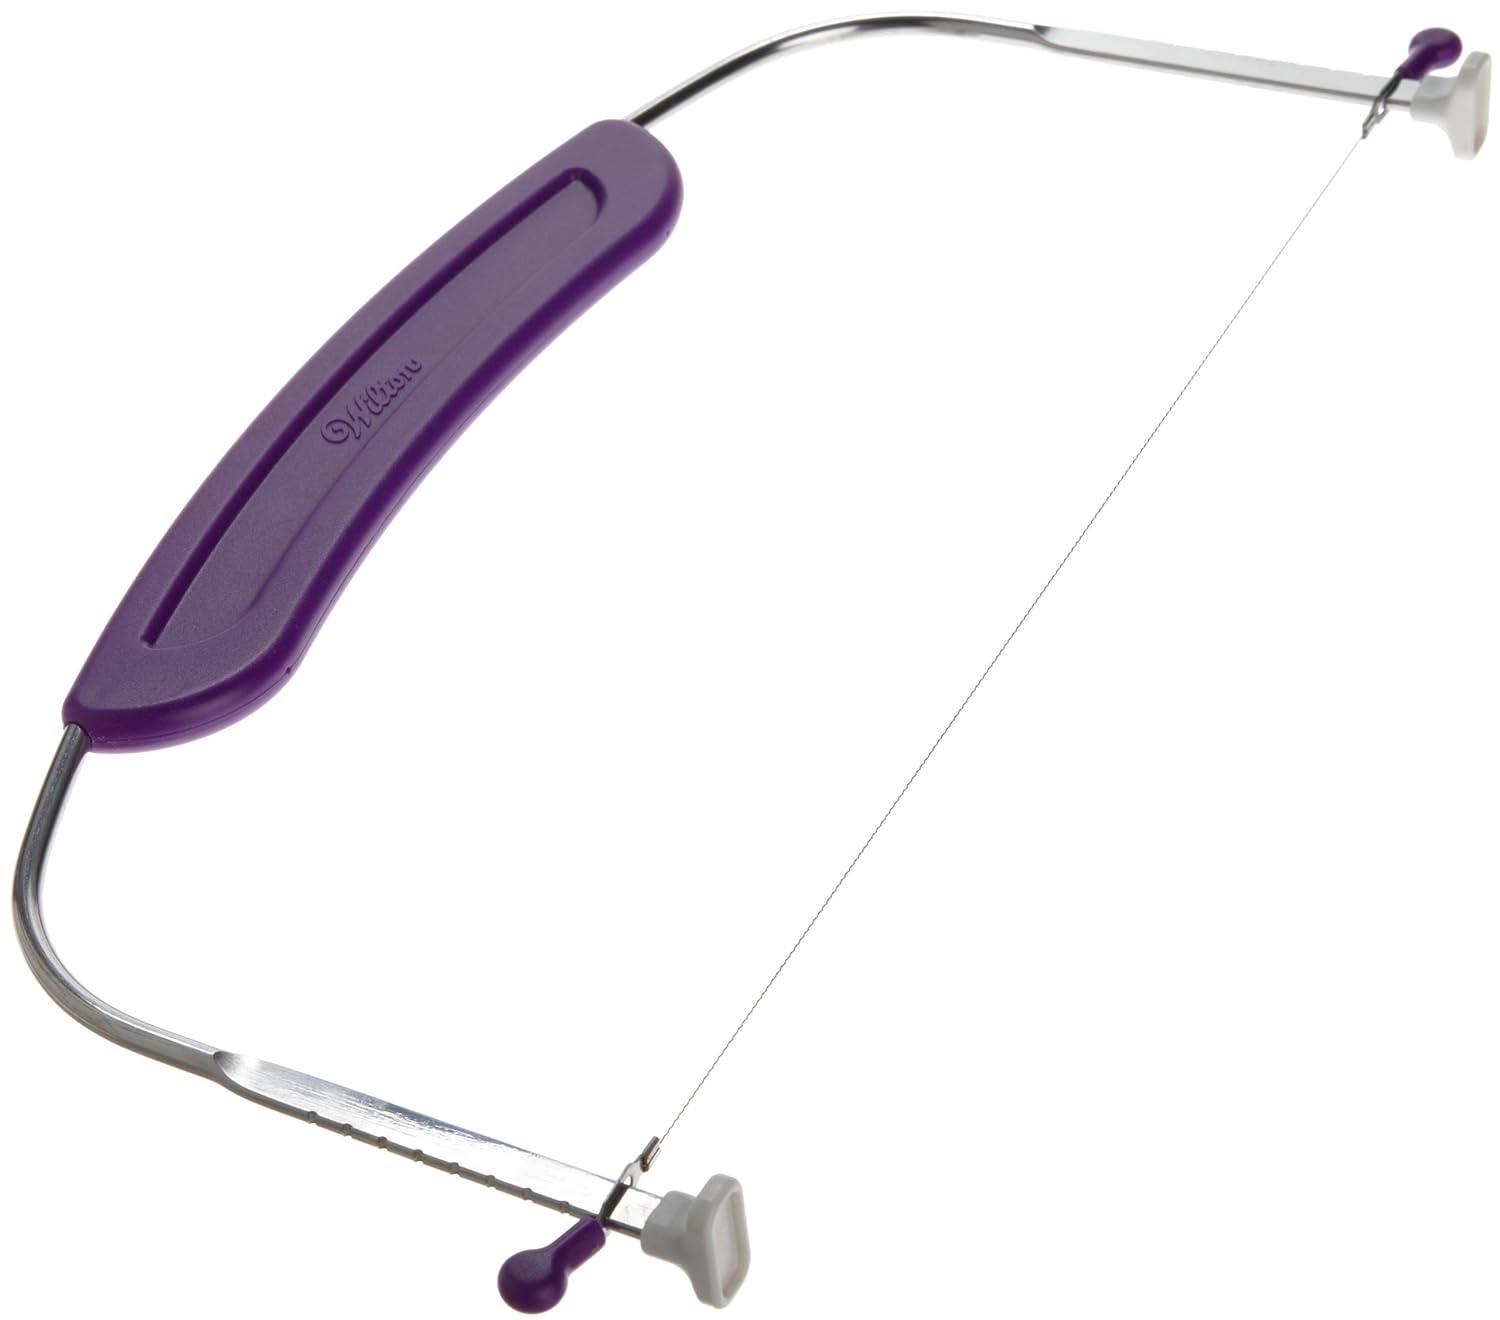
For me, I just let the cake layers bake up normally and then just use a leveler to cut off any dome that might have come up during the baking process. I usually don’t have a high dome with my recipes, but sometimes the middle of the cake might be a bit higher than the sides.
Basically, you don't need a fancy leveler to do this. Just use a large knife or this leveler here:
Another thing to note is that some of the recipes on this site call for the reverse creaming method and I’ve found when using that method, the cake will bake a bit flatter on the top.
Essentially, instead of creaming the butter and sugar together until fluffy, the reverse creaming method is when you actually add the butter into the dry ingredients a bit at a time, coating it to form a sand-like texture, then adding the liquid ingredients.
This helps keep the gluten from over-developing so quickly, which helps your cake to come out more tender and soft and helps keep it from becoming super dense and rubbery.
To see even more details on how to get even cake layers, you’ll want to check out this post here: How to Bake Even Cake Layers
Tip #21 Don’t forget to check the days on your baking powder and baking soda:
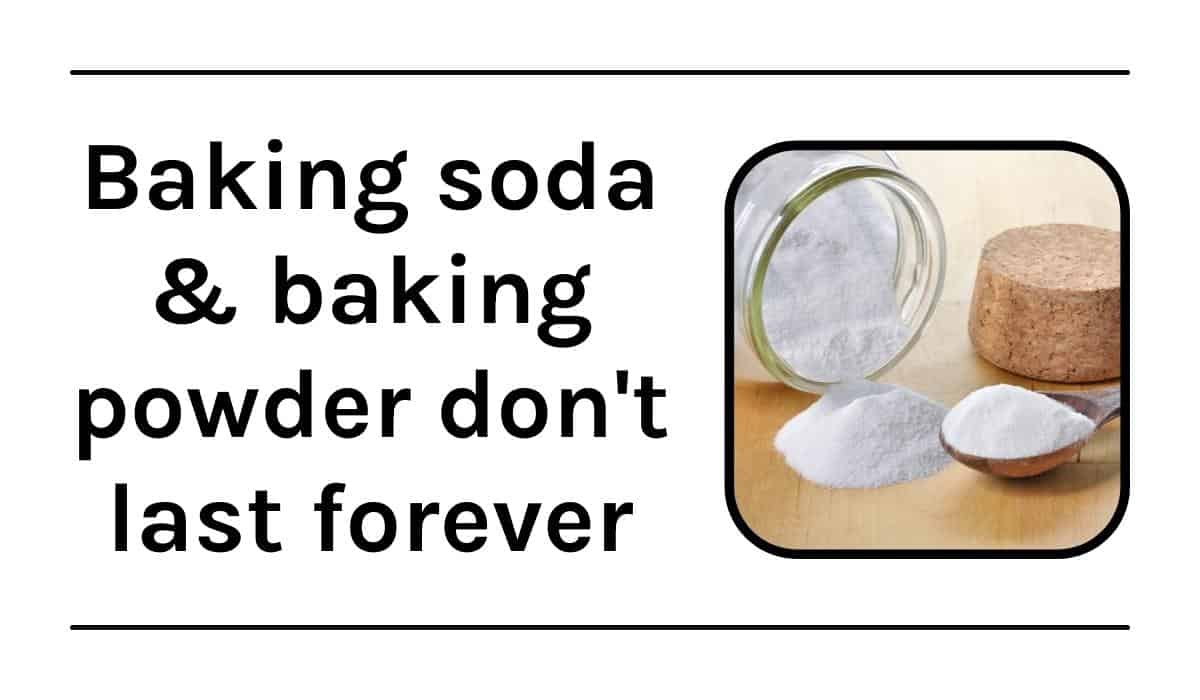
Make sure to check your baking soda and baking powder dates. They're not good indefinitely.
A good thing to do is to write the dates on your containers when you open them the first time. If you're like me, you think you'll remember, but you never do.
This way, you’ll know once you’ve reached six months’ time, that they may be less effective.
Tip #22 Never forget to preheat:
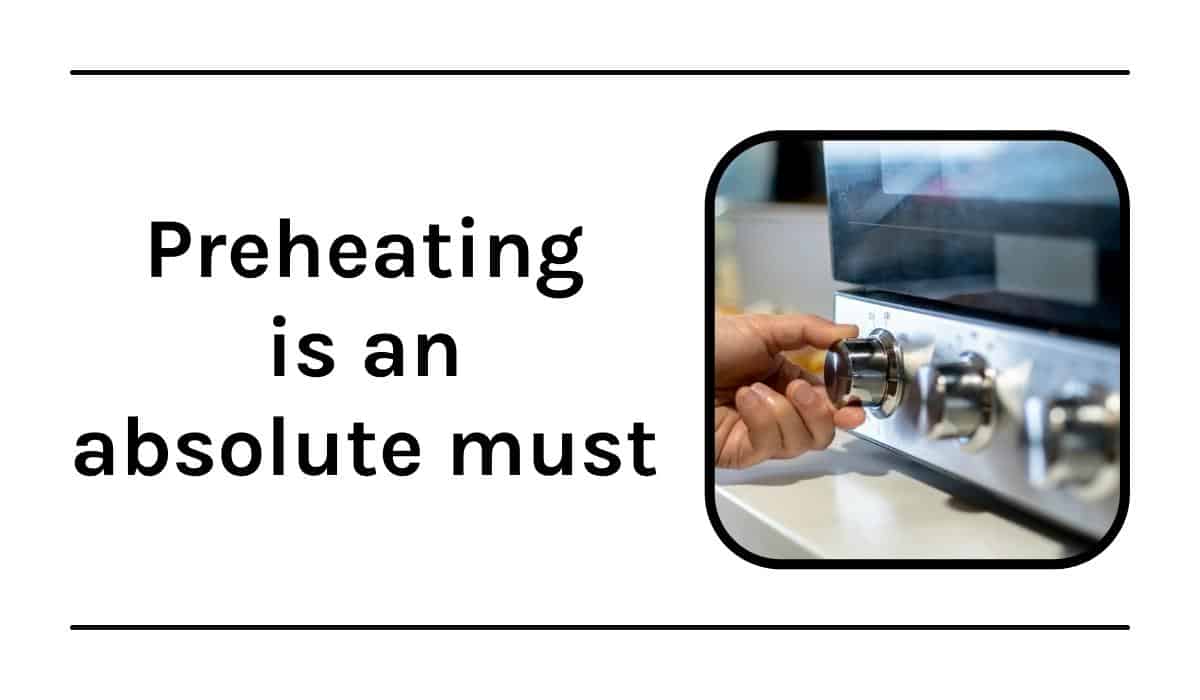
Ok, this is an obvious one, but you've GOT to preheat that oven. Make sure it's fully preheated before you get that cake in there.
When I was a kid, just starting to experiment with baking cakes, I could not understand why I needed to preheat. It just seemed like a waste of time, but seriously it makes a HUGE difference.
Having the baking temperature high enough at the beginning of the baking cycle really helps with the rise of the cake. If you don’t preheat, you can have major cake texture problems.
In fact, another tip I have for you is to actually preheat for an extra 15 minutes or so after the oven beeps and tells you it’s preheated. This allows the oven time to regulate itself.
Tip #23 Scraping the bowl is important:
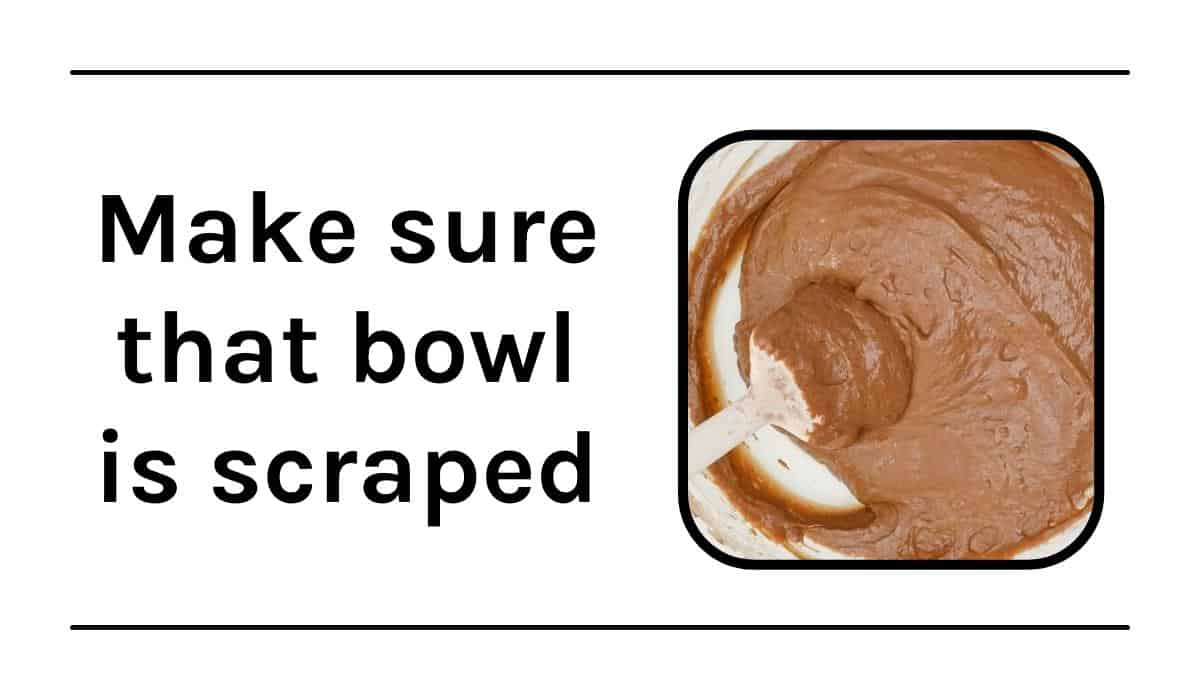
When mixing up your cake batter, don't skip out on scraping down the bowl. It's important to get any random bits of butter or flour incorporated into the batter.
If you've got a stand-up mixer, also scrape the bottom of the bowl. Sometimes the beater doesn't reach areas toward the bottom.
Tip #24 Be careful when and how many times you open the oven:

This one might go without saying, but don't open your oven a hundred times to check the cake. You'll let out too much heat, which will hurt your baking time and could cause the cake to sink and come out very dense.
It’s also best not to even open your oven at all until you get close to the end of the baking cycle. At that point, you don’t have to be as particular about it, but you still want to be careful.
Tip #25 Certain cakes need to rest:
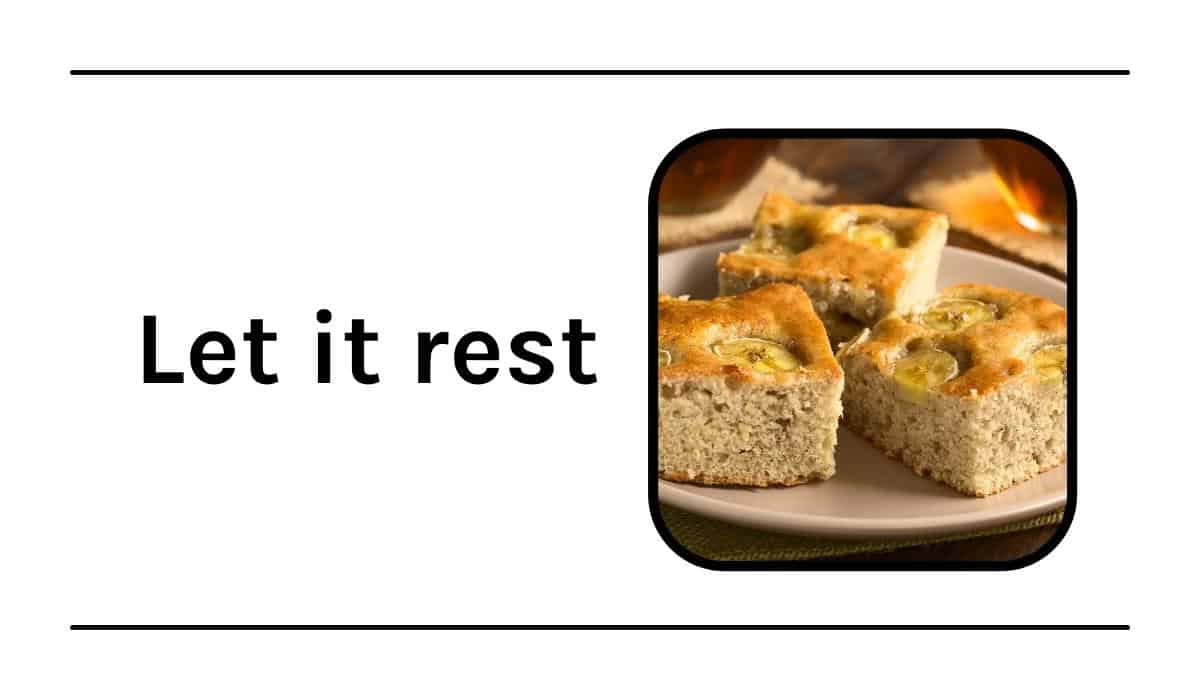
When baking cakes with fruit in them like banana, carrot, zucchini, or pumpkin, let them sit overnight before serving them. This helps the flavors to meld together and they're much tastier the next day…it’s kind of like they build strength.
I know it’s really hard to do, because if you’re like me, you just want to go ahead and eat it, but if you can make yourself wait, it’ll be worth it.
Just make sure to cover the cake well with plastic wrap or press-n-seal, so it doesn't dry out.
Wow! That’s a lot of cake making tips! Now, to be fair, there are more I could add, but there’s only so much one can take in at a time. If you’ve got tips I missed, feel free to add them to the comments below. I’d love to hear them!
Bonus Tip: Use good cake recipes
My very last bonus tip is to use good cake recipes. If you’ve tried and tried a recipe and it’s just not working out for you, don’t be afraid to try another one. It’s okay to experiment.
And here are a few of my favorite cake recipes on the blog:
- For scratch cakes:
- For doctored cake mix cakes:
If you’re looking for even more cake baking tips, see them all here: Cake Baking Tips
Other helpful posts:
- What’s the Purpose of Milk in a Cake?
- Cake Baking Substitutions
- Salted Butter vs Unsalted Butter
- How to Store a Cake
Don’t forget to pin it below!
rohit aggarwal
thanks for the information
kshitij
good one keep it up
varun gupta
thanks for sharing this tips
Iffy
Thanks Kara for all your ideas. They really work for me. In Nigeria, salted margarine is common for baking. What can i do to make my cakes better since i use margarines please.
Kara
If salted margarine is what you have available, just go ahead and use that. I’ve talked to others in Nigeria who can only use margarine and they’ve told me that they’ve tried a few of my cake recipes and it’s worked out fine. I can’t promise anything, but they’ve said they worked out for them, so that’s good news. I would just omit any of the salt that the recipe calls for, so that it doesn’t end up too salty.
Sweety
Excellent!! Very helpful tips for baking and all the tips are superb. Thanks for sharing..
Kara Jane
Thanks so much! 🙂
Yukti Arora
Thank you for sharing amazing tips i loved it and please keep posting such tempting cakes because i am Learner of making new and different cakes so i can learn more ideas through your valuable blog post.
Kara Jane
I’m so glad you liked the post! 🙂
rohit aggarwal
thanks for the information
María
Hi!!! I‘m new in this baking world!!! And I would love to know how much time I’m supposed to mix the batter so it wouldn’t be over mixed… that’s my fear and there been like 4 times that I have over mix it and it has to go to the garbage.?
Kara Jane
Hi Maria, many people struggle with this so you’re not alone! I have an entire post about this and there’s a real time video in the post that will show you how long to mix. Here’s the link if you’d like to check it out: https://iscreamforbuttercream.com/how-to-mix-cake-batter/
Alicia
When using my Stand mixer, I always use the lowest speed for mixing cakes and pulse to the second speed to break up larger clumps when necessary because it’s easier to watch for when the batter is just thoroughly combined at the slowest speed.
Kara Jane
Good tip Alicia!
N
Wilton makes a wonderful band to put around the cake pan before you bake your cake. Simply soak it in water while you mix the cake. Then wrap around the cake pan before putting batter into pan. Allows the cake to bake evenly and prevents doming.
Neena
So useful loved all your tips… bless you ?
Kara Jane
Thank you Neena!
Arlette
Thats for this helpful blog post. I’ve been teaching myself baking and cake decorating for the past couple years and your site has helped me a lot!!
As for pans, I also like the Canadian made Crown pans. I think they are similar to the Magic line ones. Since Im in Canada, it’s nice to get something home grown.
Happy New Year and God bless you!
Kara Jane
I’m so glad my site has helped! And thanks for recommending the Crown pans. I’ve never tried them, but that recommendation will be helpful to other bakers in Canada who read this. Happy New Year to you too!
Rani
very useful tips for baking cakes
Susan
To prevent over baking, I set timer 10 minutes less than directed and check with cake tester or just a light touch. Sometimes your cake is done before directed time so I reduce by a percentage and recheck if necessary.
Kara Jane
Yes! This is great advice!
Elaine
Hi
not sure if iam even at the right place but my question of which i can not seem to fing an answer to is, why do my cakes every now and then have basically what i call Sugar Crystals rise to the top of the cake?
Kara
Hi Elaine, hmmm that’s a mystery, but I wonder what type of cake recipe it is? My first guess was that it might not have been mixed well enough or maybe if the recipe calls for creaming the butter and sugar together that maybe it just wasn’t mixed as long. It might also be that your oven runs a little hot. I just can’t be totally sure, though, without seeing the entire recipe.