
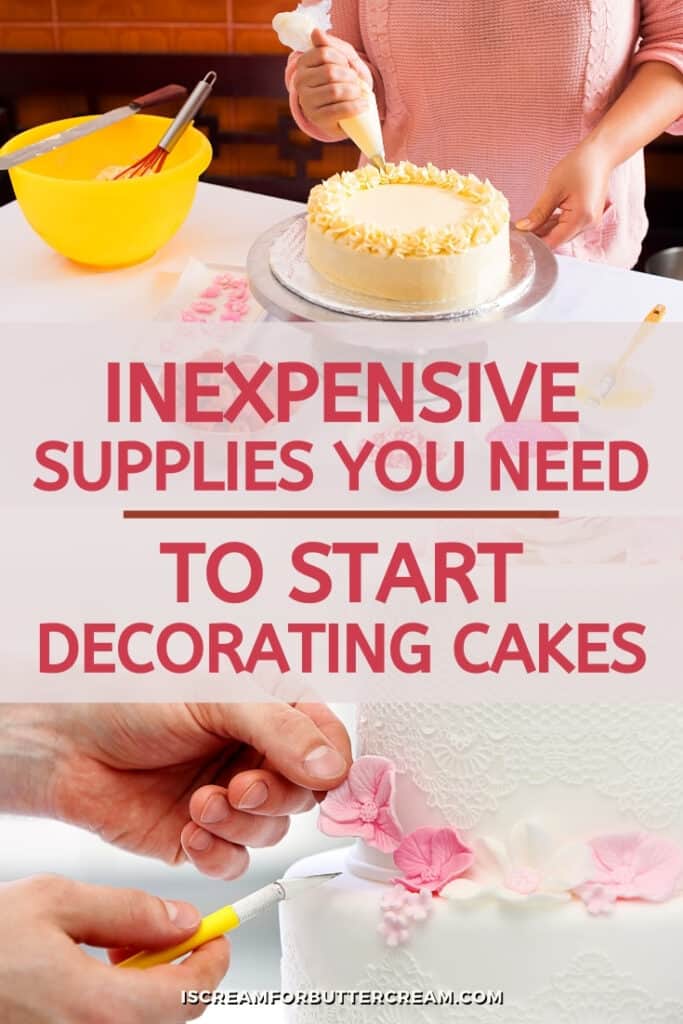
Inexpensive Supplies You’ll Need to Start Decorating Cakes
If you want to start decorating cakes, whether that be birthday cakes for you family and friends, or later on, possibly clients, the information and cake supplies out there, can be overwhelming. It doesn’t need to be overwhelming and it doesn’t need to be expensive.
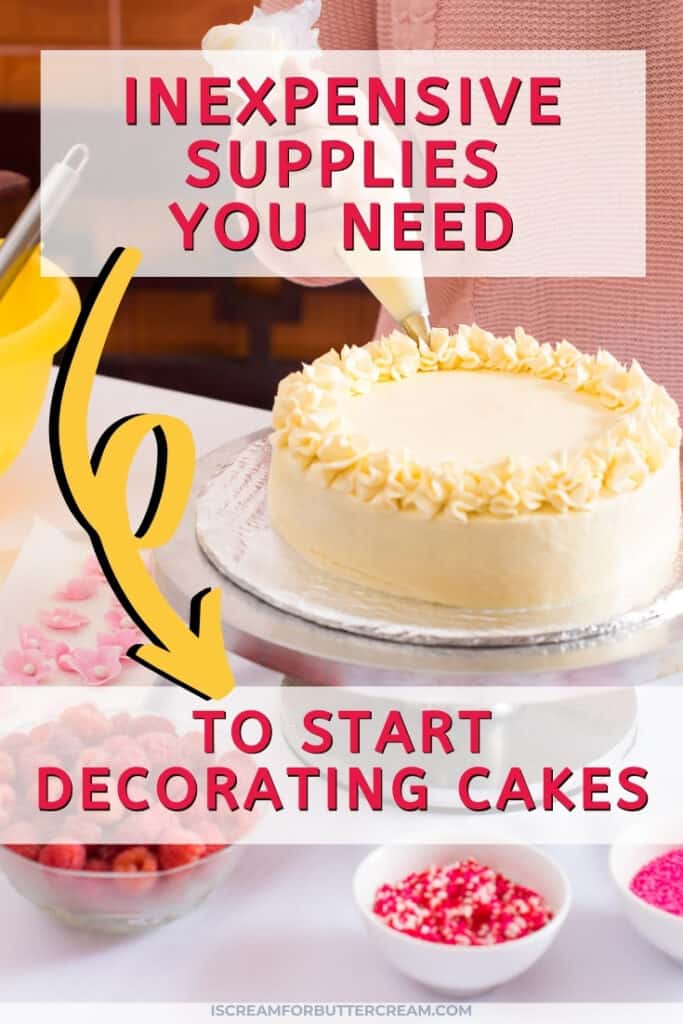
To get started decorating cakes, you don’t need to spend a lot of money. That’s the great thing about this hobby. You really just need some basic, supplies to get started. In this post, I want to show you how you can start decorating cakes with just these inexpensive supplies.
These supplies are in no particular order, but they ARE all inexpensive. Some of these items can even be purchased with a coupon at your local craft store.
They are all pretty basic, but if you’re just starting out and you don’t know how to narrow down all of the choices out there, getting these supplies will give you a great foundation.
As an Amazon Associate, I earn from qualifying purchases.
Ok, let’s get started. Oh and there’s a video close to the end of this post if you’d rather see this in video format.
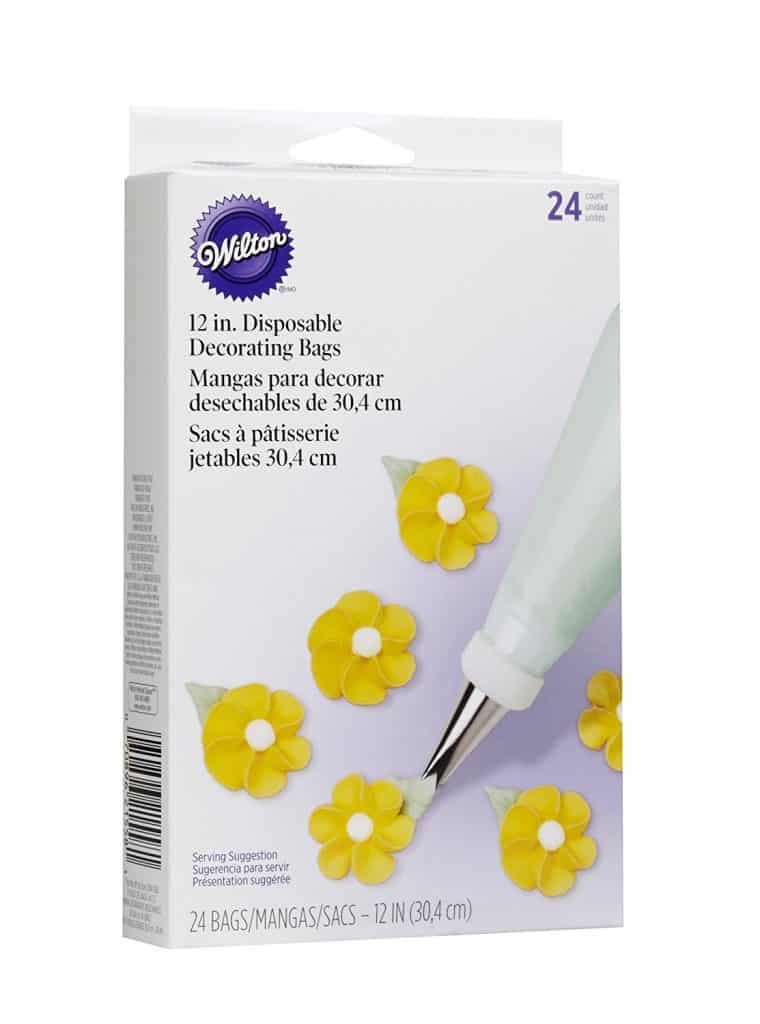
Piping Bags:
Ok, there are tons of different types of piping bags including the reusable and disposable ones. They also come in a bunch of different sizes.
The ones I get the most are the 12″ disposable bags. You can put a lot of icing in them and you don’t have to worry about cleaning them out because they’re disposable. Seriously, I do NOT like cleaning out icing bags.
Here are a couple good choices:

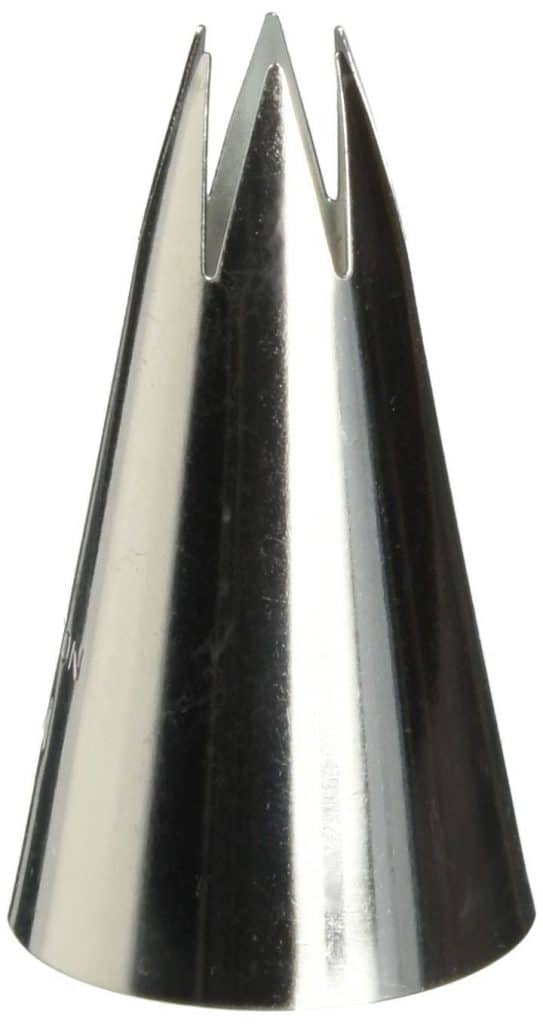
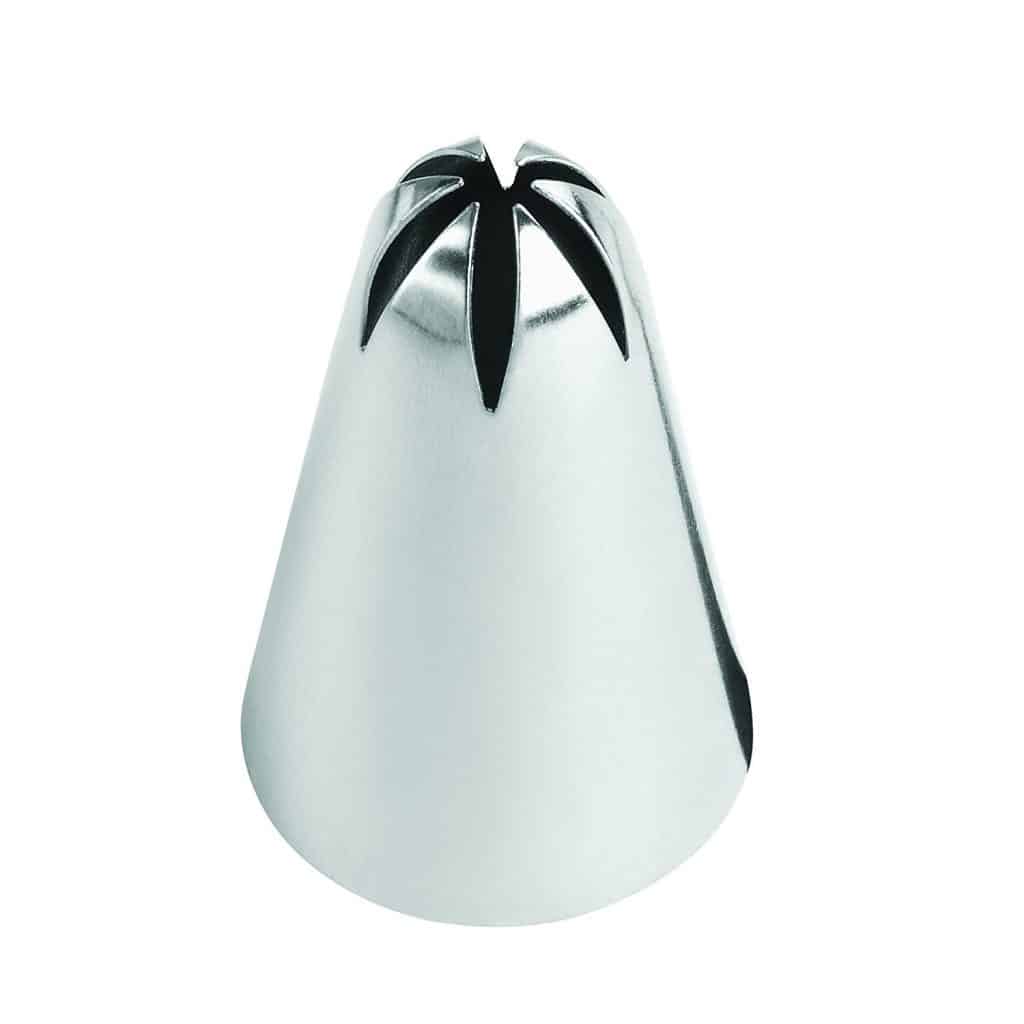
Icing Tips:
This is where you could go down a crazy icing tip hoarder rabbit trail. That might just be a small confession on my part. Half of my icing tips, I don’t even use, but I’m kind of obsessed with them.
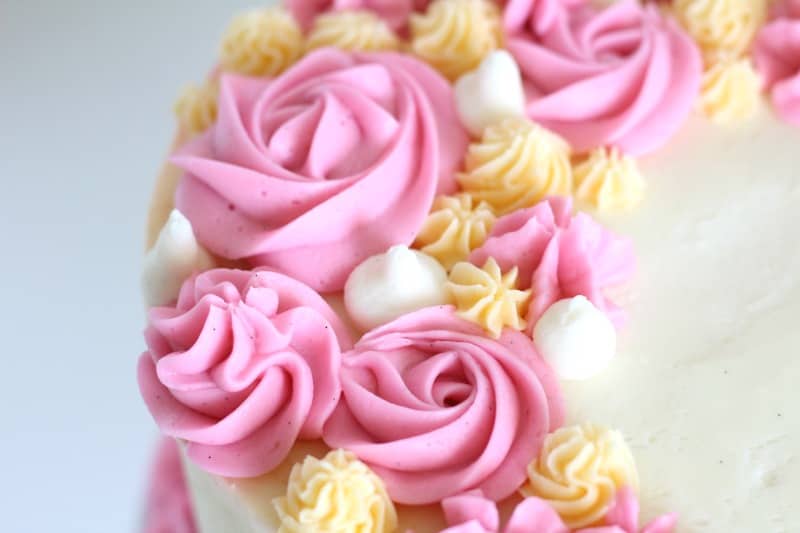
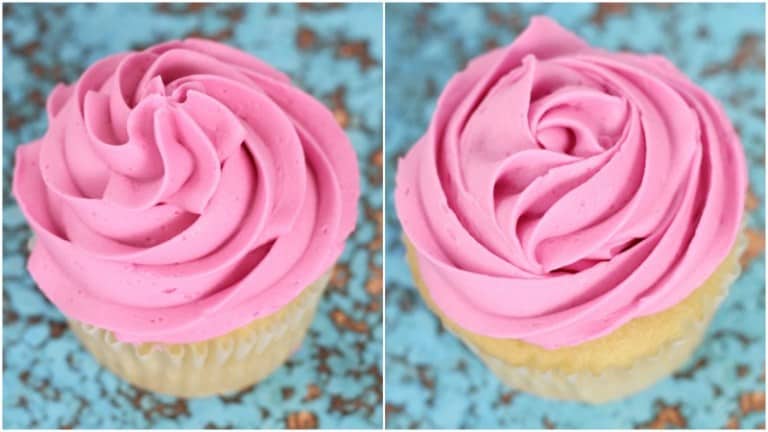
To start out though, you really don’t need to go crazy. The tips I use the most are the Wilton 1m and Wilton 2D. These are large piping tips that you can use a ton of different ways.
They can be used for piping rosettes on cakes:
Piping rosettes on cupcakes: (See my post: Better Buttercream Rosettes)
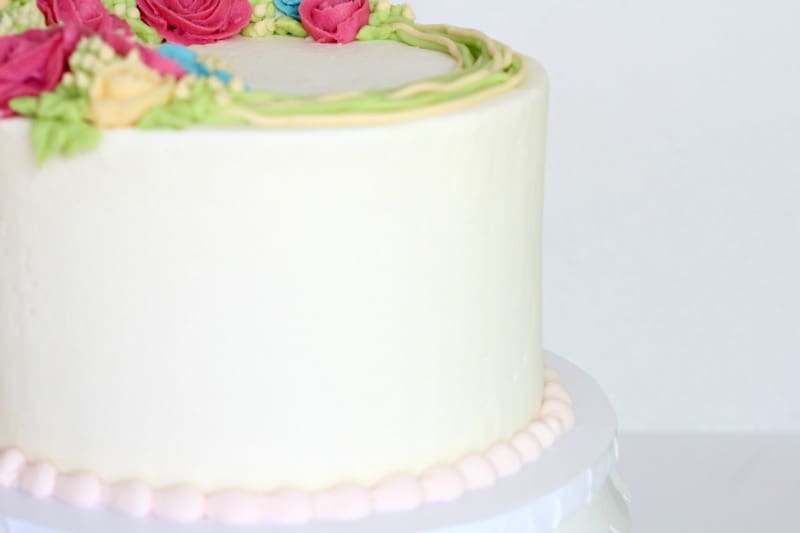
You can also use them to pipe borders around the bottom of your cakes like in the pic below.

If you want to see some fun ways to pipe buttercream borders, go here: 12 Simple and Easy Buttercream Cake Borders
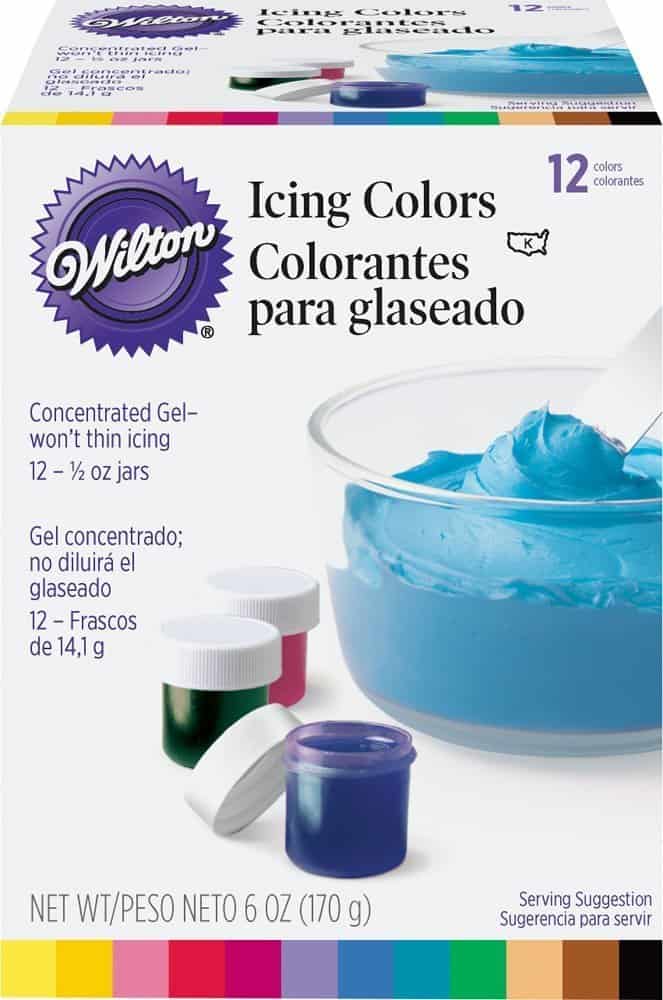
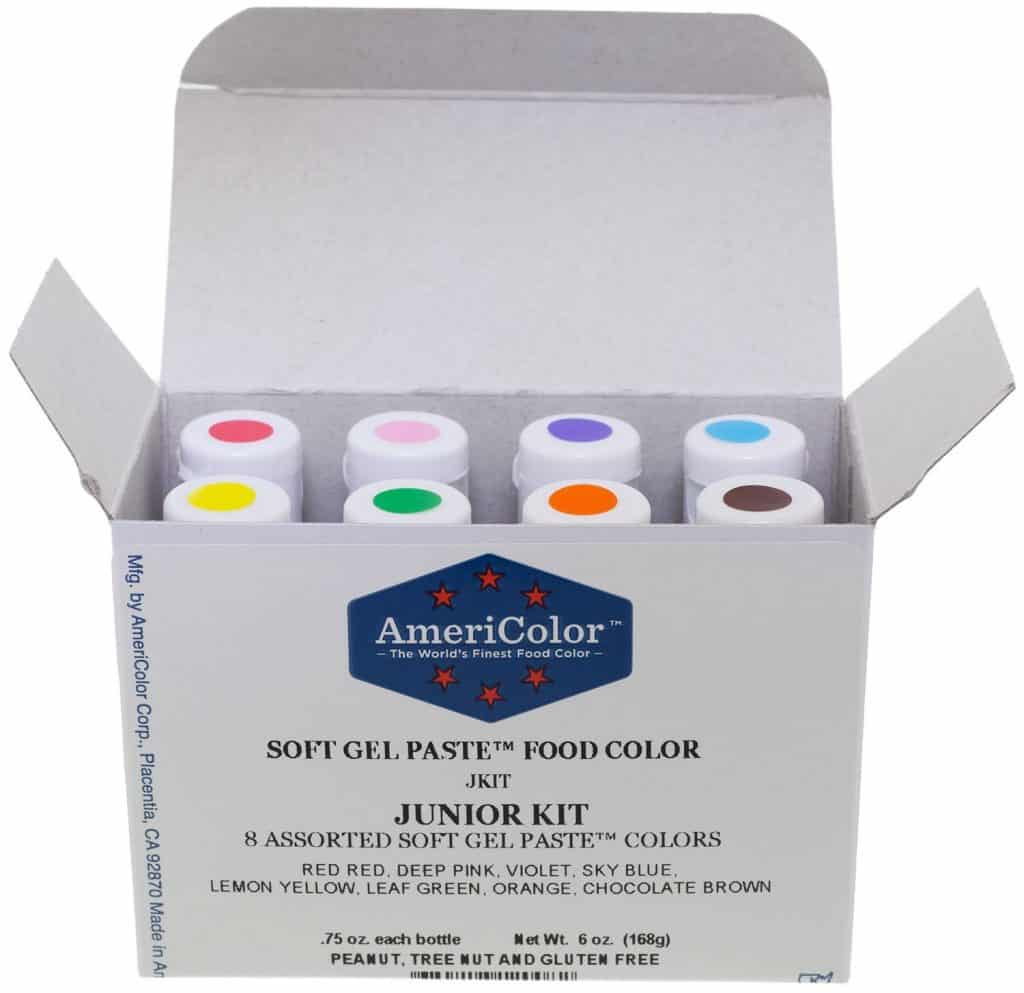
Gel Food Coloring:
This one’s a biggie. When you’re tinting your buttercream, you don’t want to use that liquid food coloring you get on the baking aisle. It’s just not concentrated enough and you’ll be adding too much liquid to your buttercream before you get the color you’re going for.
You want to use the gel food coloring or some kind of concentrated food coloring.
Gel food coloring can come in small jars, or in bottles. You’ll use the jars by just grabbing a toothpick, dipping it into the gel color and then swirling it into your buttercream. Then just mix your buttercream.
If the color isn’t deep enough, just add a little more with a new toothpick. (You don’t want to get buttercream from the old one, into the gel color jar.)
For the bottles, you’ll just squeeze out a drop or two, mix and add more if needed.
These work SO much better than the liquid food coloring.
Here are a couple options:
If you want more information on how to color dark buttercream, you’ll want to check out this post: Coloring Buttercream Dark Colors
Icing Spatulas:
I use two different types of spatulas. The small one is great for adding filling in between the cake layers and for adding texture to the buttercream. The larger one is great for covering the outside of the cake.
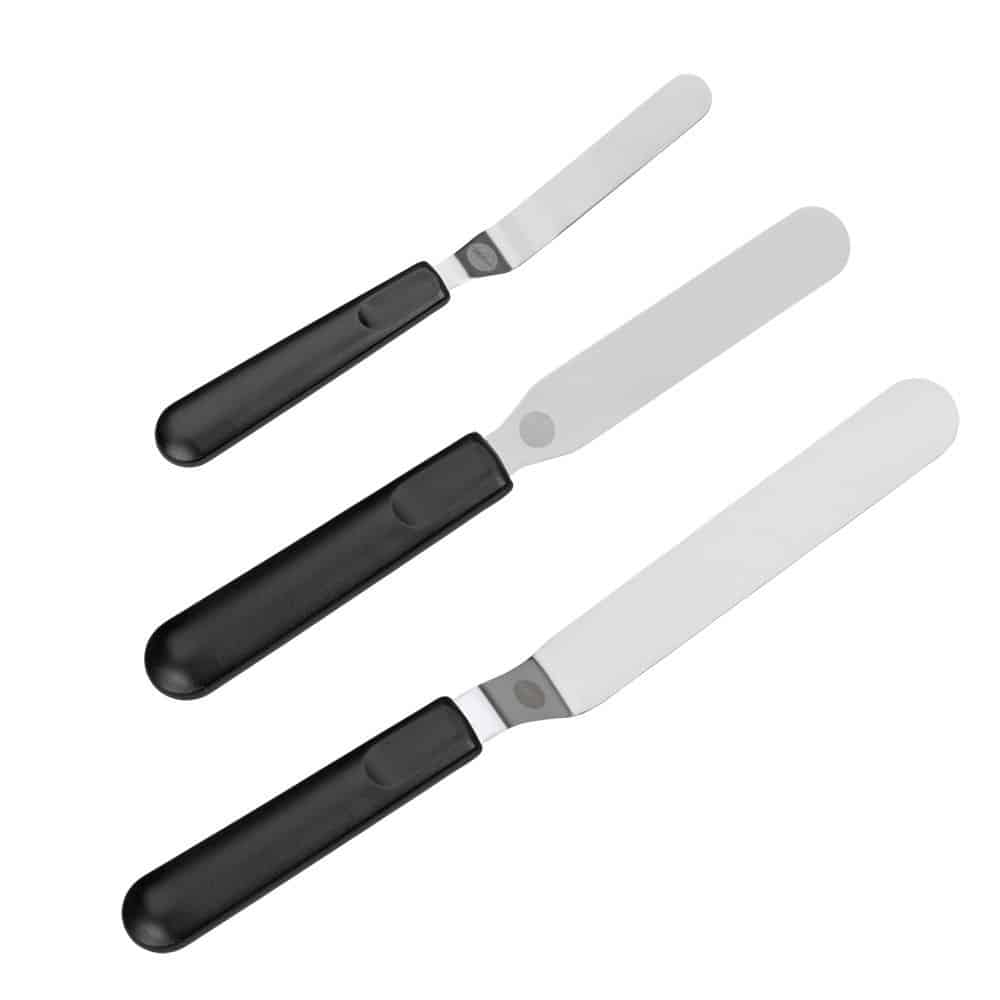
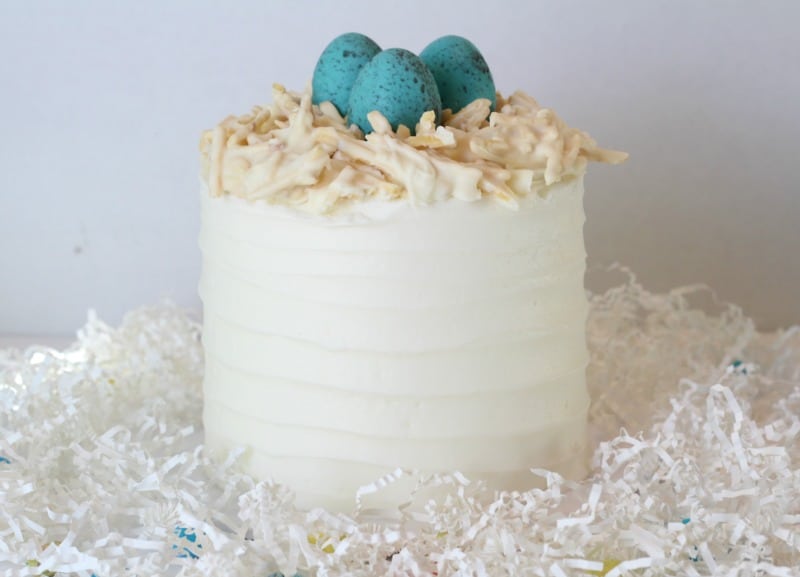
A favorite buttercream texture I like to create is just a stripe technique. You’ll just drag the small spatula around the cake.
It’s simple, but really gives your cake an elegant, finished look when you don’t feel like spending a lot of time trying to get a smooth finish on your cake.
Here’s an example of that:
Buttercream Smoother:
This one is an absolute must. You just can’t get buttercream as smooth if you’re just working with an icing spatula.
Yeah, you can get it semi-smooth, but a buttercream smoother just makes your life better. There are tons of different types, so you’ll just want to try out a few and see what works best for you.
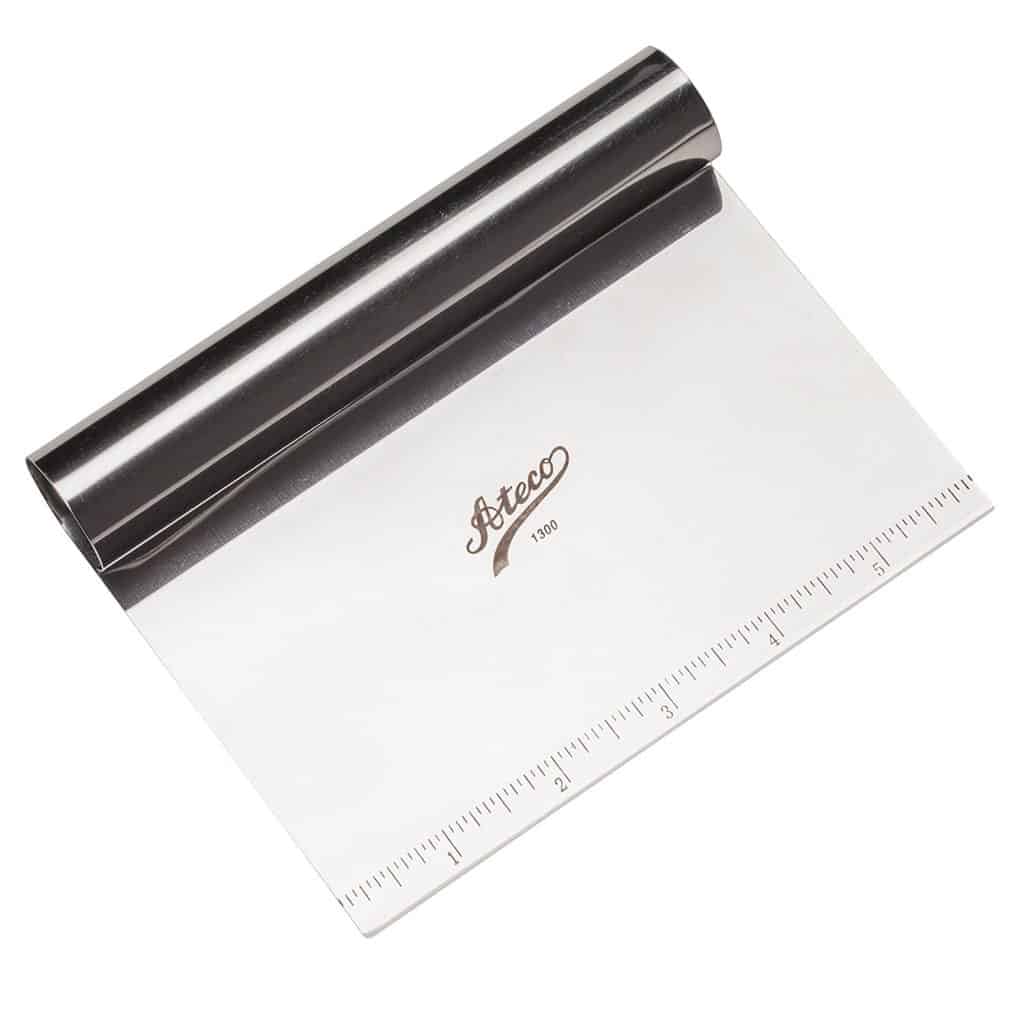
I prefer the metal and the plastic smoothers. They also make acrylic ones as well. The metal smoothers are great because you can use hot water to heat them up and then smooth around your cake. I talk more about this in the post: Tips for Getting Smooth Buttercream
Buttercream smoothers, along with a turntable (which we’ll talk about in the next tip) will allow you to get your buttercream super smooth:
Plus you can do some fun watercolor effects like this:

You can see how I use the smoothers in this post: How to Ganache a Cake
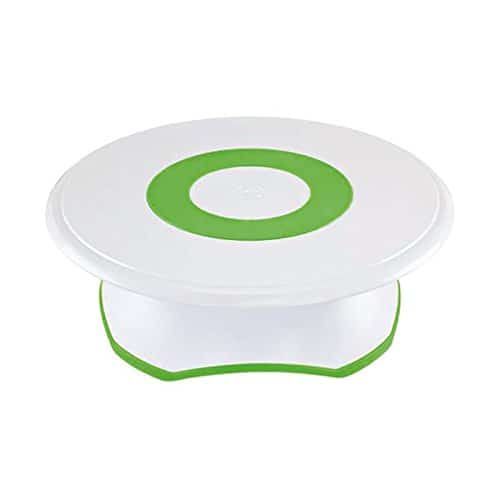
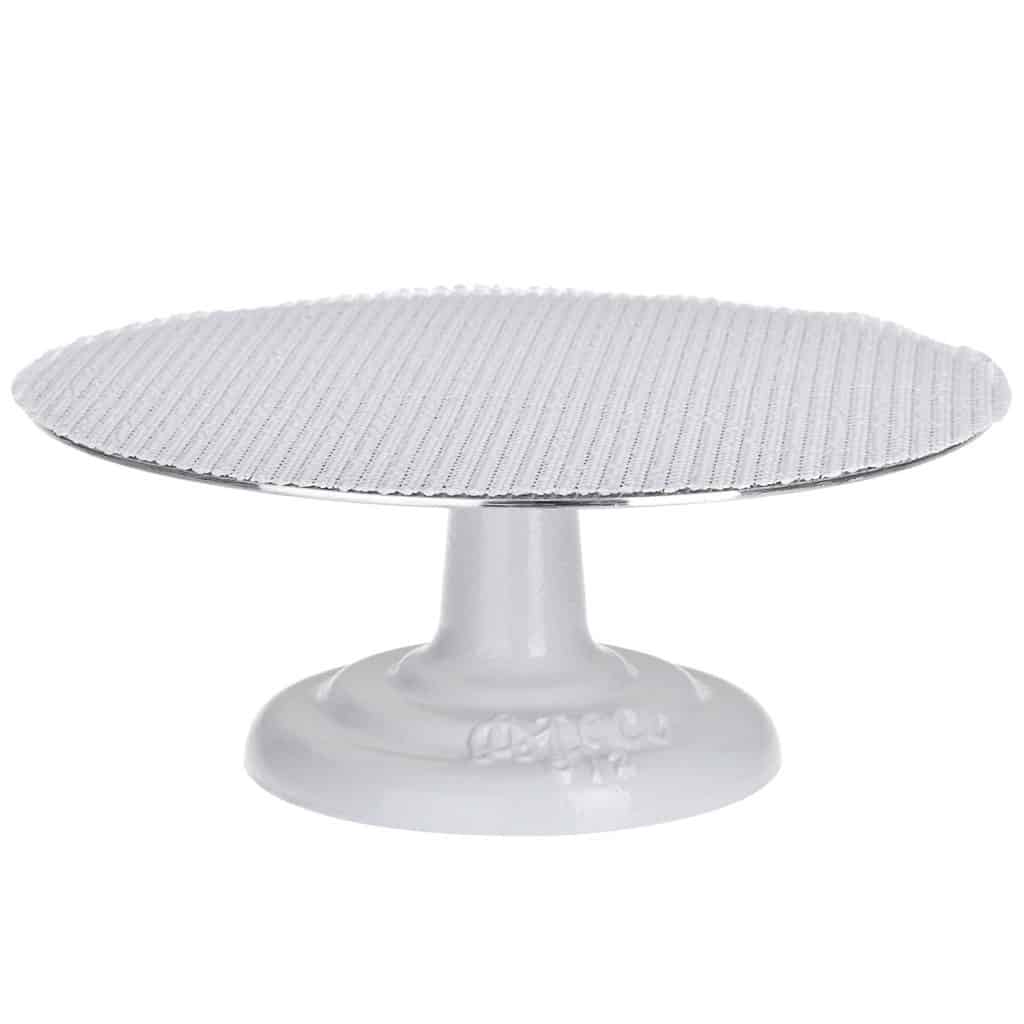
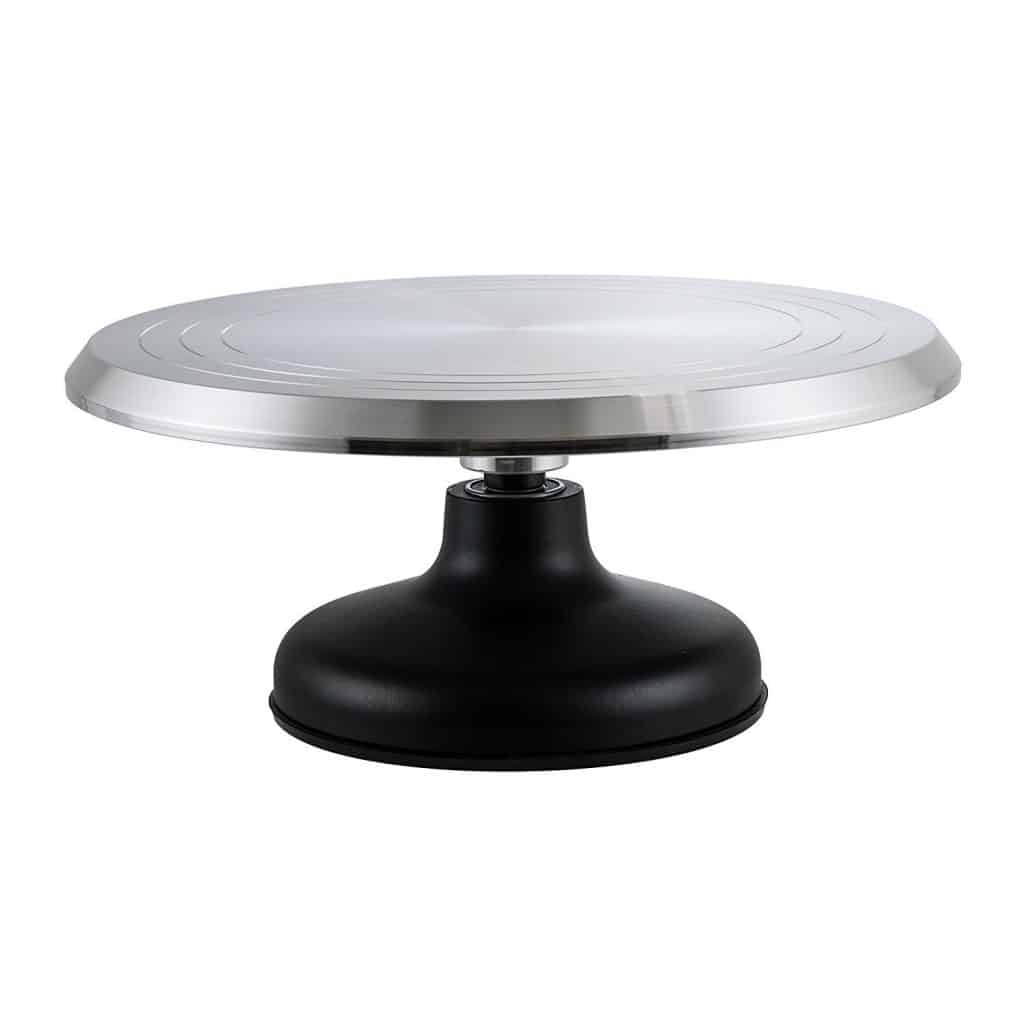
A Turntable:
This one is a must. It will make your life SO much easier. It helps a ton when trying to smooth buttercream. I’ve got two: The Wilton Turn Table and a Winco Turntable. I’ve also heard good things about the Ateco Turntable.
If you’re just starting out, the Wilton turntable is affordable and you can usually grab one with a coupon. They work well and I still use mine.
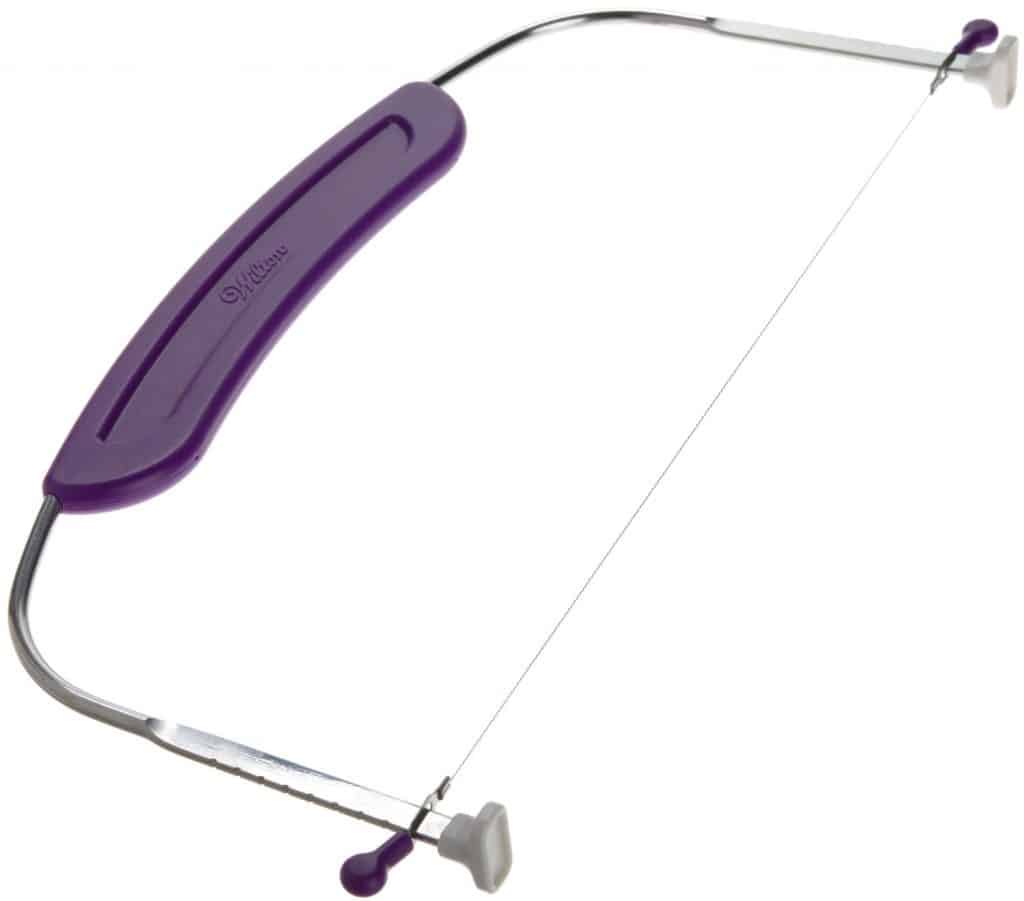
Cake Leveler:
You can go really expensive on these, or you can just use a large knife, or buy the inexpensive Wilton cake leveler. I typically go with the Wilton leveler. I actually find that it works quite well.
The main thing is that you want the tops of your cakes level, so that when you stack your layers, there’ll be no leaning.
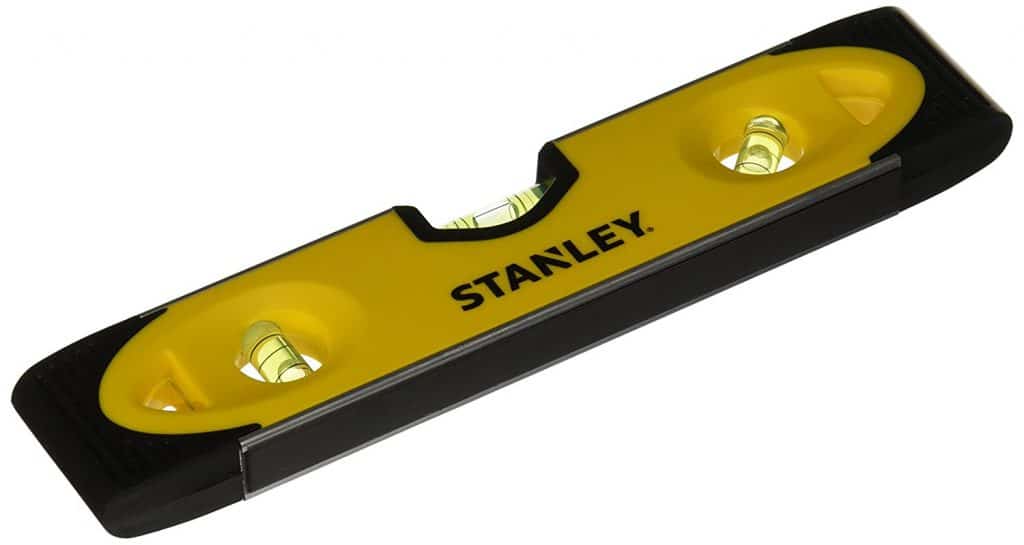
Mini Level:
Now I know this one sounds weird, but hear me out. This one is actually one of my most important decorating tools.
Once you layer your cakes, set a cardboard cake board on top and then add the level to make sure your cake isn’t leaning. This is especially important if you’ll be stacking tiers.
I also like to use this in my cheater method for getting a super smooth buttercream finish on my cakes.
Non-Slip Liner:
I know it sounds weird, but non-slip liner is really a must. It’s actually that rubber-like shelf liner.
Cut small circles or squares out of it and set it onto your turntable, then set your cake (on it’s own cake board) on top of it. It keeps everything from sliding around on you.
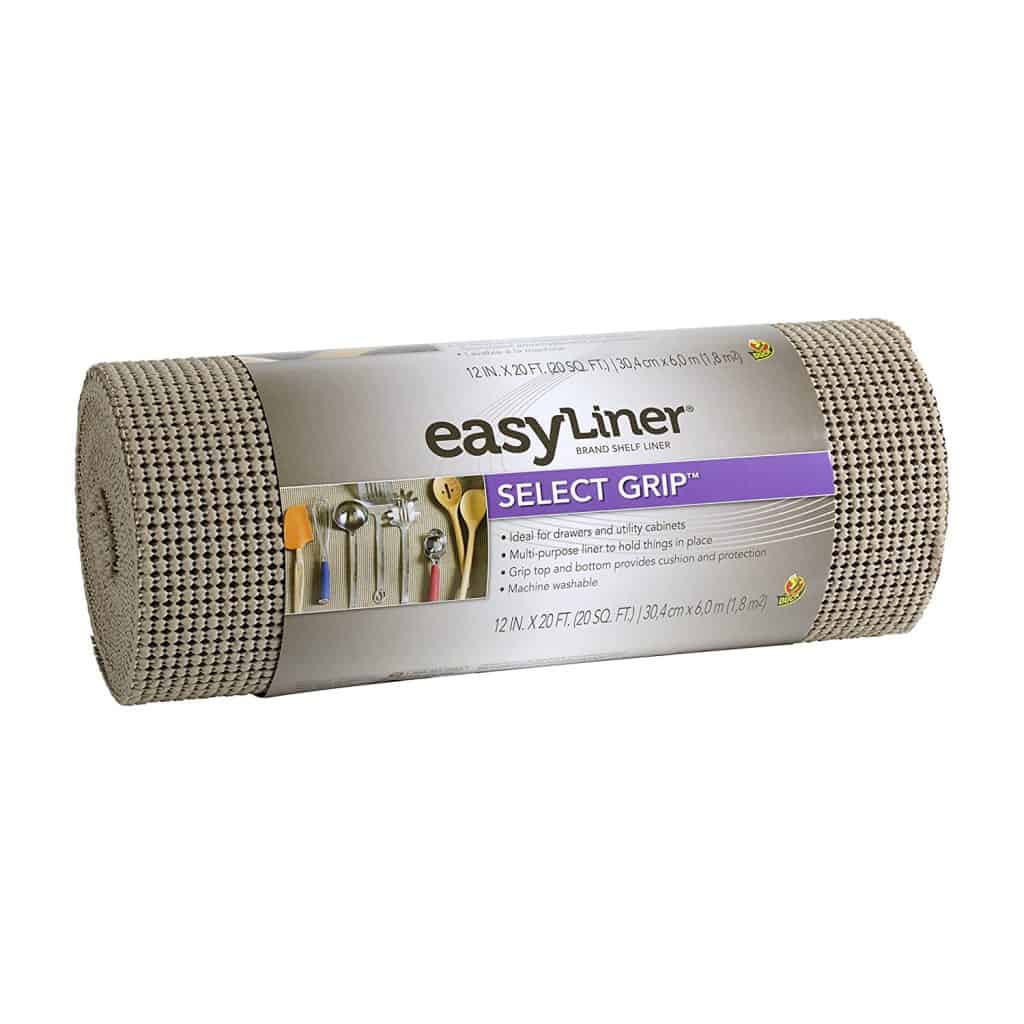
You can also use it when traveling with your cakes and cupcakes. Lay it down in your vehicle and it’ll keep the cake boxes from sliding around.
You might want to check out my post with tips on transporting cakes here: How to Transport a Cake in a Car
White Candy Melts:
Now that you’ve added some non-stick liner onto your turntable to keep your cake board from sliding around, you’ll want to add something to the actual cake board to keep the CAKE from sliding around.
What I mean is this: Some people like to dab on a little buttercream onto their cake board before setting the first layer of cake on it. I found that that just doesn’t do the trick for me.
Buttercream can get soft at room temperature and I don’t want things sliding around on me when I’m decorating. I sure don’t want the cake sliding around on the board when I’m transporting it either.
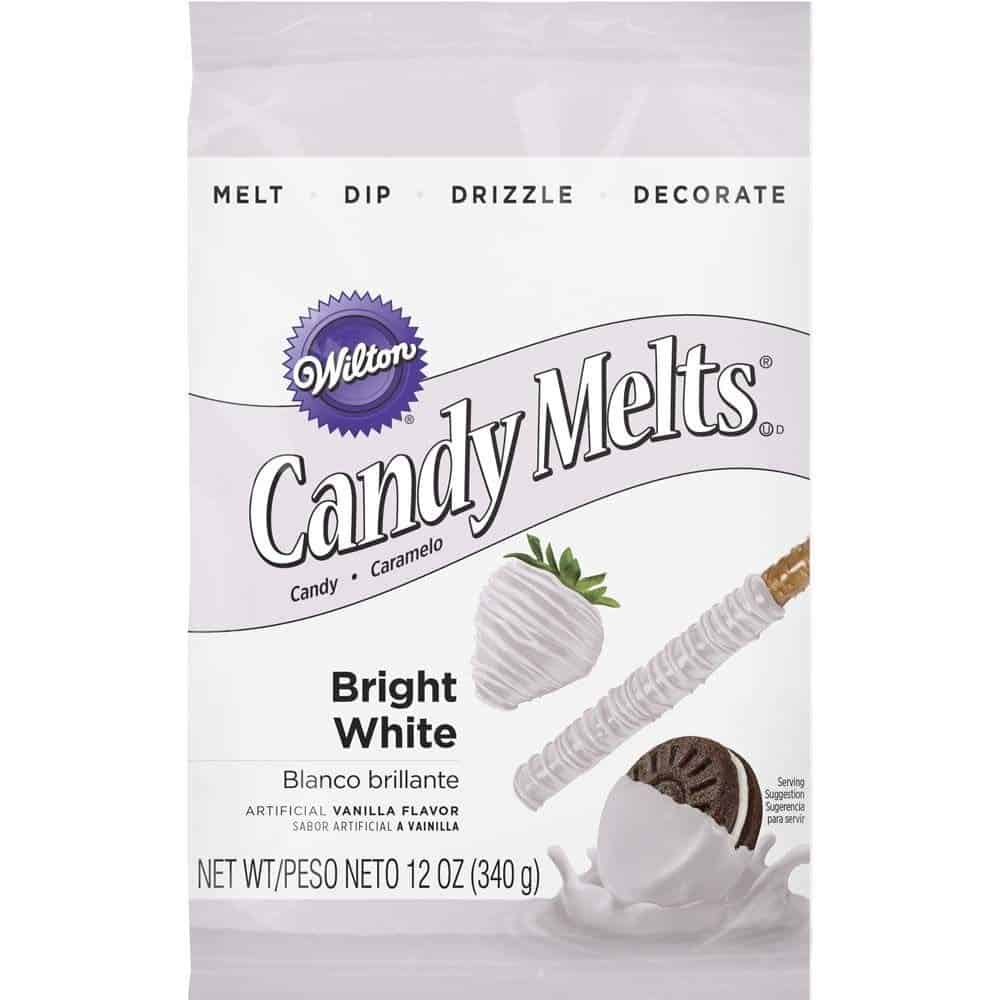
Here’s what I do: Melt a small amount of white candy melts (if you’re using chocolate cake, you can use chocolate candy melts). Spoon a small amount of the melted candy melts onto the middle of your bottom cake board and then set the first layer of cake on that.
Let it set up a bit in the fridge. Now your cake won’t slide around on you.
You can also use the candy melts when attaching your decorated cake to the larger cake base (the presentation board).
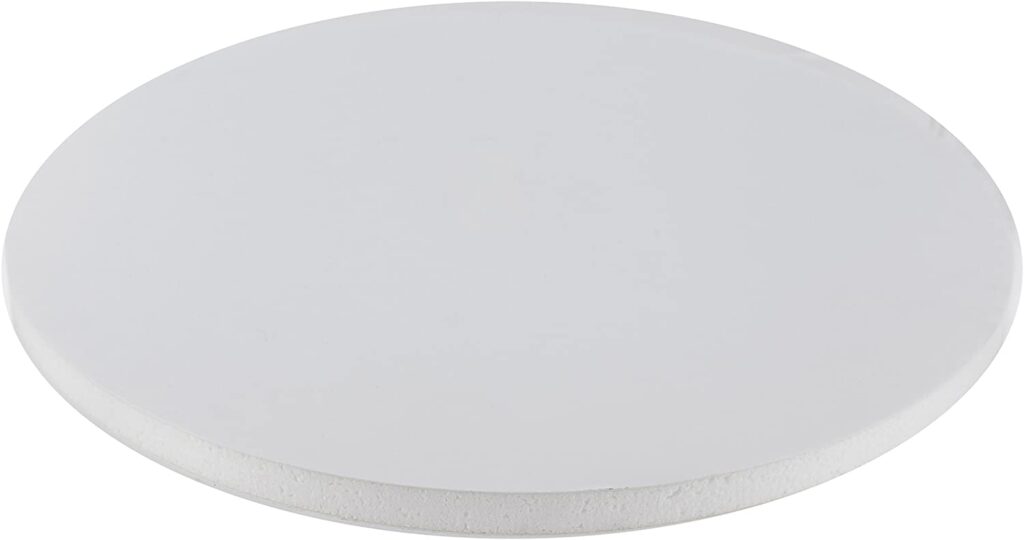
Cake Boards:
This brings me to my next tip…cake boards. There are tons of options here, but I prefer either the plain cardboard cake rounds that have that thin wax coating on them, or foam core cake boards.
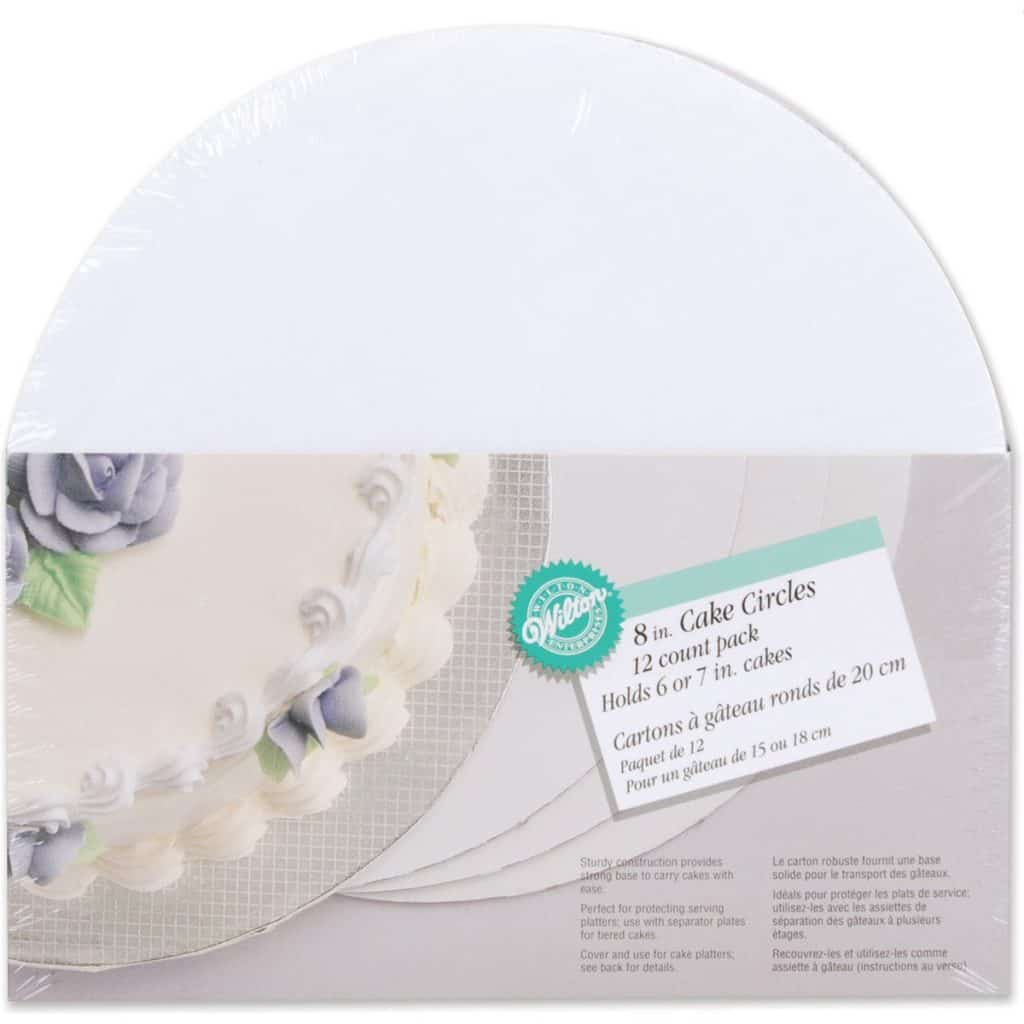

I use the regular cardboard cake rounds for smaller cakes and the ¼ inch foam boards under heavier cakes or cakes that will be covered in fondant.
I then use ½ inch foam boards as the bottom presentation board and cover them with fondant, fanci foil or even scrapbook paper covered with contact paper.
You can see my tips on cake boards and how to cover them here: Tips for Cake Boards
Good Recipes:
Finally, you’ve gotta have some good recipes. I know that’s obvious, but really it makes a huge difference.
When you know a recipe is going to turn out and people will love it, you have so much less to worry about. If you make a mistake in decorating…you’ll still have a great tasting cake. And believe me, we ALL make mistakes in cake decorating.
Nothing is ever going to turn out perfectly…you just have to roll with the punches 😉
Here are some of my favorite cake recipes from the blog:
Scratch Cakes:
Doctored Cake Mix Cakes:
Buttercream Recipes:
- Vanilla Bean Buttercream
- Bright White Heat Stable Buttercream
- Double Chocolate Buttercream
- Cream Cheese Buttercream
BONUS:
BONUS #1: If you have absolutely no decorating supplies at all, it’s still possible to do some decorating…You just have to be inventive.
I wrote an entire post that will give you five different ways to decorate cakes with no supplies. You can find that here: 5 Easy Ways to Decorating Cakes Using No Cake Decorating Supplies
And here’s the video to bring it all together:
Printable list:
If you’d like a printable list, just click on the graphic or button below.
Related Cake Decorating Posts:
DON’T FORGET TO PIN IT BELOW!
madhaviragu
I found your blog on google and read a few of your other posts. I just added you to my Google News Reader. Keep up the great work Look forward to reading more from you in the future.
Kara Jane
Wonderful! So glad you like the blog! ?